Send a hug through the post with these straight-line quilted Christmas postcards. This straight-line quilting technique is super satisfying. And it doesn’t need special equipment. Anybody can stitch these Christmas postcards on their regular sewing machine.
What you need
- festive fabrics
- fleece or wadding
- pretty thread + 100/16 Topstitch needle
- ribbons or rickrack
- printed postcards
- a sewing machine that does a straight stitch and a zigzag
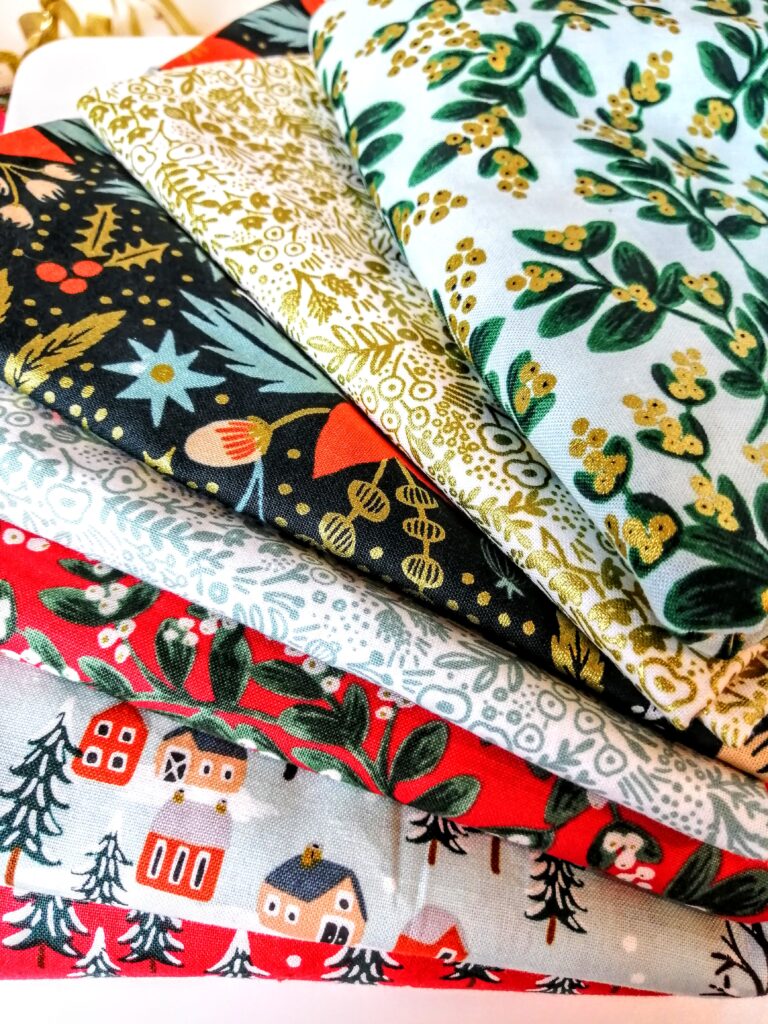
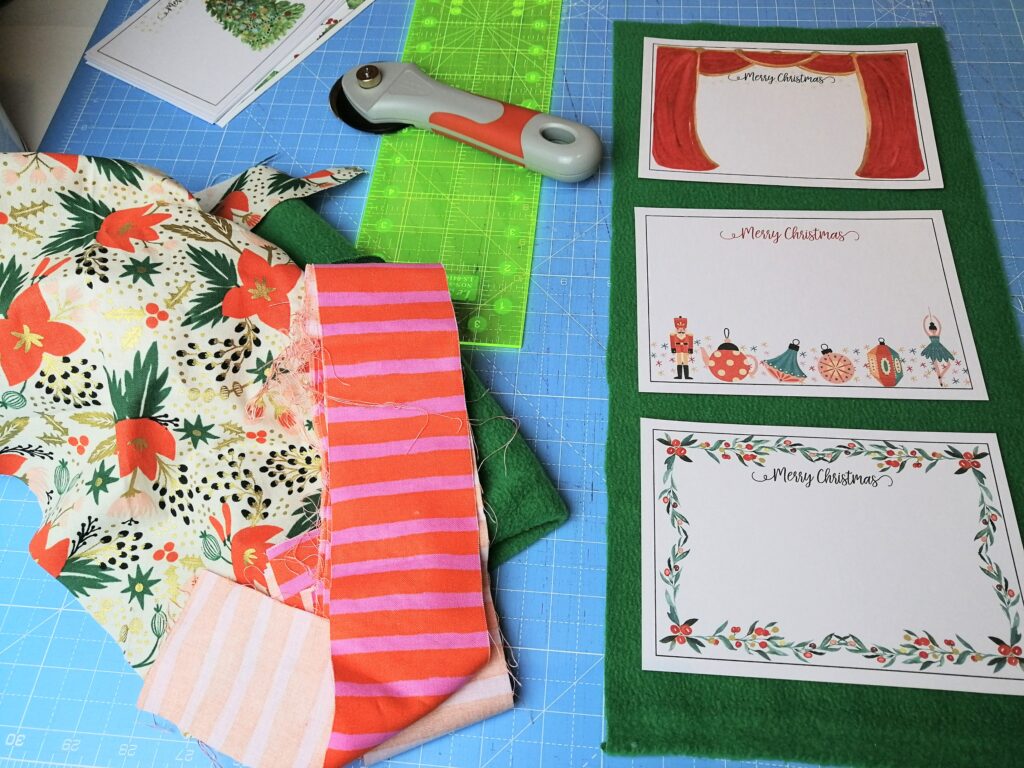
First find some festive fabrics
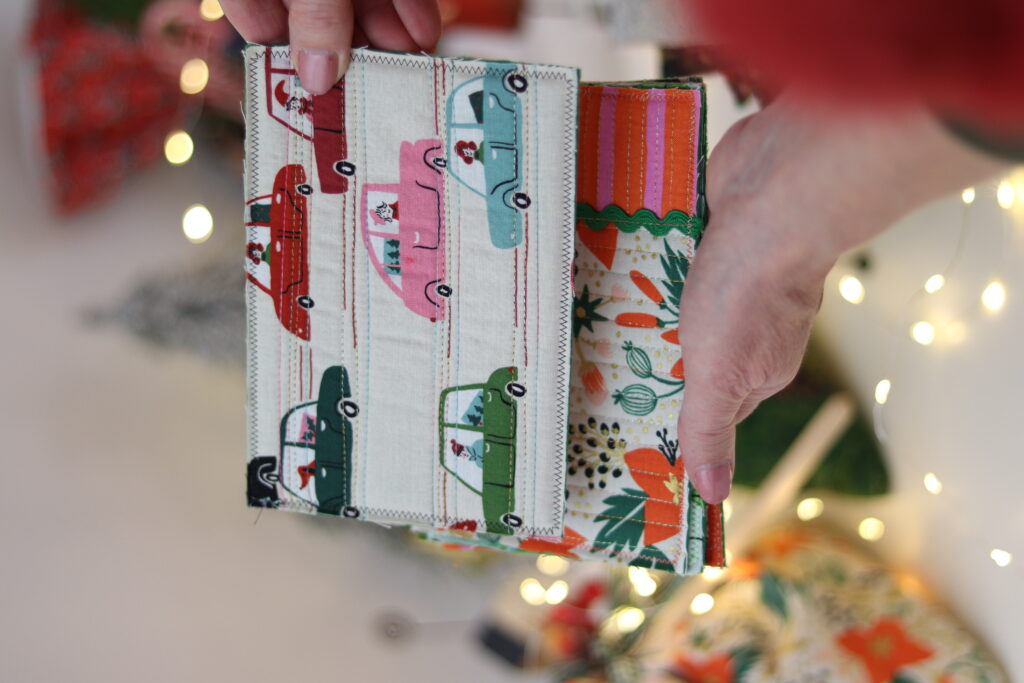
I’ve got a lovely selection of Christmas fabrics in my stash. But sometimes I just can’t resist the new lines. This year I grabbed the Rifle Paper Company Classic Christmas fabrics available here in the UK from The Crafty Mastermind online shop. I like to mix the old and new together.
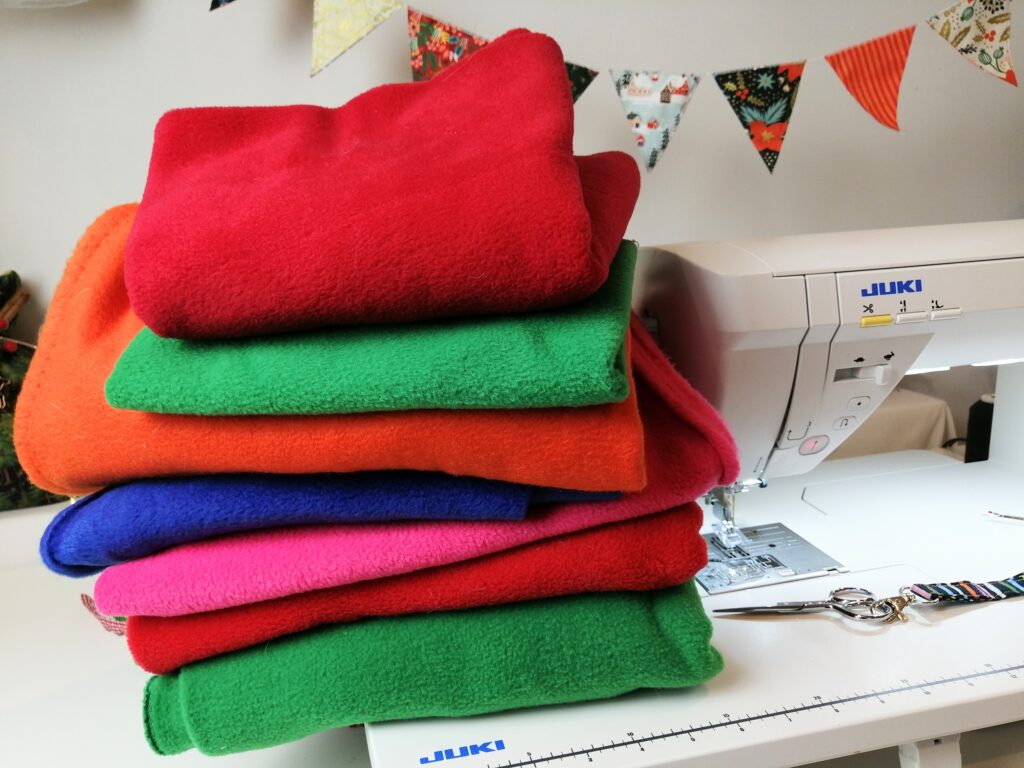
Next you’ll need some fleece or wadding for the backing. I like fleece as it adds a pop of colour around the edges.
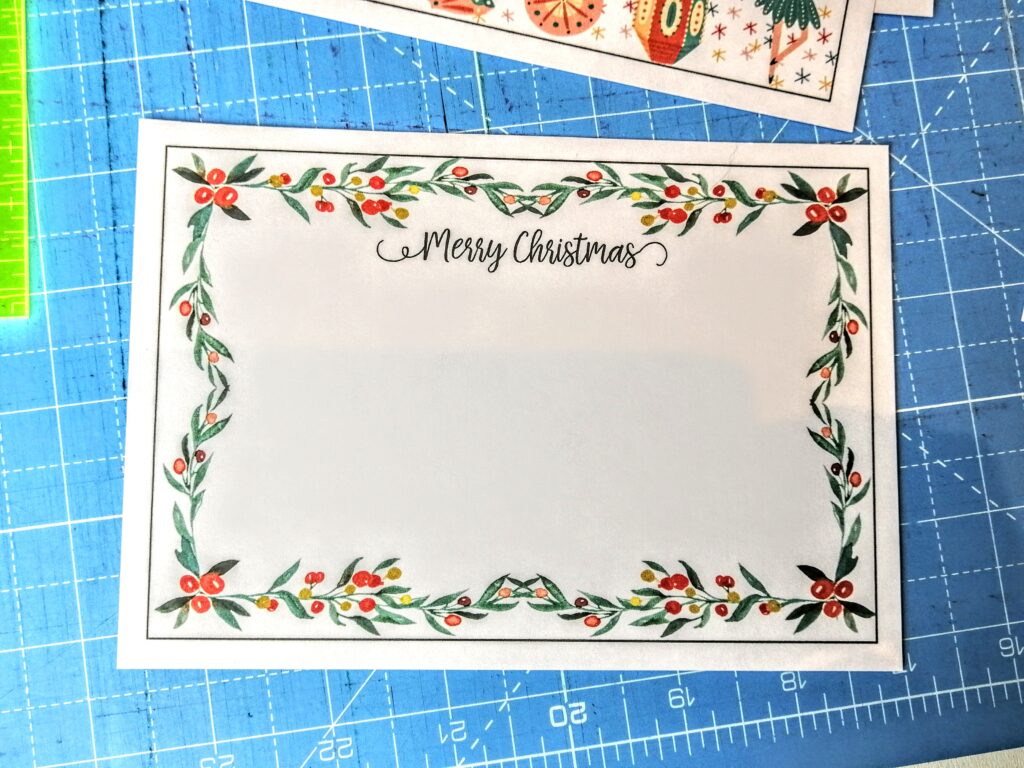
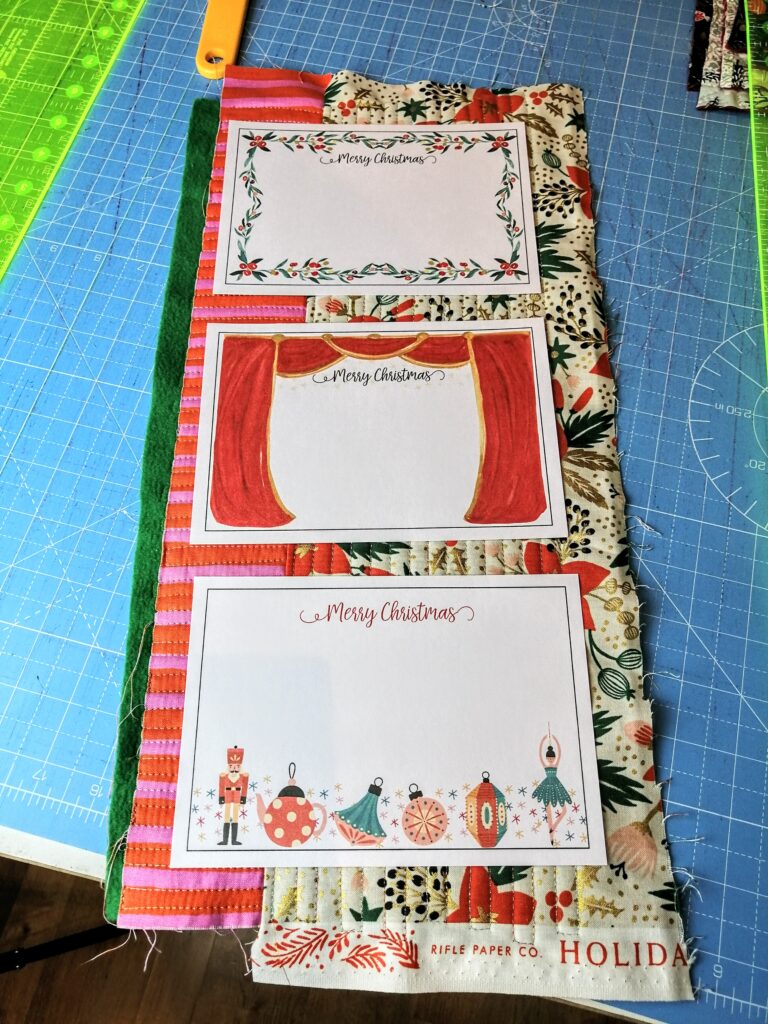
Download the postcard templates
Now you’ll need to download some free-to-use postcard templates. You can get them from the Machine Quilter site, under Free Stuff. You’ll find lots of postcard templates that are free- to-use all through the year. Click on the Christmas postcard template and you’ll have 6 pretty Christmas postcards.
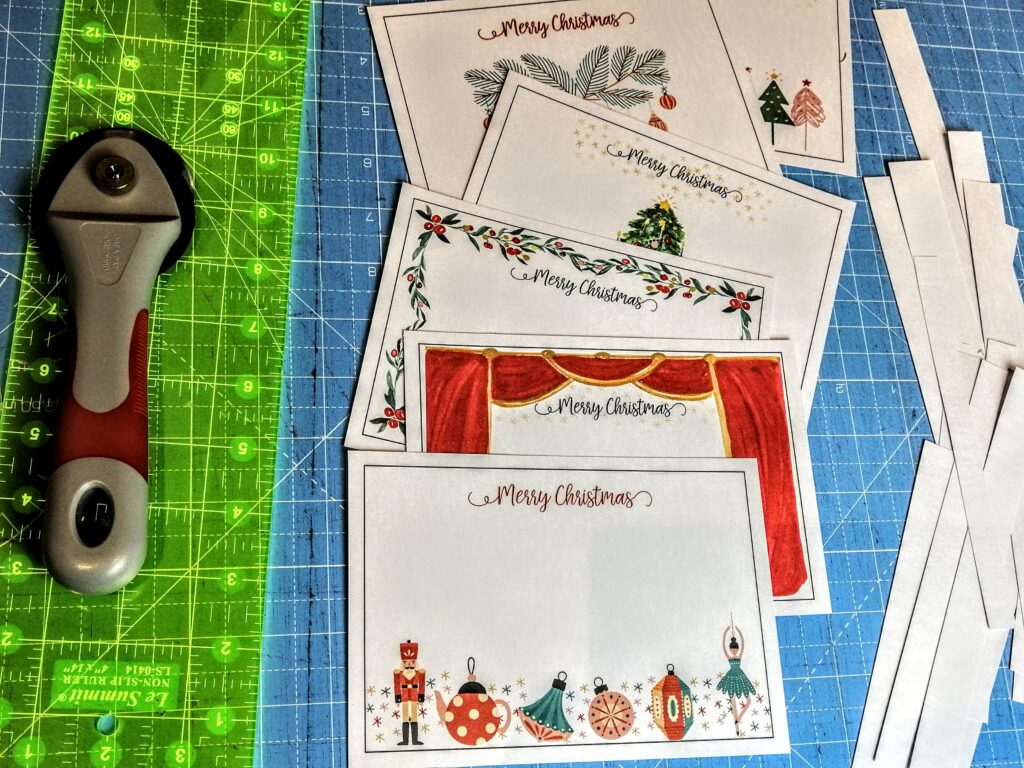
Simply download the postcard templates. Get some A4 card. Try Amazon, you can get 50 sheets of white A4 for £5.99 from Amazon prime. Avoid glossy photo paper because it’s hard to write on. Use a mid-weight matt card around 250 gsm.
Be sure to print them actual size. Then you can cut them out. I keep a special rotary cutter just for card so that I don’t dull the edge on the cutter that I use for fabrics.
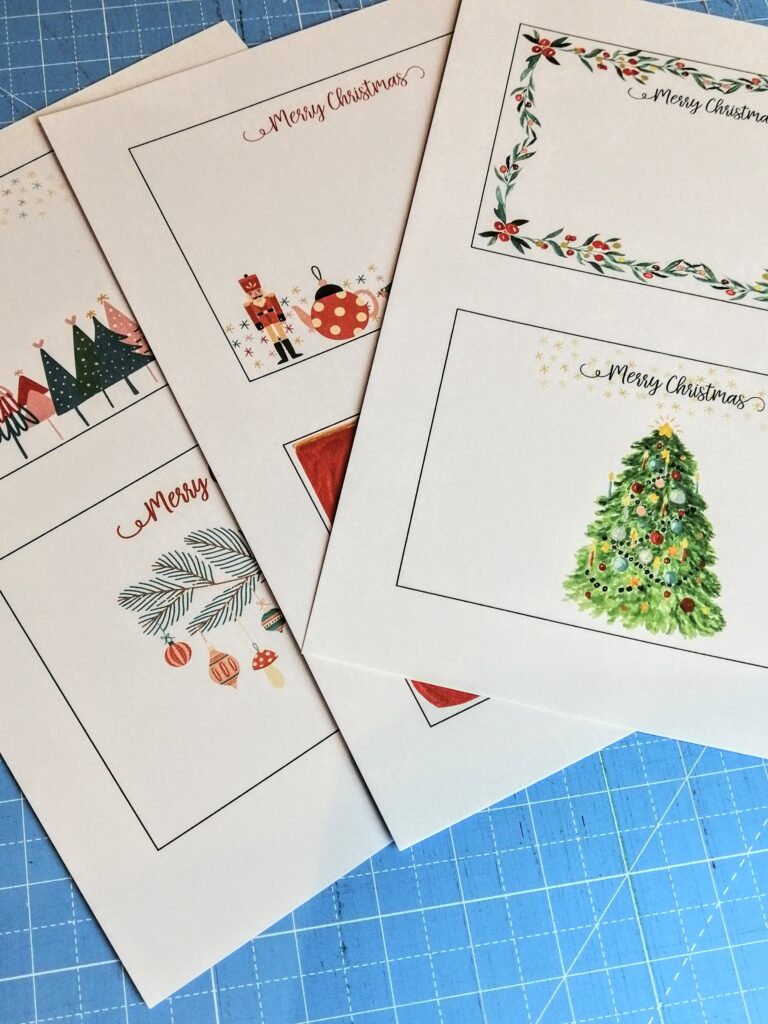
When cutting, leave about a quarter of an inch around the outside black line.
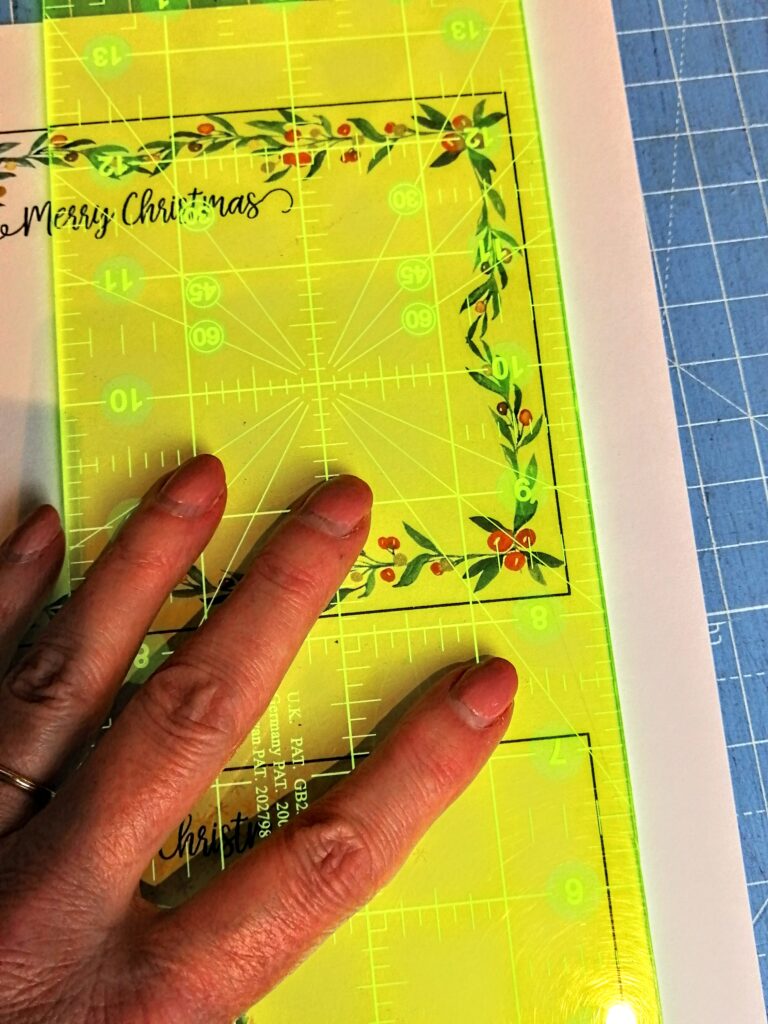
Planning the layout
Once you’ve got your postcards, grab some fleece or wadding. Use the postcards as templates to decide just how big you want to cut your fleece. It’s often good to start small on a new project. So I’m going to measure out enough fleece to make three postcards leaving a generous border around the edges. But it could be just one or two, or quite a few more.
Basically, think about how many postcards you want to make in one go, and cut your fleece accordingly.
Keeping it simple
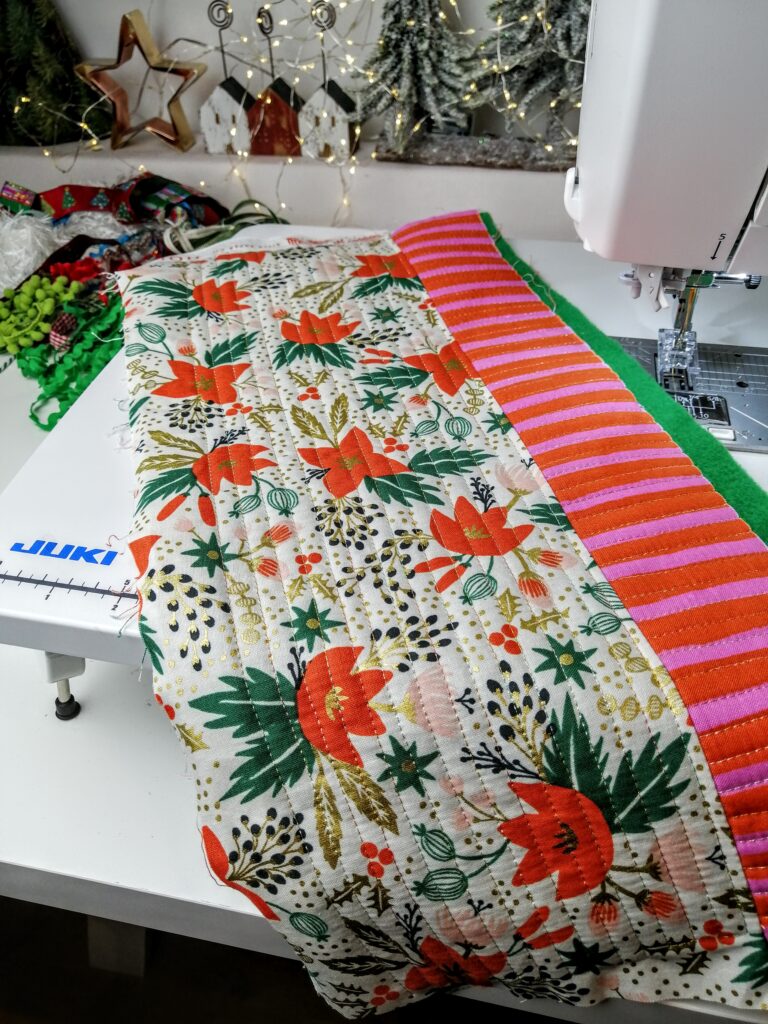
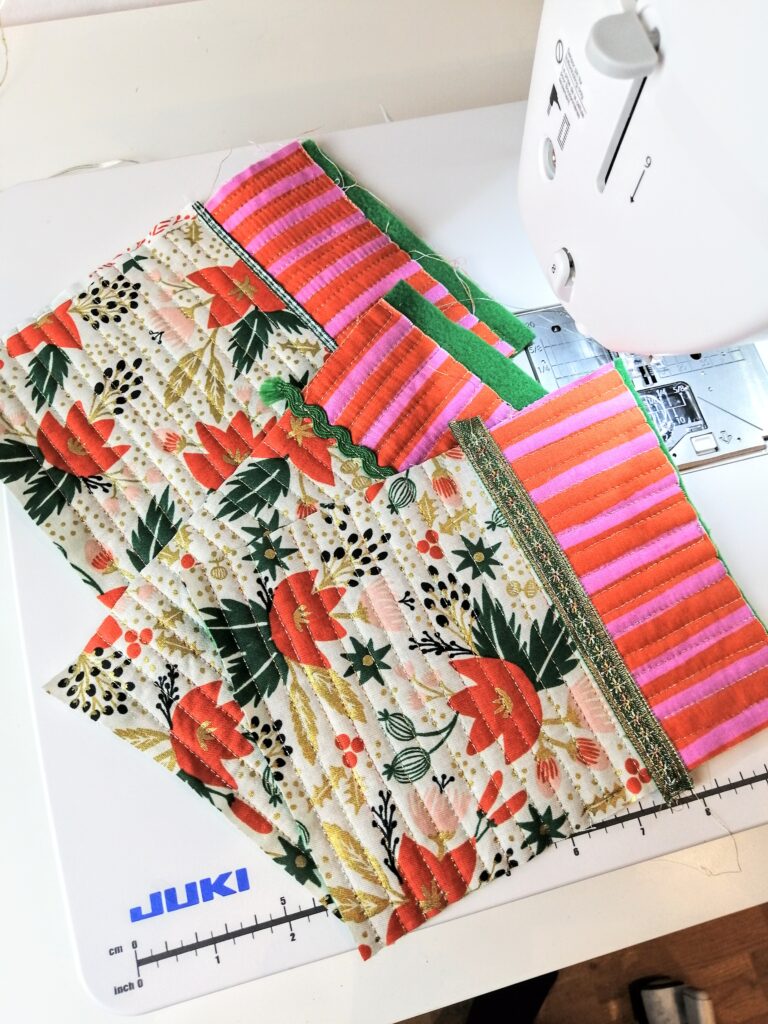
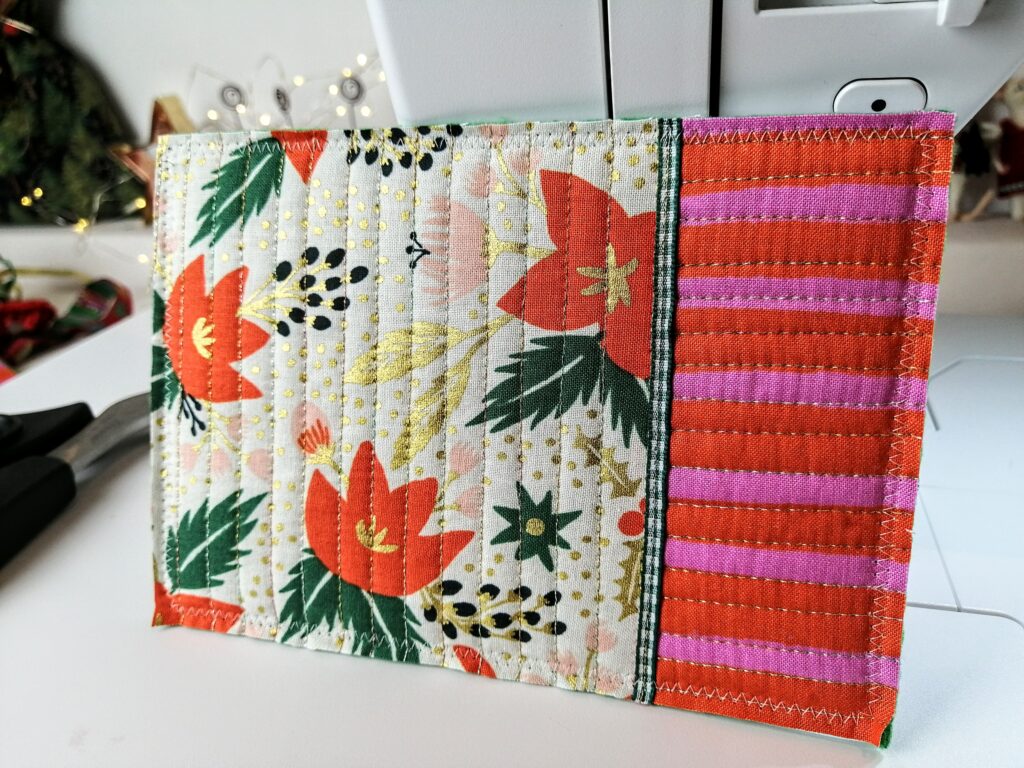
Now comes the fun part. To keep it simple, I’m just working with just 2 fabrics. I may jazz it up with ribbons or embellishments later. Any quilters out there will recognize this as a Quilt-as-you-go method.
Quilting the first piece
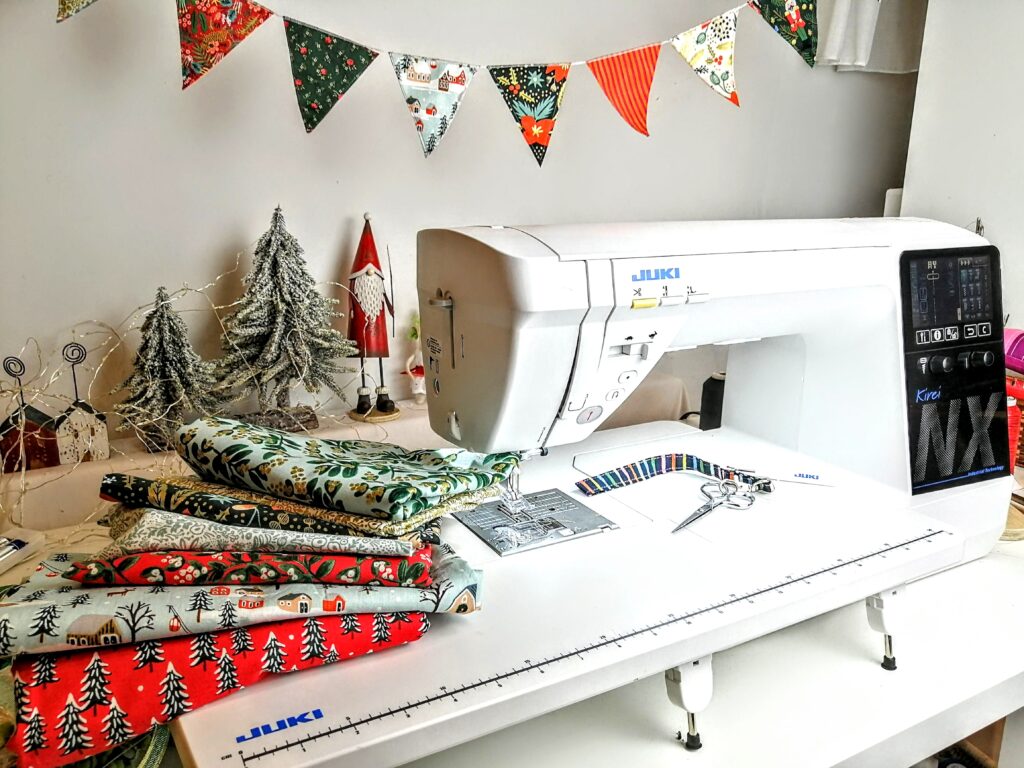
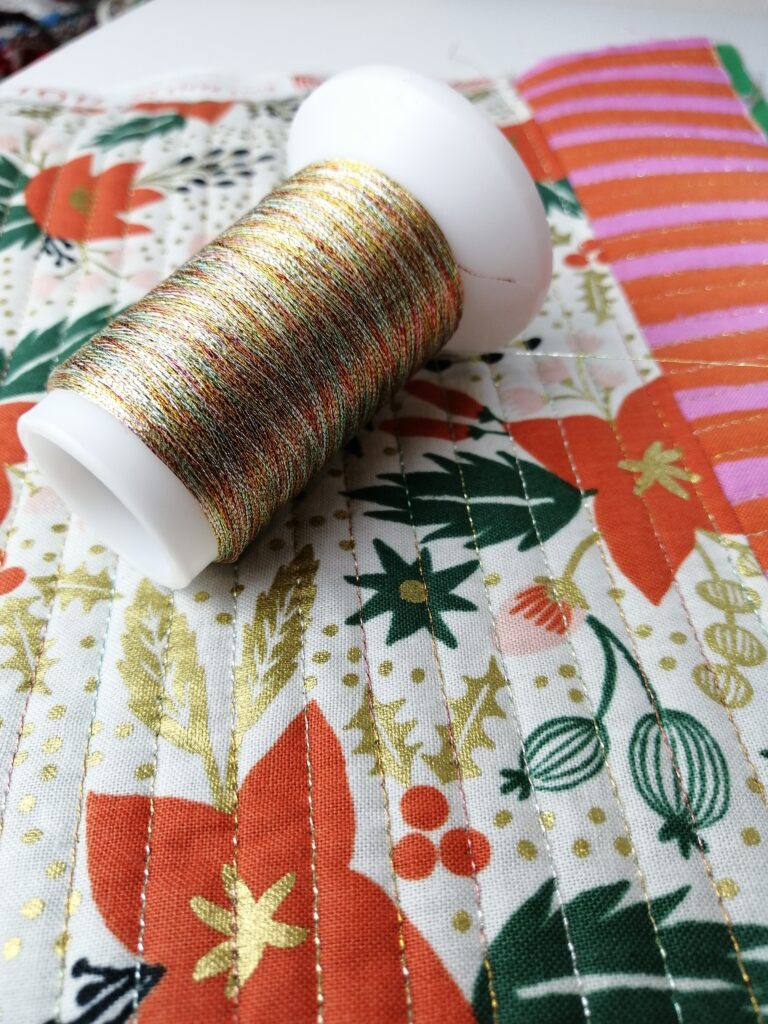
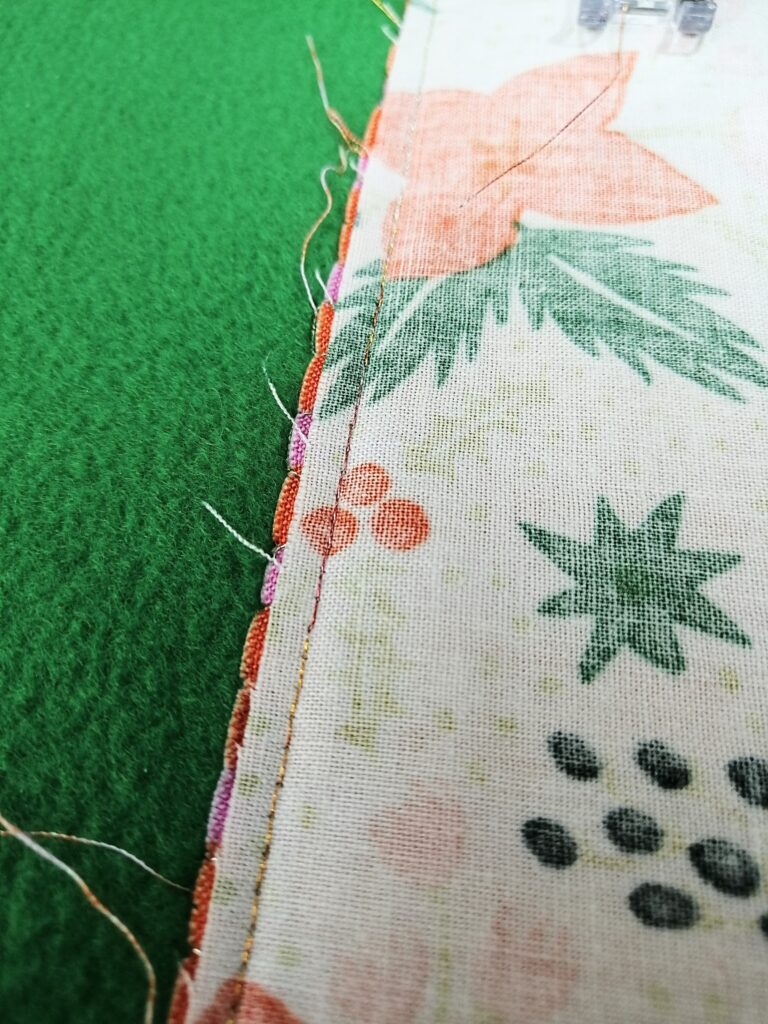
Take your fleece and your first fabric. I’m using this pink and orange stripe. I’m going to use straight lines to stitch it to the fleece. I chose some pretty thread and a 100/16 Topstitch needle. Metallic threads need a larger eye and a deeper shaft to keep the thread from fraying. Barnyarns offer a titanium coated version. This variegated gold Metallic from Superior Threads is just perfect! It brings out the gold in this Rifle Paper Co fabric. I’m stitching horizontally, with the stripes. Not required, just my choice.
I’m stitching along the stripe. When I get to the end I pivot the fabric around, count 3 stitches, and pivot again to go back the other way. The pivot function on the Juki NX7 raises the presser foot slightly each time I stop. This allows me to pivot the fabric without reaching for the presser foot! Probably my favourite feature.
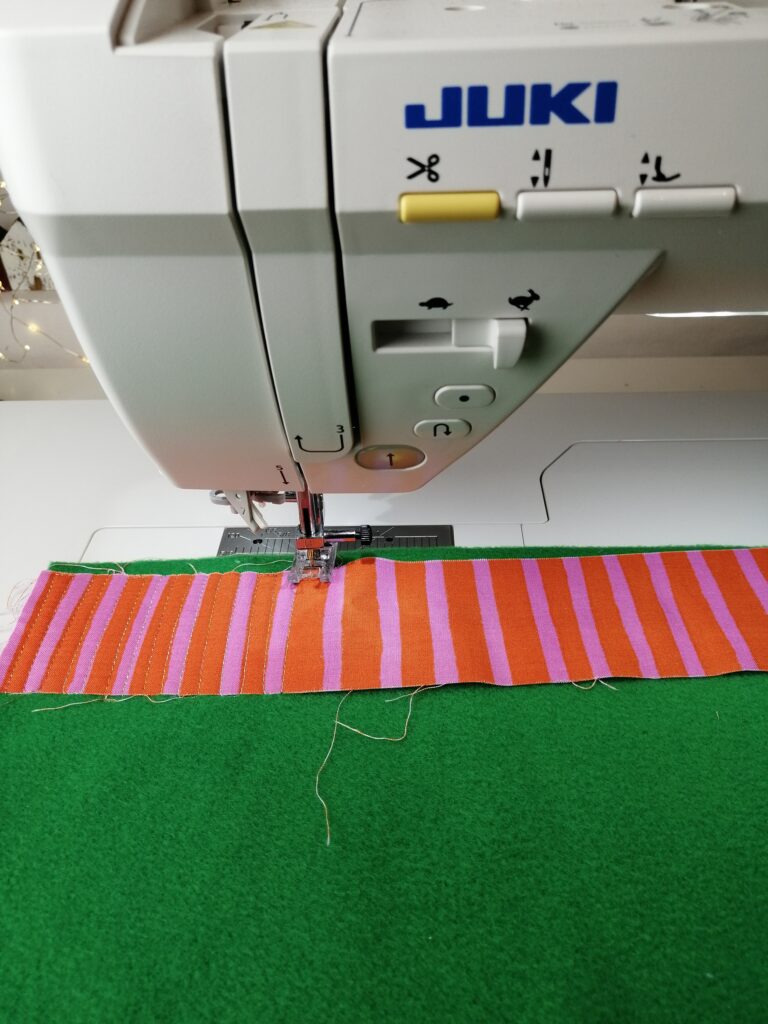
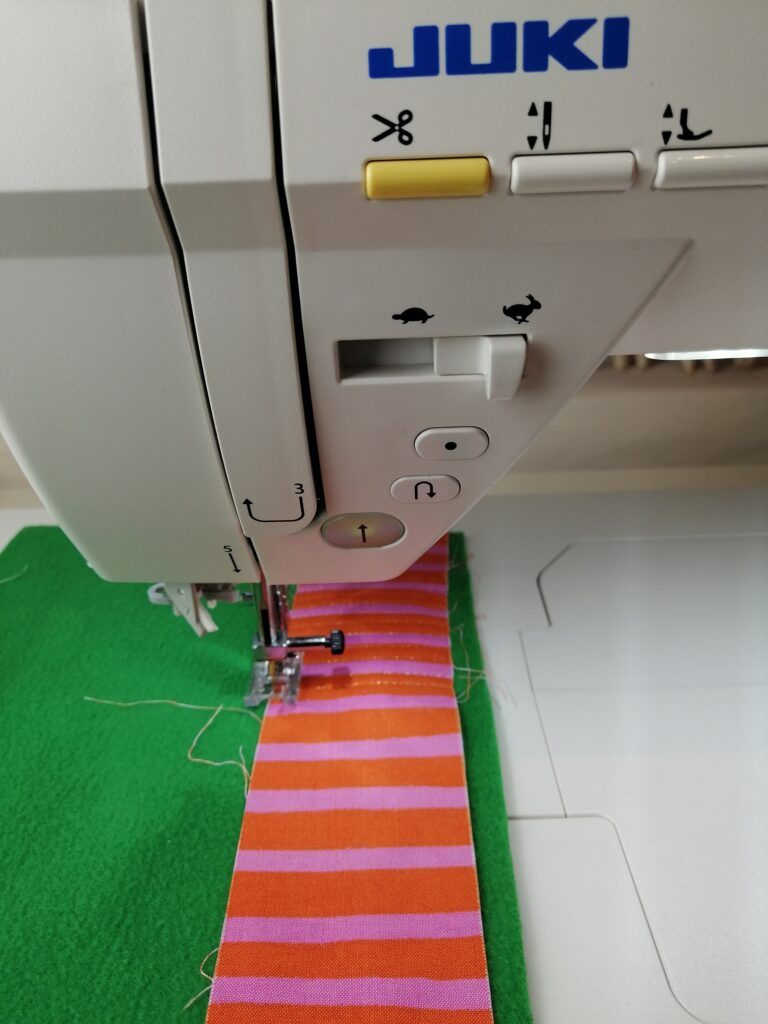
Keep working your way back and forth along the stripes without stopping and cutting any threads. Make sure to go all the way to the end of the fabric strip each time.
Stitching the 2nd piece
Now add the next piece of fabric.
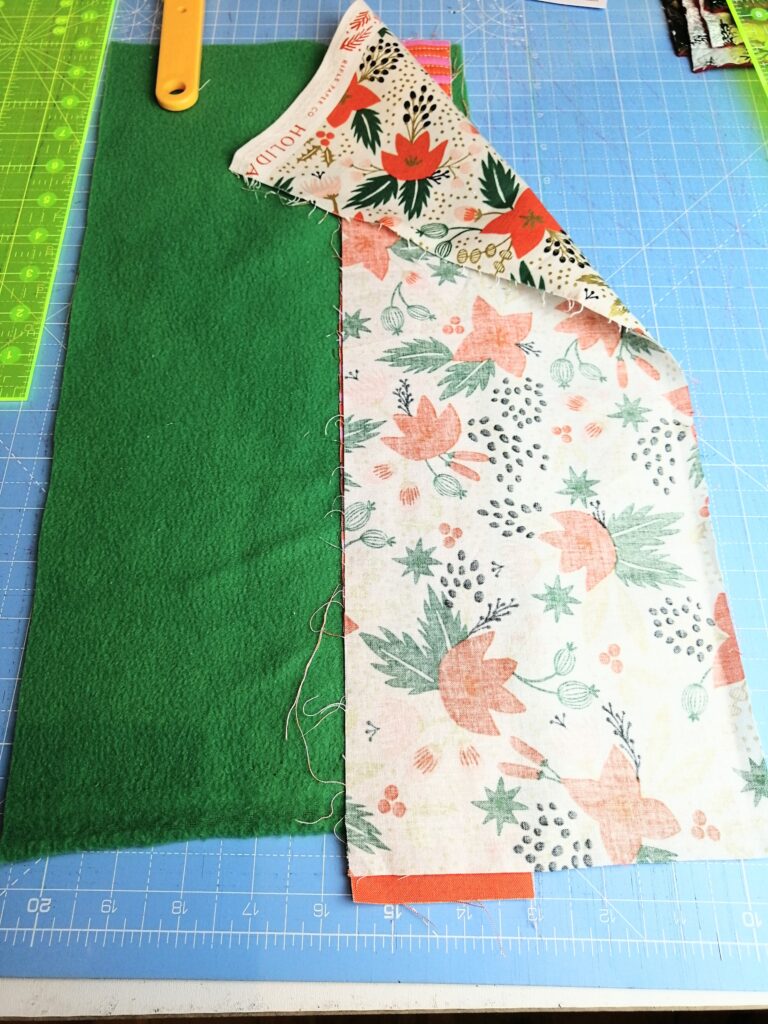
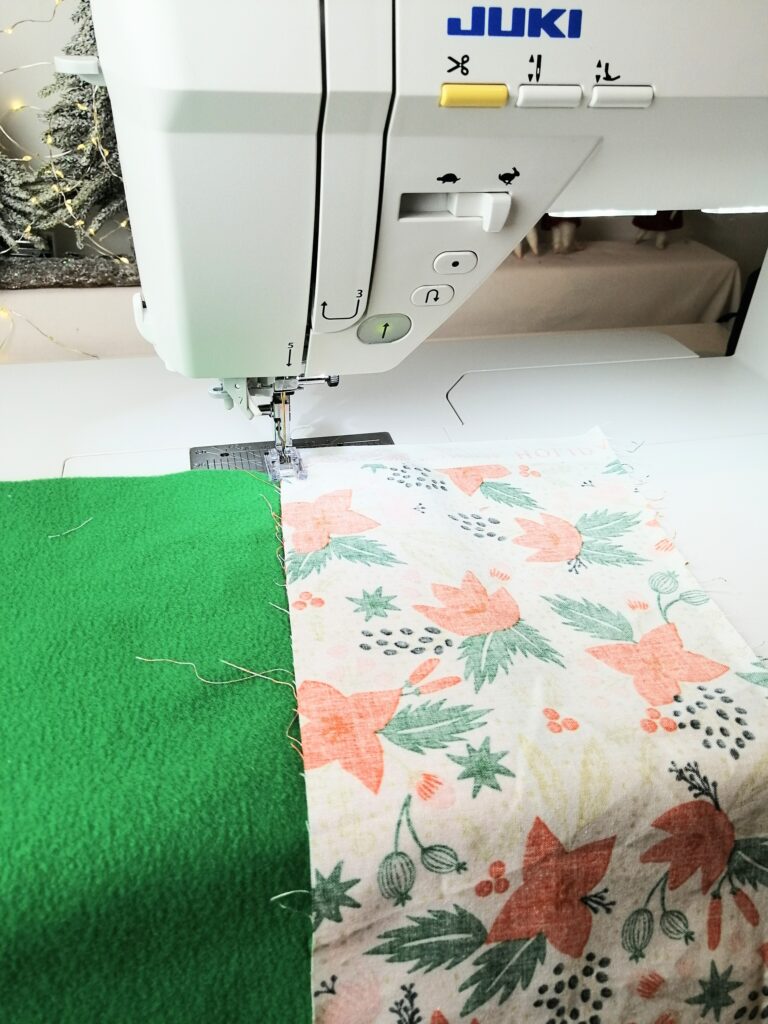
Placing right sides together, stitch down the middle seam. Then flip it over.
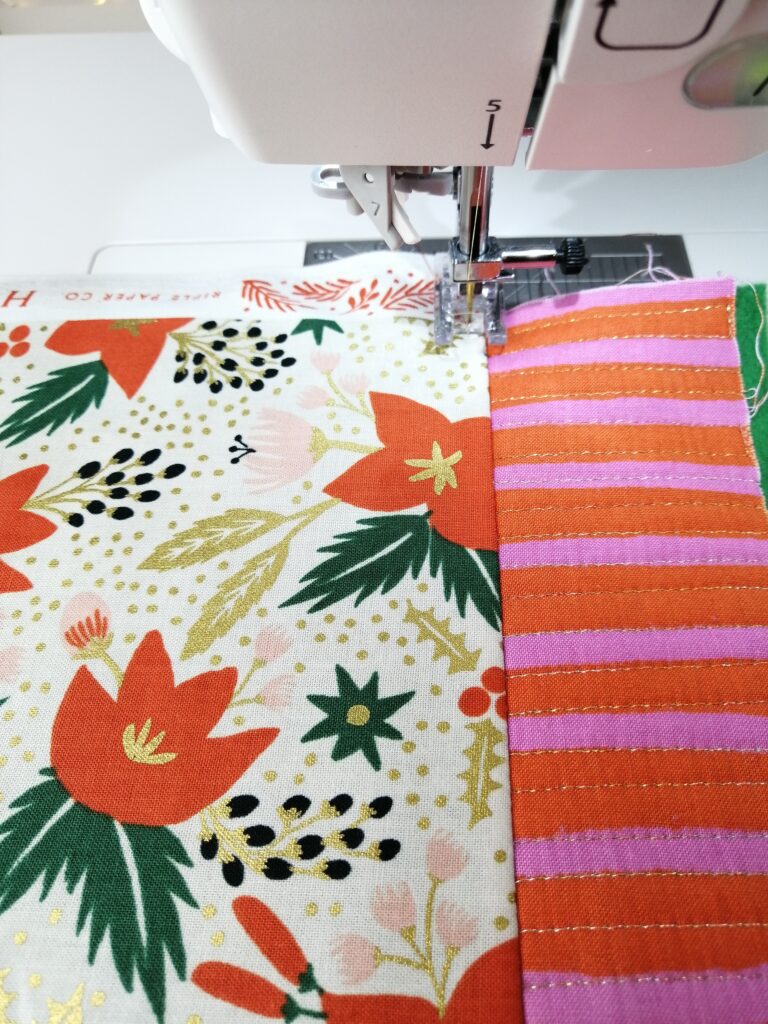
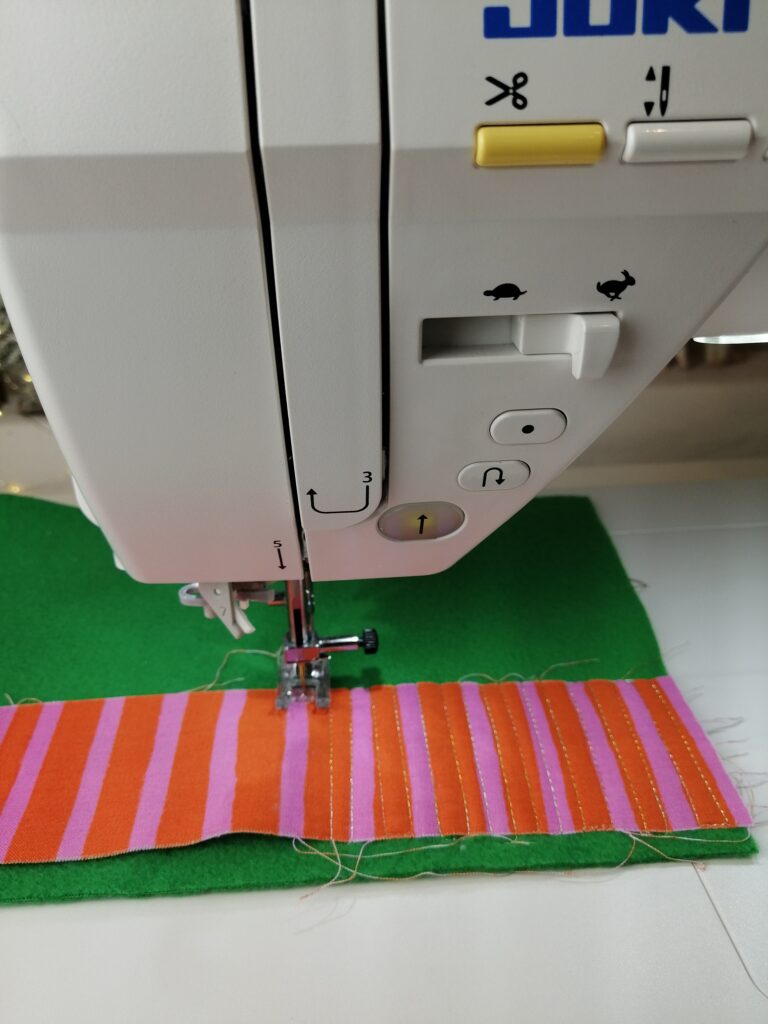
Now do the same thing, but vertically this time. Stitch down the whole length, pivot, count 3 stitches, pivot again, and stitch back up.
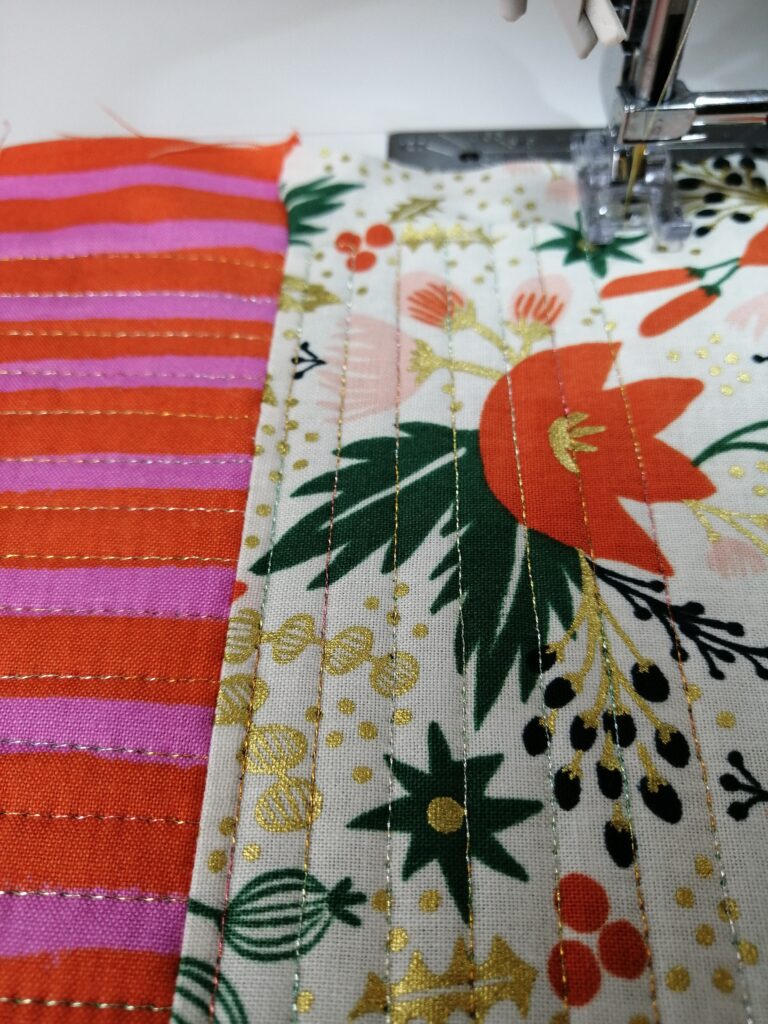
Keep stitching all the way to the end. I like the look you get from stitching the 2 fabrics in opposite directions.
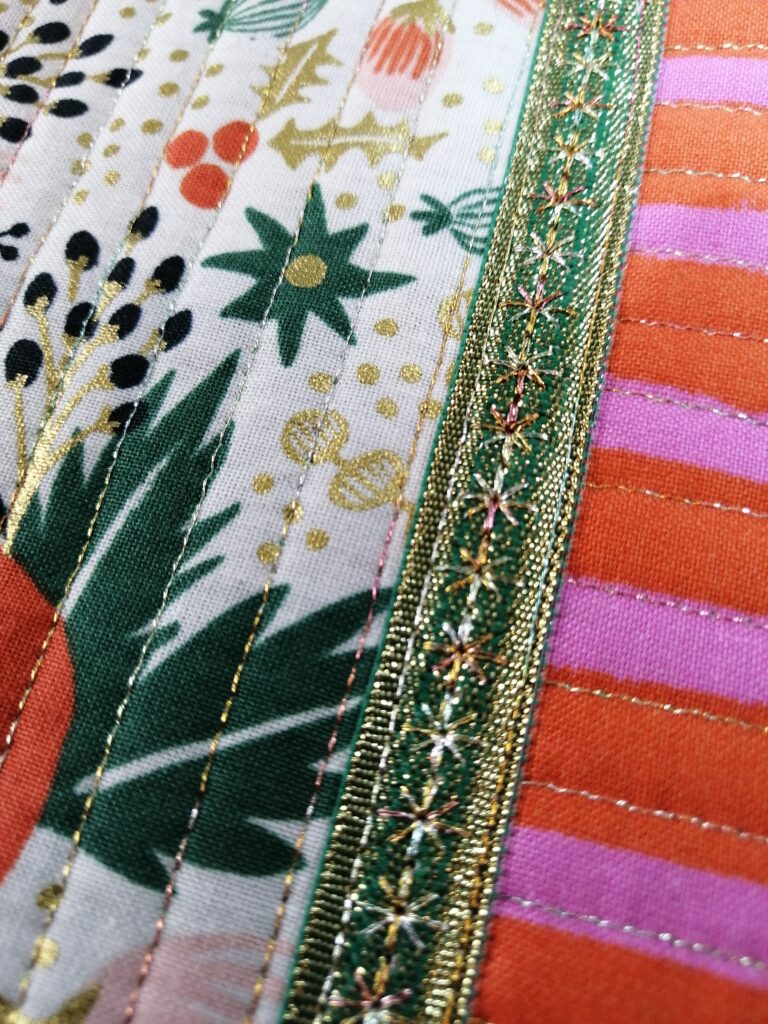
Adding embellishments
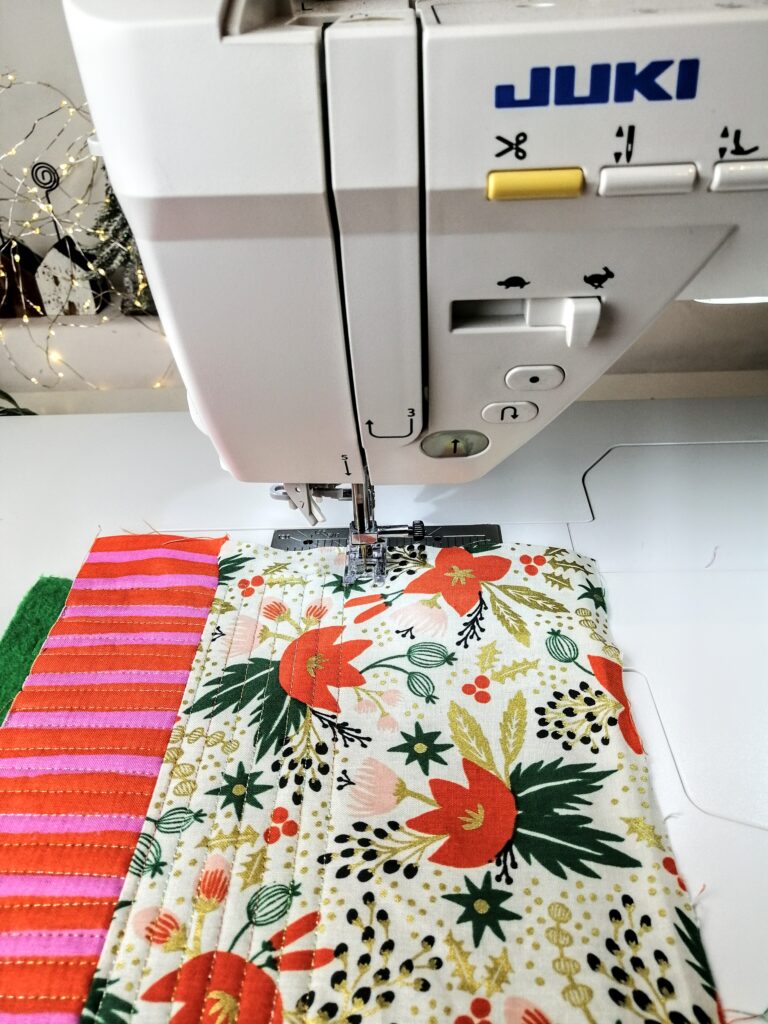
Finally, take the quilted fabric back to the cutting mat. Grab the postcards, measure round them and cut them out. Again, leaving a generous border. You’ll trim the edges at the very end. Now you’re ready to add some embellishments. I decided to do something a little different on each postcard.

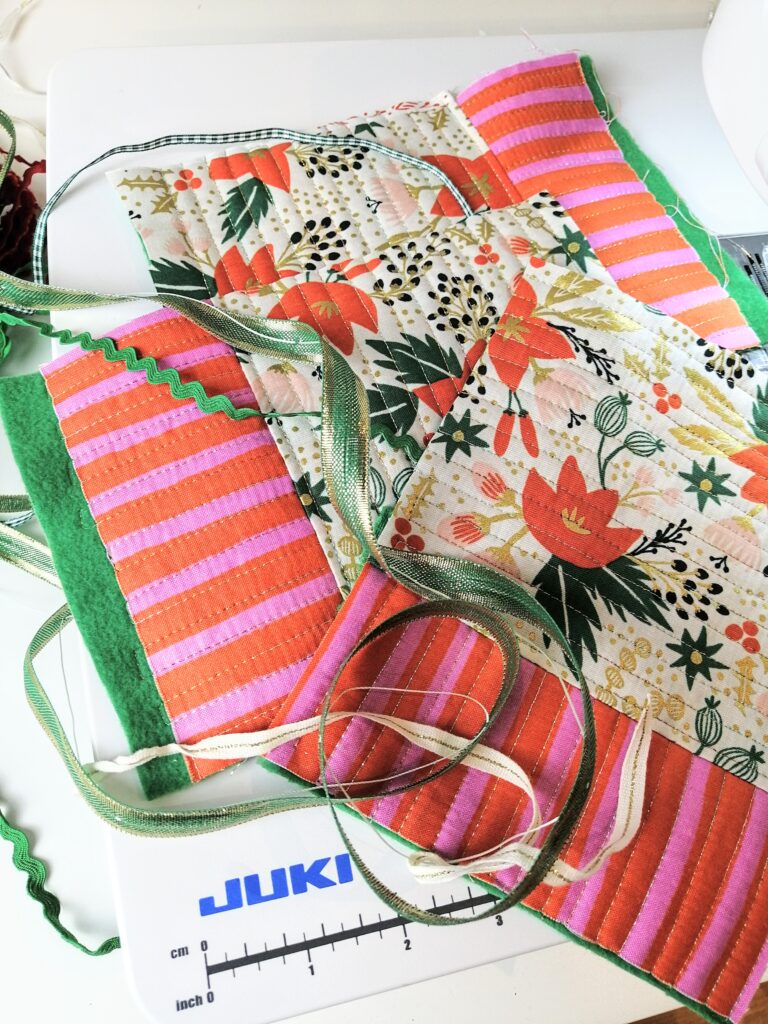
Rummaging around my ribbon box, I found some green gingham ribbon, rickrack and some green metallic ribbon. I thought it might be fun to add some special stitching on the green metallic.
Almost finished
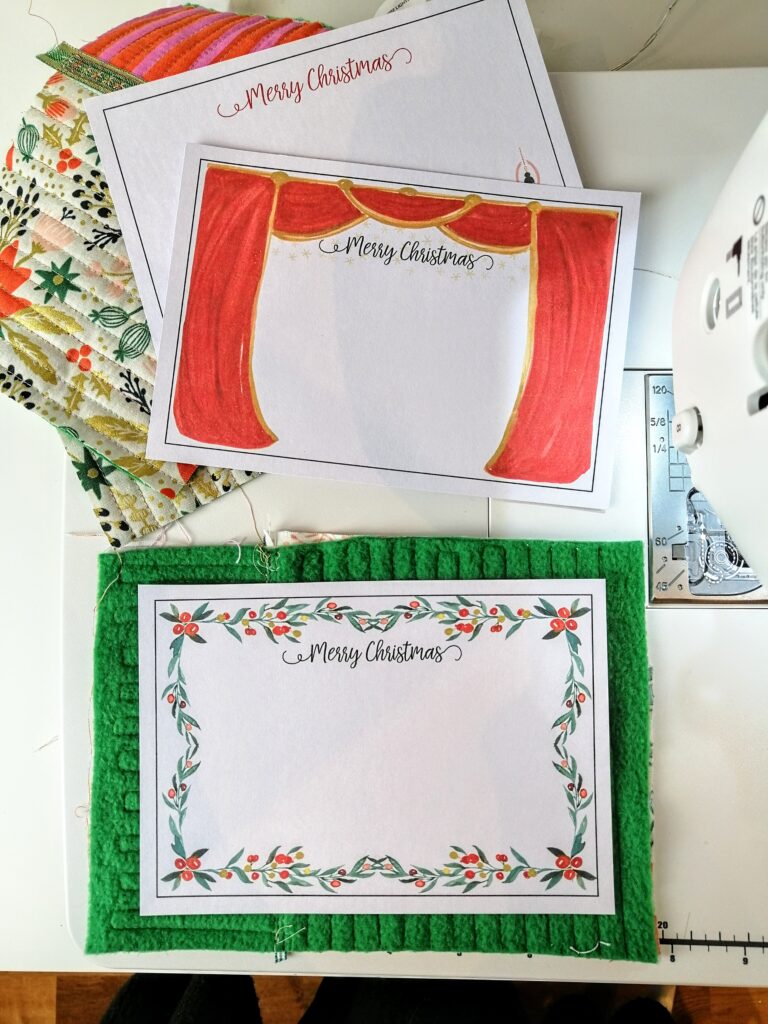
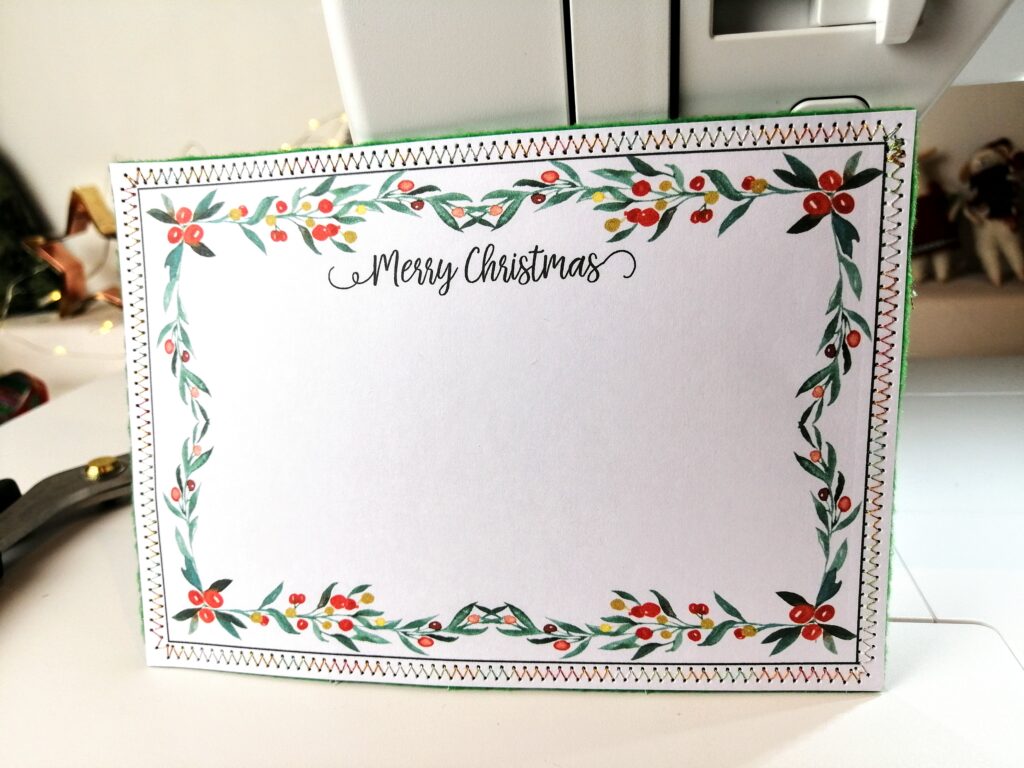
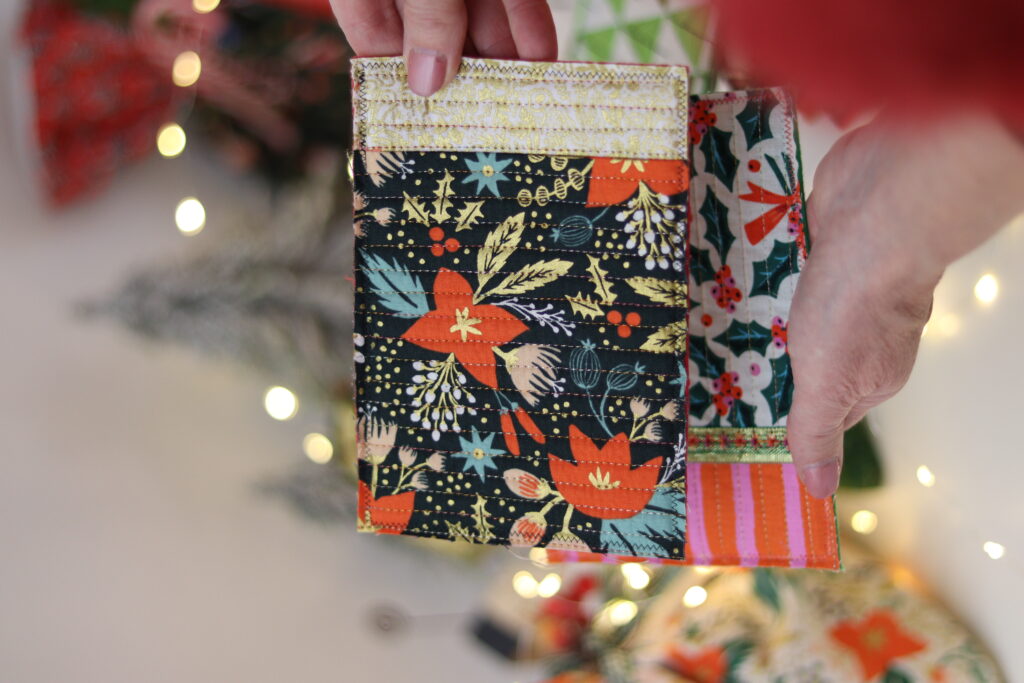
As soon as the embellishments are complete you’re ready for the final step, stitching the quilted fabric to the postcard backing. Once again the titanium coated Topstitch needle comes in handy as it easily pierces the fabric and card layers.
Choose a postcard to go with the quilted fabric and place wrong sides together. Keep the paper postcard facing up. Make sure that the paper postcard is centred on the fabric. Check to see that you can see a bit of the fabric sticking out all the way around the paper postcard.
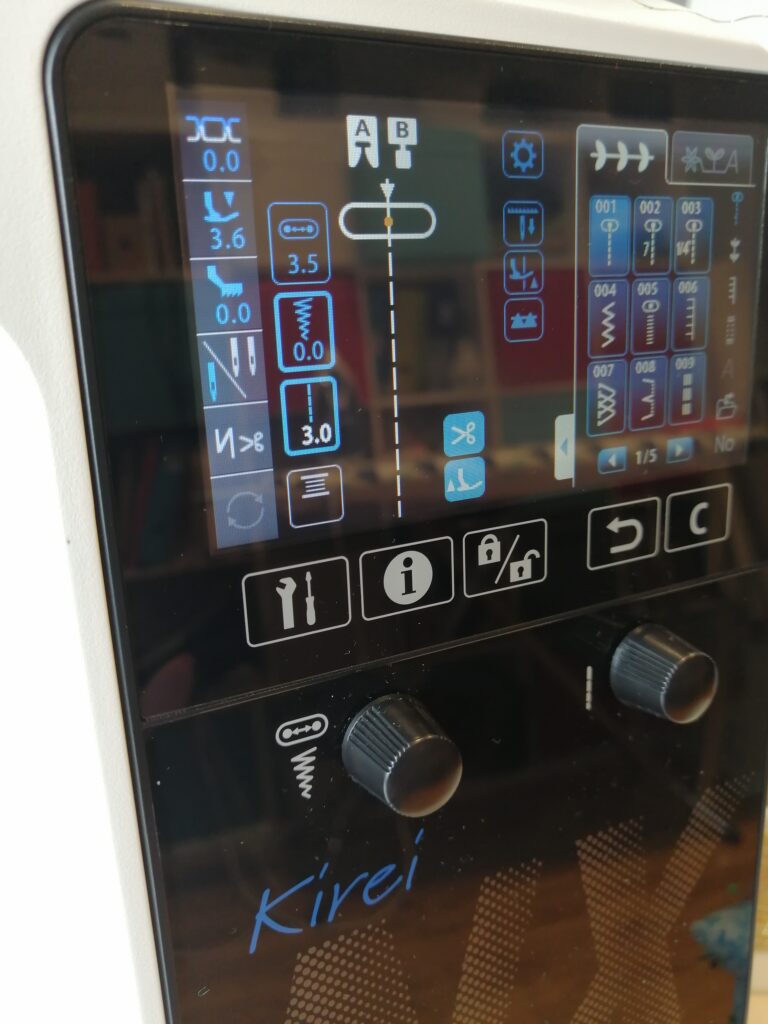
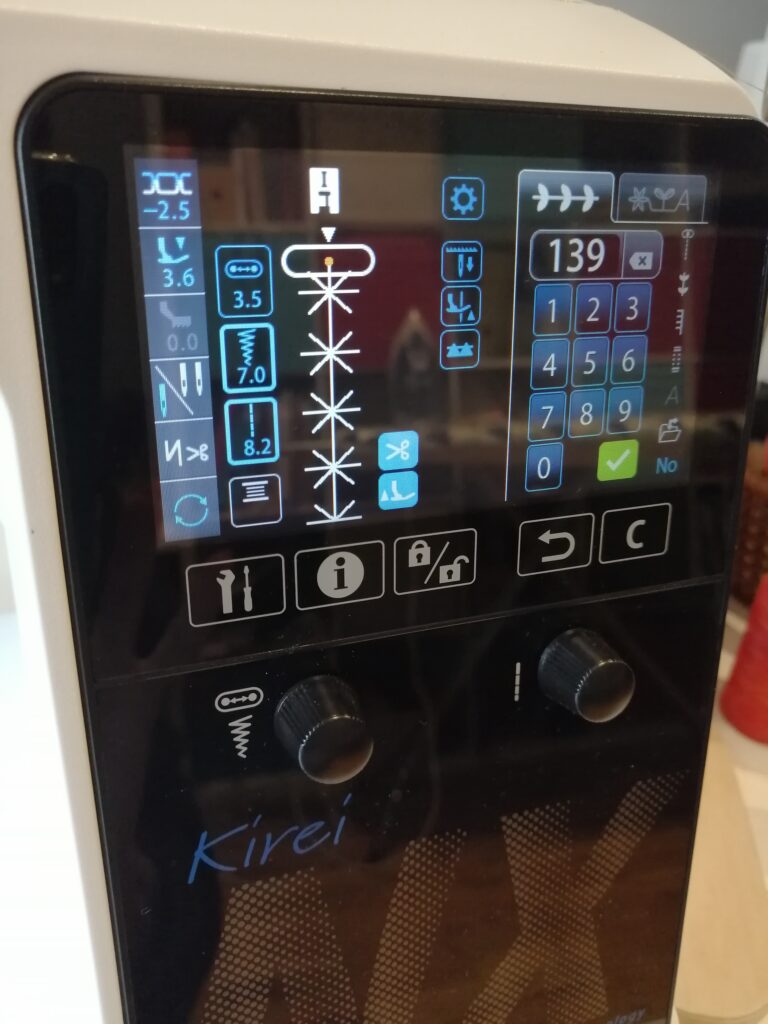
Now set your sewing machine to a zigzag stitch, I usually set the stitch for a width of 2.6. Aim to keep the zigzag between the black outer line and the edge of the postcard. Try not to go over the edge. Adjust the stitch width accordingly.

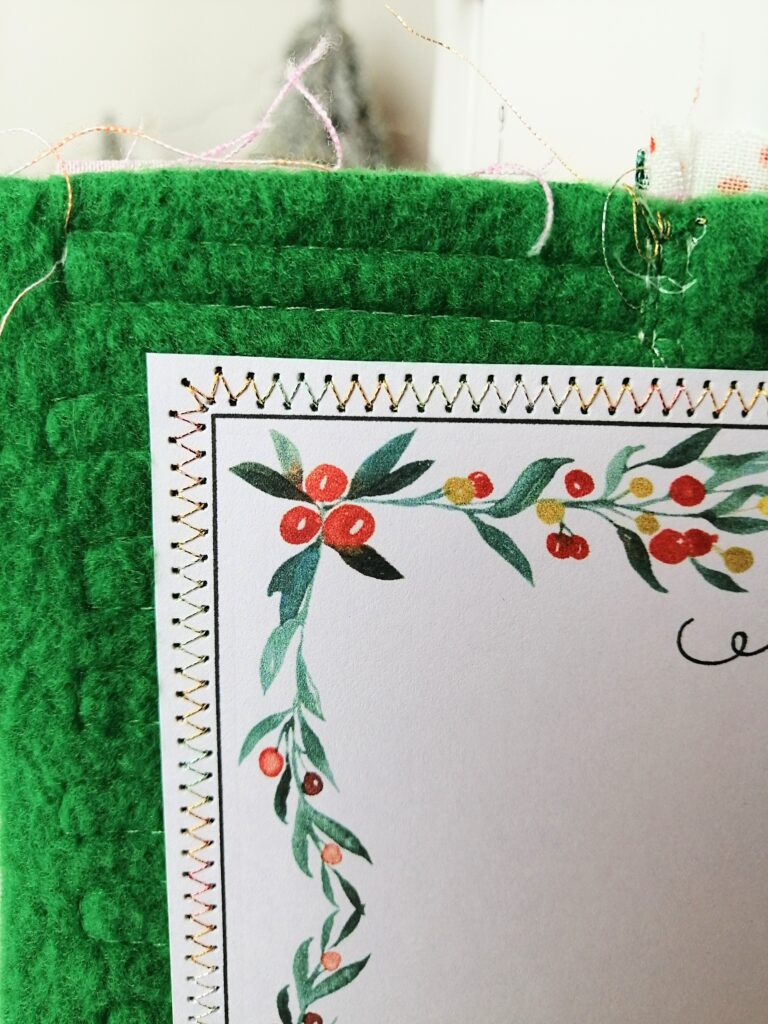
I like to pivot my way around the corners. Backstitch to anchor your threads. Finally, get a good pair of scissors. Use the edge of the paper postcard as a guide and cut off the overhanging fabrics.

Good to go
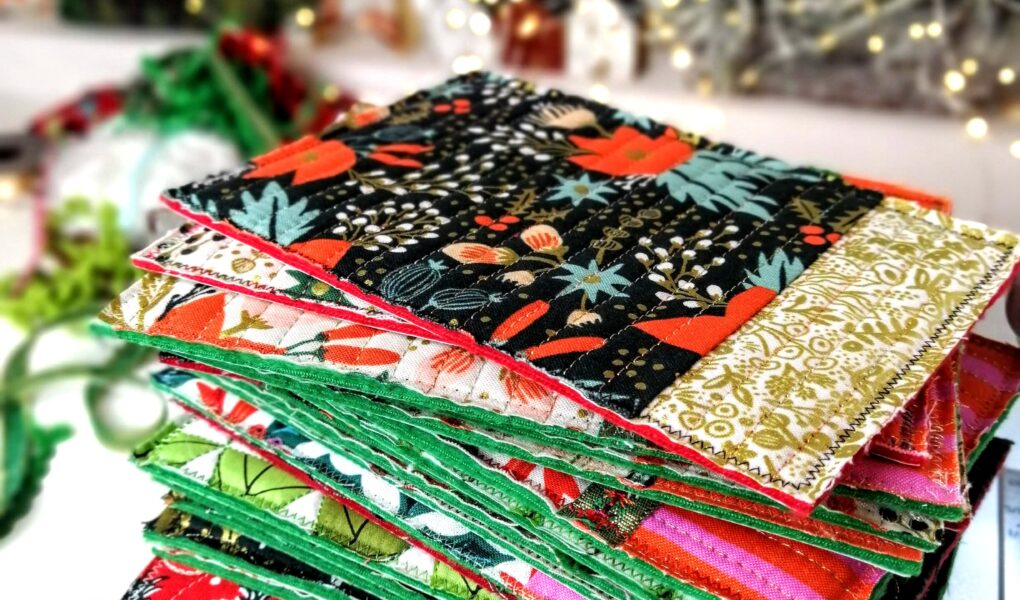
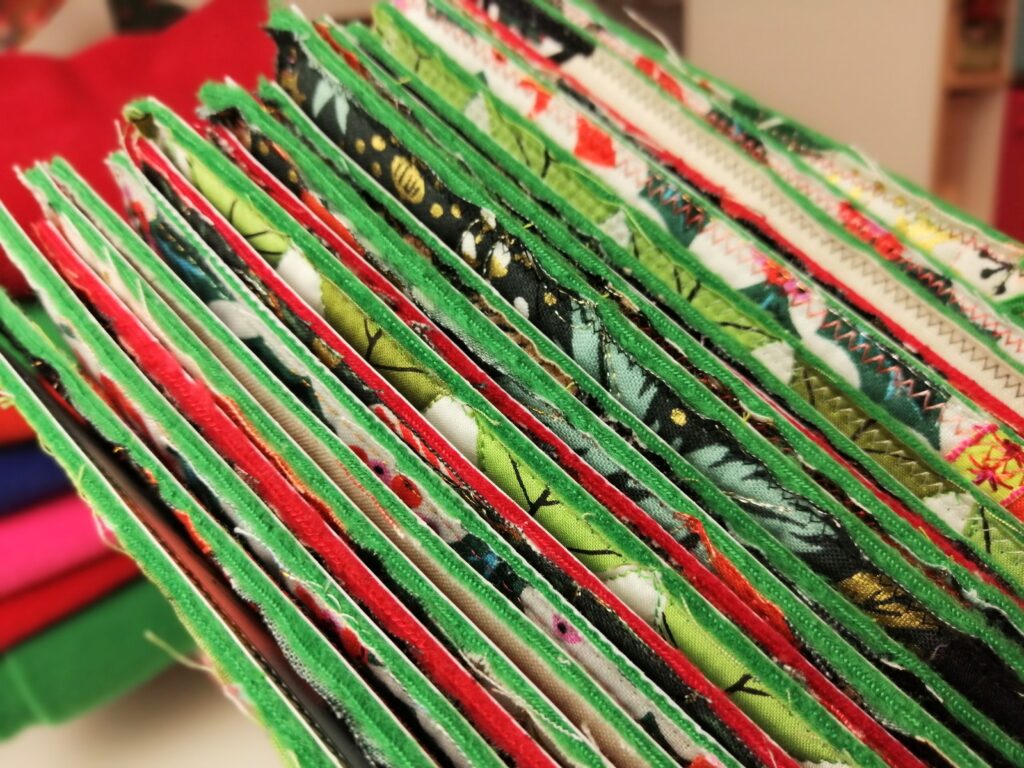
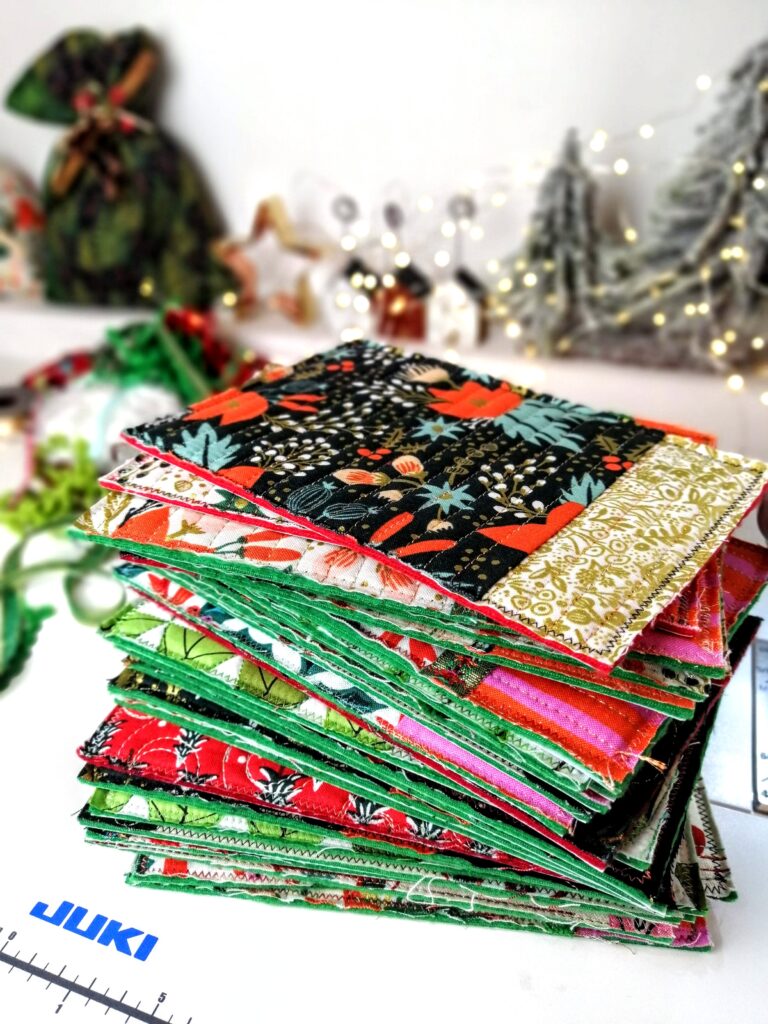
Turn it over, trim of any bits of thread and voila! You have a gorgeous little quilted postcard. All ready to go off into the wide world and have adventures.
Sending homemade fabric postcards is like sending a hug through the post.

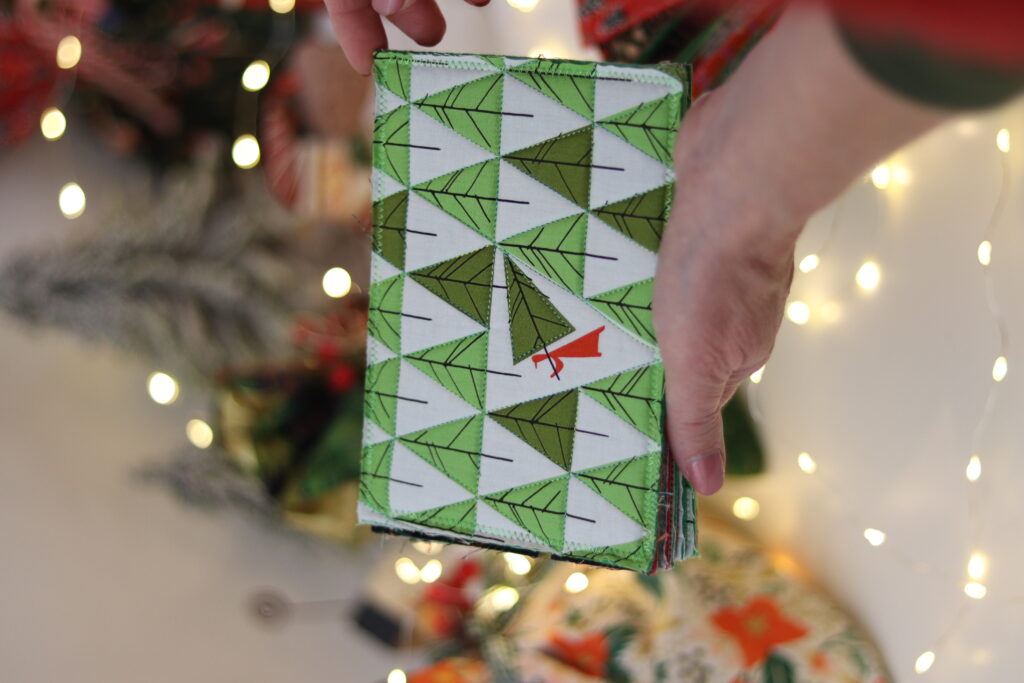
All these postcards were made by straight line quilting on a regular sewing machine. The Charley Harper trees were a bit different. I just straight line stitched around the trees. Still straight lines, just diagonally.
One was fun. More is better! Keep going and soon you’ll have a whole stack of straight-line quilted Christmas postcards. Simply write your message, address it, pop on a stamp and post it to someone you love.
This straight line quilt-as-you-go technique has many uses besides postcards and quilts. I love to use it for Book Sleeves and Santa Sacks. We also have a free motion quilting Christmas fabric postcard tutorial for people with longarms or quilting frames.