One of my favourite things about holidays is that they come around every year! So things that I didn’t get to do one year, I can find time for the next. And things that I did make last year, I can enjoy this year all over again.
Last year we posted this Sew Sustainable Santa Sack post for St Nicholas Day. In real life Saint Nicholas was a 4th century bishop in what we now call Turkey. Legends grew up around him about his kindness to maidens, children and sailors. By the Renaissance he had become the most popular saint in Europe. Dutch settlers brought Sinter Klauss to the American colonies. When New Amsterdam became New York, Sinter Klauss had become Santa Clause. This year in honour of the Day we’re posting a fun tutorial on making Sew Sustainable Santa Sacks just a bit early to give us all more making time.
Sew Sustainable
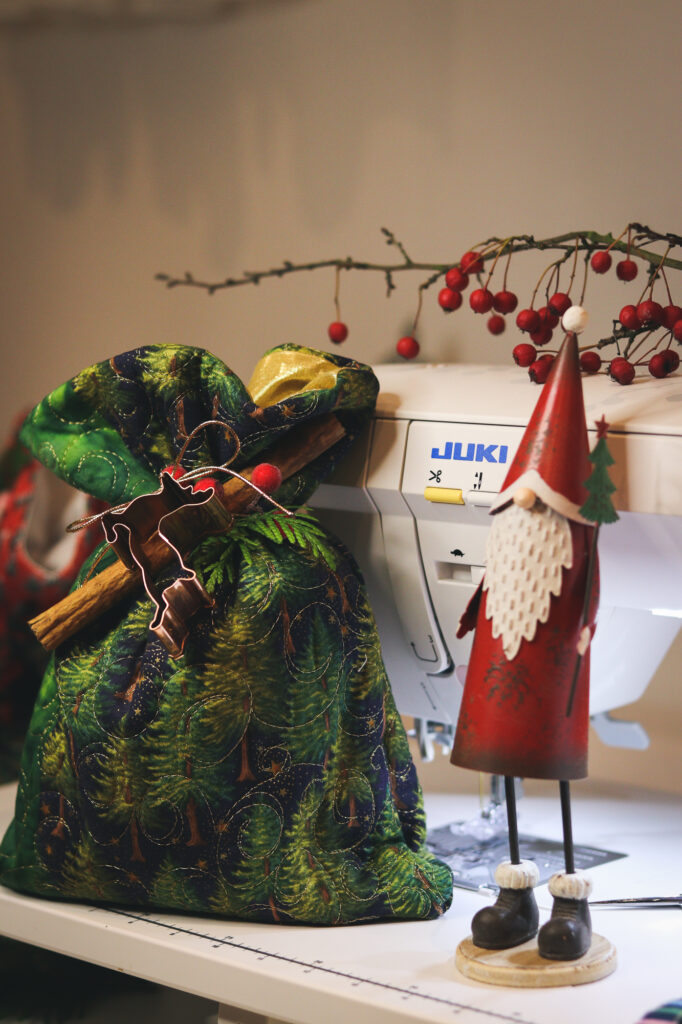
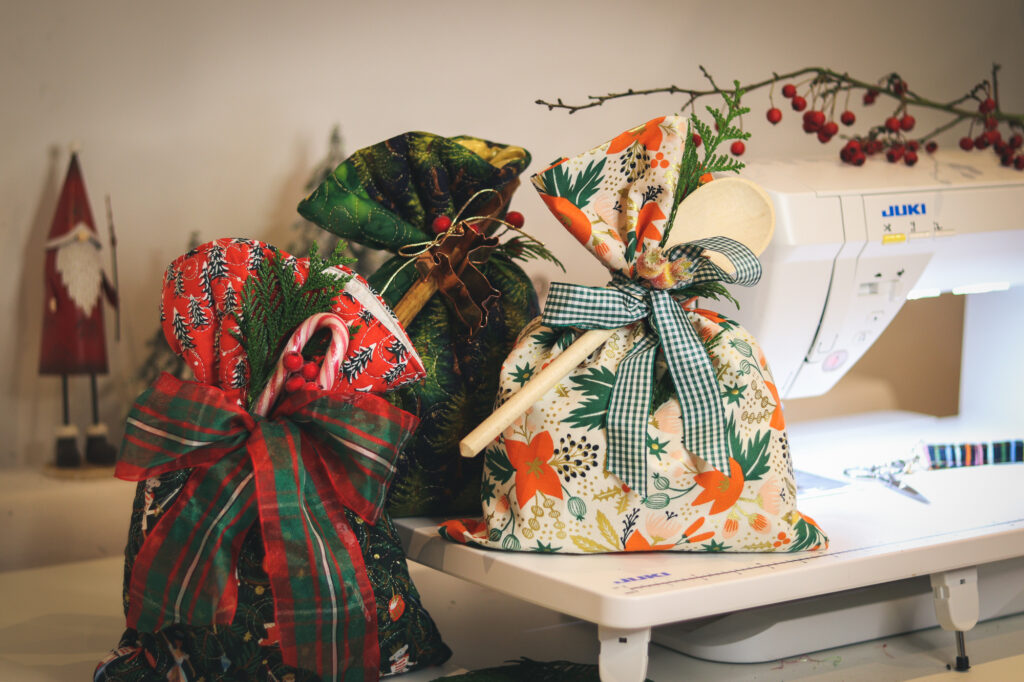
Our Santa Sacks are a sew sustainable re-useable alternative to wrapping paper. You can make them any size, from fabric that you already have for all sorts of presents. And decorate them beautifully. Best of all, you can put them away with your Christmas decorations and use them all over again year after year.
What you’ll need
- festive fabrics – these can be Christmas fabrics or just fabrics that will look pretty under the tree.
- pretty thread
- ribbons or cord for tying
- embellishments like greenery, candy canes or baubles
Basic instructions
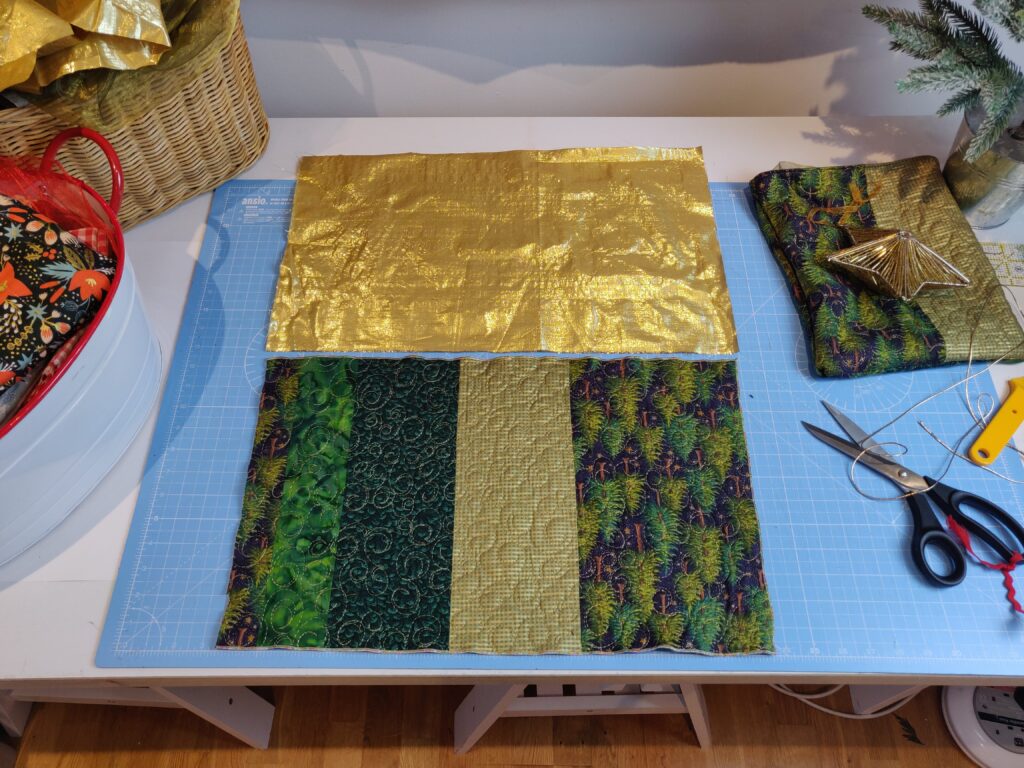
The directions are super simple. Choose two fabrics. One for the outside of your sack, and one for the lining. Cut them the same size. You’ll want to adjust the size of the sack to fit your present.
The sack and lining fabric on the cutting mat will be the size of the finished sack on the right that has a star on top. The sack and lining fabric cut-outs below, will become a medium to small sack that would hold a book, or a tea cup filled with the makings of hot chocolate, or ingredients to make Christmas cookies.
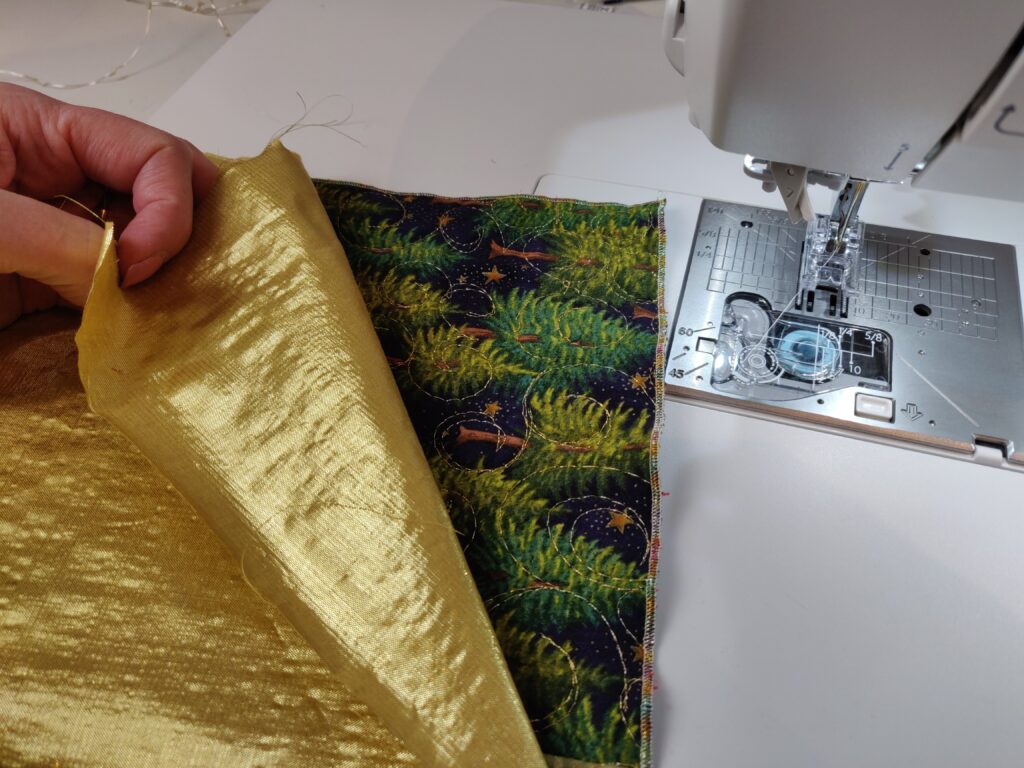
Next sew them together along the top seam. If your fabric is directional, make sure that it is facing up. I had to swap mine around!
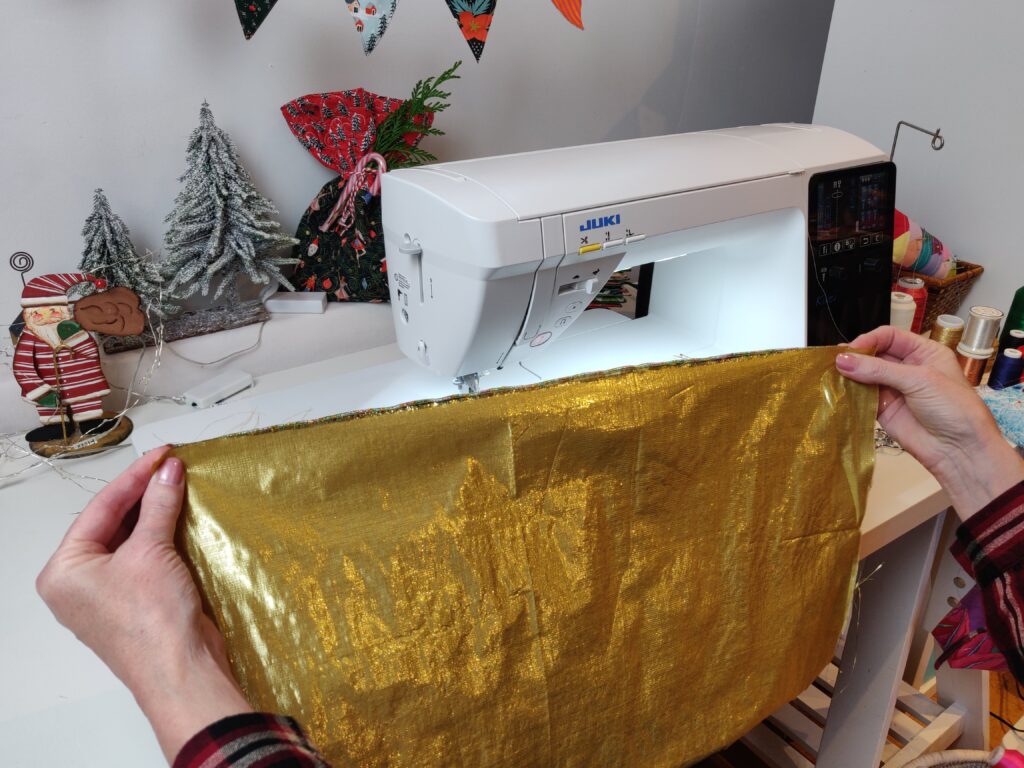
Stitch the lining fabric to the top of the sack fabric.
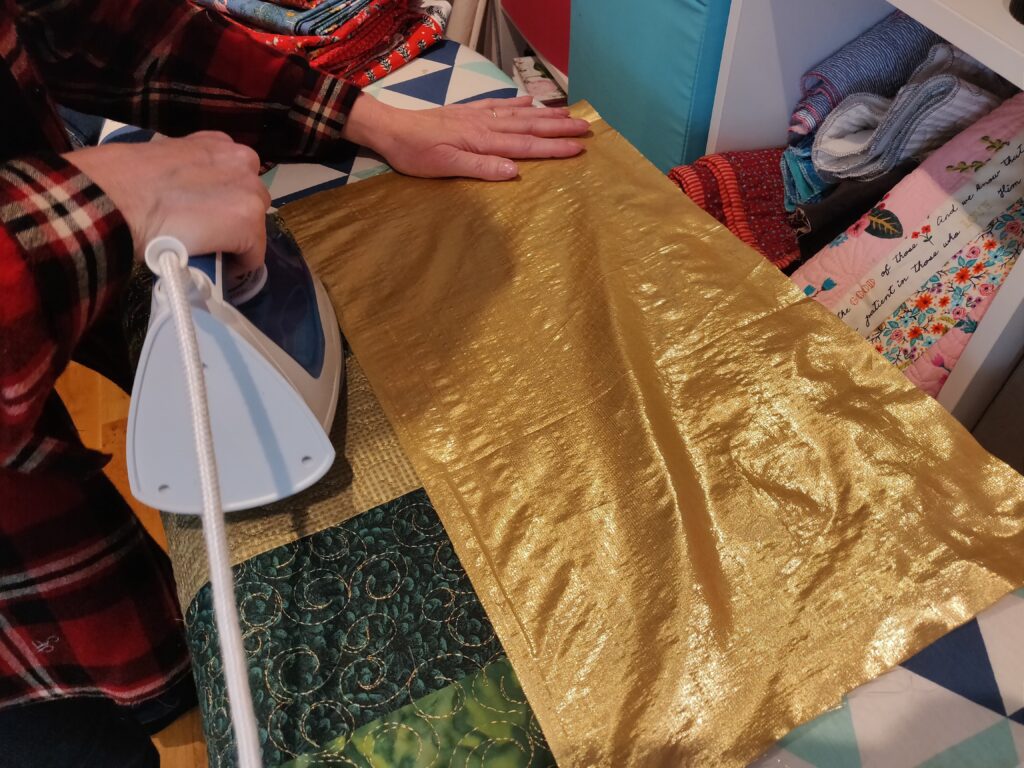
Then open up the seam and press it.
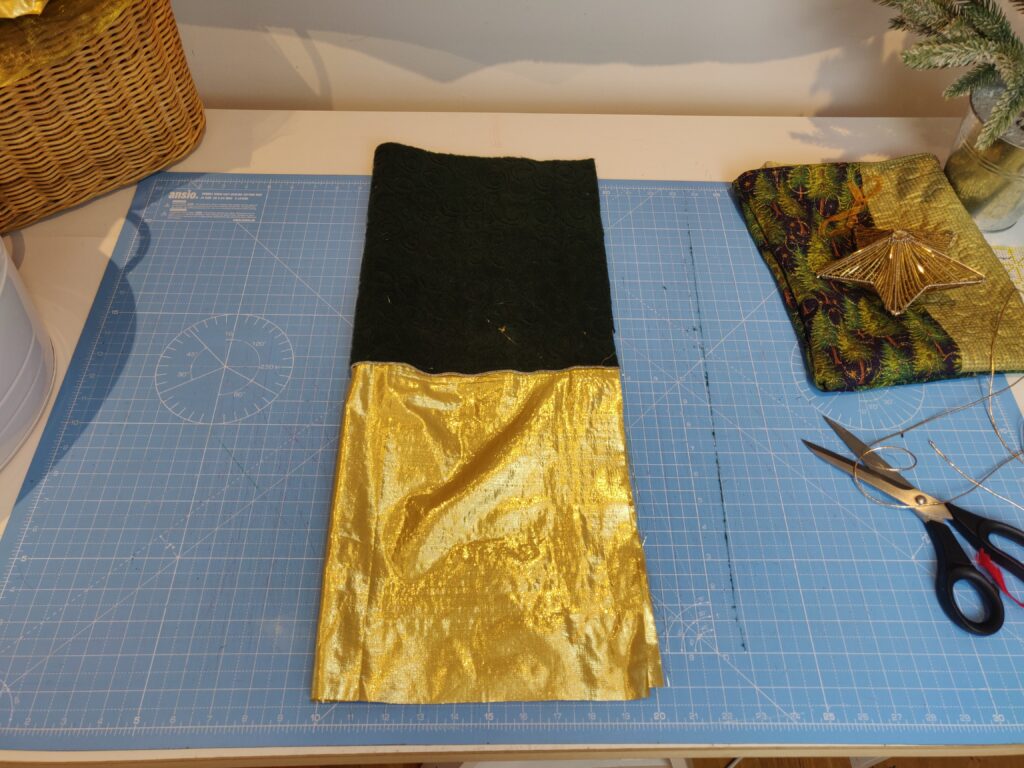
Now fold the fabric in half, right sides together.
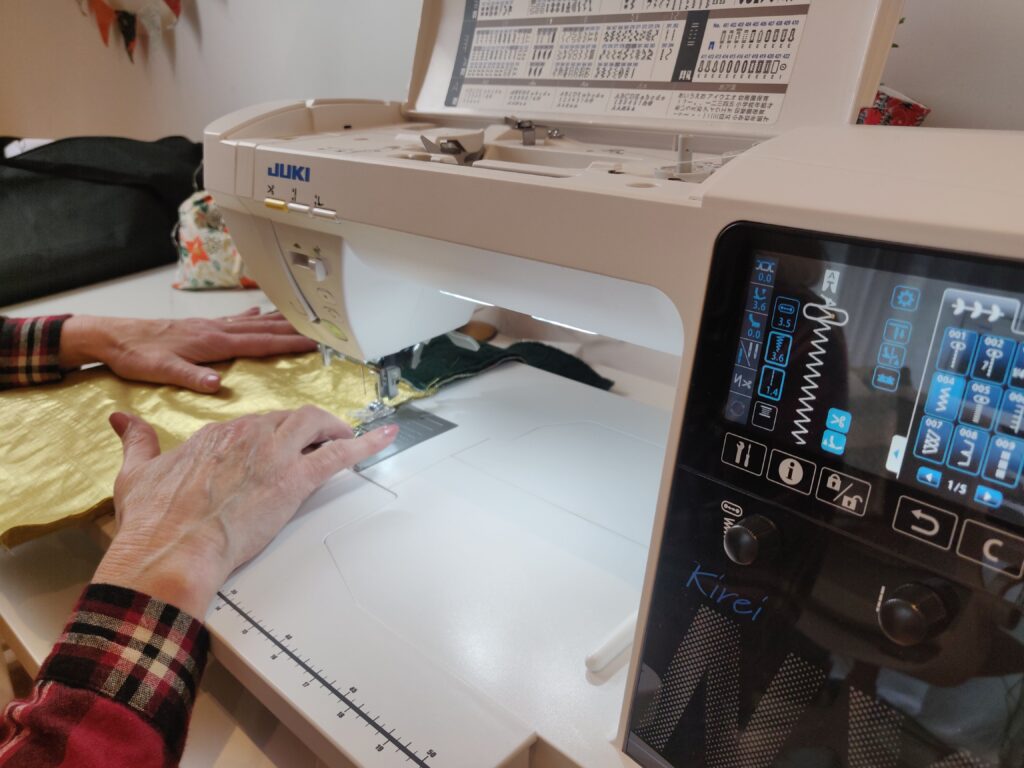
Next, sew around two edges. The green top, and down the long side. Leave the bottom of the gold lining fabric open.
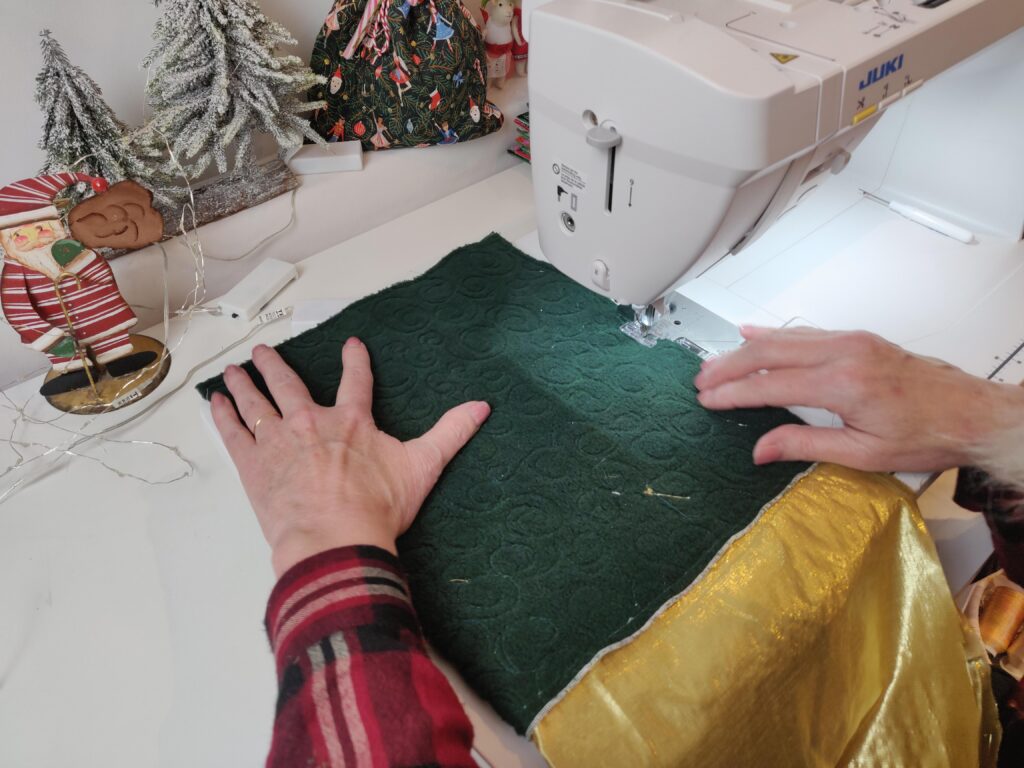
I went back and zigzagged the edge to make the seam extra sturdy.
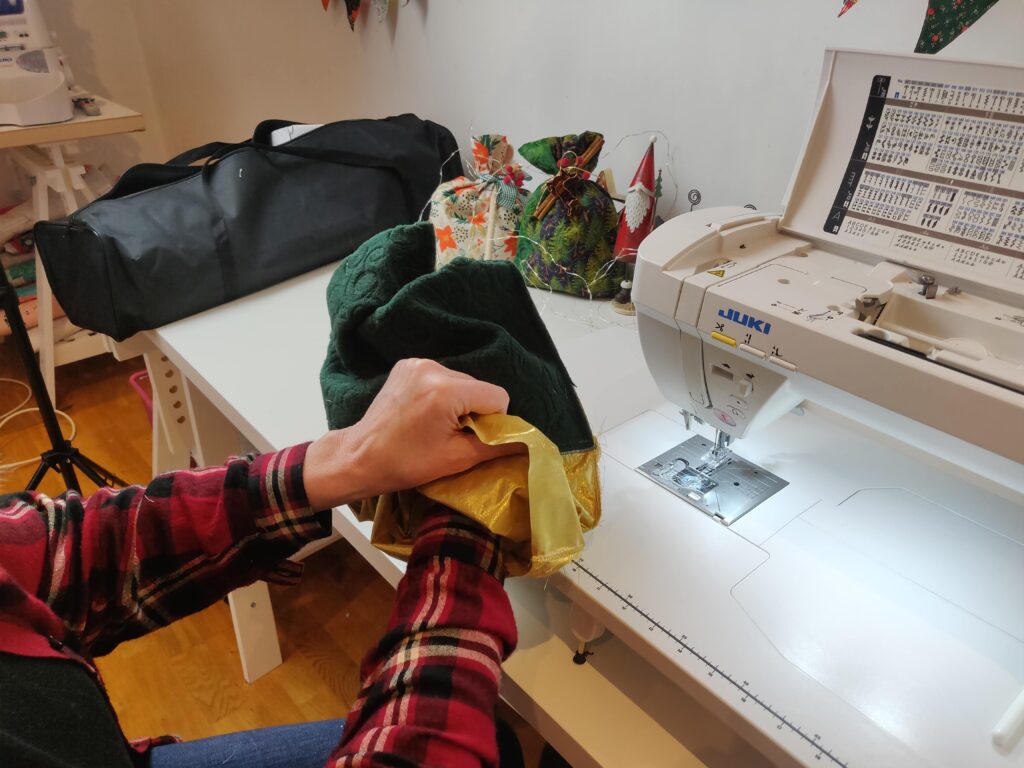
Now, slip your hand through the opening and turn the sack right-side out.
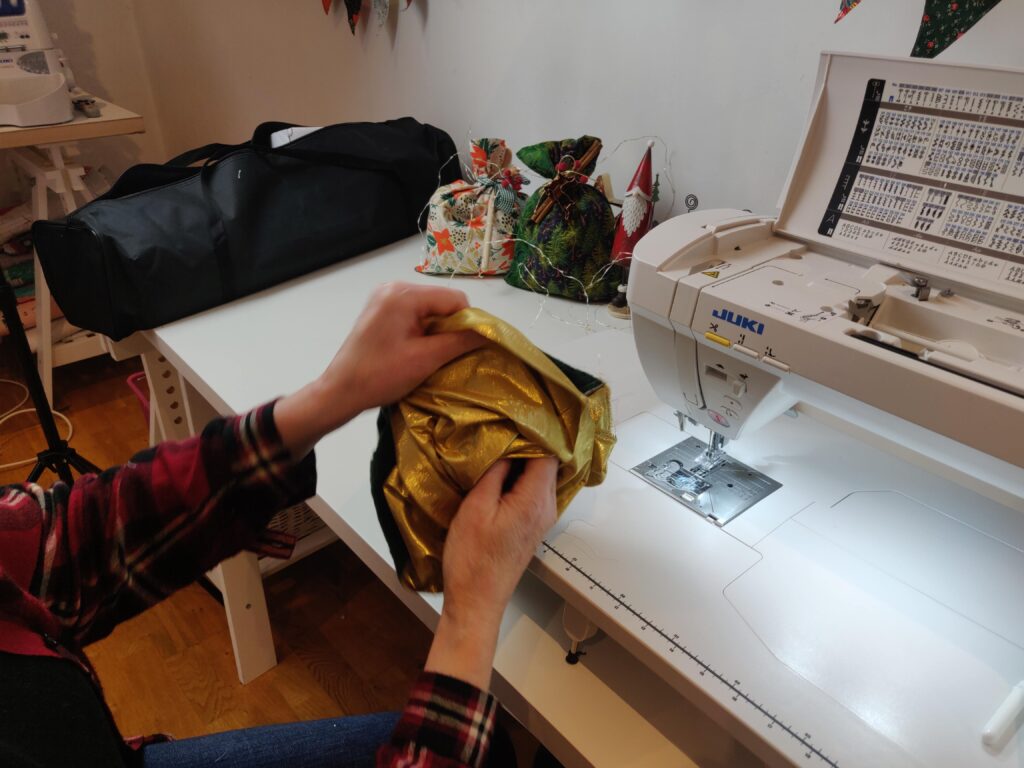
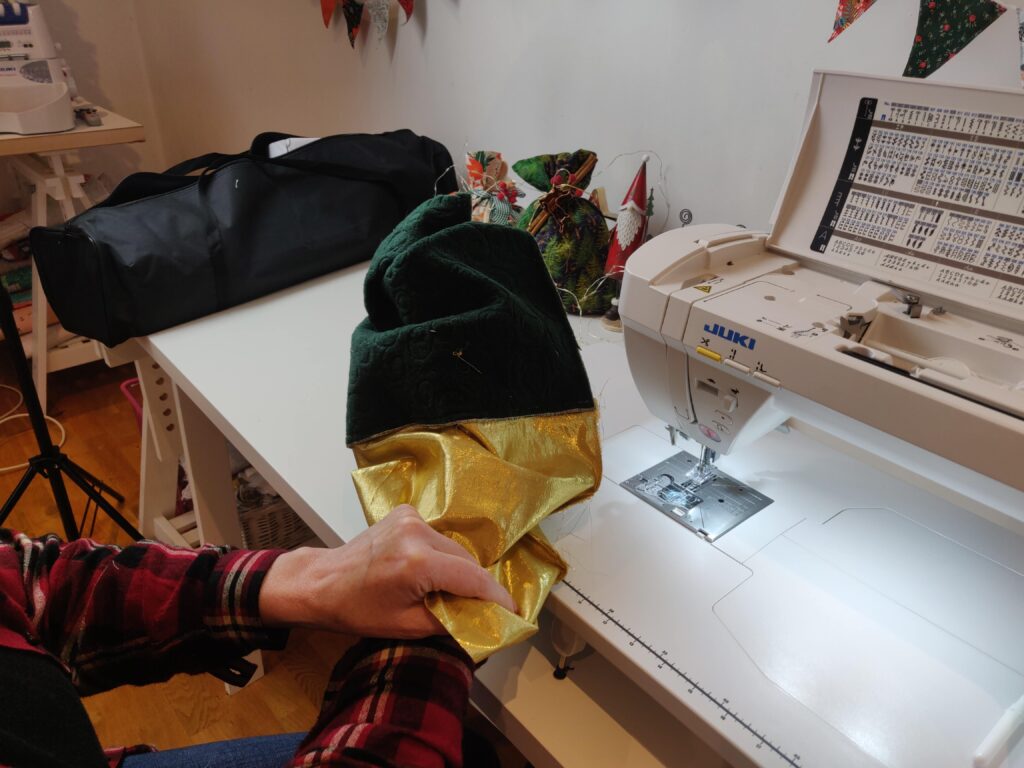
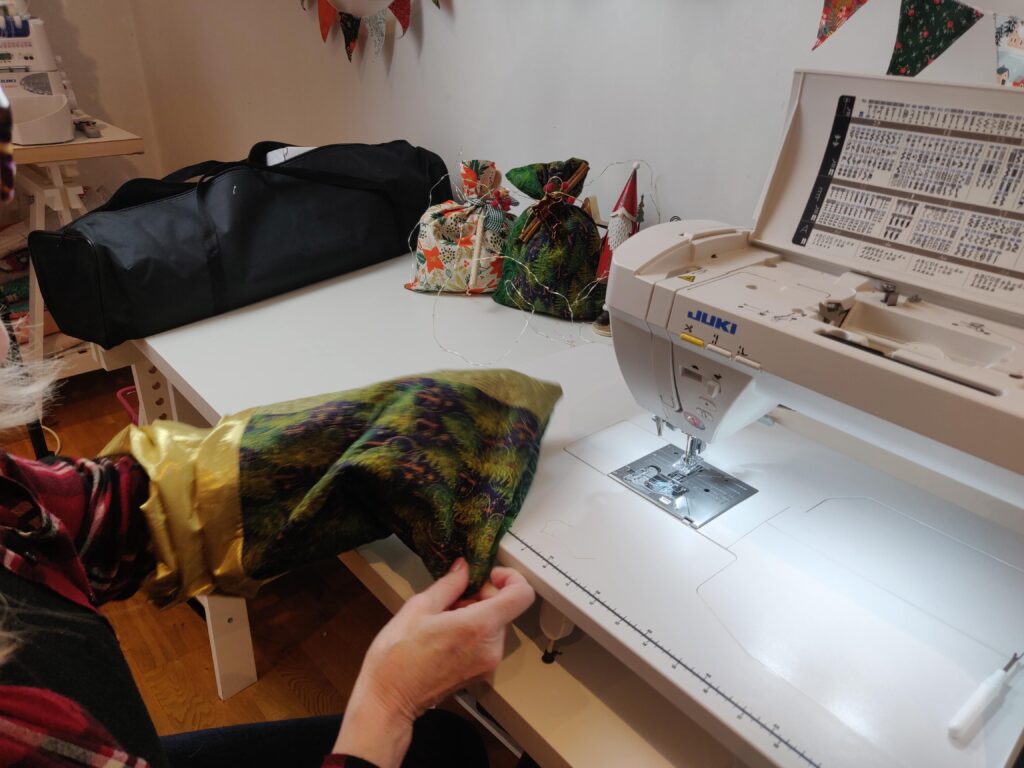
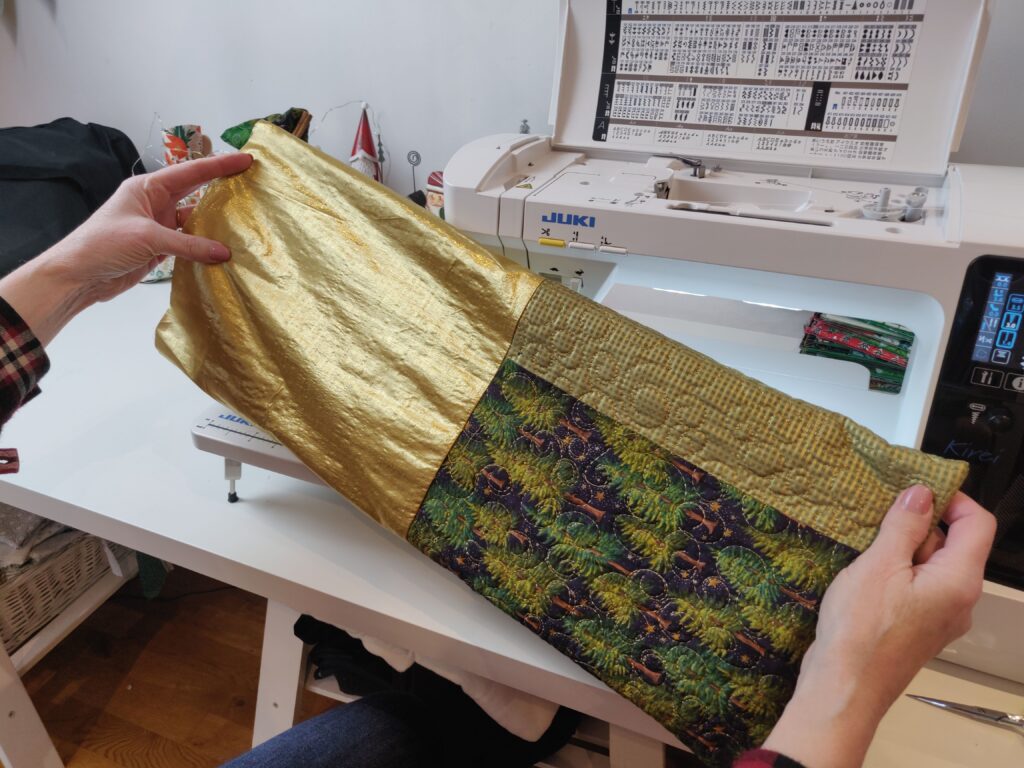
Fold the open edges of the lining fabric under and topstitch them together. If you use matching thread, the seam will be invisible.
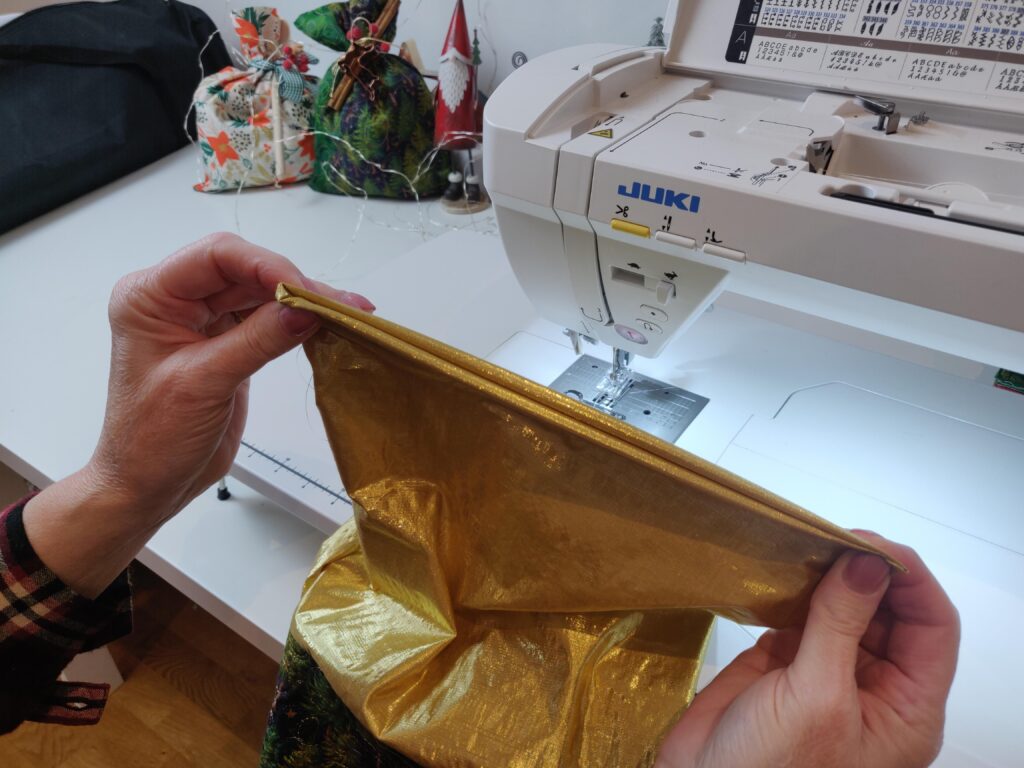
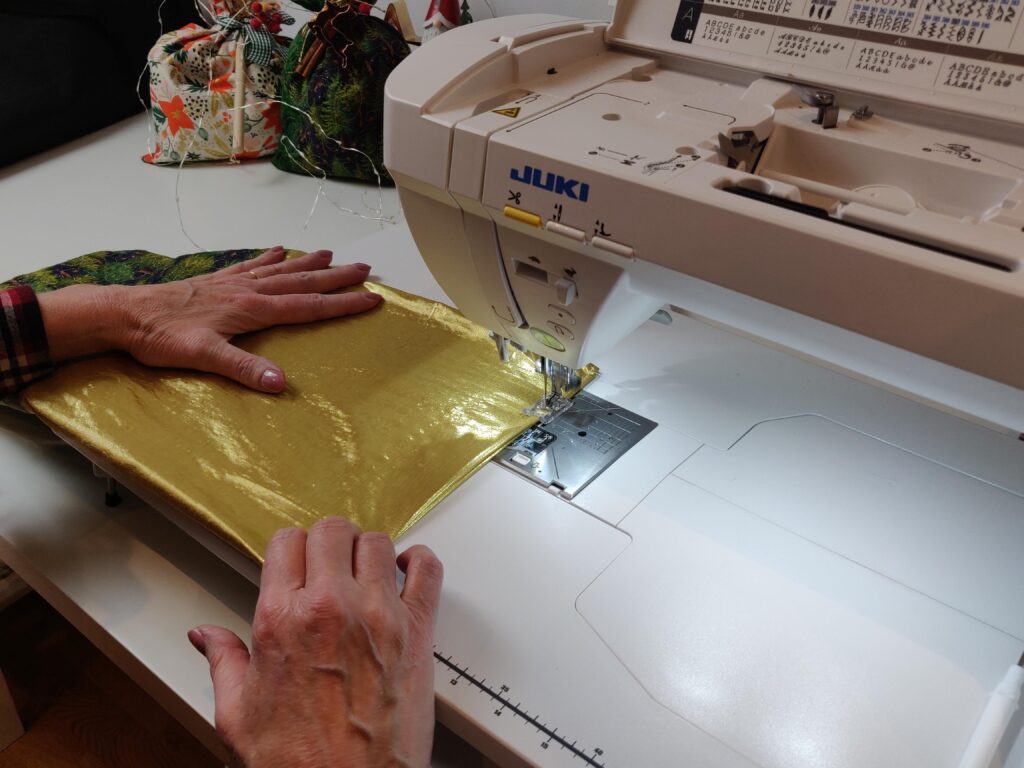
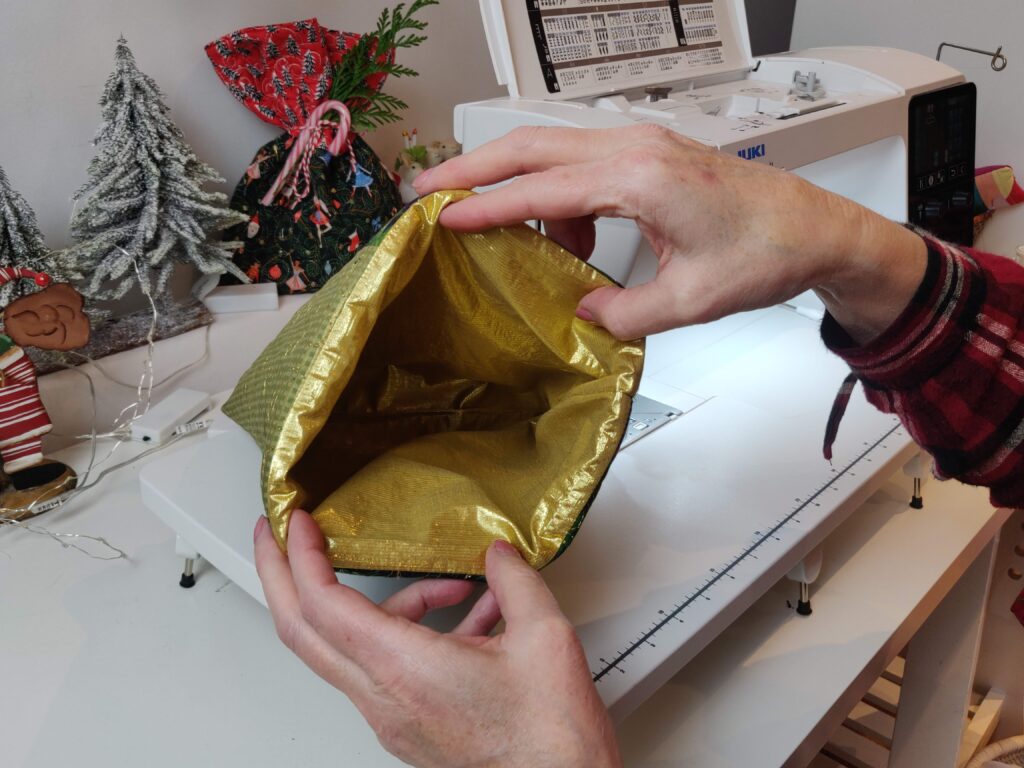
Now just push the lining fabric into the sack.
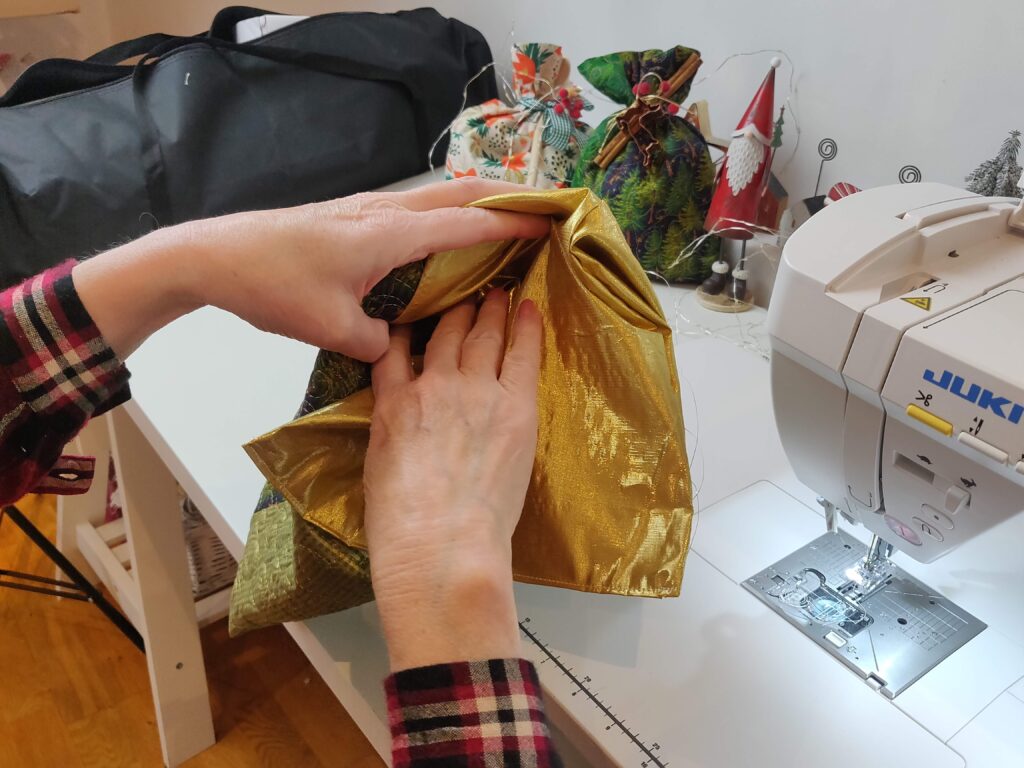
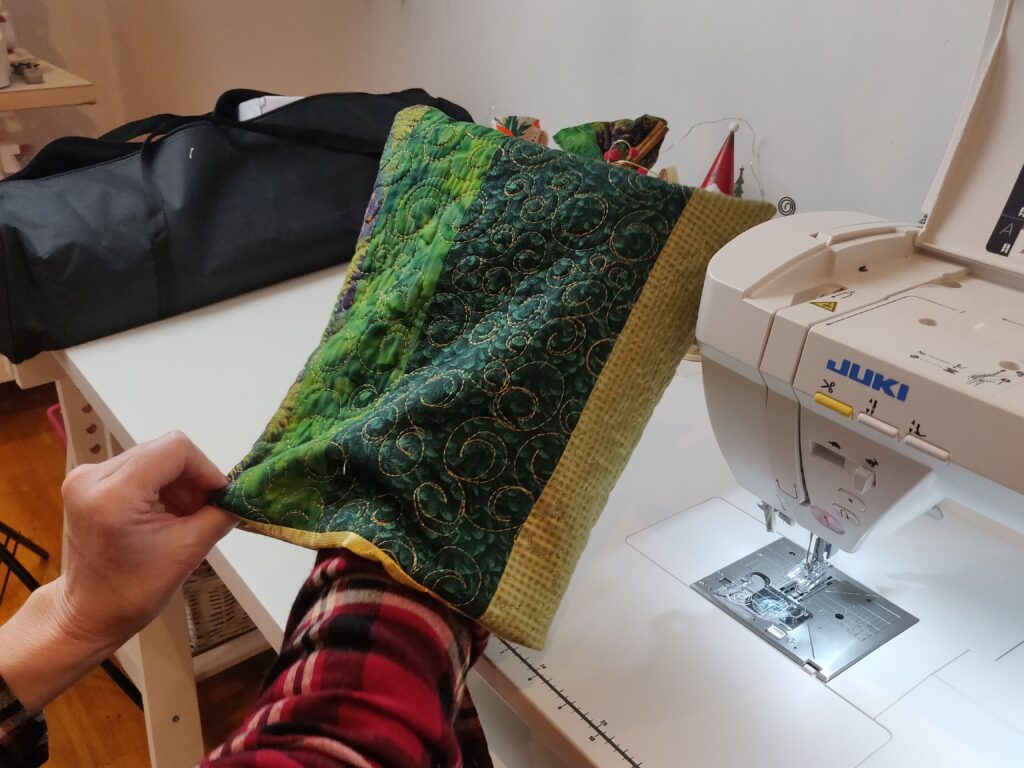
Santa Sacks
That’s it. Sack sewn. You can give it a press or topstitch the edge down if you like. I thought this one looked nice without topstitching. But I did topstitch at this point on some of the other sacks that I made.
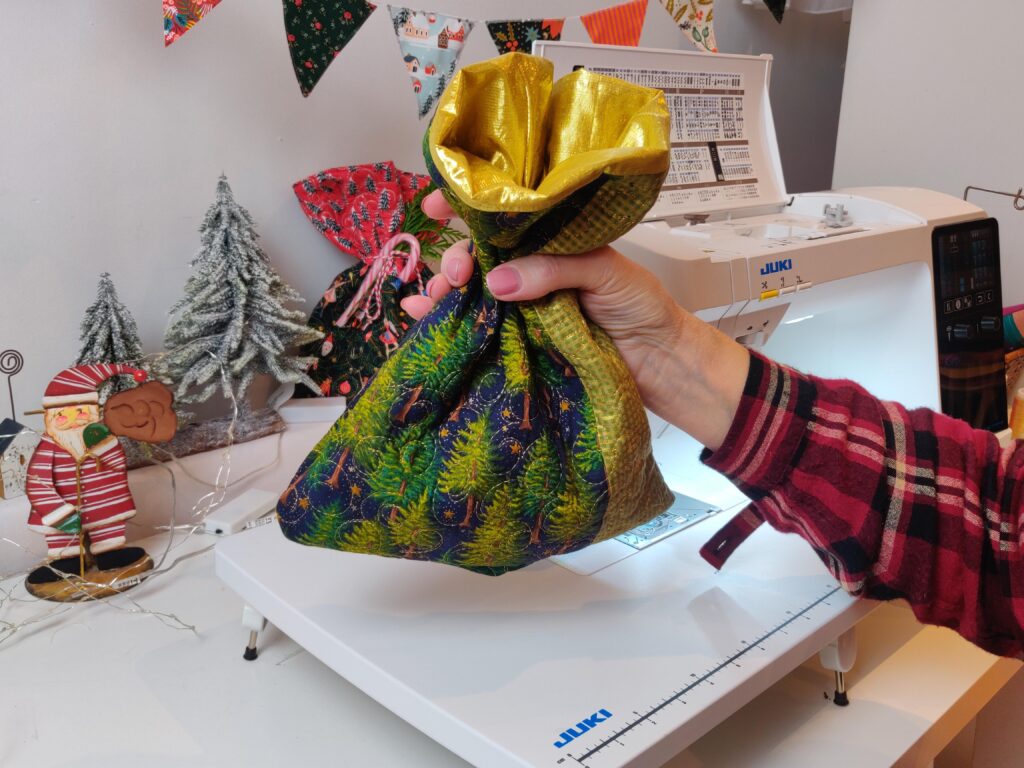
Now it’s ready to fill.
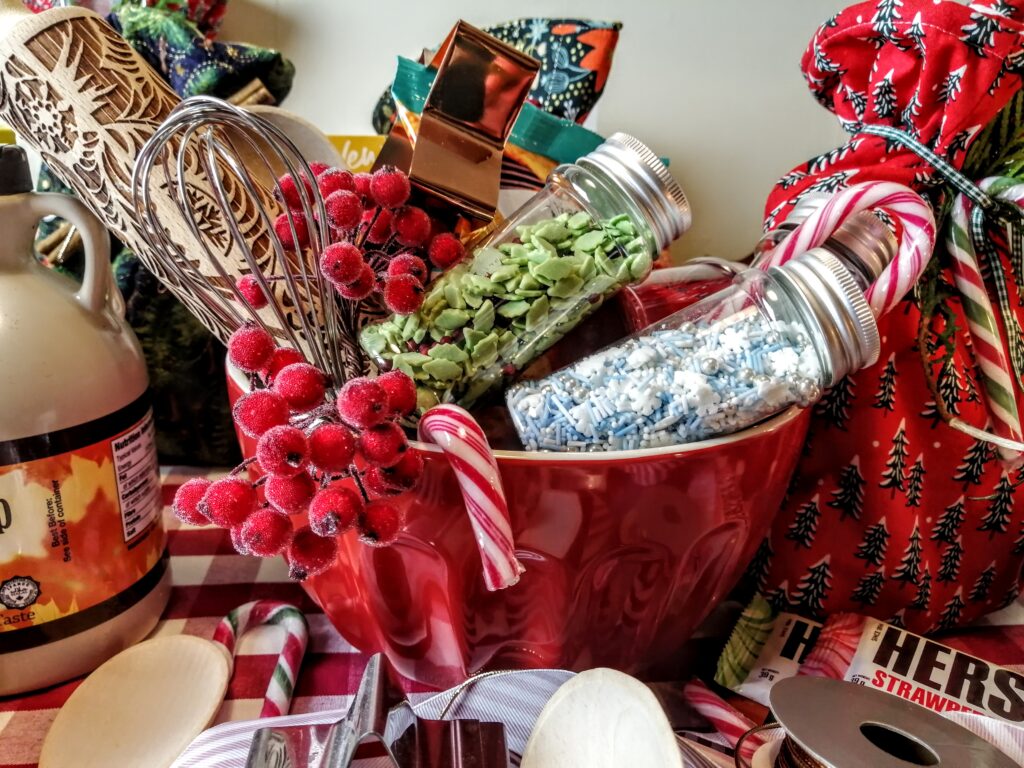
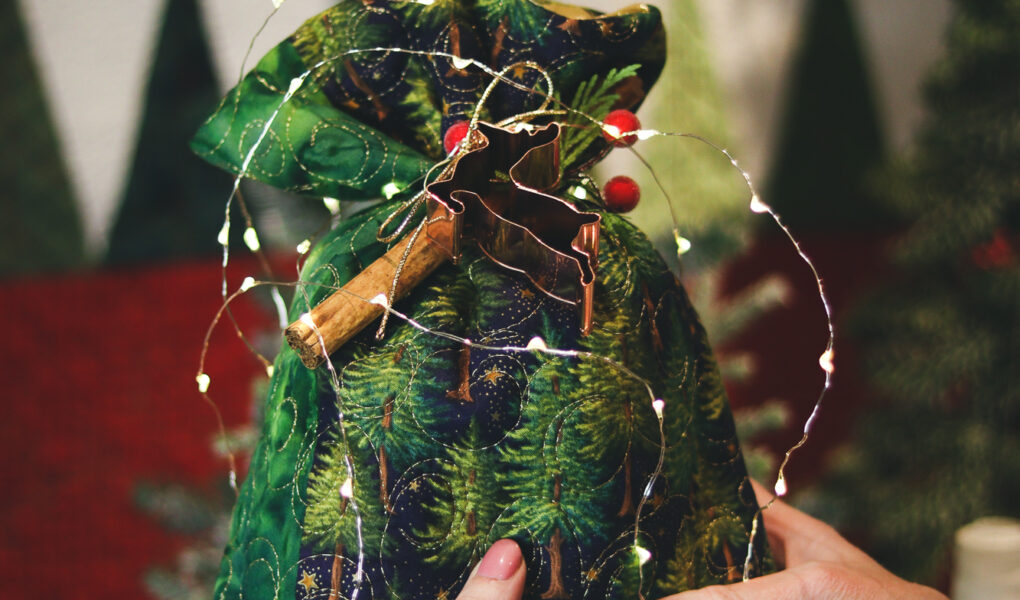
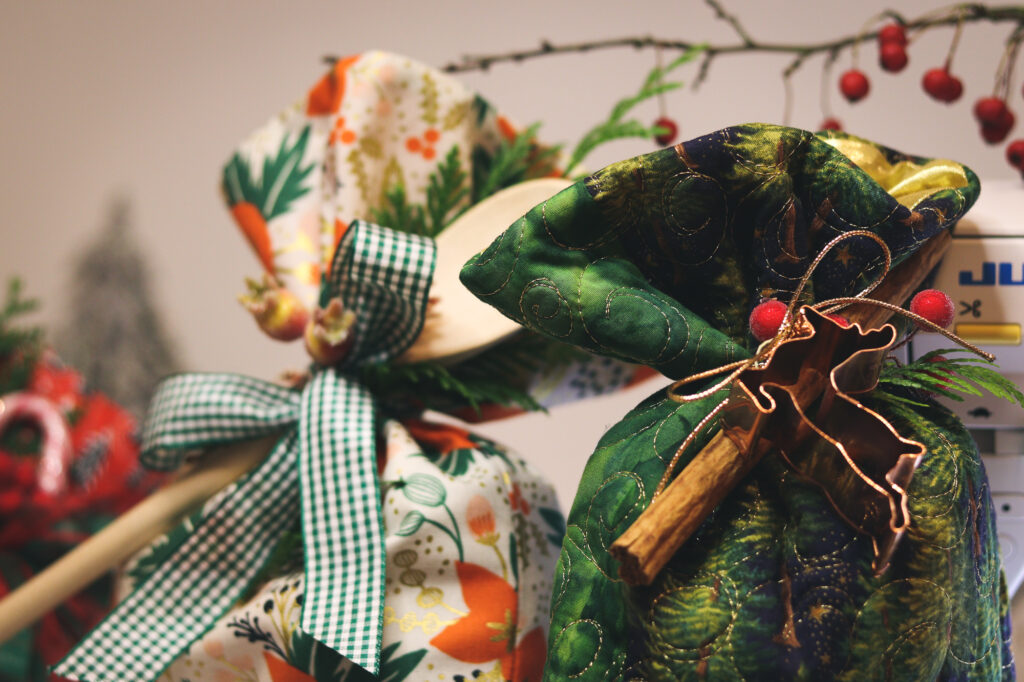
Once it’s filled you can use some ribbon or cord to tie it shut. And then add some pretty things like greenery, berries, candy canes, cinnamon sticks, cookie cutters, or silk flowers. Whatever you fancy.
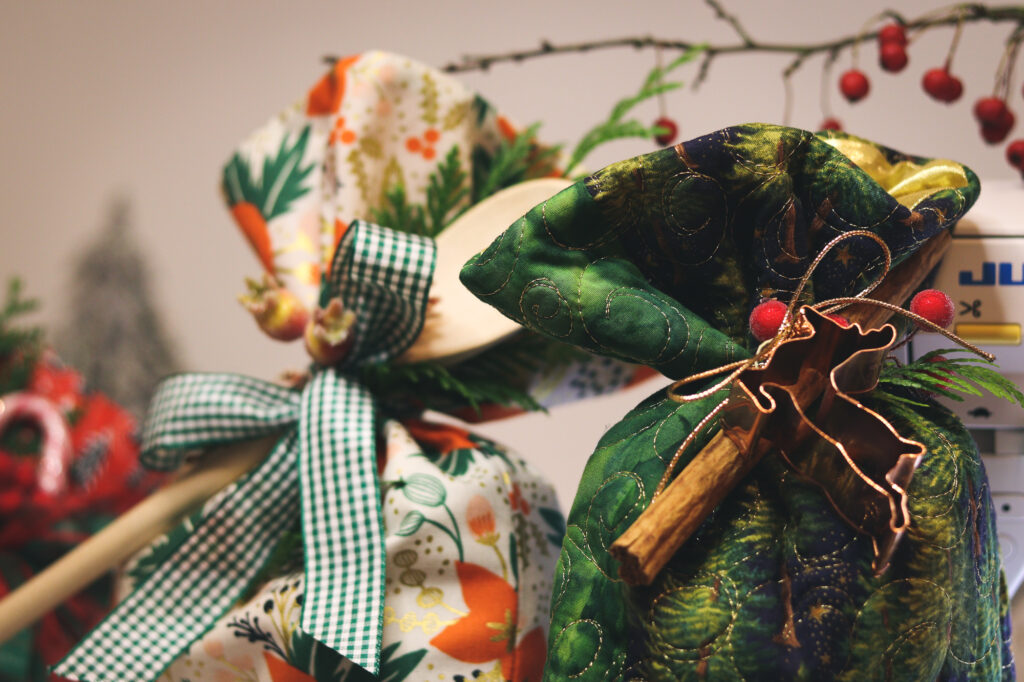
We keep a big bag of ribbons and cord that we use for wrapping at Christmas and throughout the year for birthdays and special occasions. After the present has been opened, we put the ribbon back in the bag to use again and again.

This sack is filled with ingredients for making gingerbread cookies. So I added a reindeer cookie cutter as a useful decoration. After the first sack, I made lots more. It was fun to make different sizes and work with various colour combinations. For the sack above, I cut up an old quilted table runner. The quilting gave the sack good structure. While the shiny gold lining looked elegant.



We hope you ‘ll enjoy making sew sustainable Santa Sacks for your presents now and all the the year. Looking for other sustainable wrapping ideas? Check out our NO-sew Christmas gift wrap post.

Wondering what to put inside the Santa Sacks? Santa’s little elf has all sorts of family friendly ideas. See our outside the box ideas for stuffing Santa Sacks here.
