Celebrate Easter with homemade Easter Bunny Bunting made from your favourite fabrics. I’ve got a soft spot for bunting. It’s an easy way to mark any occasion. And best of all you get to re-use it over again every year.
What you’ll need
- the bunny pattern – click the link above to download mine or make your own.
- favourite fabrics – I went for classic retro pastels.
- a stiff iron-on interfacing – I’m using Vilene H250 (Vlieseline)
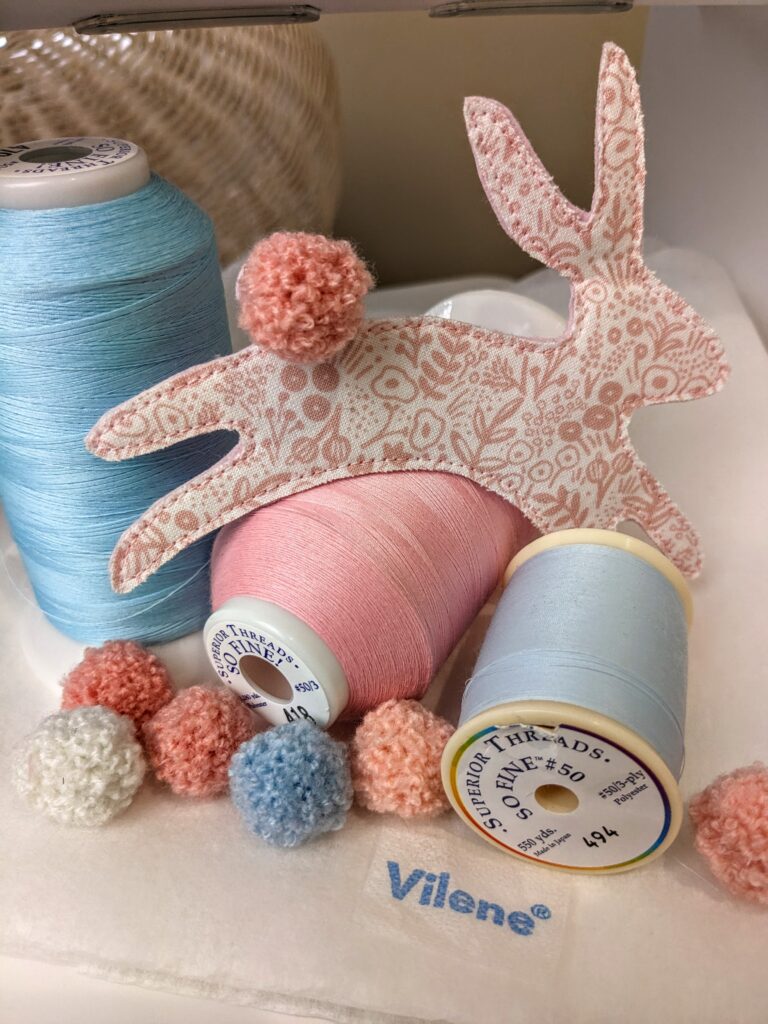
- pretty blender threads – So Fine from Superior Threads are my go to threads for applique
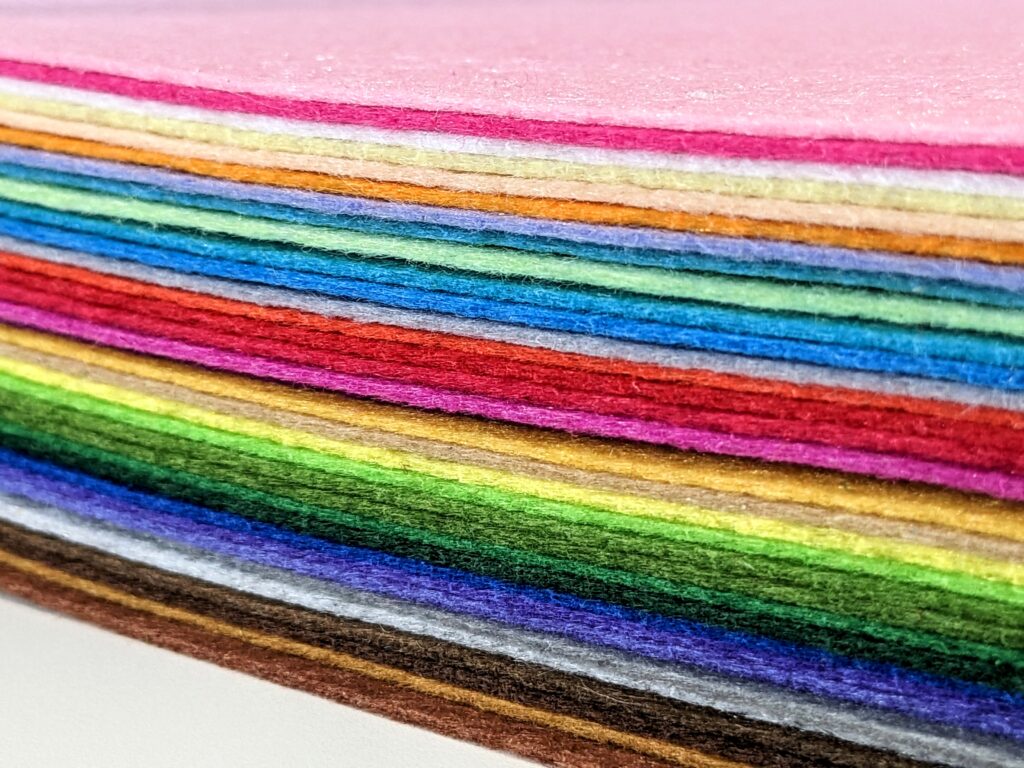
- a stiff felt in colours to match the fabrics
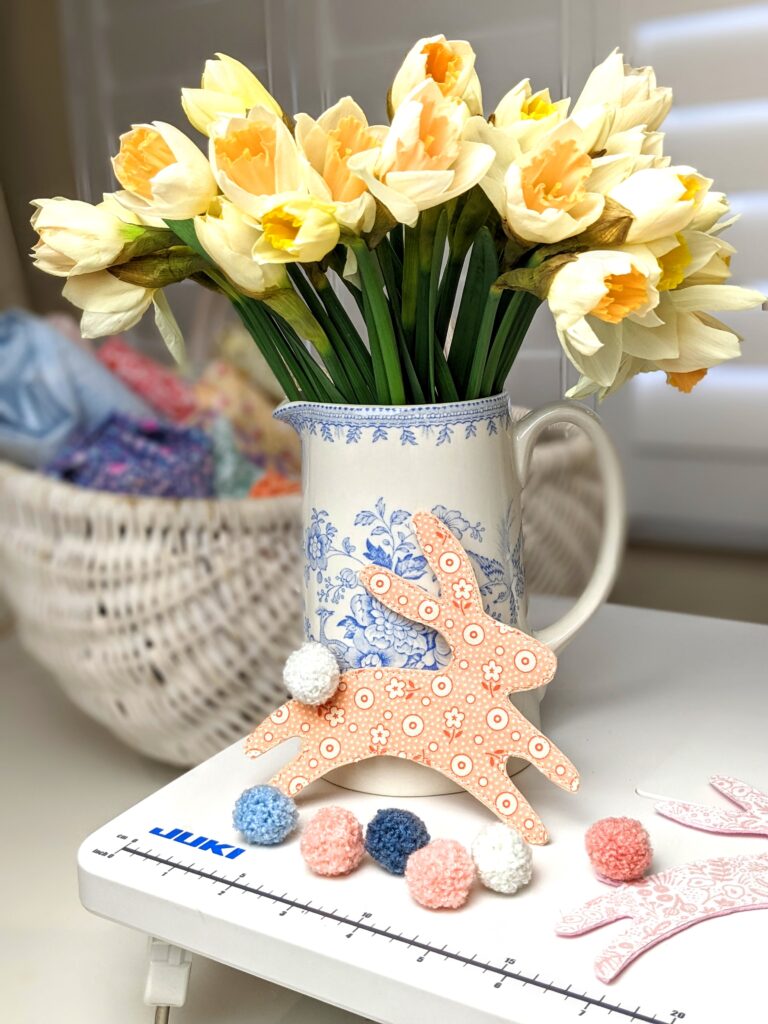
- pom poms – mine are 2cm extra curly in muted pastel tones
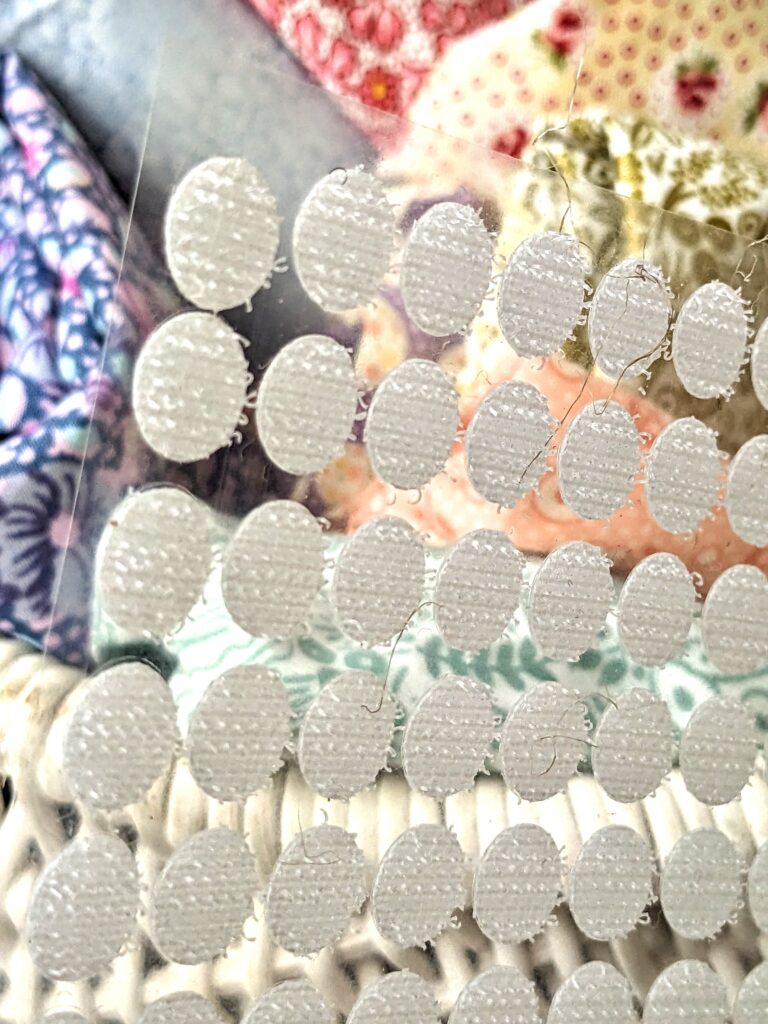
- small Velcro dots
- twine, string or ribbon for the garland
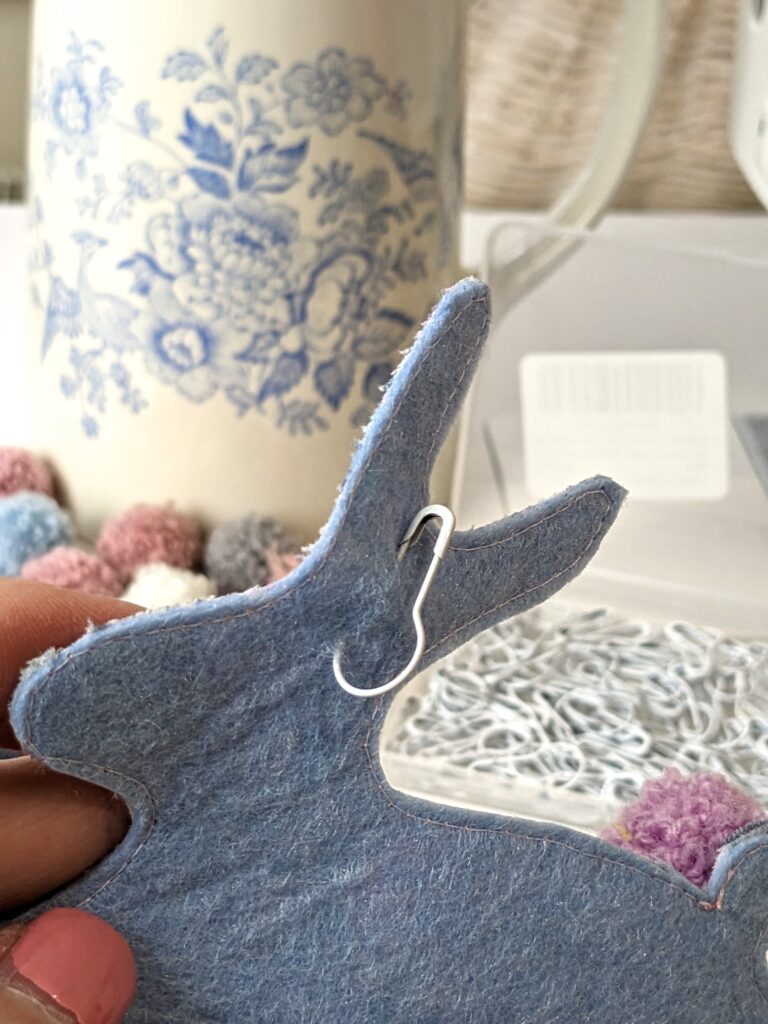
- small gourd style safety pins
I used favourite fabrics from my stash. All the other stuff is easily available from Amazon.


Choosing a pattern
I wanted a very simple bunny shape that suggested hopping. After lots of looking, I got this shape from a cookie cutter. They must have been looking for simple too.
This shape made me smile. And it was going to be easy enough to cut out. The process is very similar to what I use for raw edge applique. Download the Easter Bunny shape by following the link at the top of the page. Then print the PDF Bunny on your computer printer.
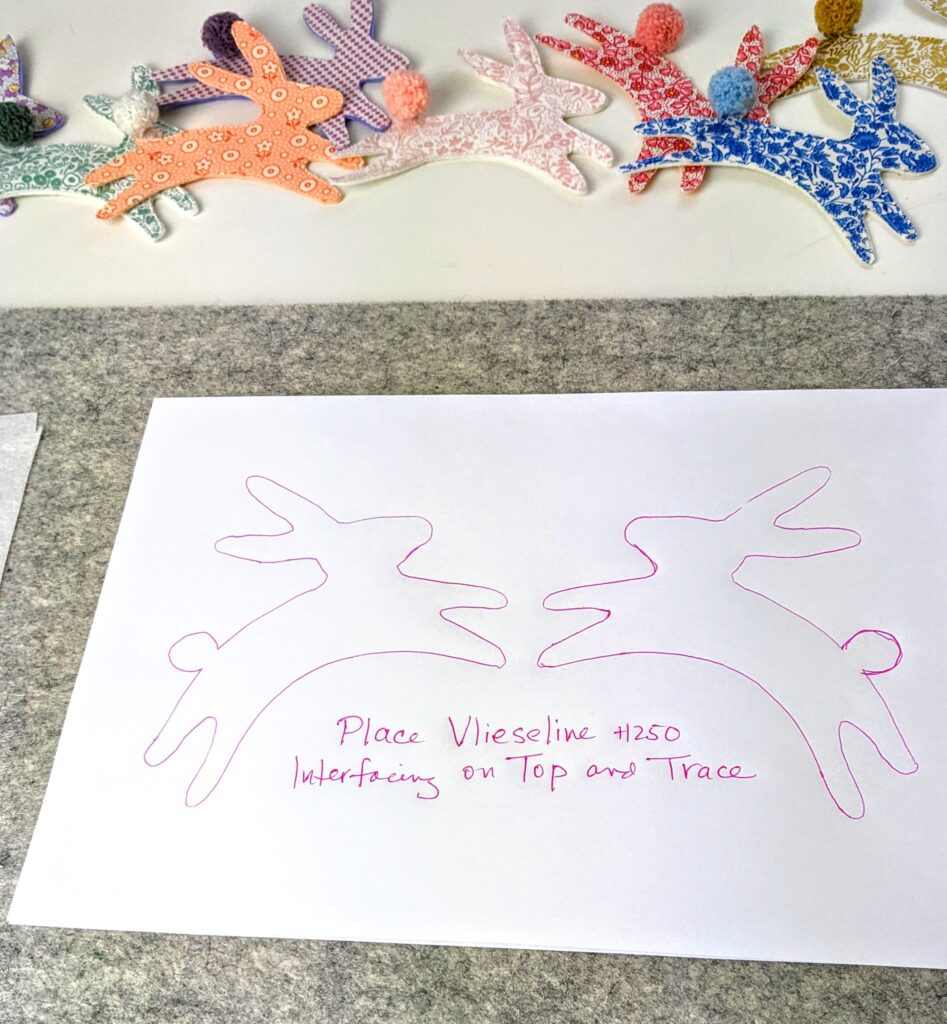
Tracing the bunny
Once you’ve got your bunny pattern, you’re going to trace the pattern directly on the Vilene interfacing. Here I’m using Vlieseline H250. The Vilene is thin enough to see through. Place a piece of Vilene on top of the bunny pattern and trace the bunny image directly on the Interfacing. I used a pen. If you can’t see through, try holding it up to a window or use a light box. But I had no problem seeing through the Vilene.
Cutting out the Vilene bunny
Now cut out the bunny shape OUTSIDE the line. There is a good reason for this. Promise.
Pressing the Vilene shape to fabric
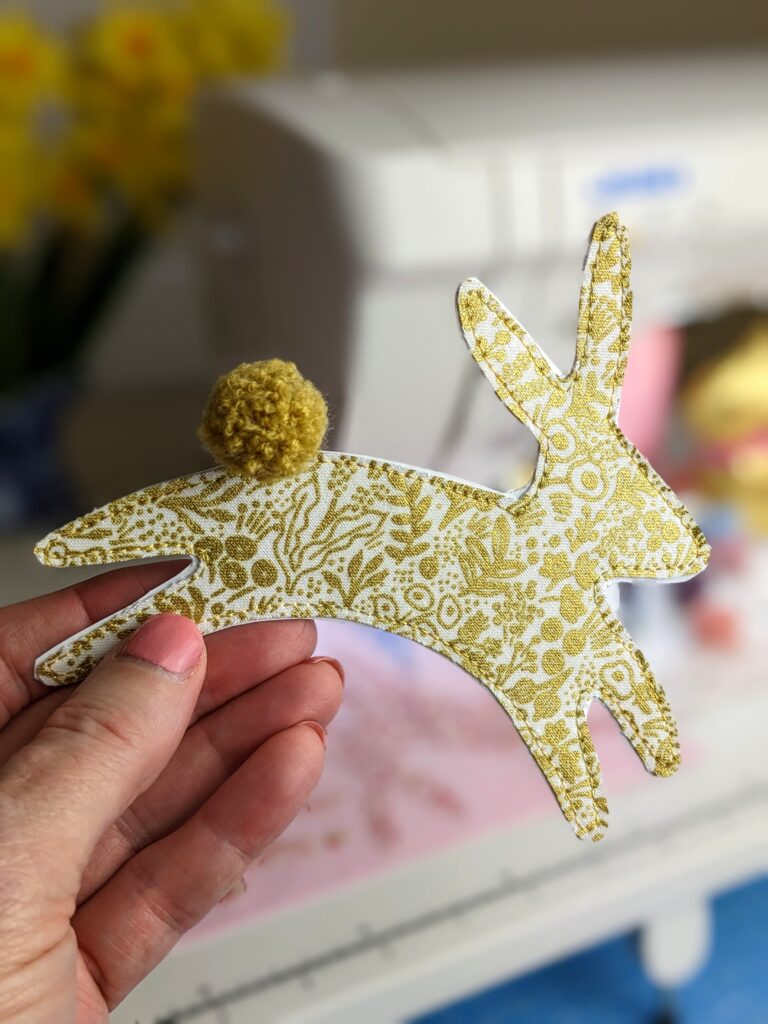
Next grab a piece of fabric. Rummaging through my stash, I chose a selection of classic retro pastel fabrics. Press the shiny side of the Vilene to the BACK of your fabric. Use a piece of spare fabric between the Vilene interfacing and the iron to keep from scorching or melting the Vilene interfacing.
Cutting out the fabric bunny
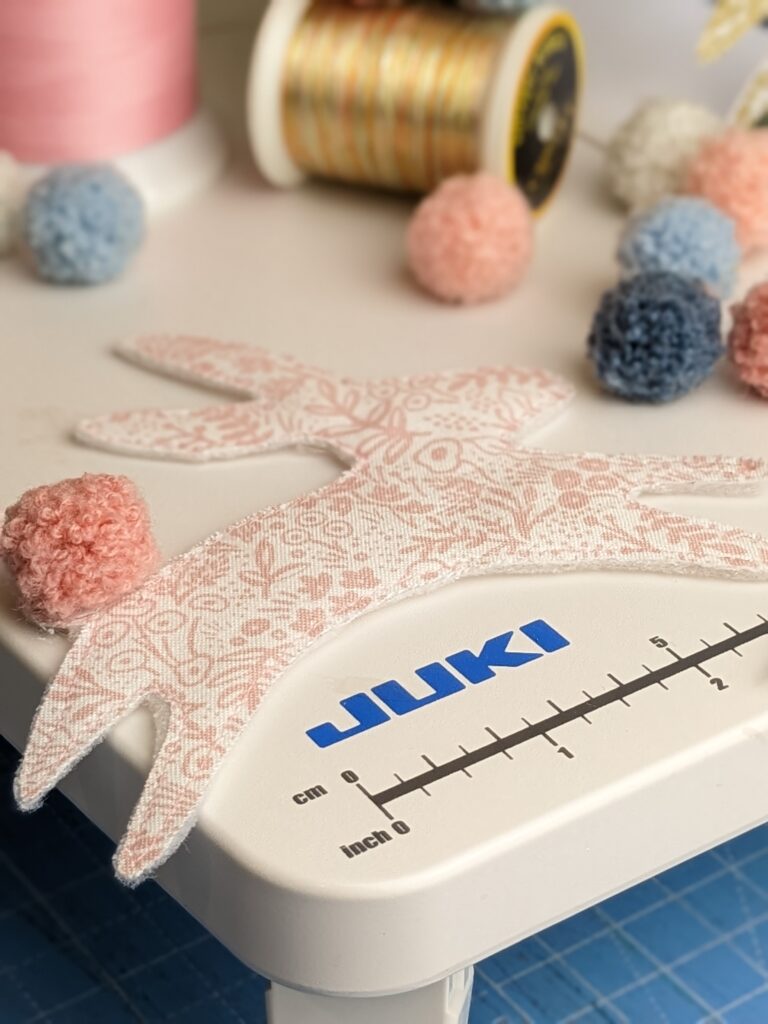
Now you’re going to cut out the Vilene backed fabric bunny. This time cut along the traced line, or slightly INSIDE the line. The Vilene interfacing is going to give you a nice crisp edge. And the Vilene will help to keep the fabric from fraying. Use a good pair of sharp scissors to get a nice clean line.
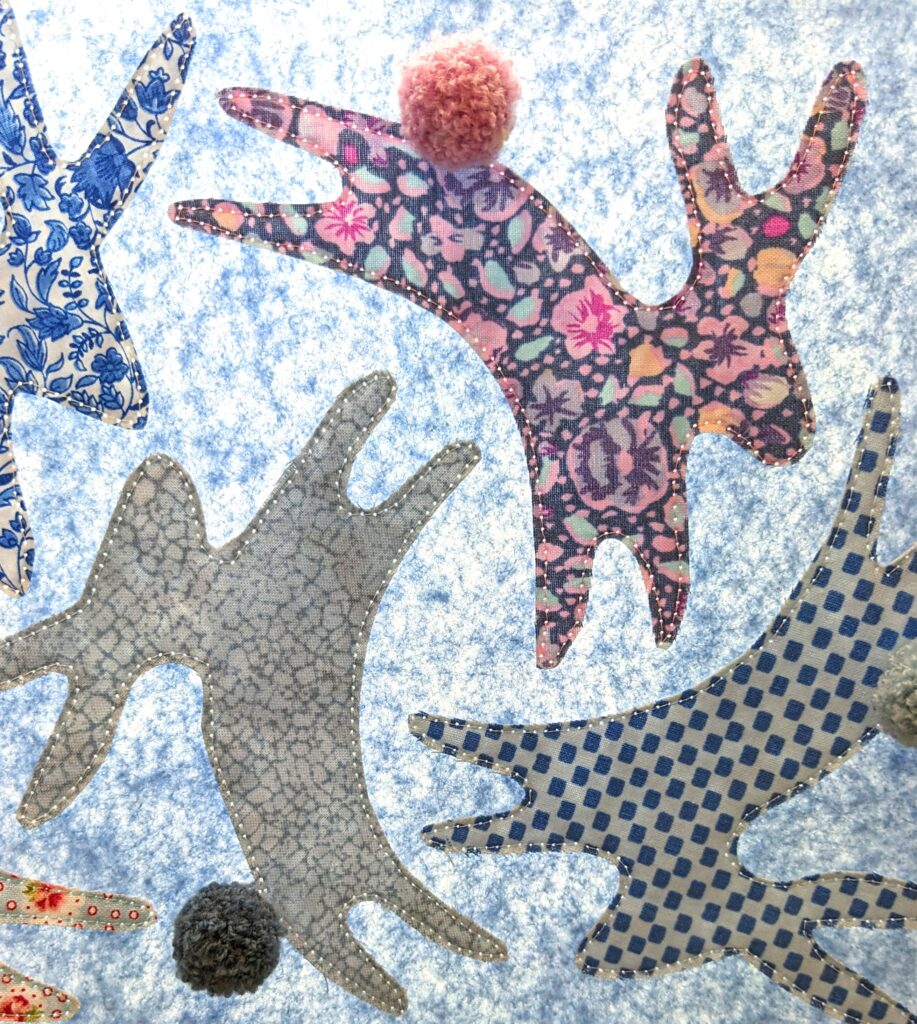
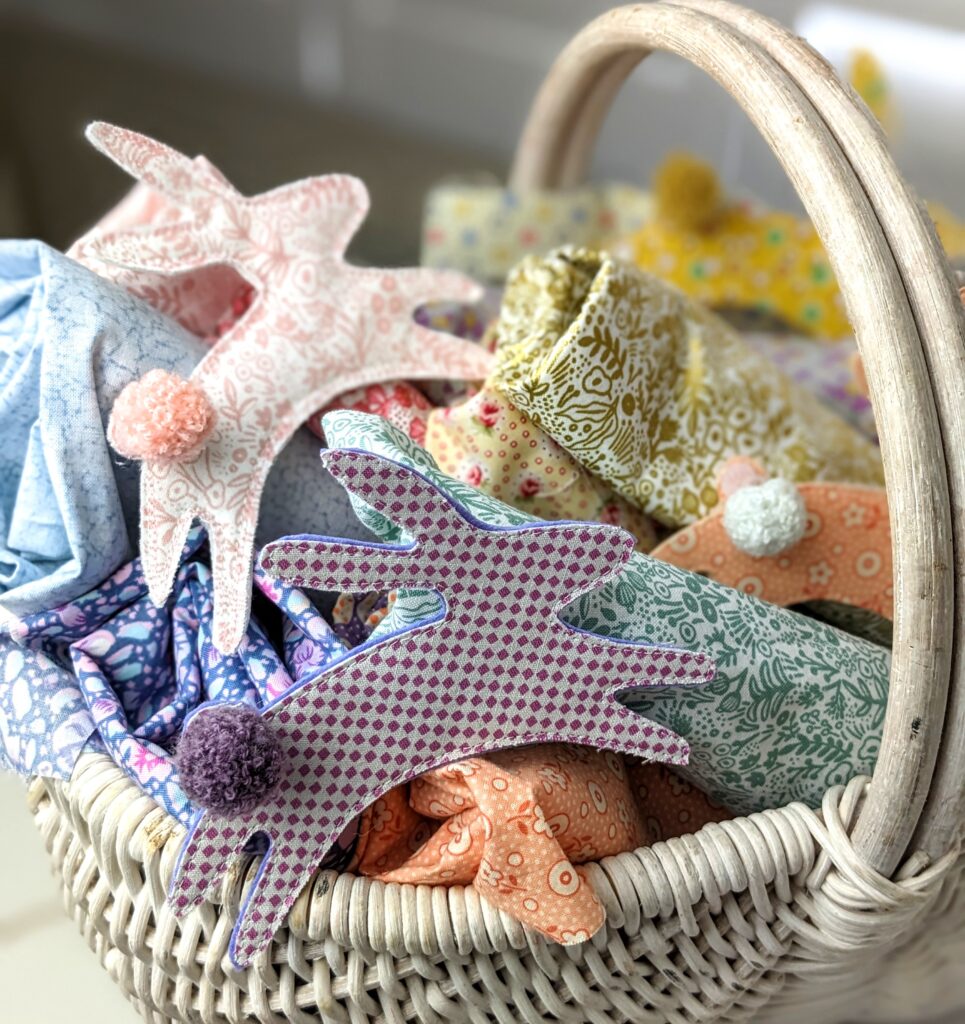
Stitching your bunny to the felt
Now it’s applique time. The bunny is so cute in fabric. But even with the interfacing, the fabric was not stiff enough to hold its shape in a garland. I tried a couple different backings. Fleece was too bendy. Cardboard was a bit too stiff but workable. In the end, a stiff felt was the winner. Felt doesn’t ravel so it gave a neat edge and I could get it in pretty colours so the back was nice too.

I arranged the Vilene backed fabric bunnies on the felt. I was able to fit 5 bunnies to an A4 piece of felt.
Then I chose thread that would blend in. The 50 weight So Fine thread from Superior Threads is my go to thread for this sort of stitching. This fine thread blends beautifully with the fabrics and also runs beautifully through the machine. I used a matching Bottom Line thread in the bobbin.

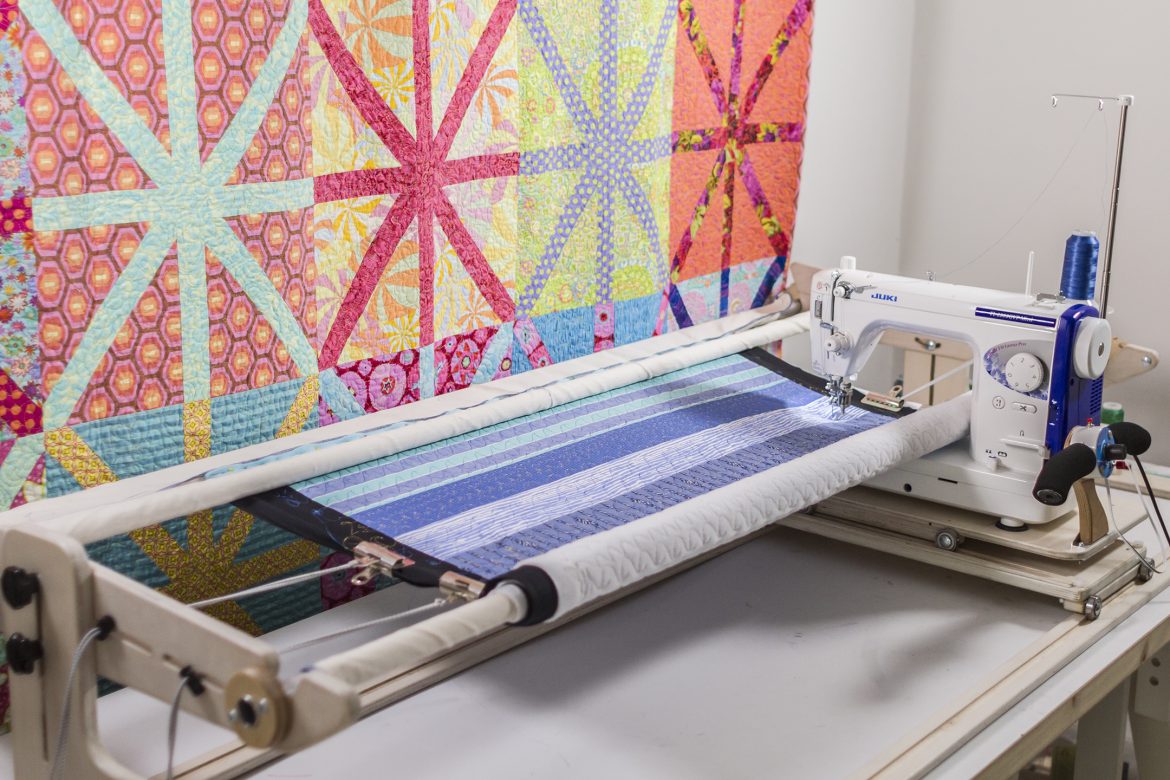
I stitched around each bunny starting at the tail. The pivot feature on the Juki NX7 was brilliant! Each time I stop stitching, the pivot function raises the presser foot slightly, leaving my hands free to manipulate the fabric. This was ever so helpful going around the bunny legs and ears.
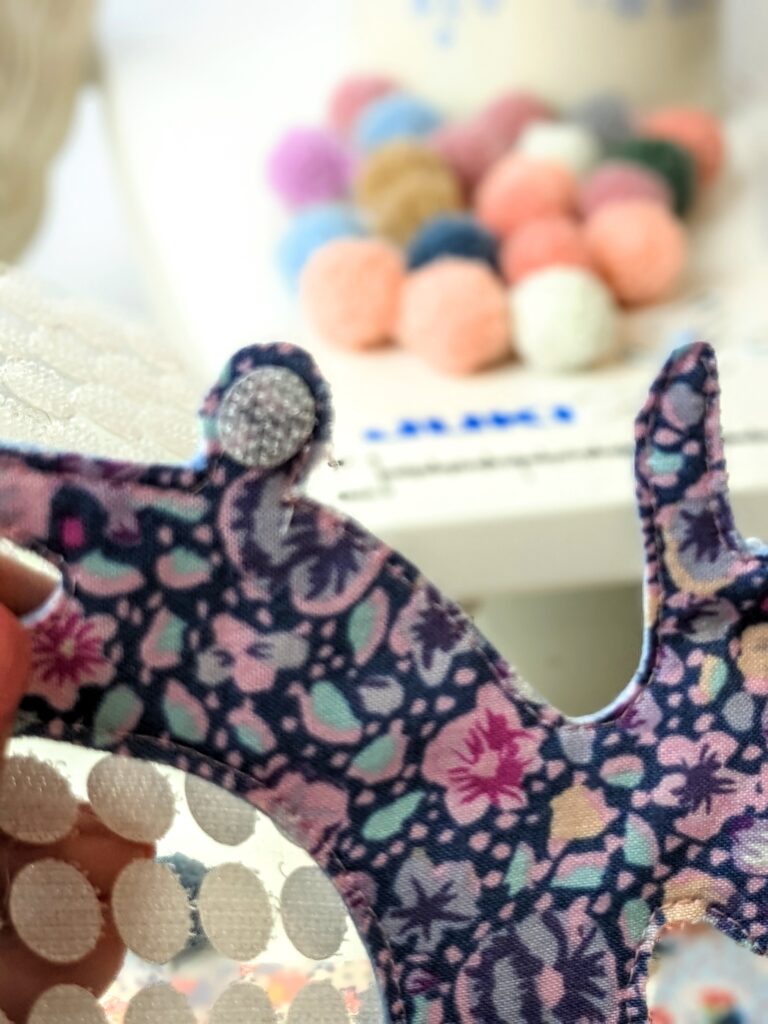
Adding the tails
Cute as these bunnies are, I knew they would be even cuter with a pom pom tail.
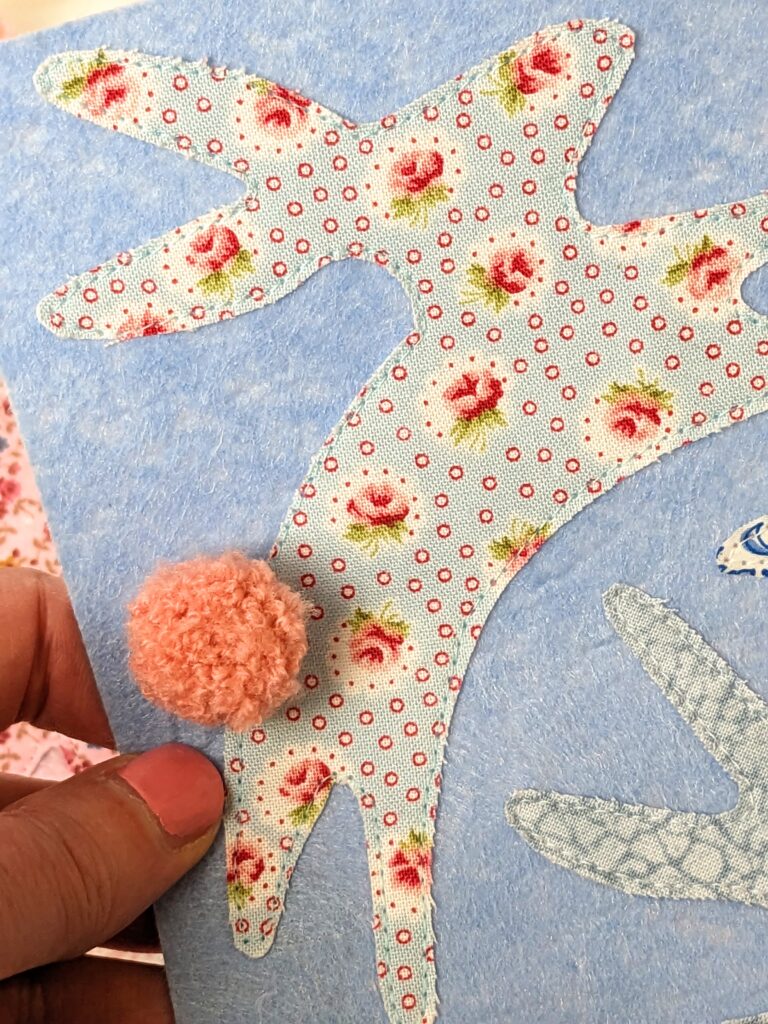
I just happened to have these Velcro dots, leftover from my Fabric Envelope project earlier this year. The grippy half of the Velcro Dots is perfect to attach the pompom tail.

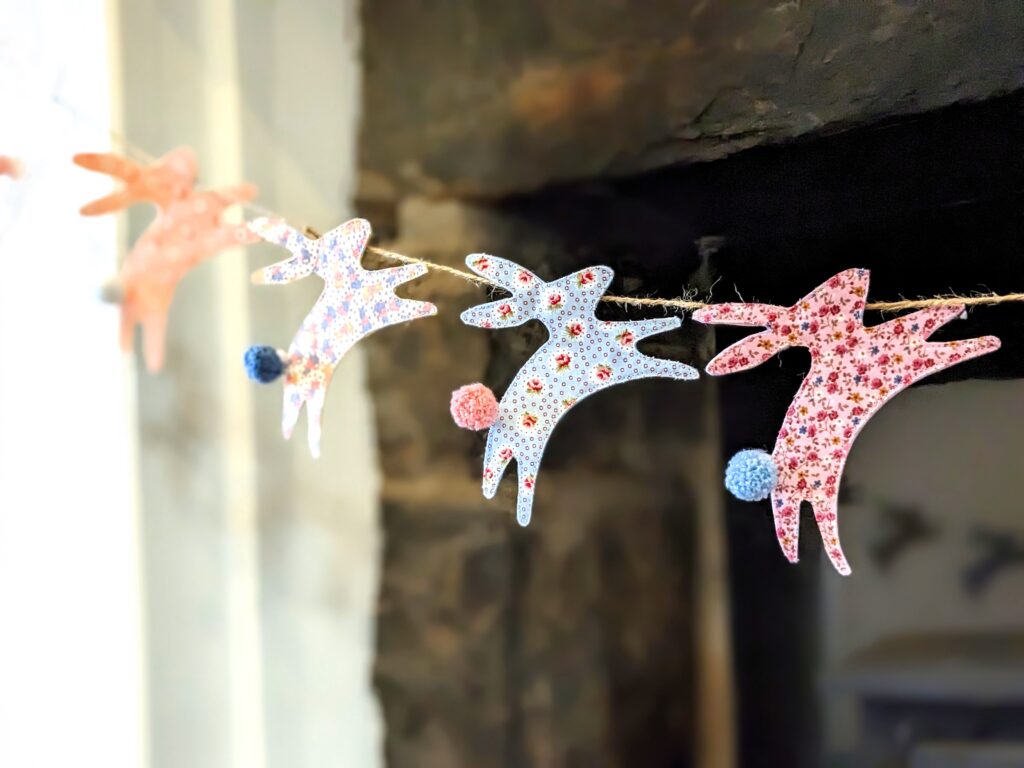
Assembling the Bunny Garland
At last, we’re ready to assemble the Easter Bunny Bunting. I’m using twine for a rustic look. I tried lots of ways to attach the bunny to the twine. What worked best was simply pinning these little gourd shaped safety pins through the felt on the back of the bunny, just behind the ears.

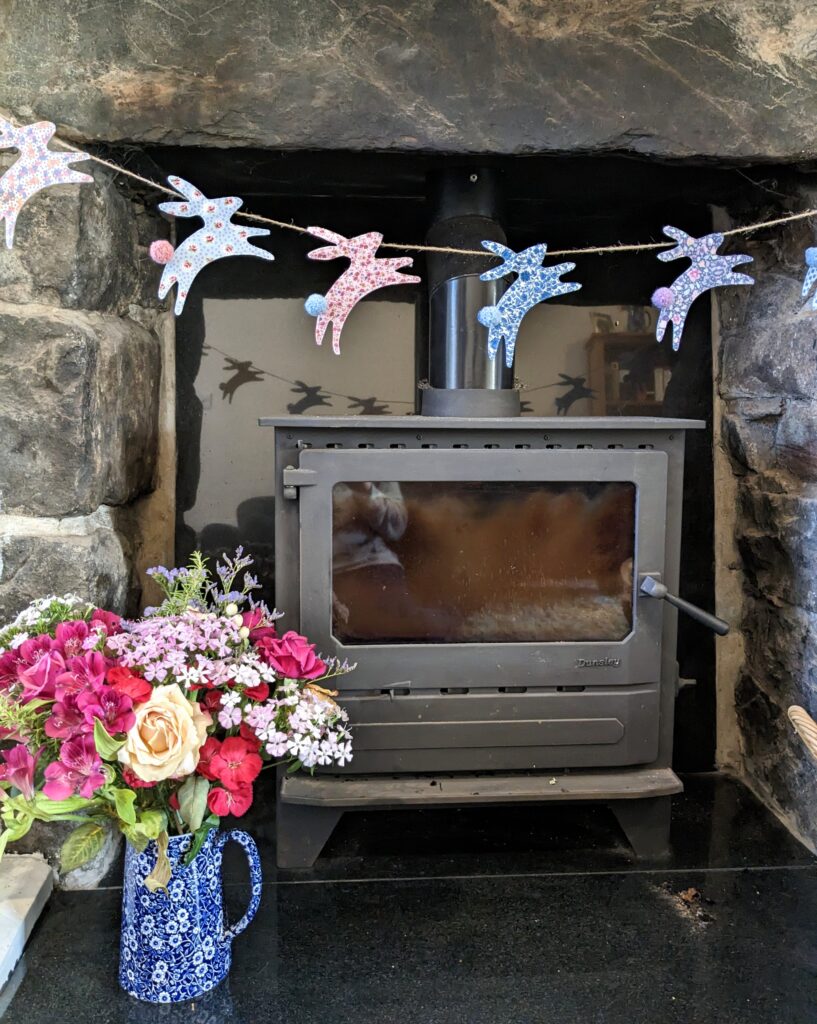
This kept them best-foot-forward! The Easter Bunny Bunting looked so pretty in my kitchen window, but the light was hard to photograph so I tried again by our fireplace.
I really enjoyed making this Easter Bunny Bunting! I hope that you do too. After all the chocolate, it’s kind of fun to enjoy a NO Calorie Easter treat. Happy Easter!