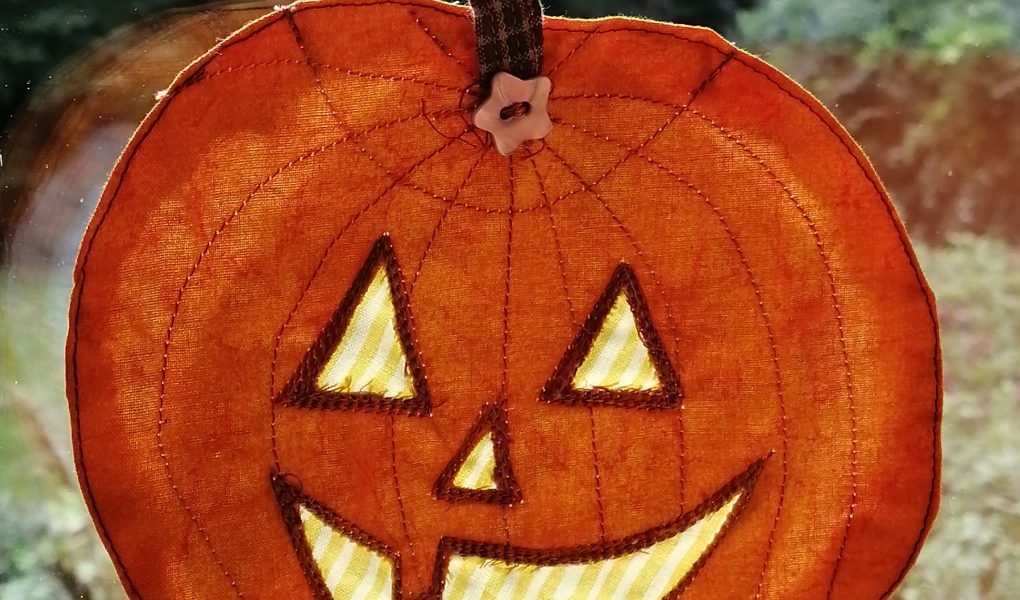
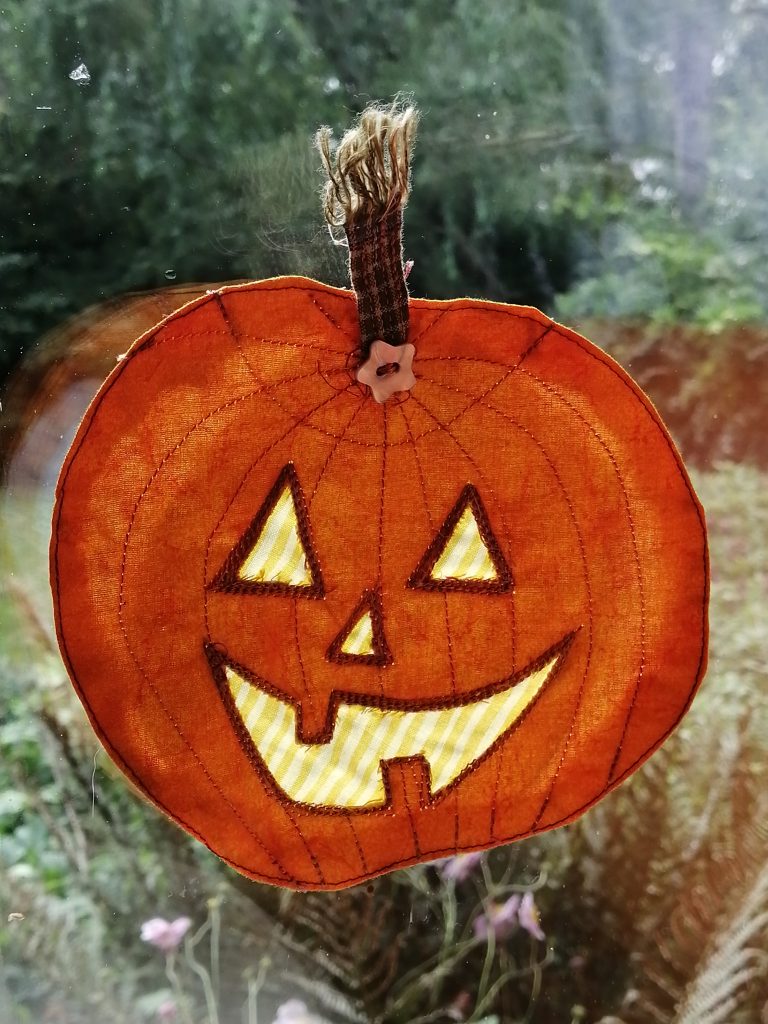
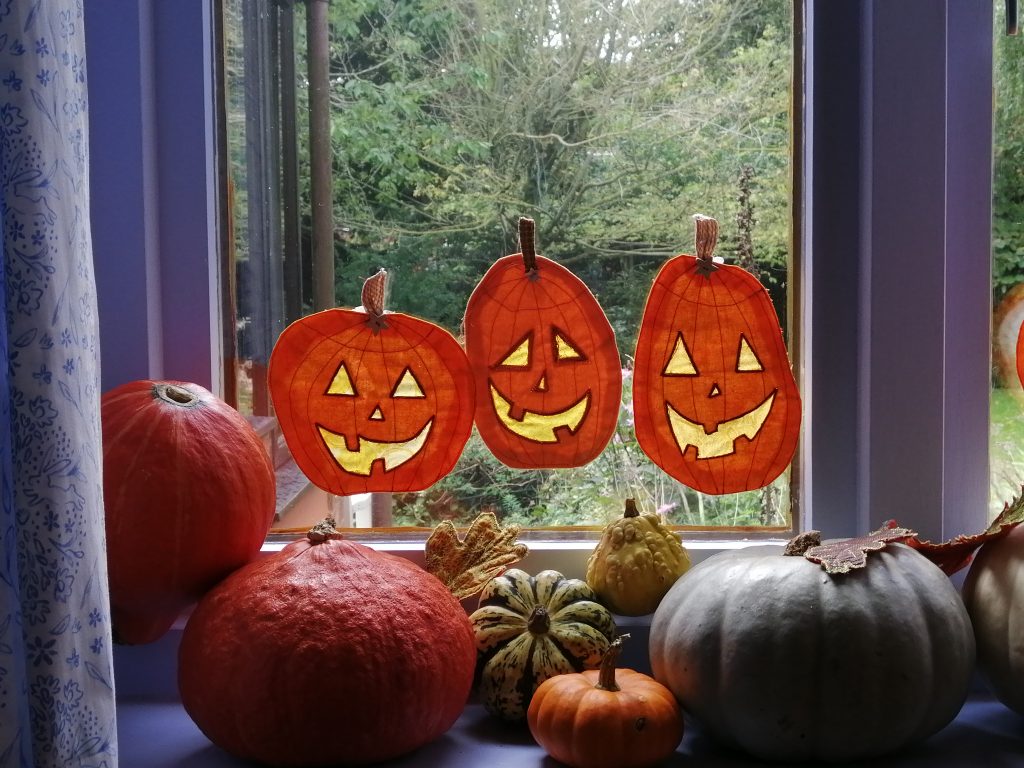
Celebrate Halloween with our Window Pumpkins. This post from our archives is a super sewing project for kids. Perfect for Half Term. Hang them in a window and the sun shines through so they look like they’re glowing. Halloween window pumpkins look great on a lampshade too. This is a great chance for your children to have some supervised sewing time. I did this with my son Pete when he was six and we wrote a simple tutorial.
Sewing with children
If your children are anything like mine, they’re desperate to get a chance to use the sewing machine. Very little children can sit on your lap and ‘help‘ you sew, even if it’s just pushing the thread cutter button. Older children, who have a respect for the danger of the sharp needle, can do this project under supervision. You know your children best. It is easy to adjust the activity so that children of different ages can take part safely.
What you need:
- orange fabric – cotton scraps work well
- yellow fabric – plain or printed
- thread
- paper and pencil
- star button – any button works but we like the stars
- a sewing machine
- a needle for hand sewing
Draw your pumpkin face

First get some paper and draw a pumpkin shape with eyes, nose and mouth. Freezer paper works great but we were out so today we just used ordinary paper. Pumpkins come in all shapes and sizes. Wonky is wonderful! Have fun and enjoy the perfect imperfections.
Stitch over the drawn lines
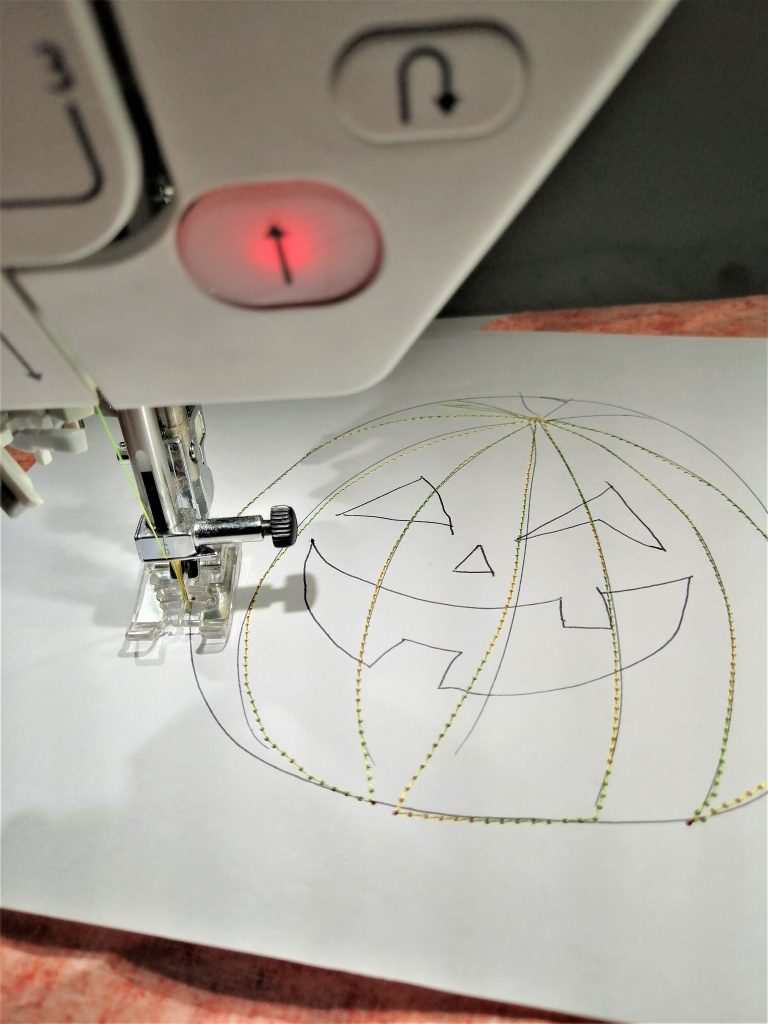

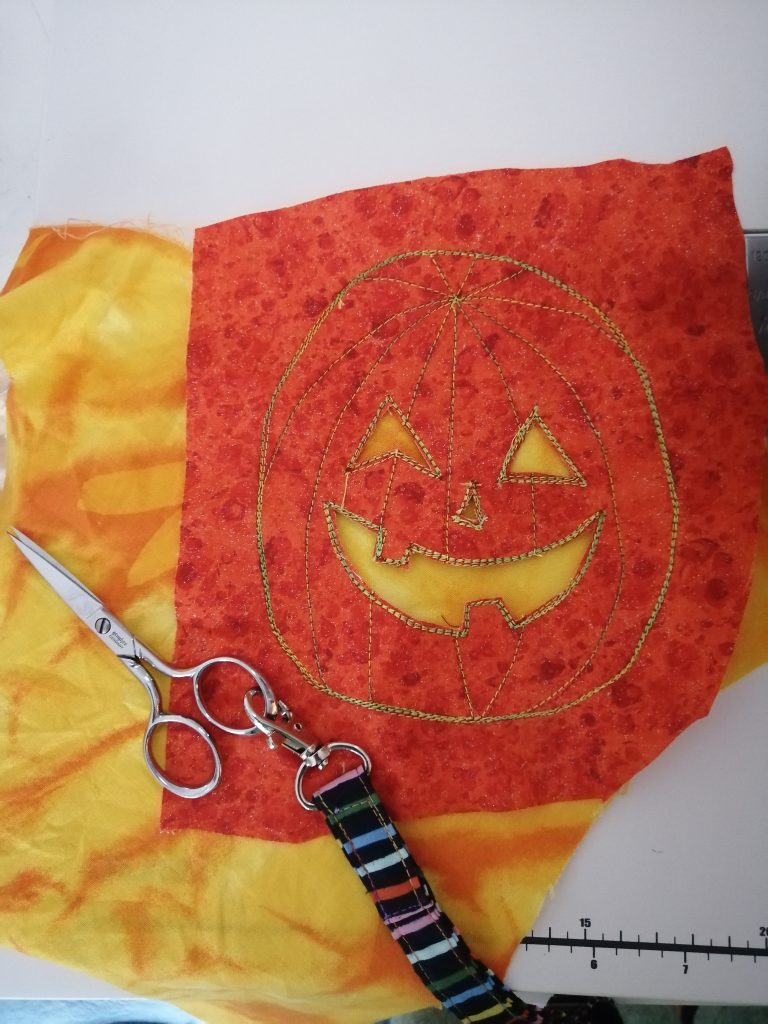
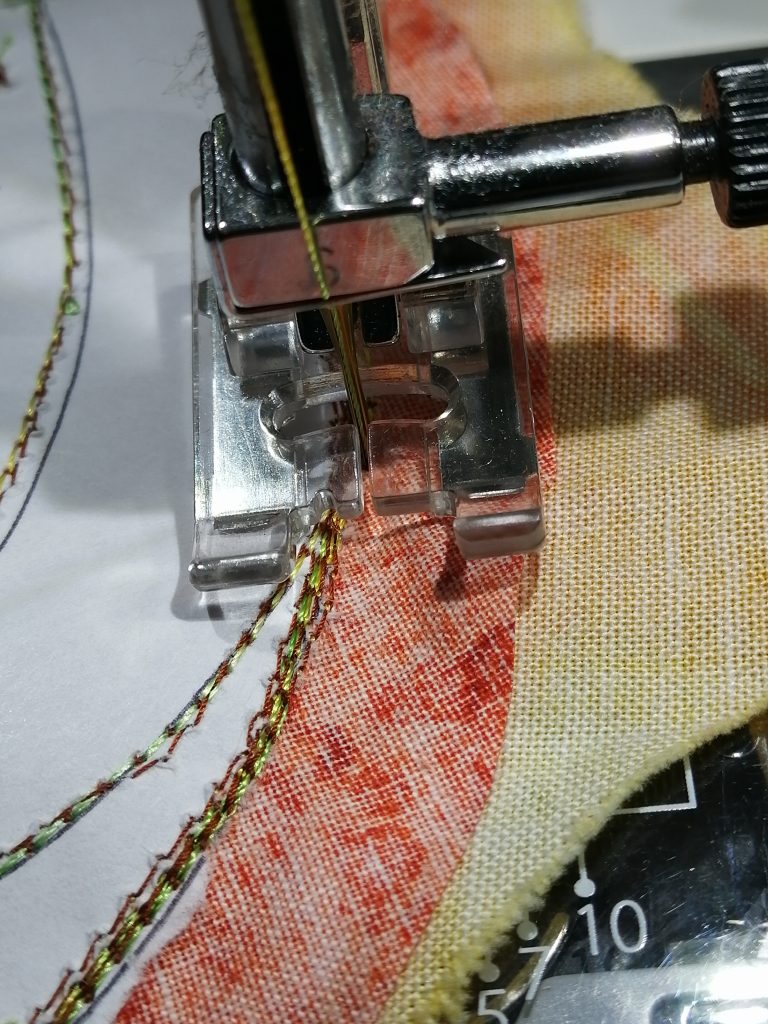
Then we pinned the paper to the back of some pumpkin colored fabric and sewed around the drawn lines. For the first round of stitching, the paper side is up so that you can follow the drawn lines. This transfers the design from the paper to the fabric.
There is a feature on the Juki NX7 that makes this a pleasure. I can set the machine so that the presser foot lifts each time I stop sewing, this allows me to guide the stitching around curves and to pivot around corners. The needle stays in while the presser foot slightly rises. Brilliant!
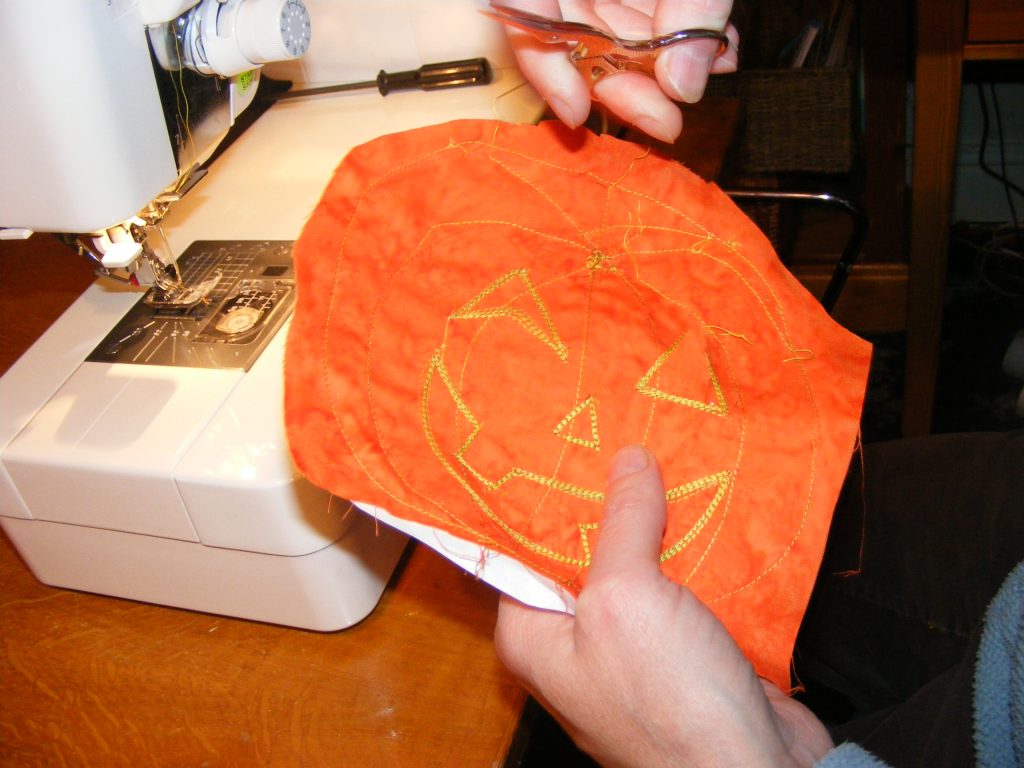
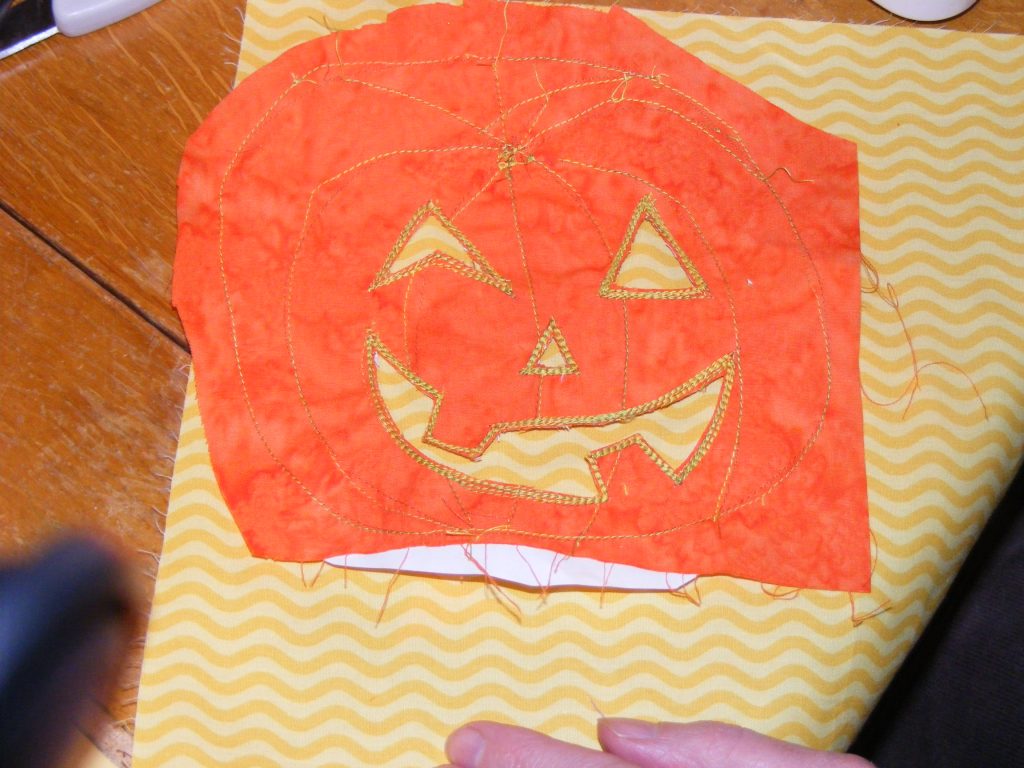
Flip and stitch again over the sewn lines
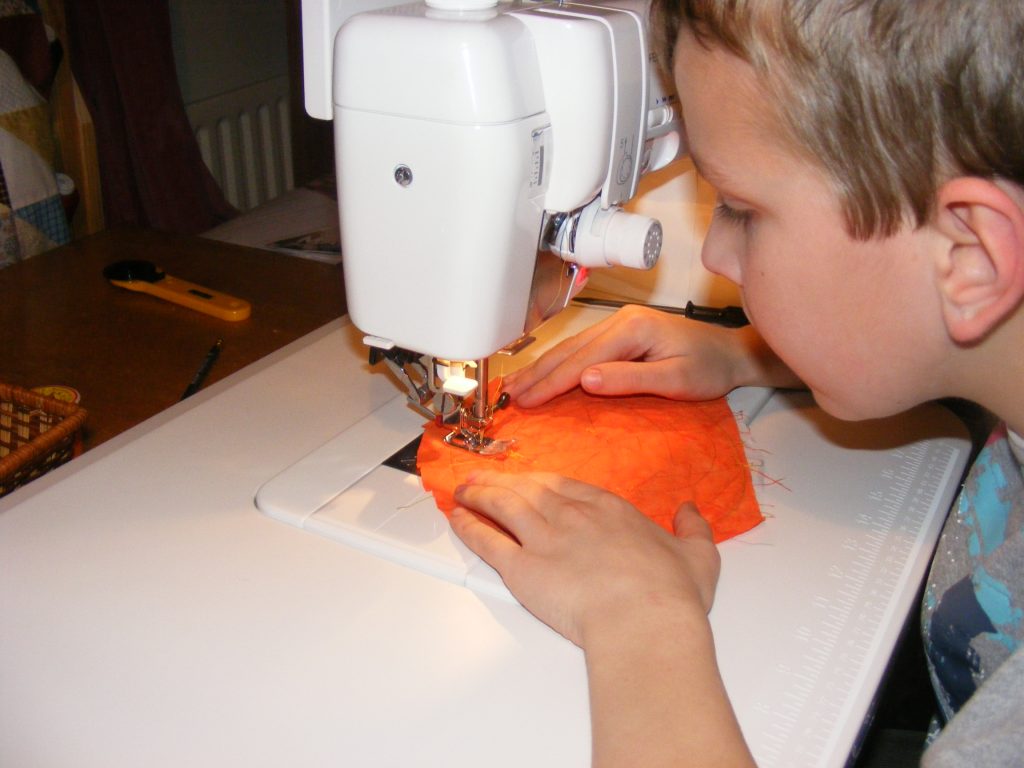
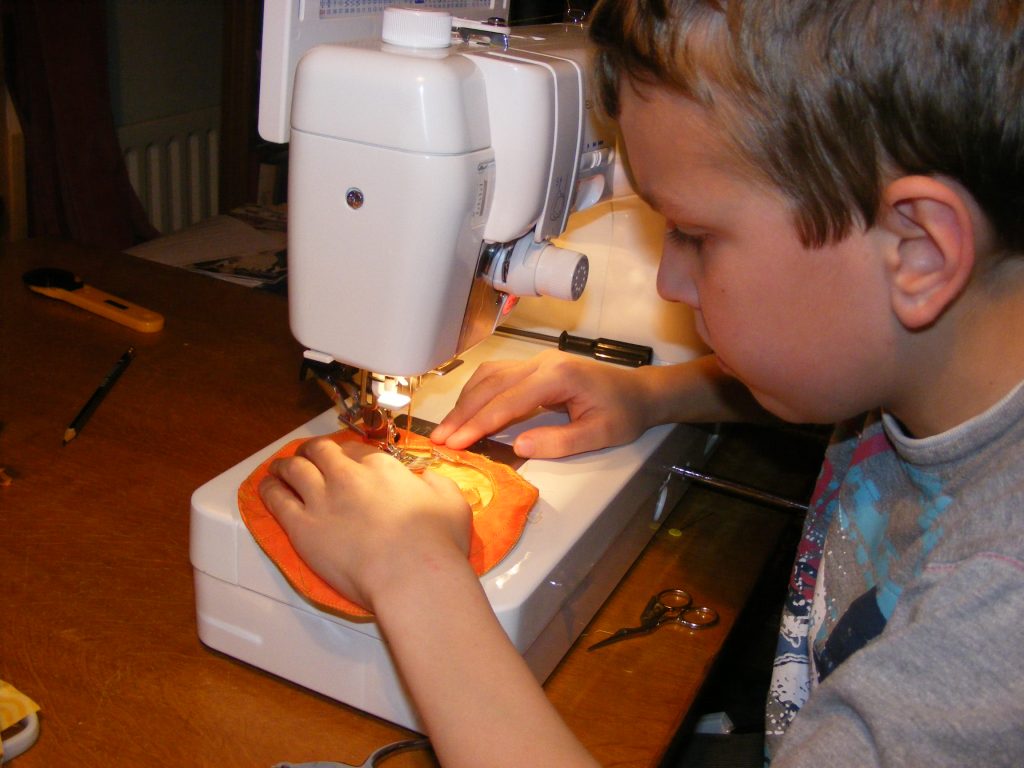
Next Peter flipped it over so the fabric side was on top and sewed over all the lines again. He’s using a thicker 40 weight variegated thread that shows up nicely against the orange fabric, but you can use whatever you have to hand. It’s fun to try different threads to see how they play out against the orange.
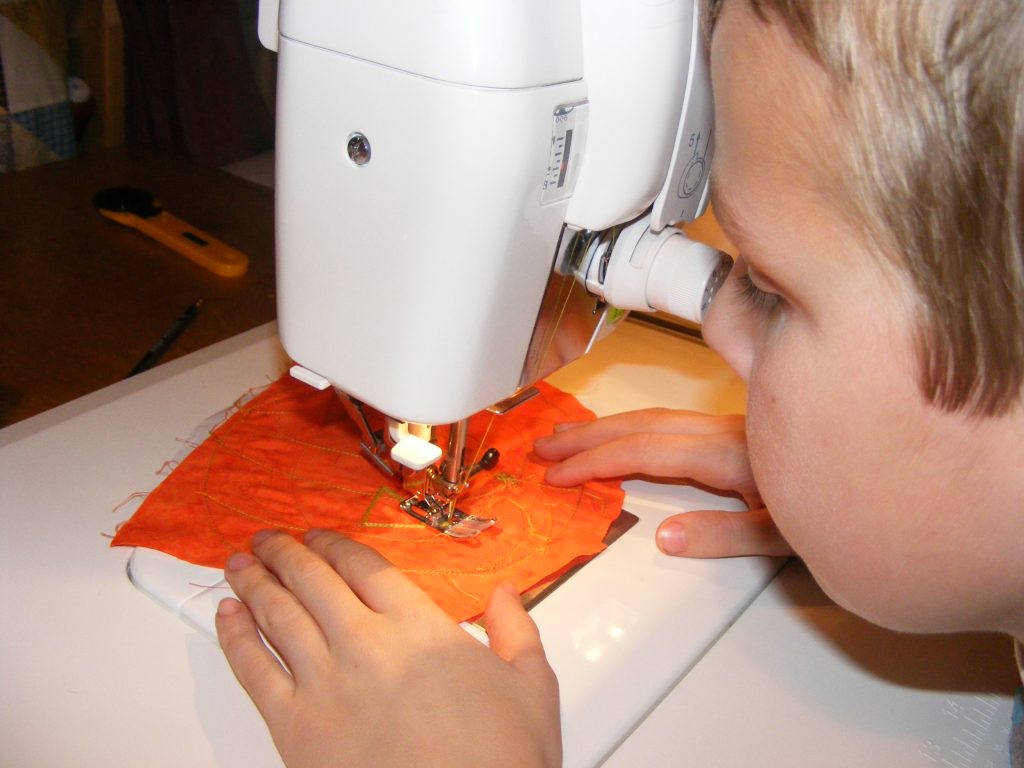
Peter went on to sew around the eyes nose and mouth lots and lots of times. The repetition gives the child the chance to become more confident with each repeat. When you’re finished, it’s time to give the grown-up a chance to help.
Give the grown-up a turn
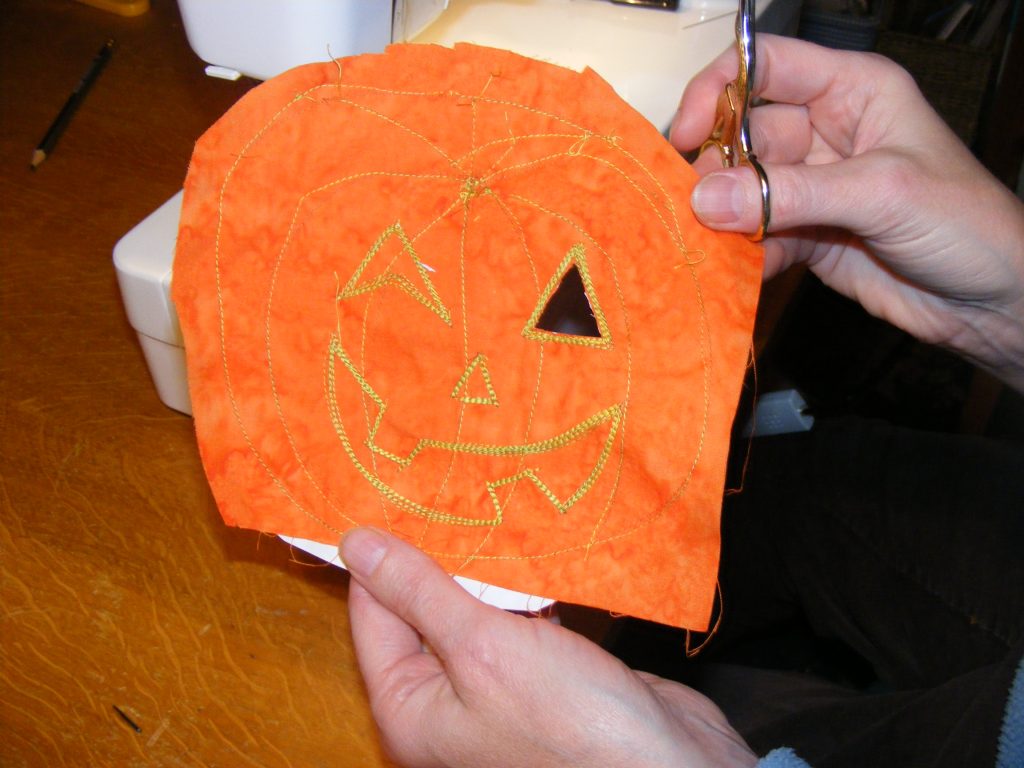
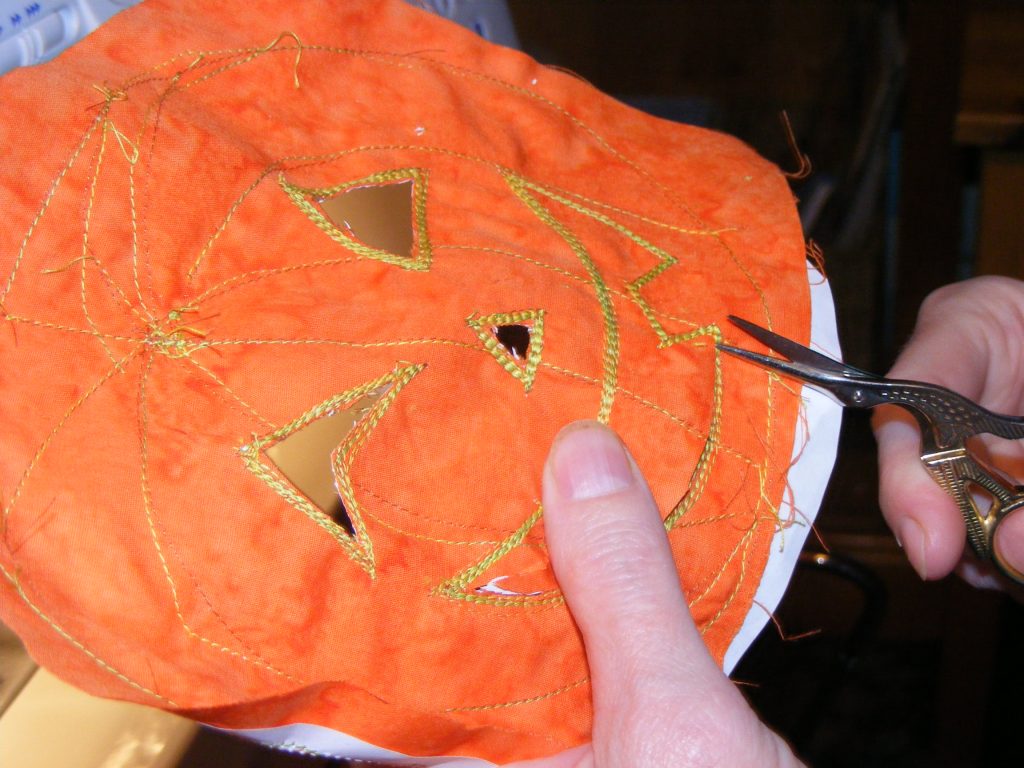
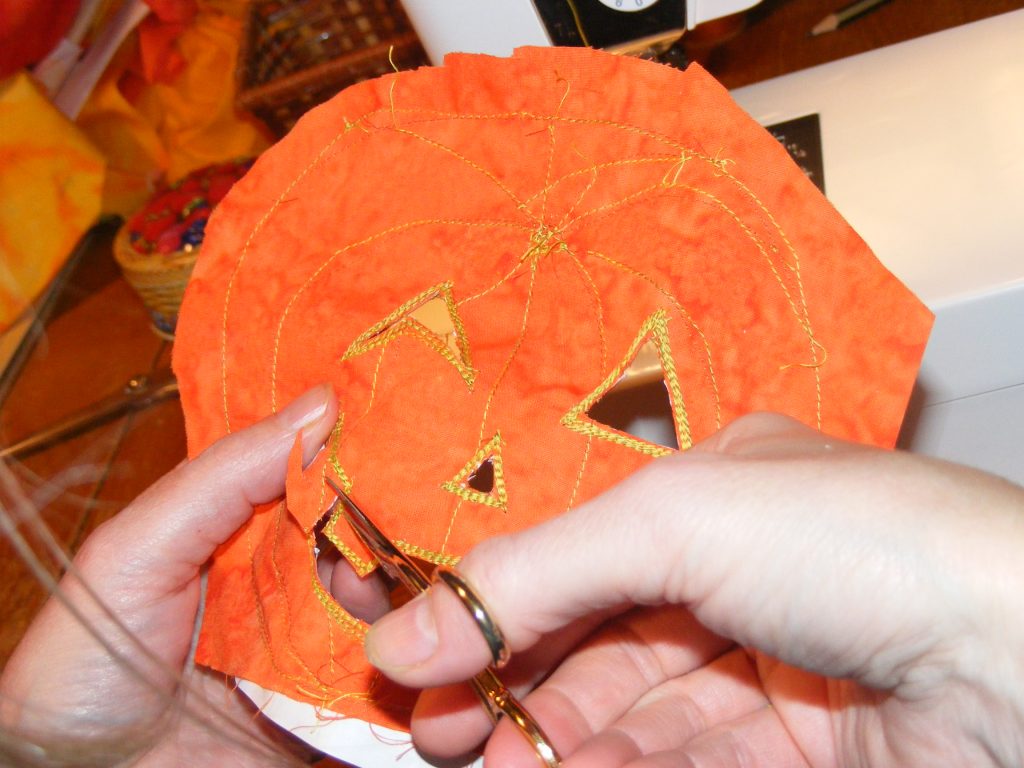
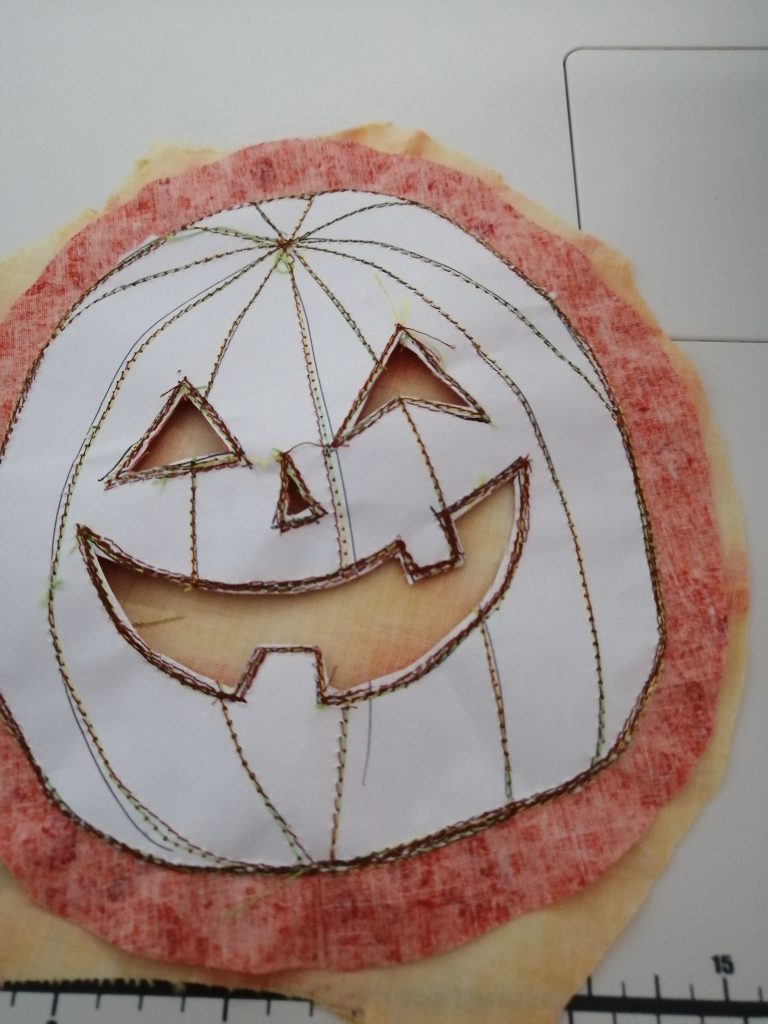
Now the supervising adult can get some sharp pointy scissors and snip very carefully around the inside of the sewn lines. Avoid cutting into the stitched outlines. The stitched lines will keep the fabric from fraying.
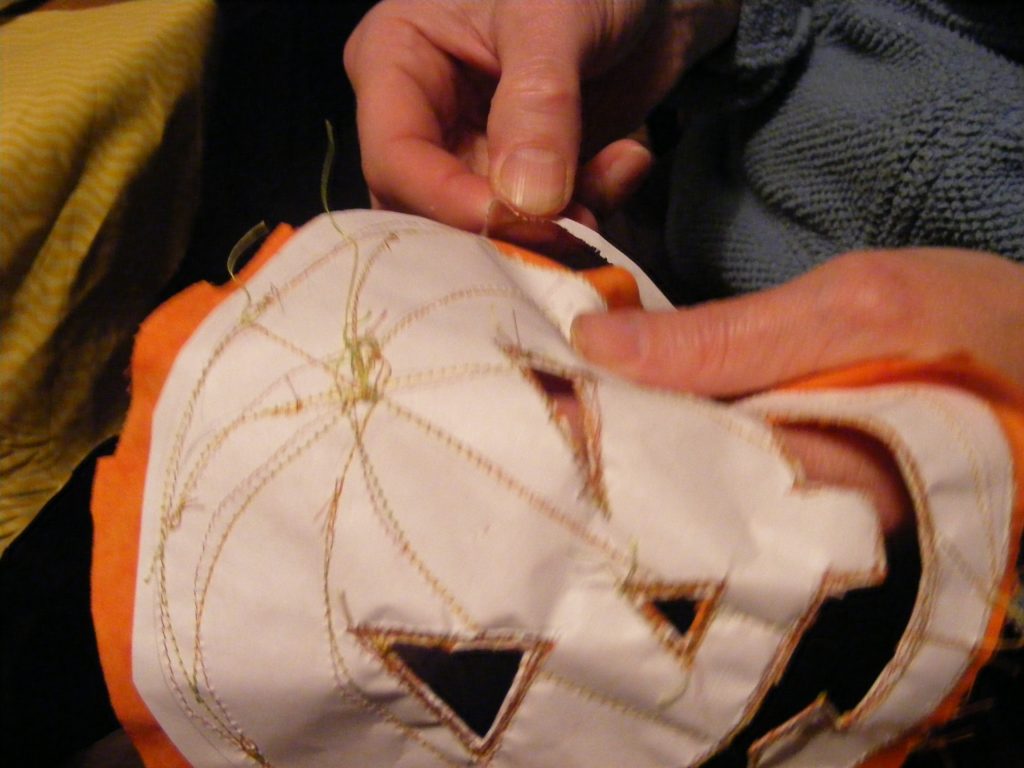
Before adding the yellow fabric, we tore the paper from the outside of the pumpkin shape. The needle perforates the edges, making it easy to rip the paper off the outside. Leave the paper in place on the inside of the pumpkin. It helps the pumpkin hold it’s shape.
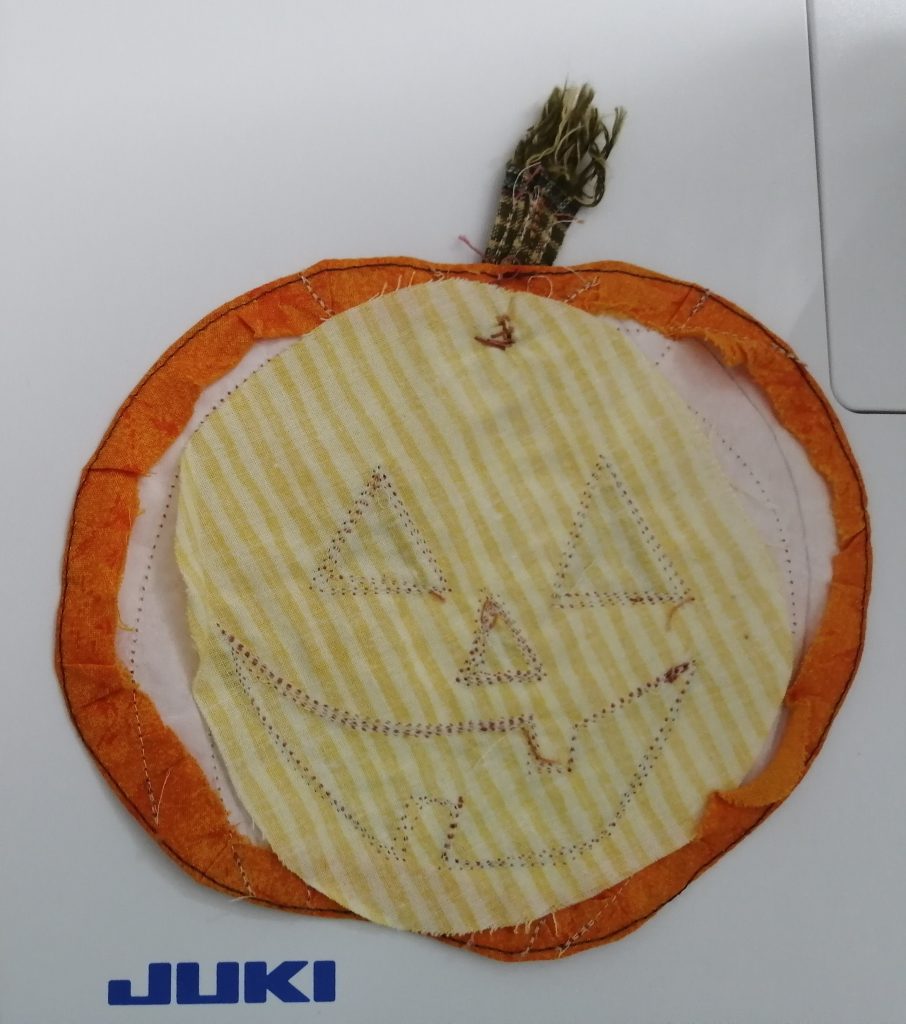
Adding the yellow
Peter chose some yellow fabric to ‘shine through’ the holes in the pumpkin. Cut the yellow fabric in a circle, large enough to cover the eyes, nose and mouth. We found it easier to stitch this way. This way Pete’s fingers are far enough away from the needle.
Now put the RIGHT side of the yellow fabric against the WRONG side of the pumpkin. This way the right side of the fabric will be shining through the holes. Stitch around the eyes, nose and mouth once again to anchor the yellow fabric to the orange.
Doing the edges
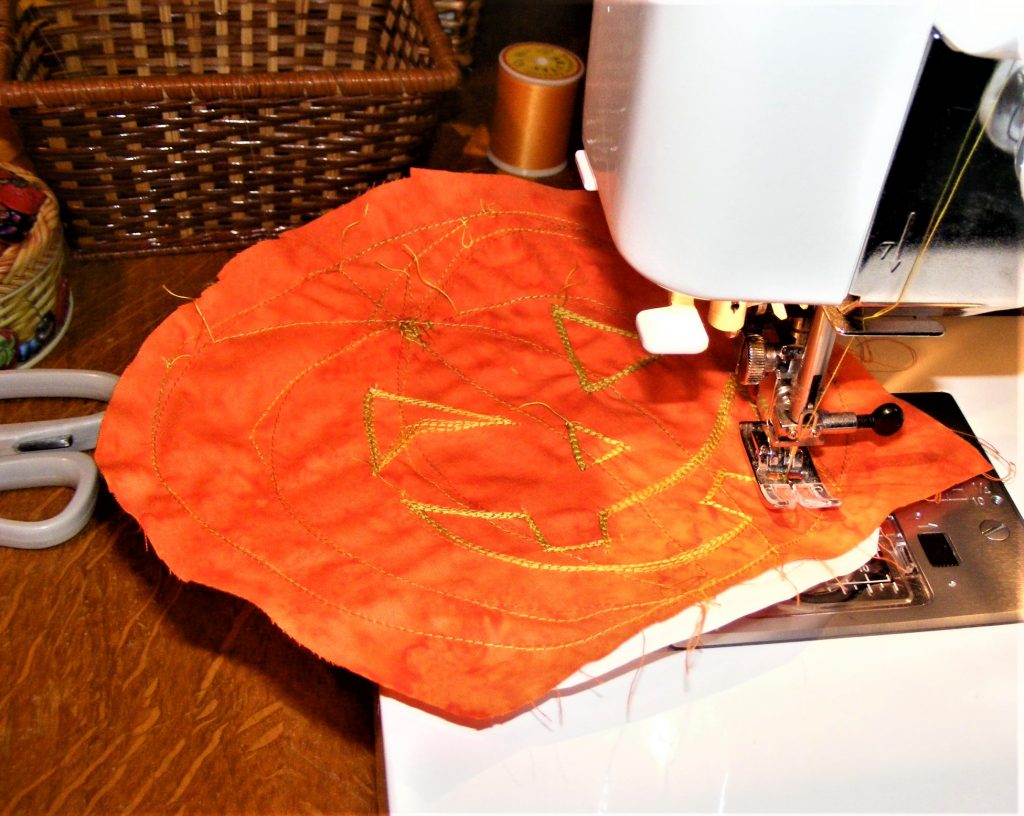
There are several options depending on how tidy you want the back to look. The simplest way is to leave the back messy like this. The goal of the project is to have the light shine through the fabric like a stained glass window. If you add another layer of fabric to tidy the back then the light is blocked.
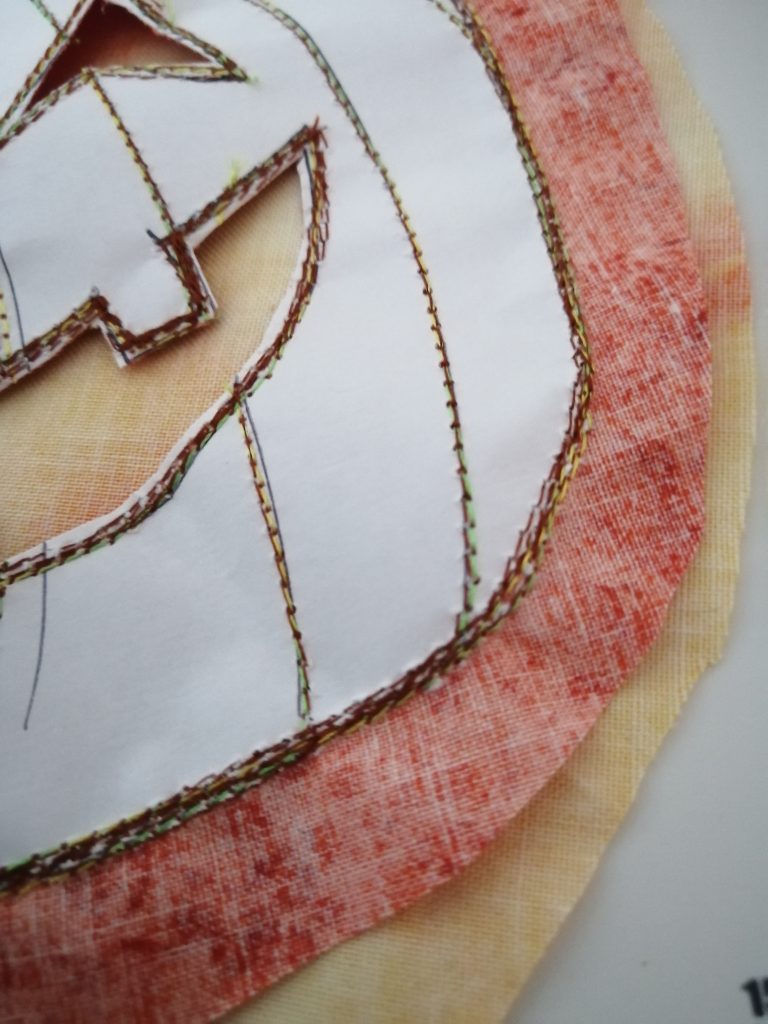
If a tidy back is a priority, cut the yellow fabric to the same size as the orange. Lay both WRONG sides facing up, like in the photo below, and stitch around the outside edge of the paper. Leave a couple inches unsewn at the bottom. Trim, and turn it inside out, and machine stitch the last bit together. This will give you a tidy back.
.

Now you are going to sew one last time around the eyes, nose and mouth and one time around the outer edge.
Here Peter is adding the finishing touches; sewing one last time around the outside seam and once around the eyes, nose and mouth, to hold it all together.
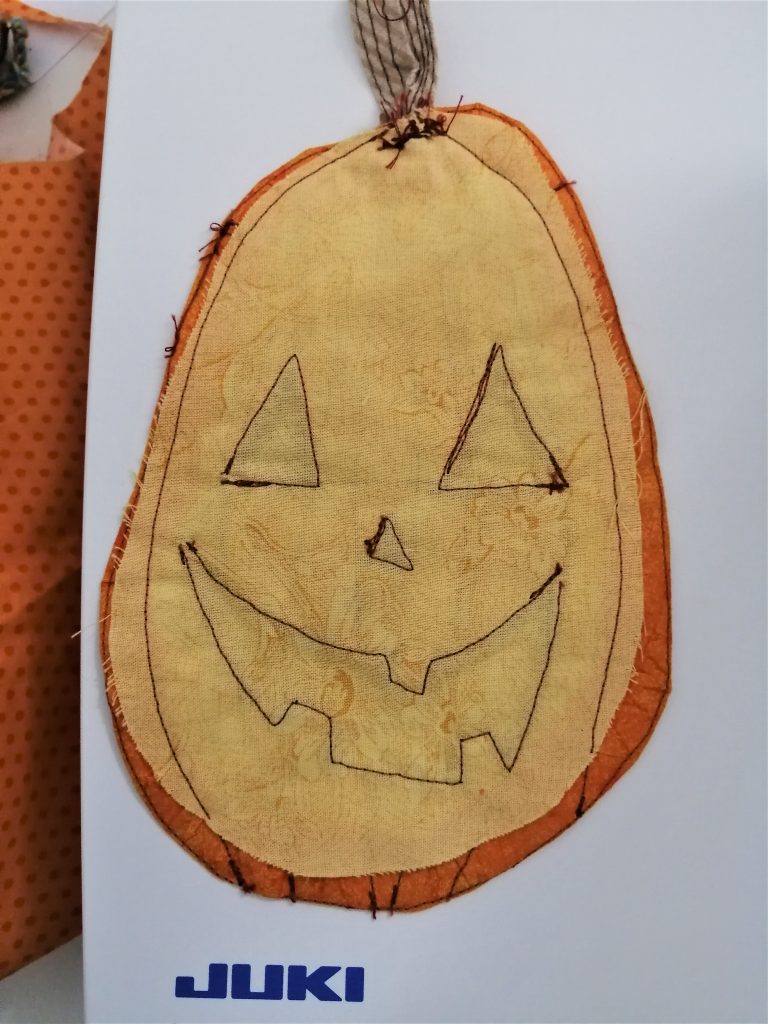
Adding the stem

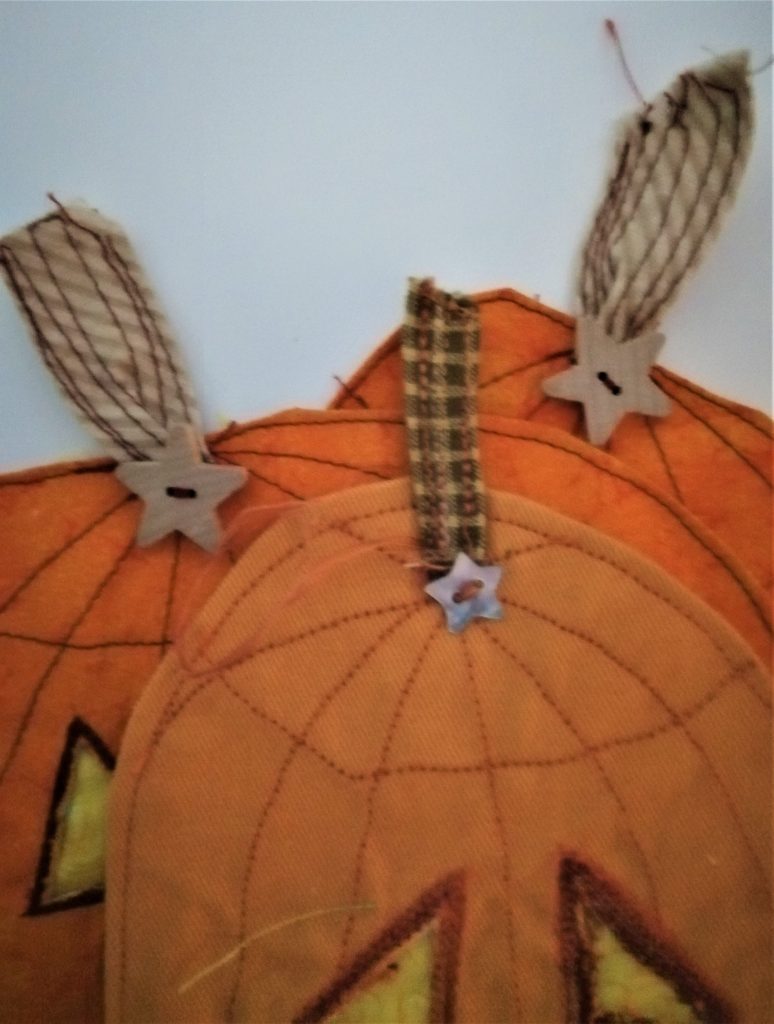
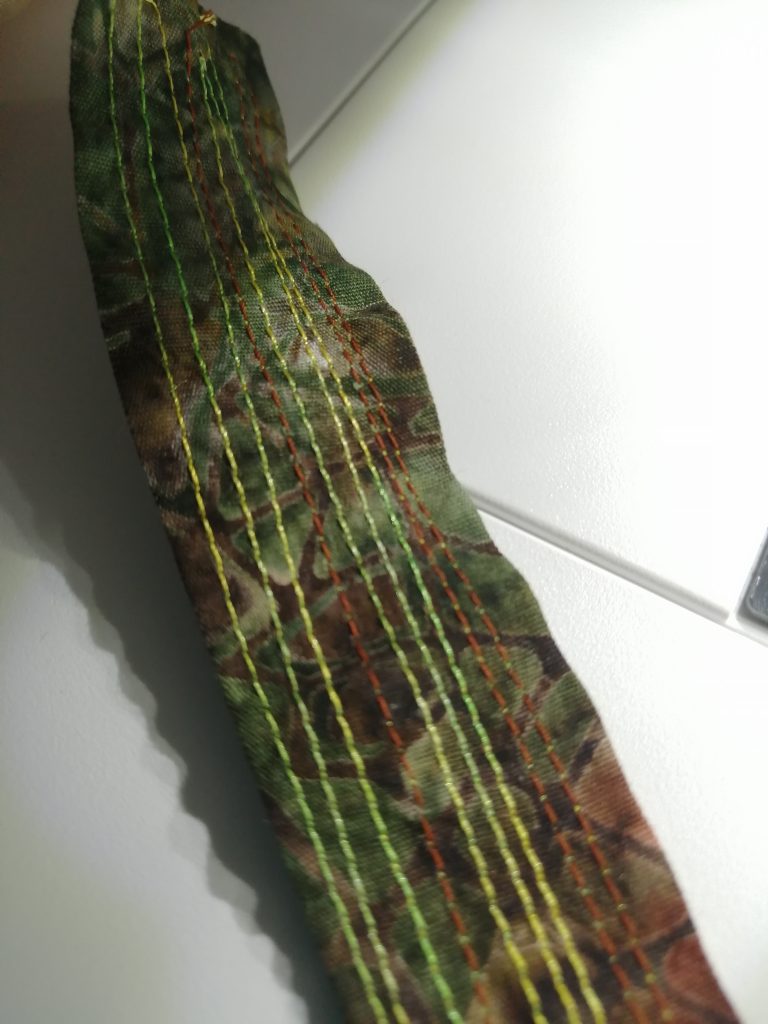
Cut a strip of contrasting fabric for the stem. I like to stitch some lines along the length to give it some texture. Fold it over and anchor it in place with a button. I like the star buttons because they remind me of the real stem on a pumpkin. This is a good hand sewing activity.
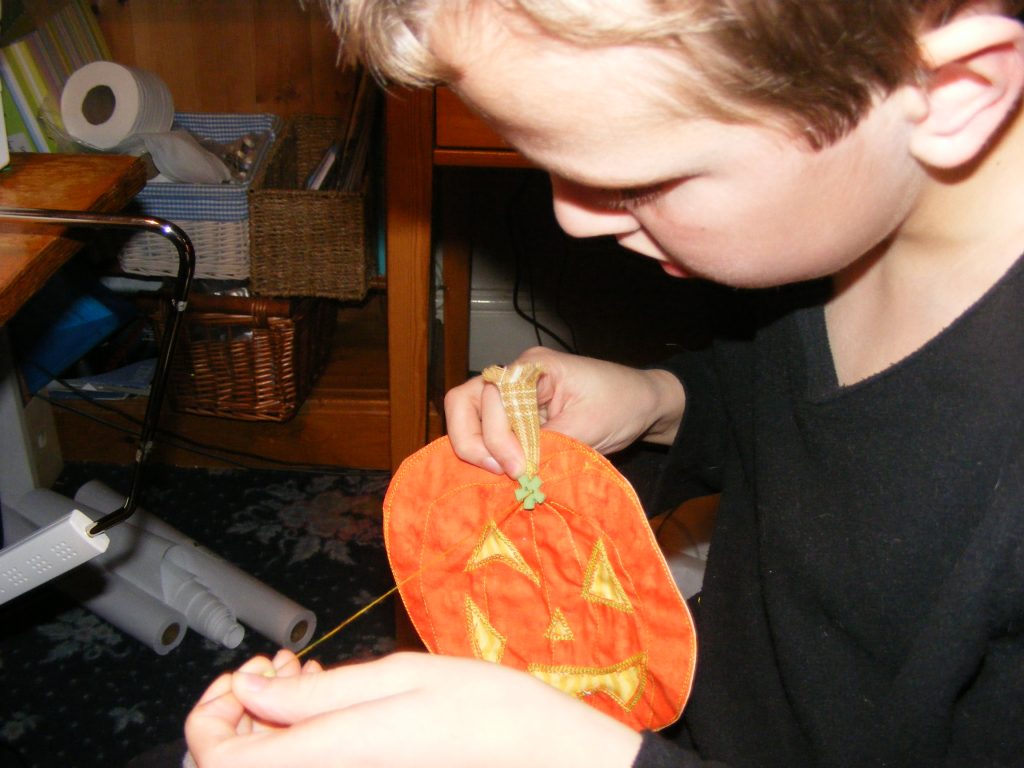
Finally Pete’s added a stem and is hand sewing a button.
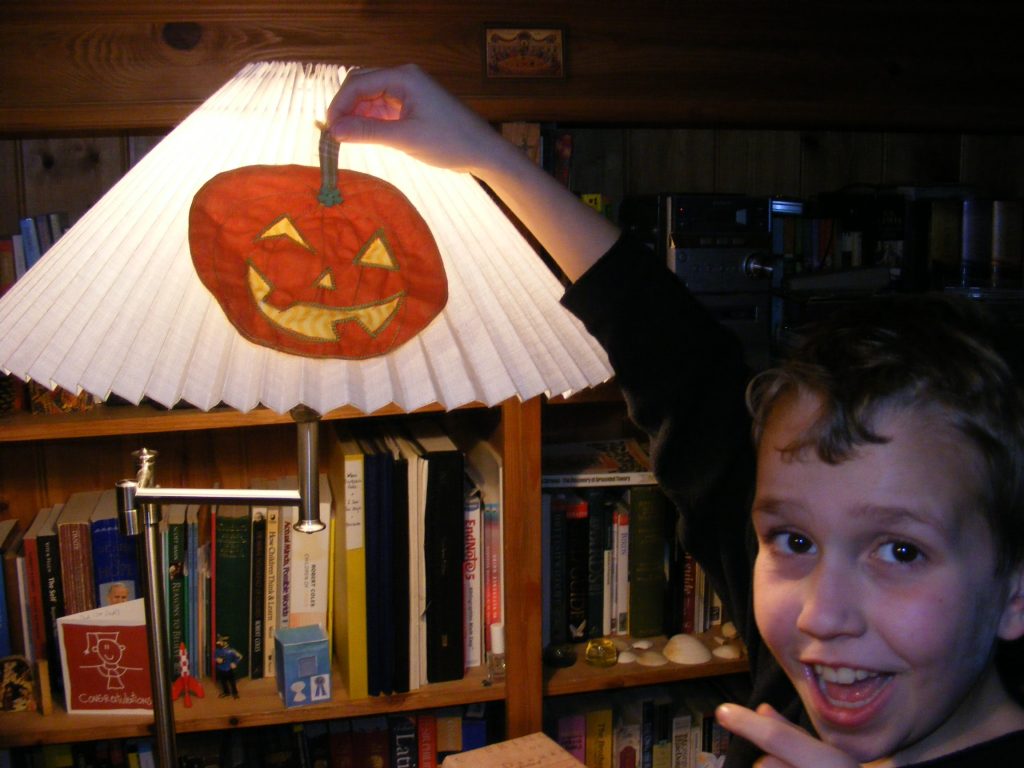
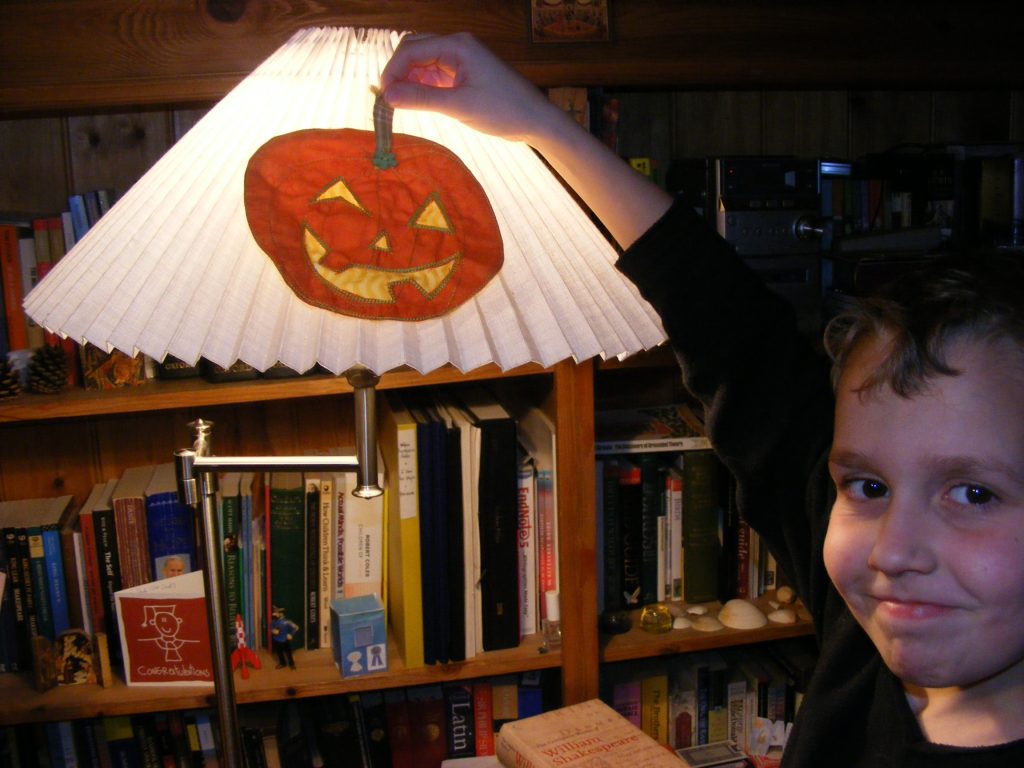
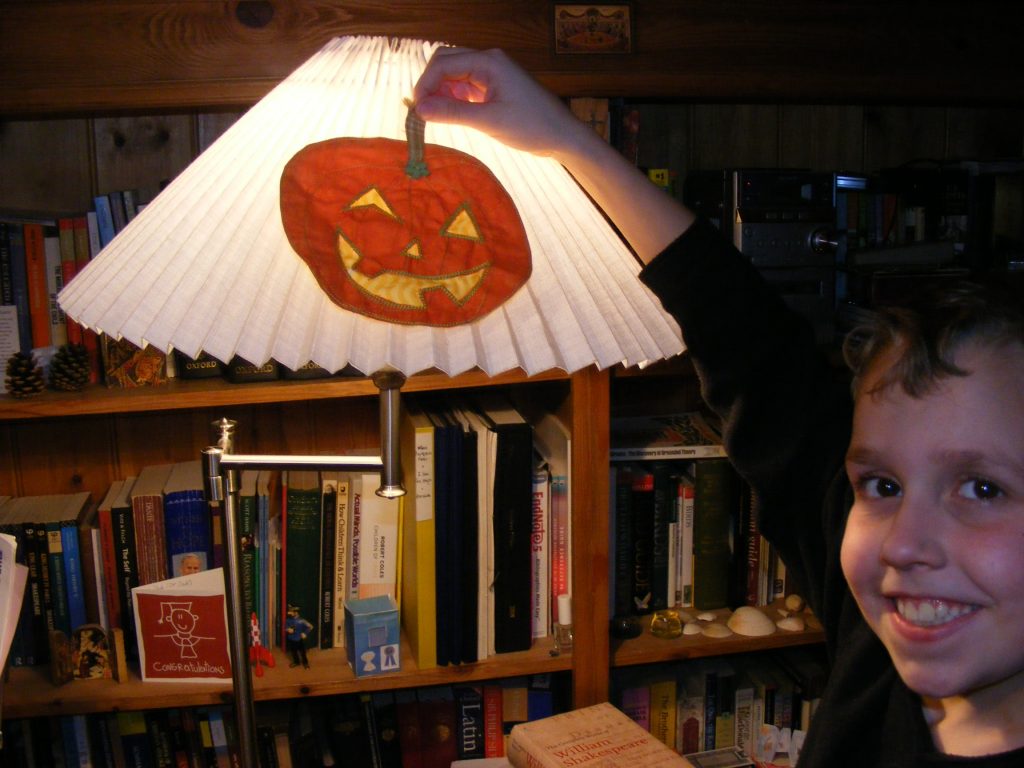
It was night time when we finished, so we used a lamp shade to get the stained glass effect. I think that Peter was rather pleased with his efforts!
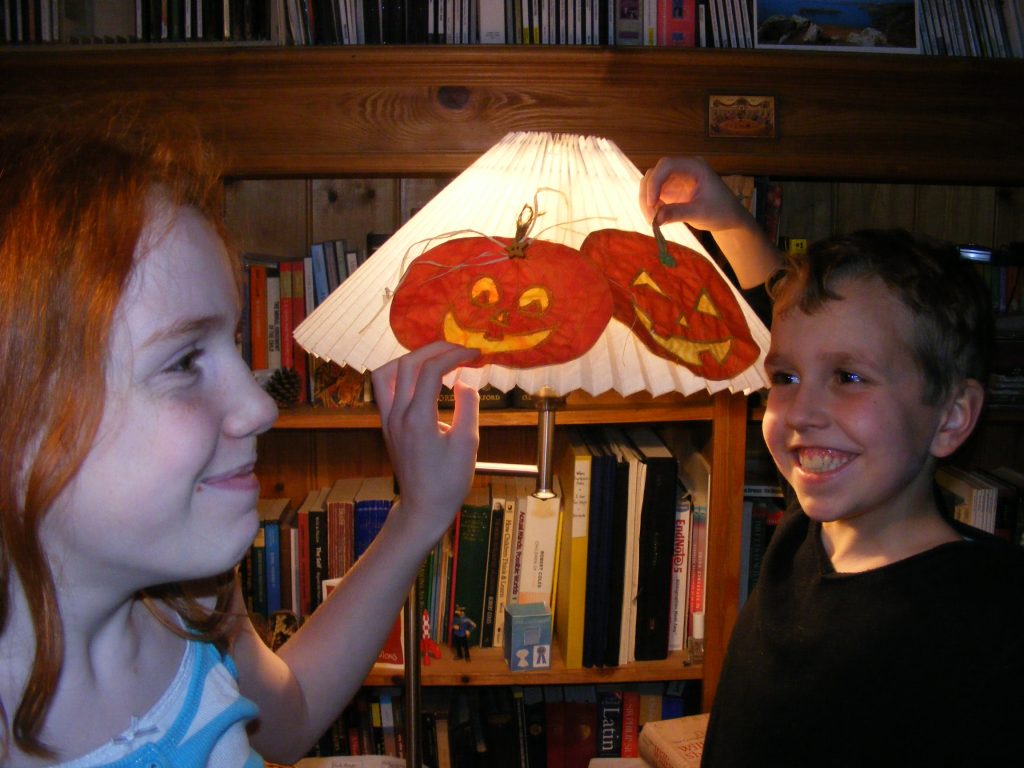
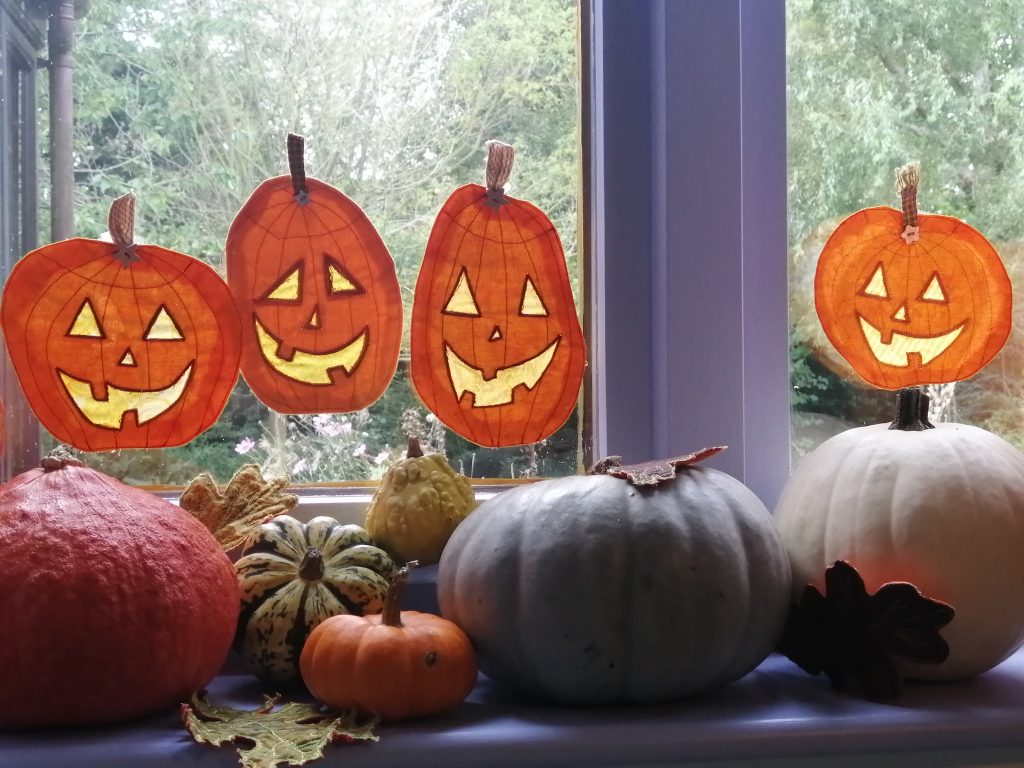
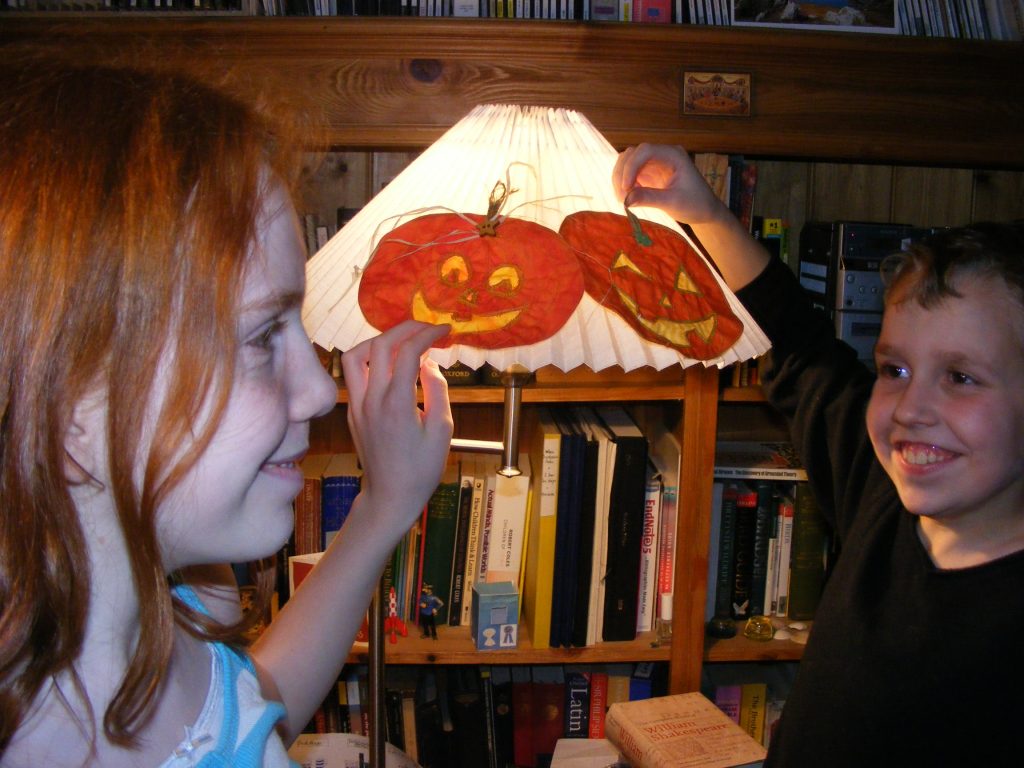
Ellie made one too! The great thing about these Halloween window pumpkins is that we can use them year after year. And we did.

Making memories with the Juki NX7.
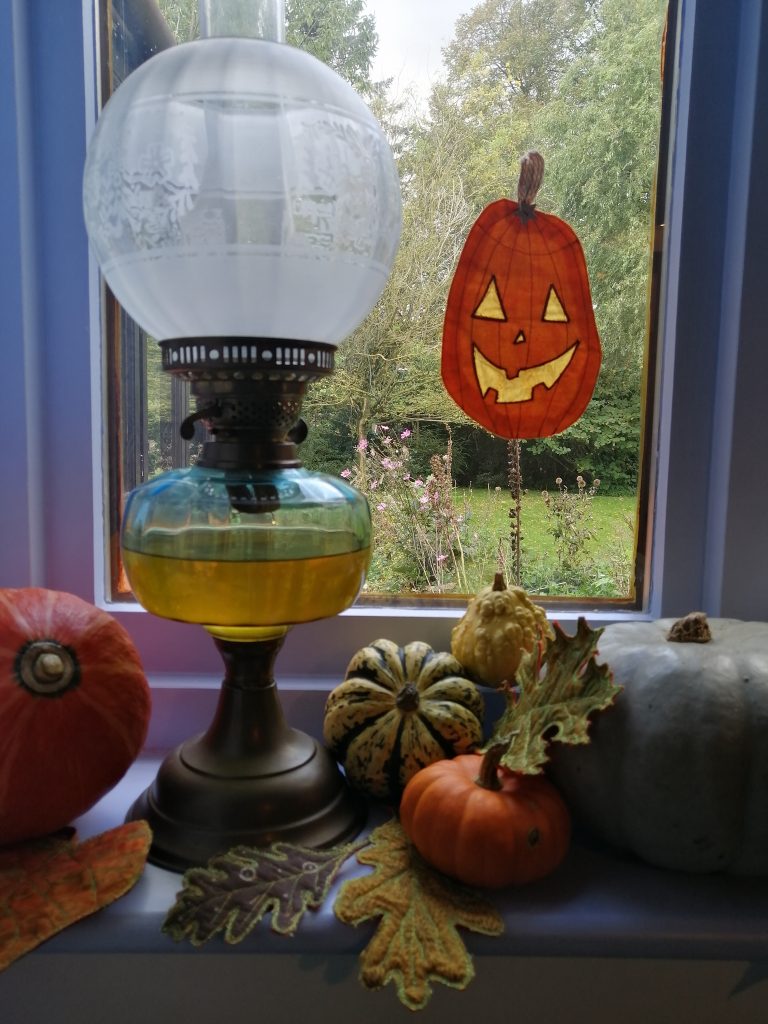
Letting the light shine through. Celebrate Halloween with our window pumpkins. Make them now and enjoy them year after year.
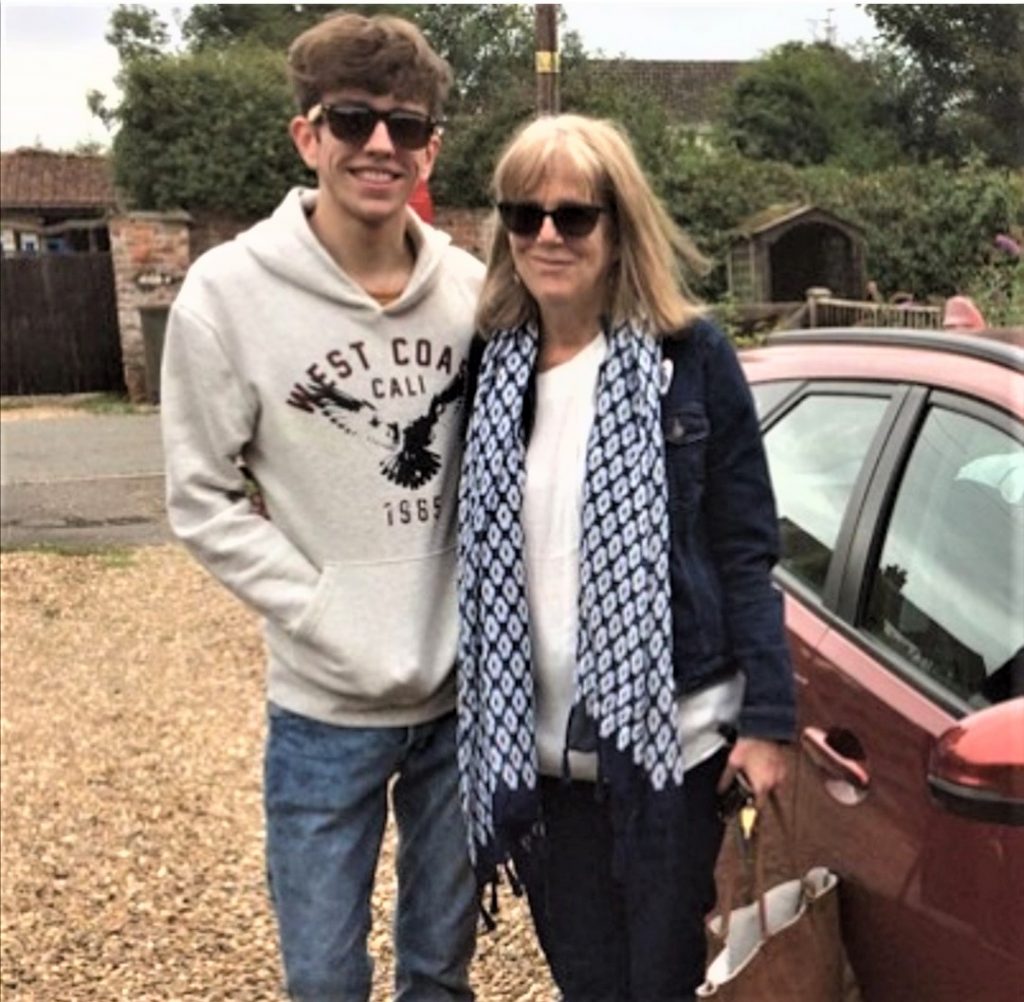
Pete’s finished University now, but I still have the Halloween window pumpkin that we made together when he was six.
Martha’s married and lives in the Scottish Highlands. She has 6 grown up children and three adorable grandchildren. Martha is a quilter and crafter currently learning to sew clothes. She uses Juki machines to teach free-motion quilting techniques. Martha works with Juki Europe to expand and nurture the creative sewing community that is Juki Club.