Looking for a gift for book lovers? Book Sleeves are one of my favourite projects. They’re so much fun to personalise for people who love books! Here’s the perfect cover for a book sleeve – a tall Tales Book Block by Kate Basti.
Inspiration
There are lots of good Book Sleeve tutorials out there. Jessica @peacelovebooksxo has a super simple YouTube tutorial. Perfect for beginners. Jessica uses just one fabric for the front, back, and lining. She uses foam to give the sleeve structure. The method for constructing the sleeve is identical to the Santa Sacks project that I posted about in December.
The Quilted Book Sleeve
This tutorial is a quilter’s version of a book sleeve. Quilting adds structure. So I thought that quilting would be a lovely way to add interest while making the book sleeve soft and strong.
Quilters tend to have lots of different fabrics which we enjoy mixing and matching. Quilters also have lots of orphan blocks, UFO’s (Un-Finished-Objects) and left over free-motion-quilting practice pieces, all of which are ideal for upcycling into book sleeves.
Materials
- 8 by 10 inch fabric rectangles for the front, back and 2 for the lining
- orphan blocks and scraps from free motion quilting
- Vlieseline H640 Volume Fleece Batting – it’s iron-on
- Pellon Craft-fuse iron-on Stabilizer or any heavy weight iron-on interfacing
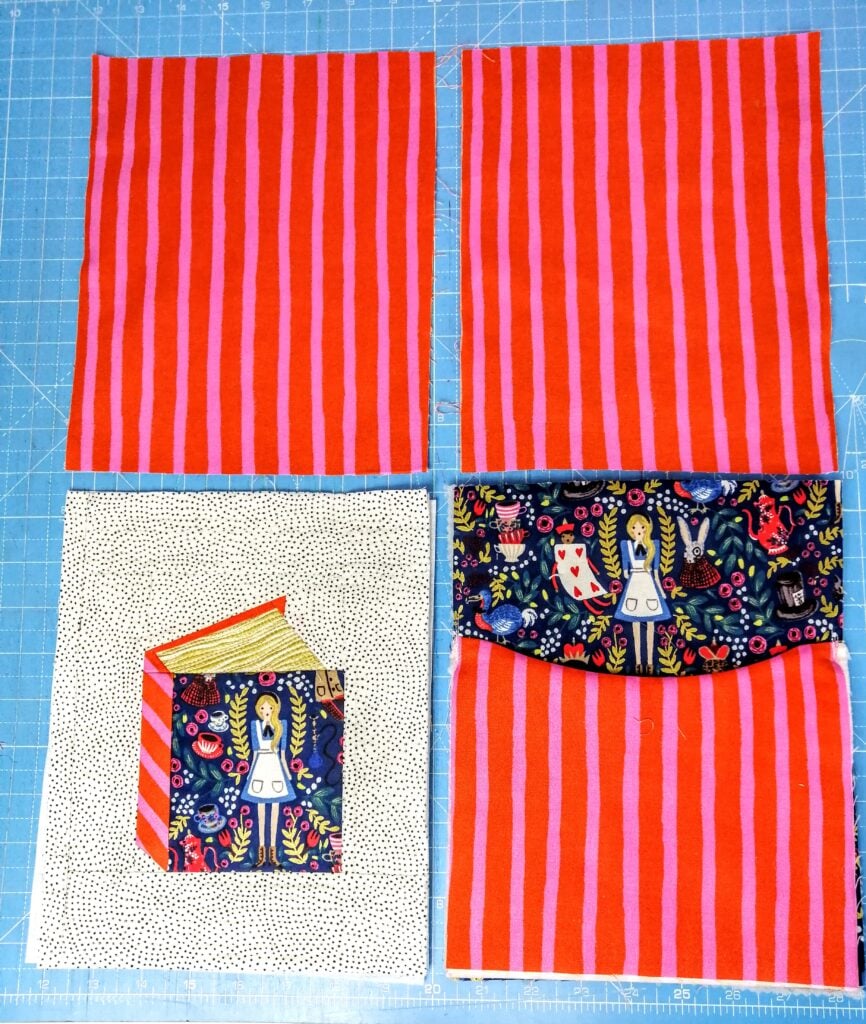
The front cover
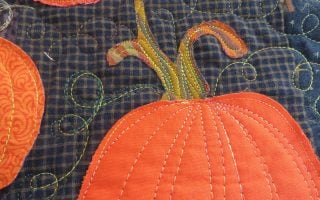
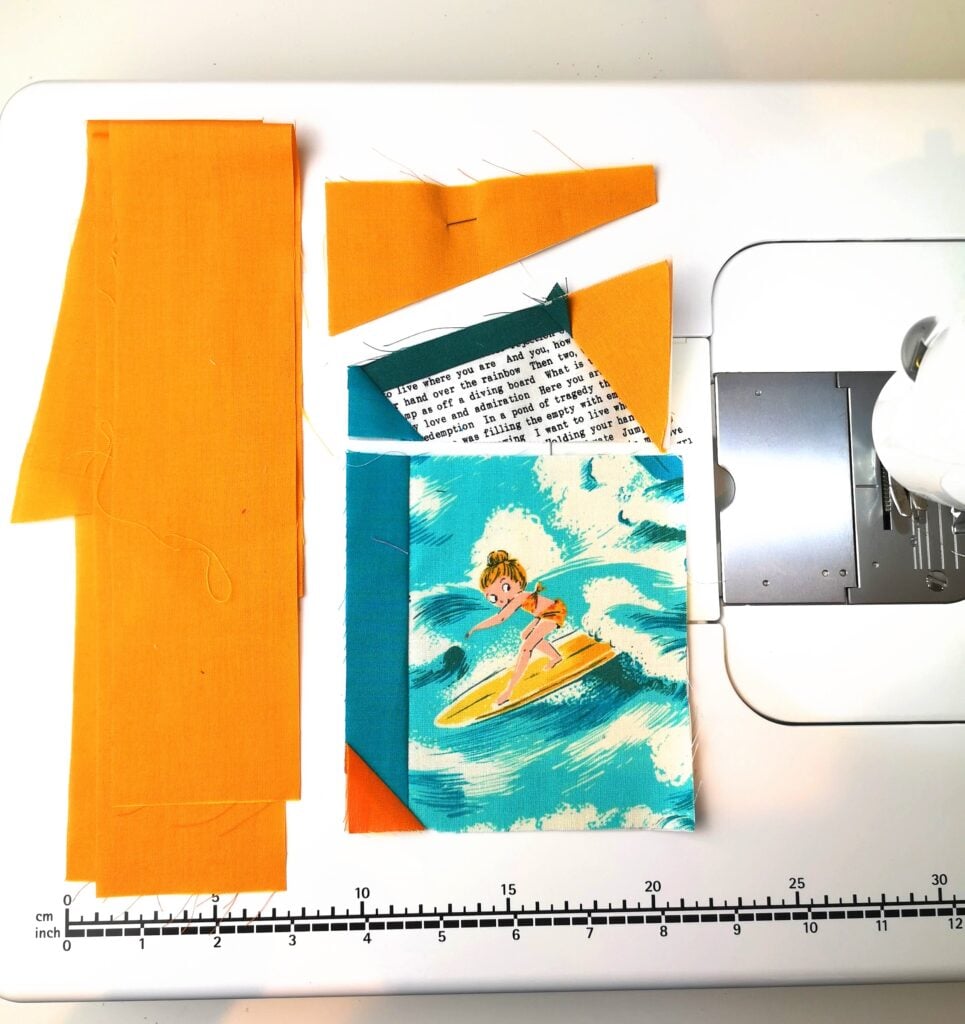
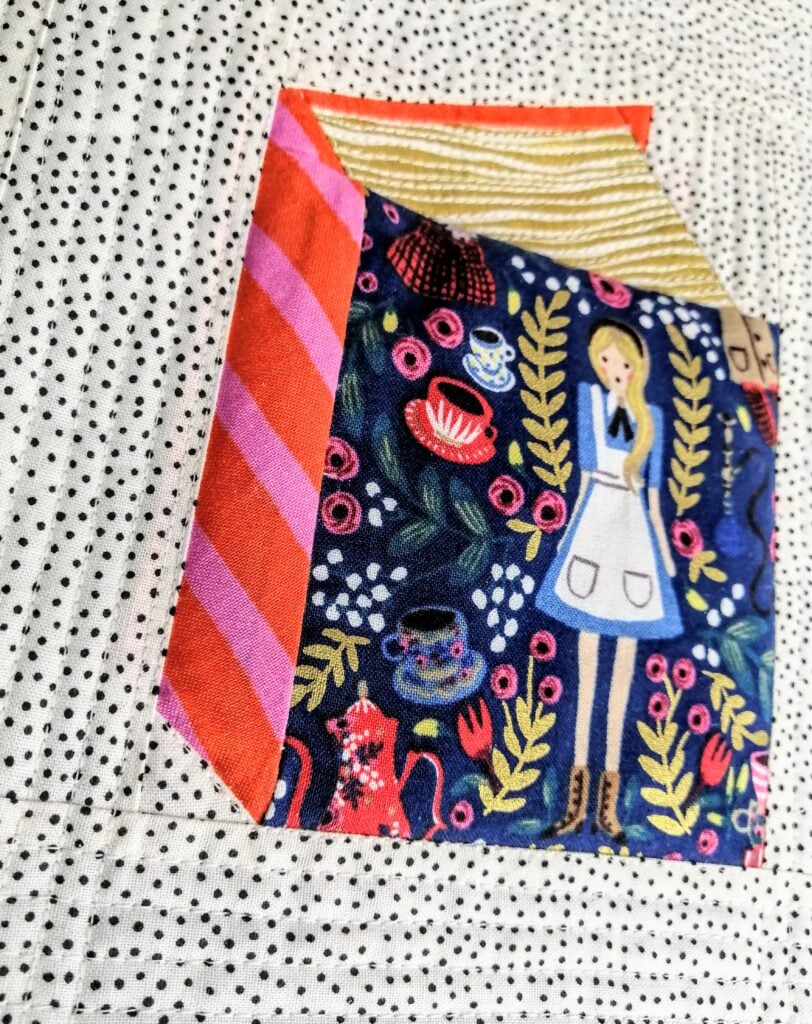
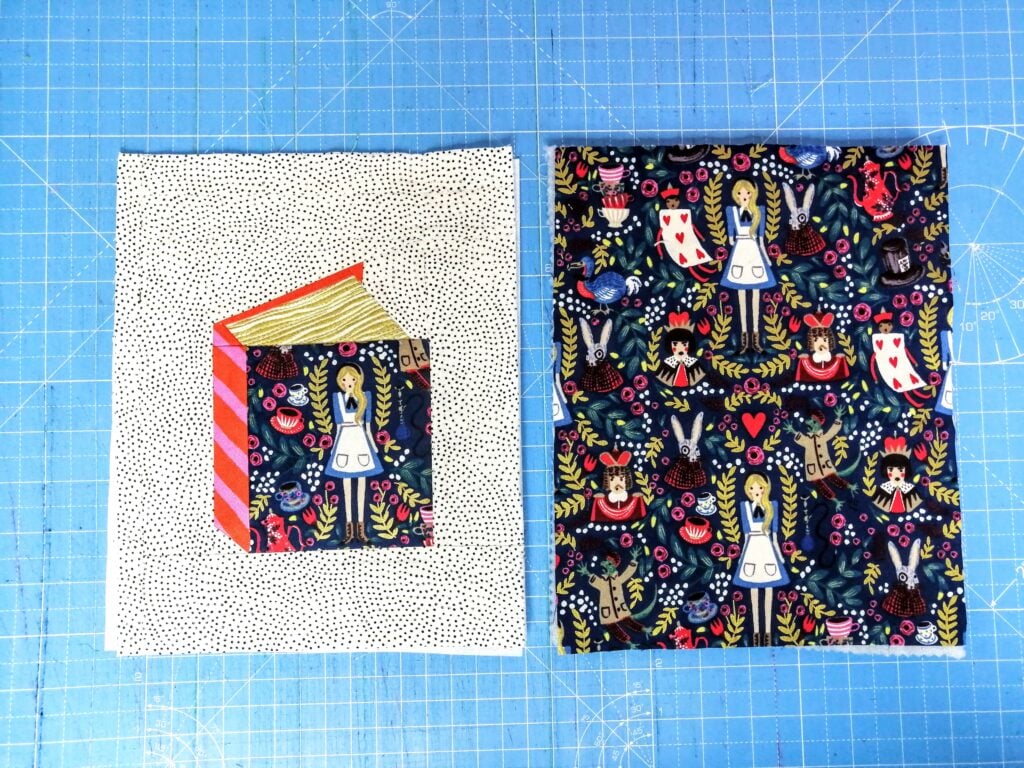
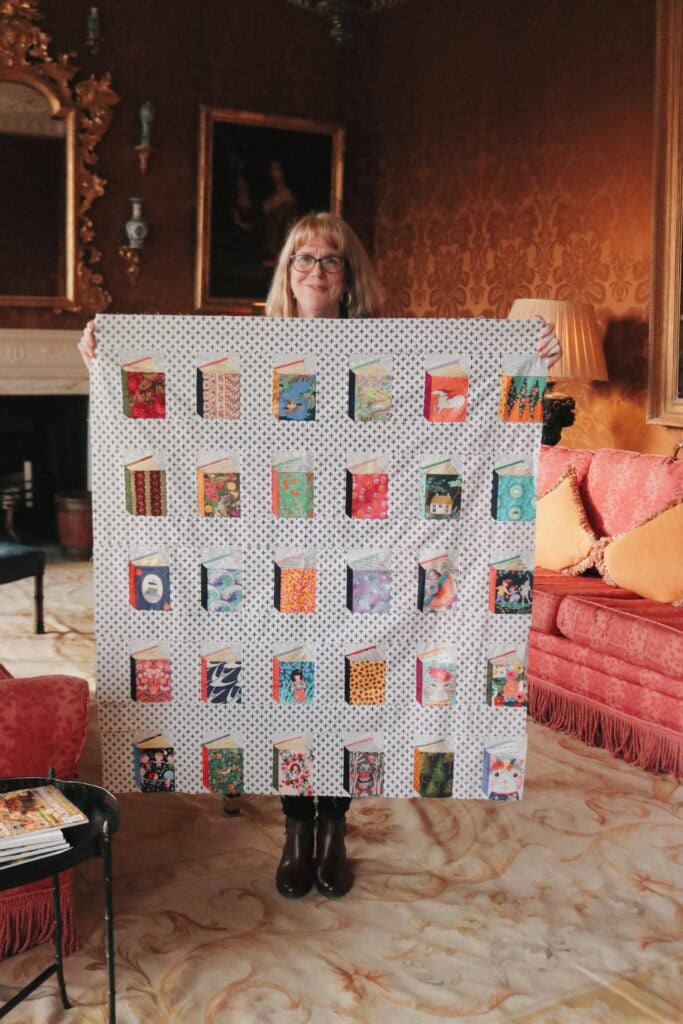
The front of this book sleeve started with a spare book block from my Book Quilt version of Kate Basti’s Tall Tales Book Blocks.
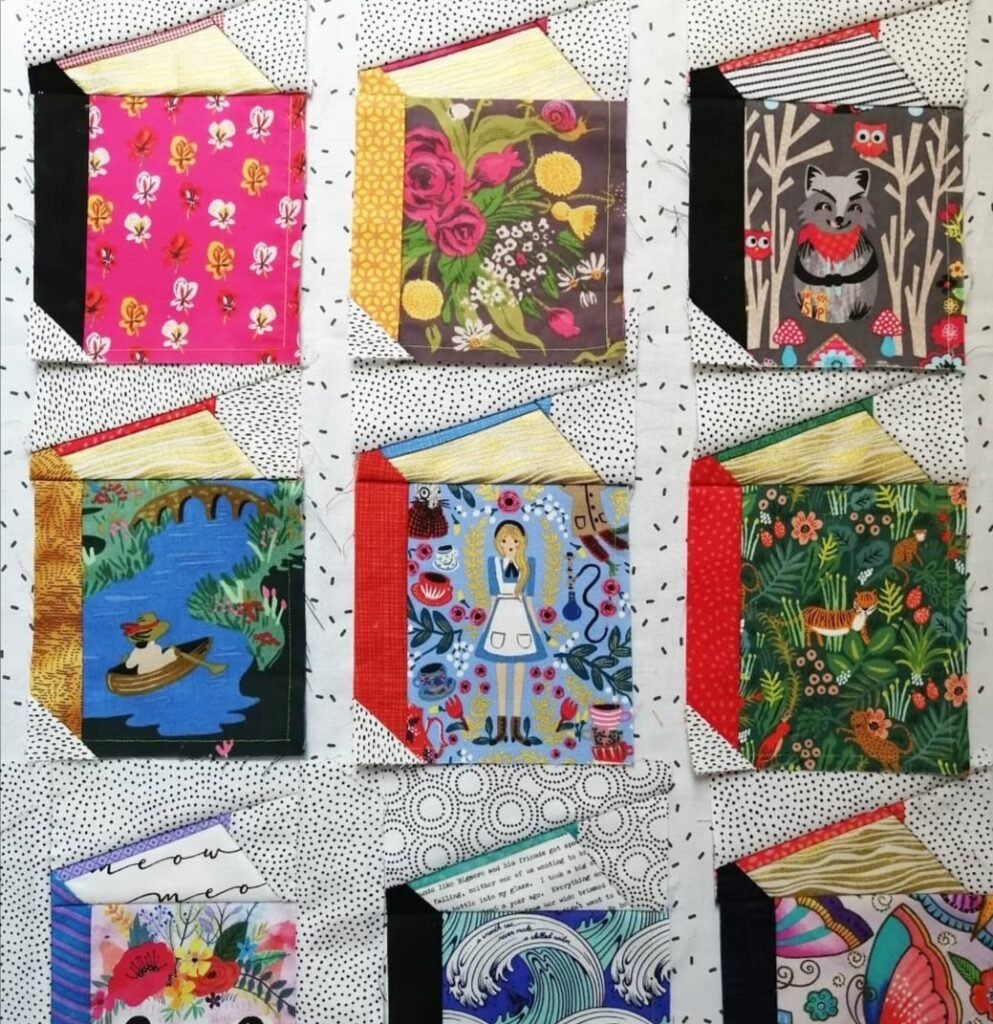
Kate Basti’s Tall Tale Book Blocks are a Foundation Paper Piecing pattern that is so darn cute it got me doing FPP even though I’m directionally challenged. Got to admit that it’s pretty perfect for a book sleeve. Kate is hosting another Tall Tales book blog sew along this summer!
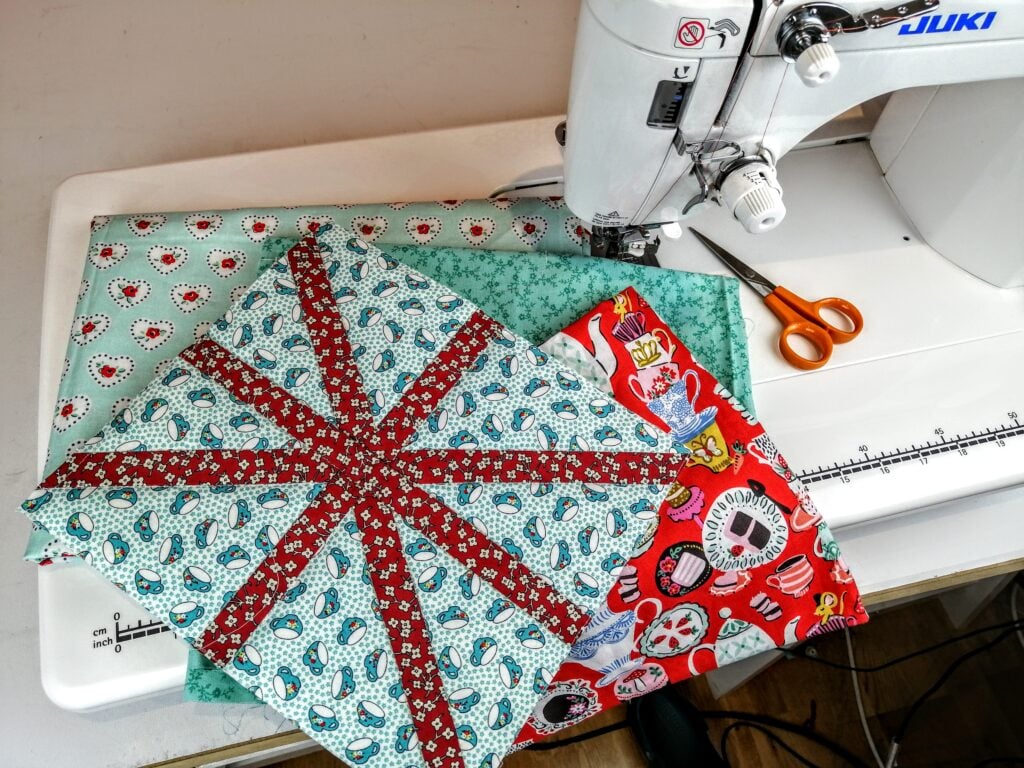
Fancy having a go with Kate Basti’s Tall Tales Book Block foundation paper pieced pattern? If you don’t want to make a whole quilt, it sure is fun to turn the block into a book sleeve. If you fancy another Foundation Paper Pieced pattern you can download the FREE Good Morning Sunshine sunburst pattern from the Windham Fabrics website here.
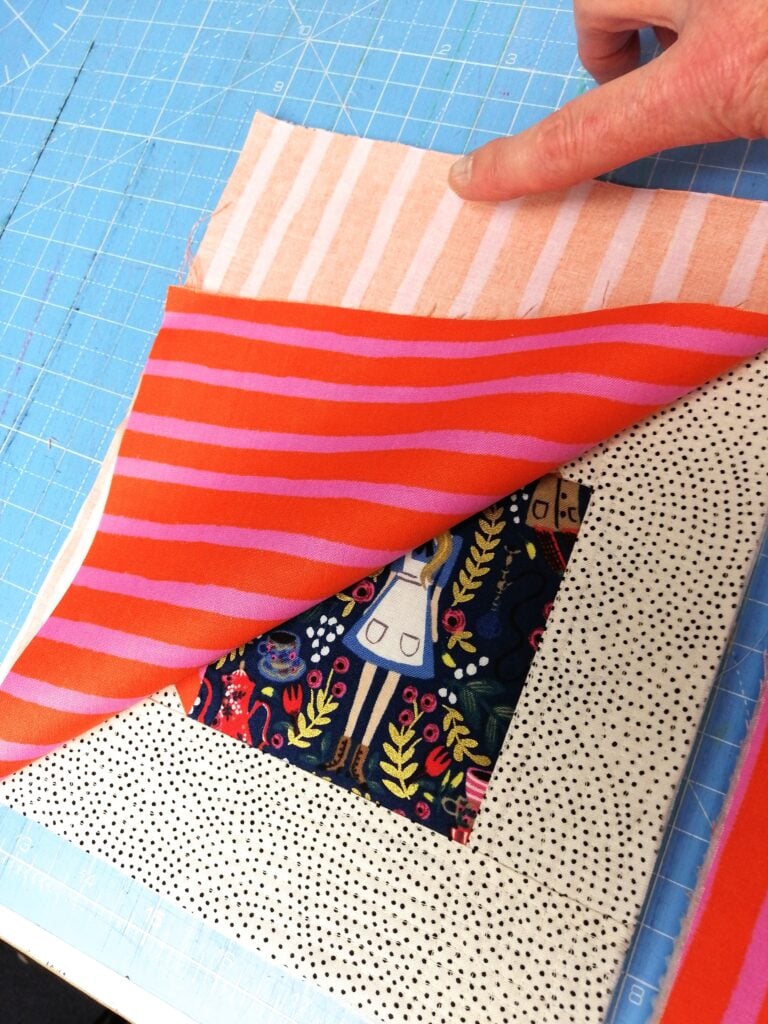
I used the Book Block as my base and ironed it to some Vlieseline H640 Volume Fleece batting purchased from Amazon. Then I simply added strips around the block using a quilt as you go method. Strips right sides together, stitched and flipped, and then straight line quilted. I carried on until the front piece measured 8 by 10 inches. The Fleece batting combined with the straight line quilting created a soft but firm structure to the book sleeve.
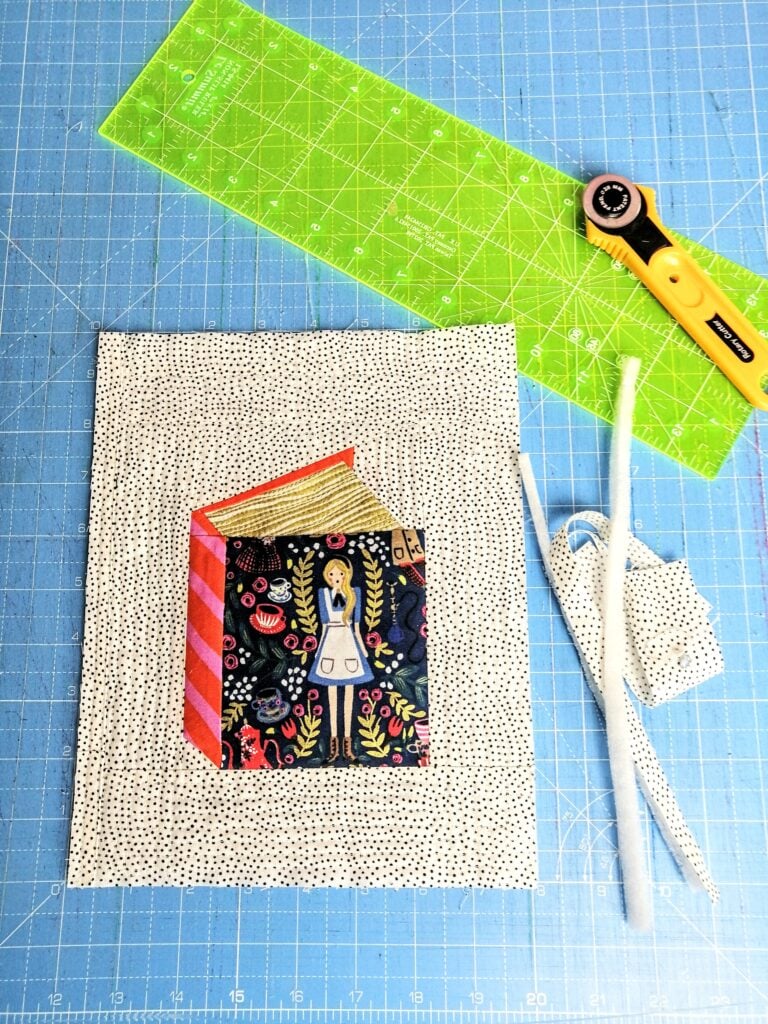
Finally, at the end, to add even MORE structure, I ironed Pellon Craft-fuse Iron-On Stabilizer to the back of the Fleece batting.
The back cover
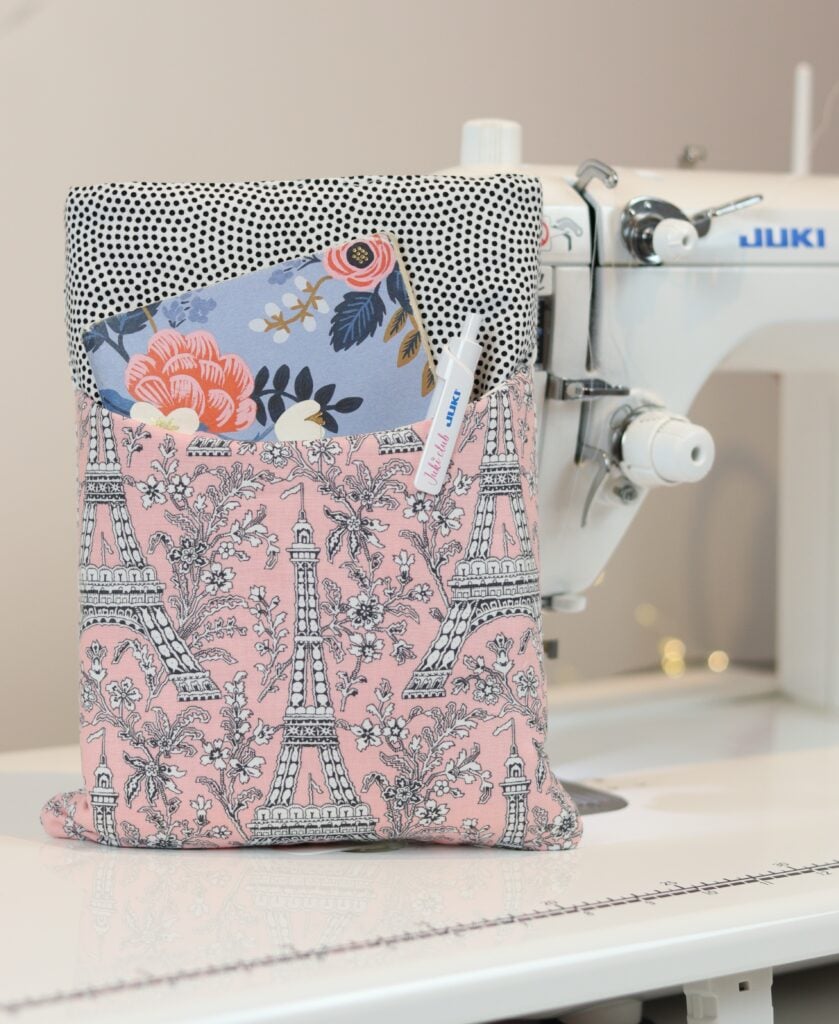
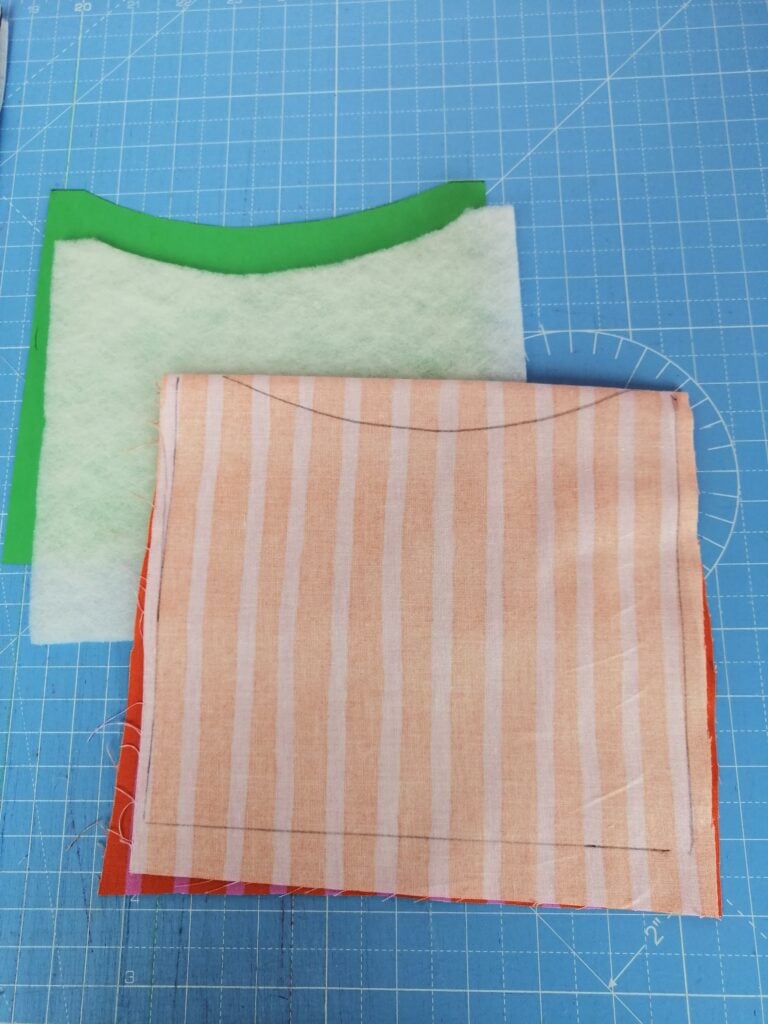
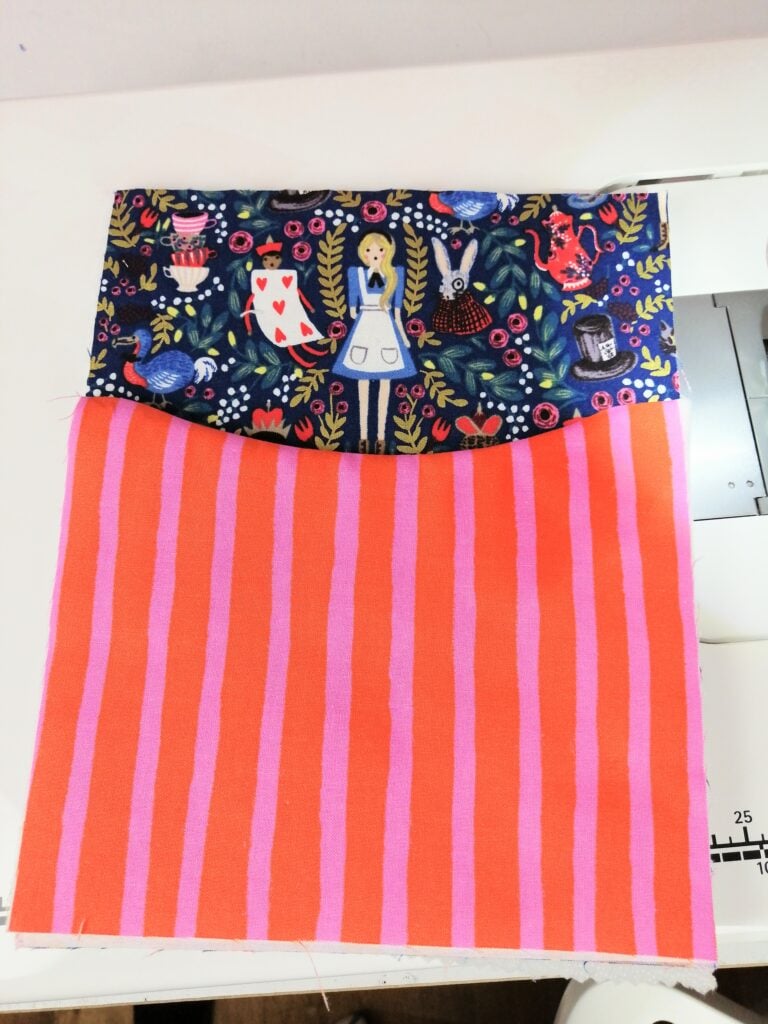
I wanted a pocket on the back cover and fell in love with a curvy pocket from a Quick and Easy Tablet Sleeve You Tube tutorial by Jessica from Sew Many Creations. It is clear, quick, to the point and probably one of the best tutorials I’ve ever watched! I thought the curvy pocket looked great on the book sleeve and it created a nice space to keep a little notebook and pen.
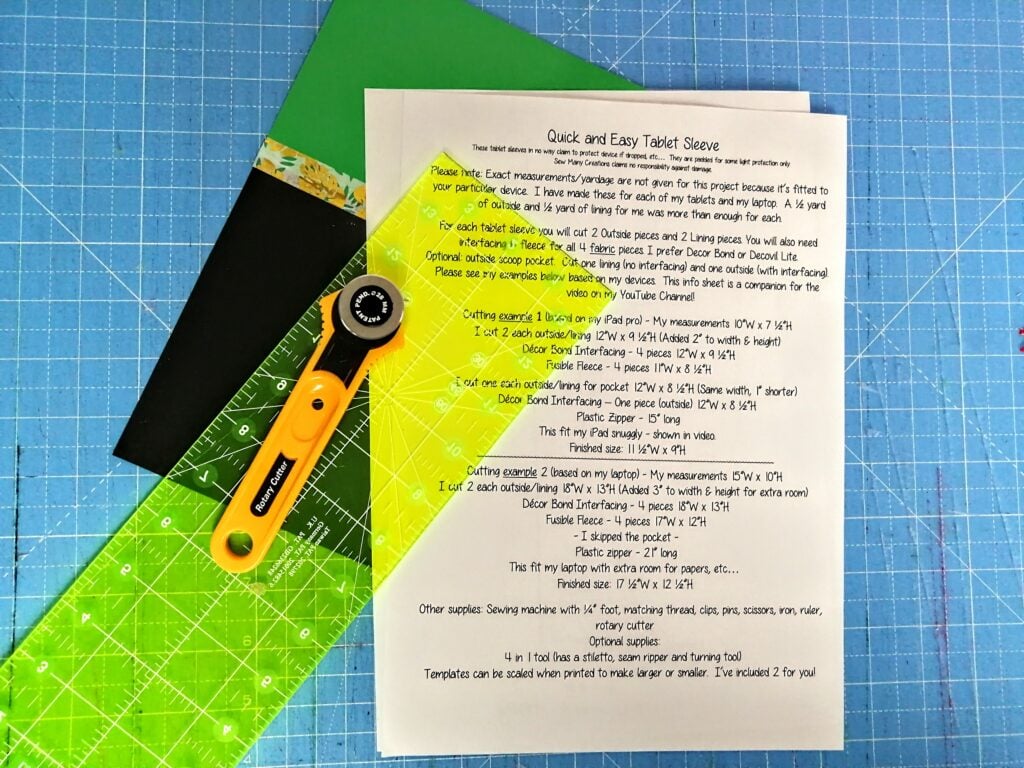
First I chose some fabric for the back cover and ironed it to the H640 Volume Fleece Batting. Then I followed Jessica’s directions for making the pocket. Jessica has FREE downloadable directions for this on her You Tube channel.
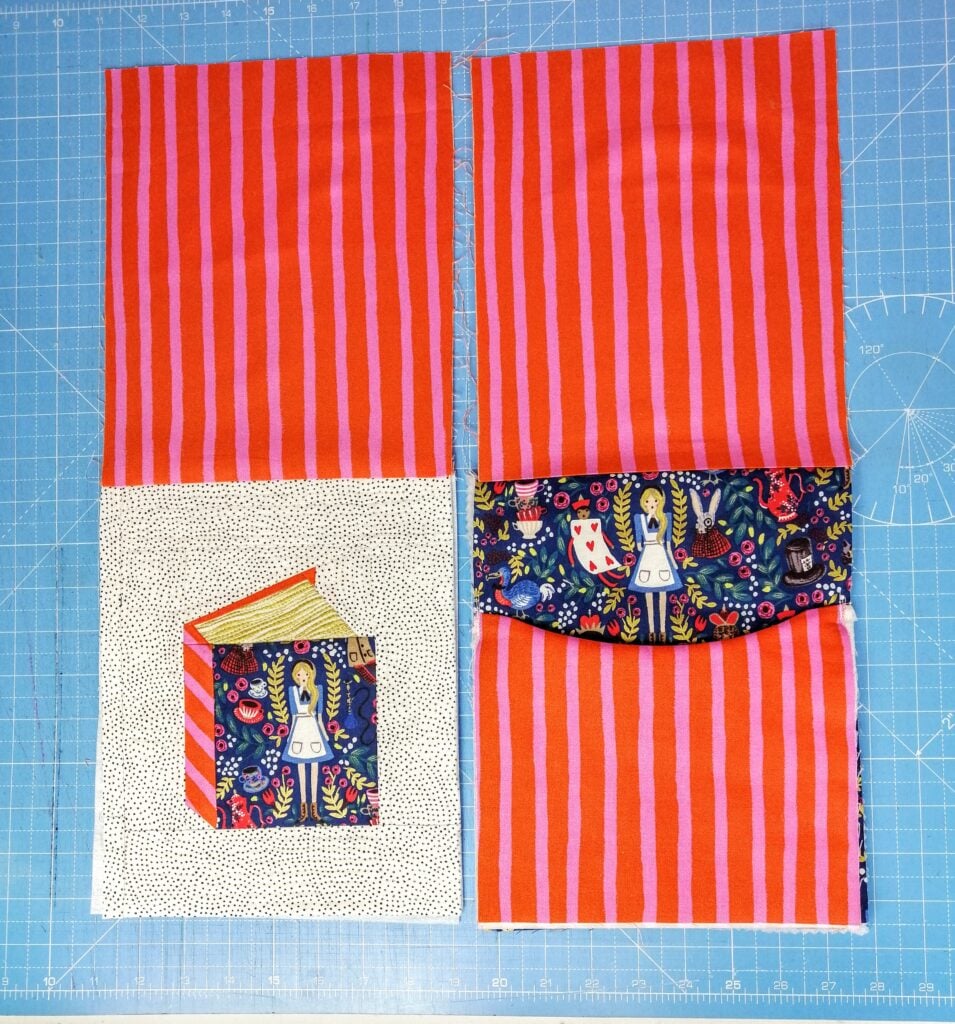
Adding the pocket
I love pockets! And I think the result is worth the extra steps. This pocket is lined with added interfacing. I used more H640 Volume Fleece wadding to give it structure. and then added a final layer of Pellon Craft-fuse Iron-on Stabilizer.
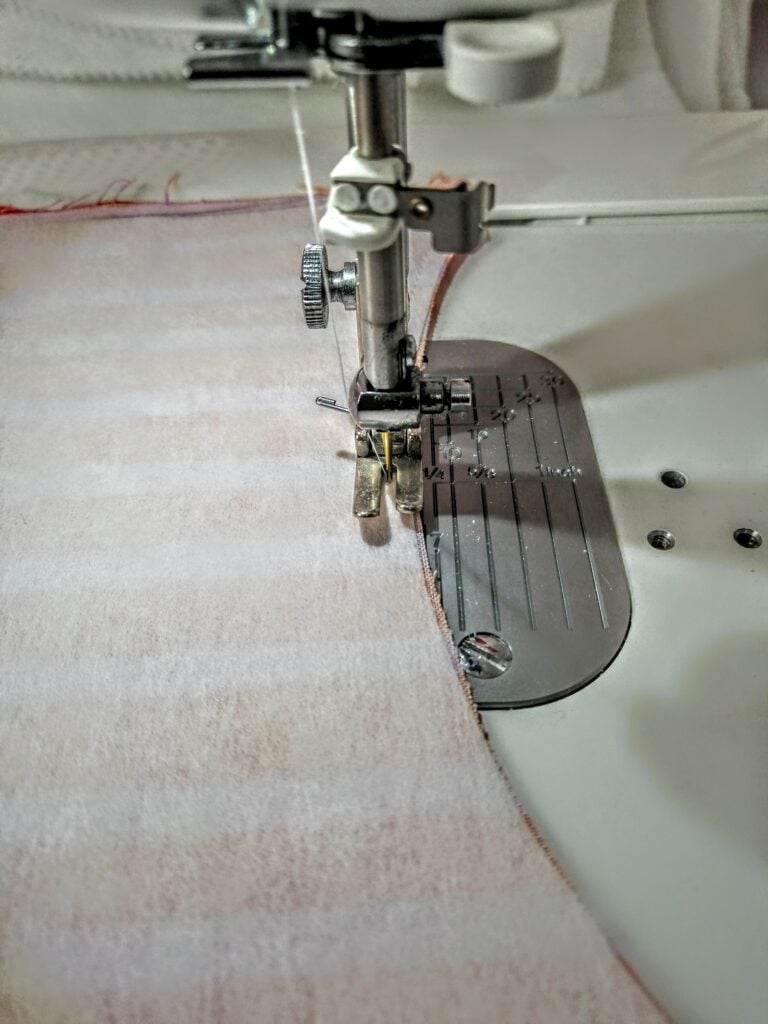
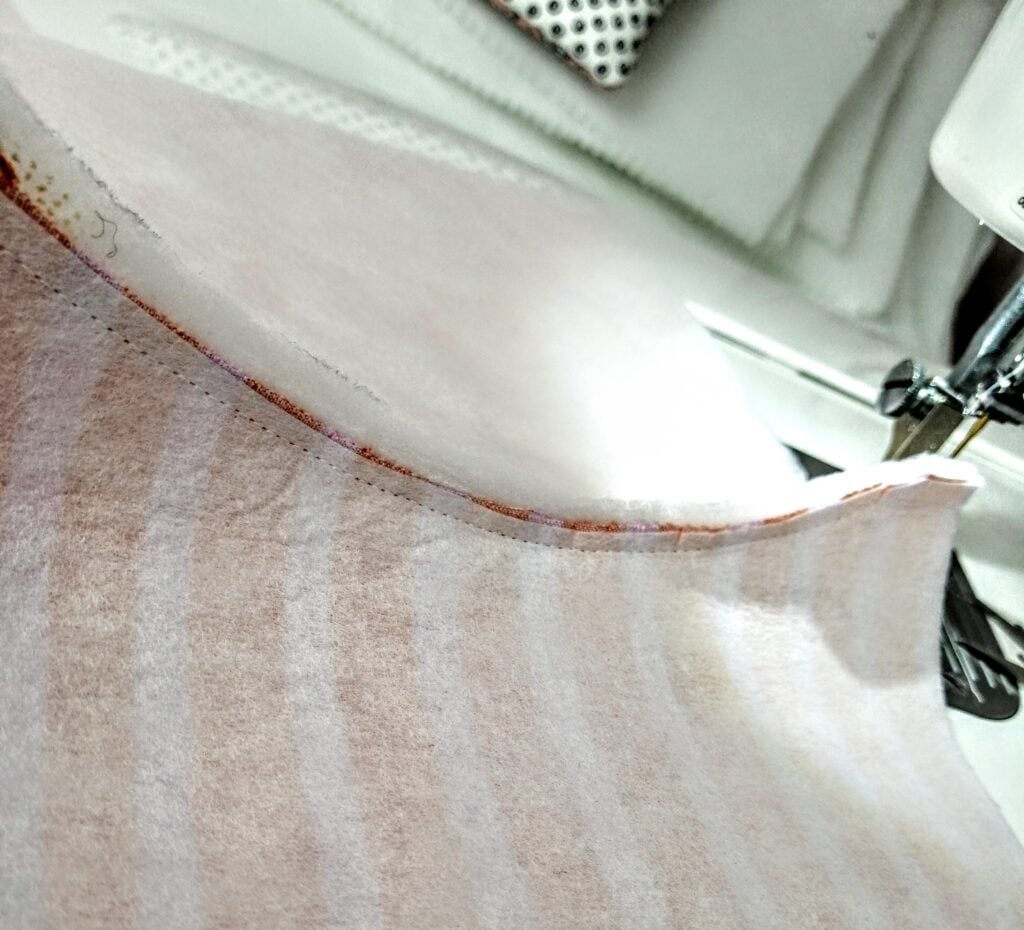
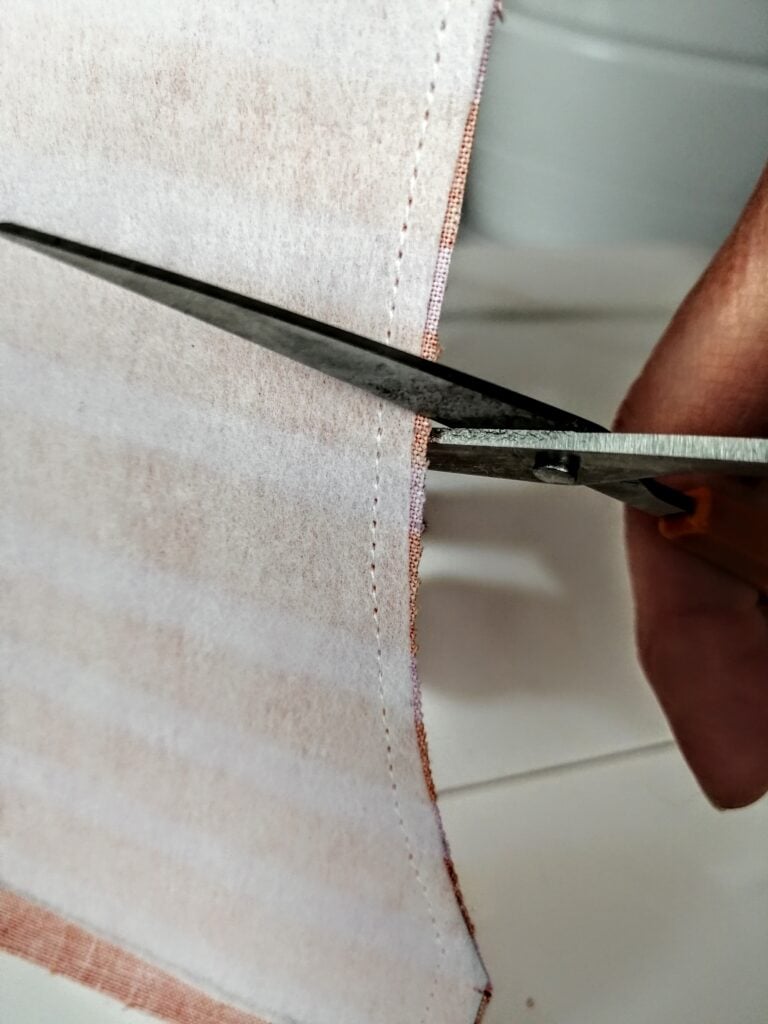
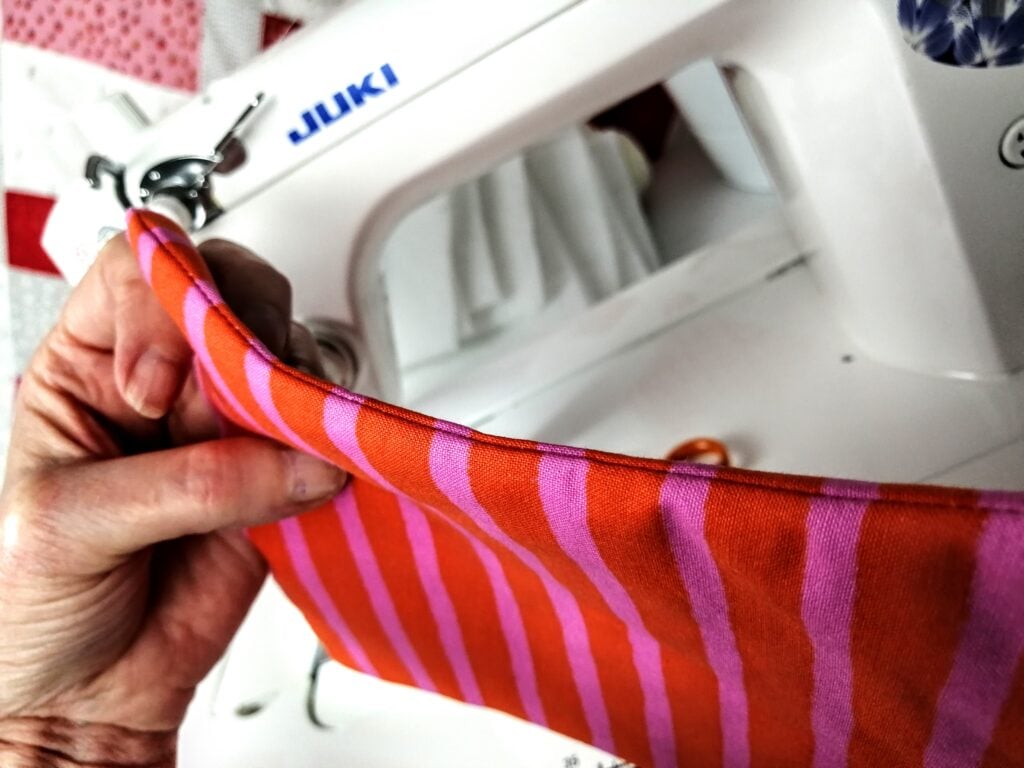
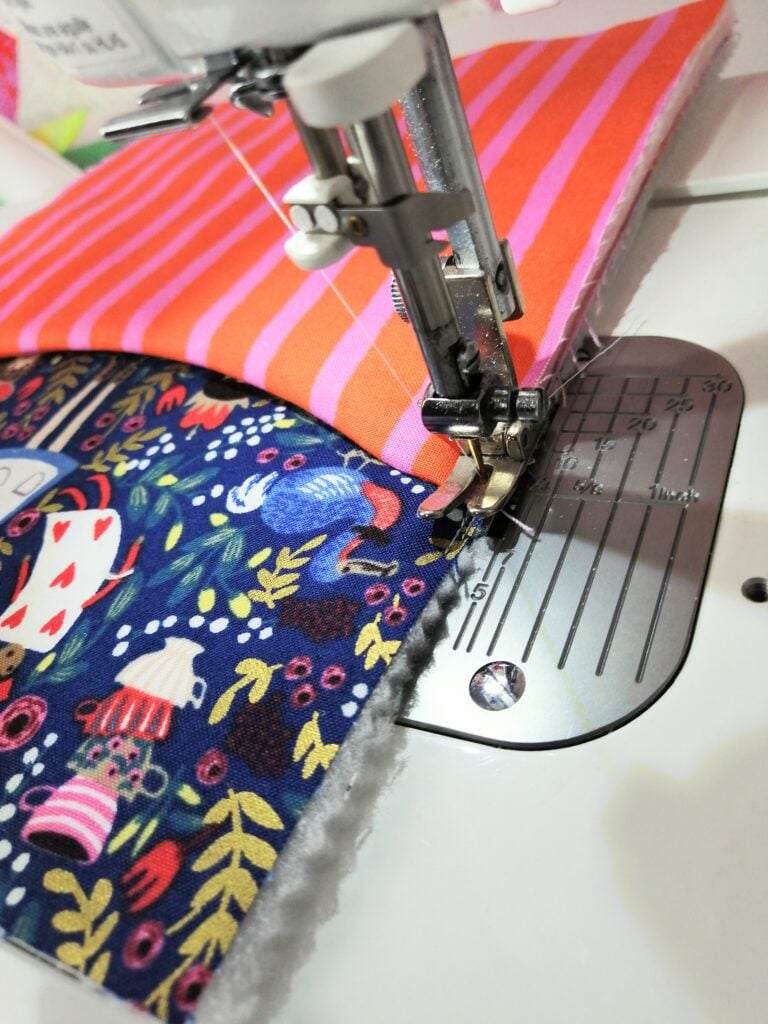
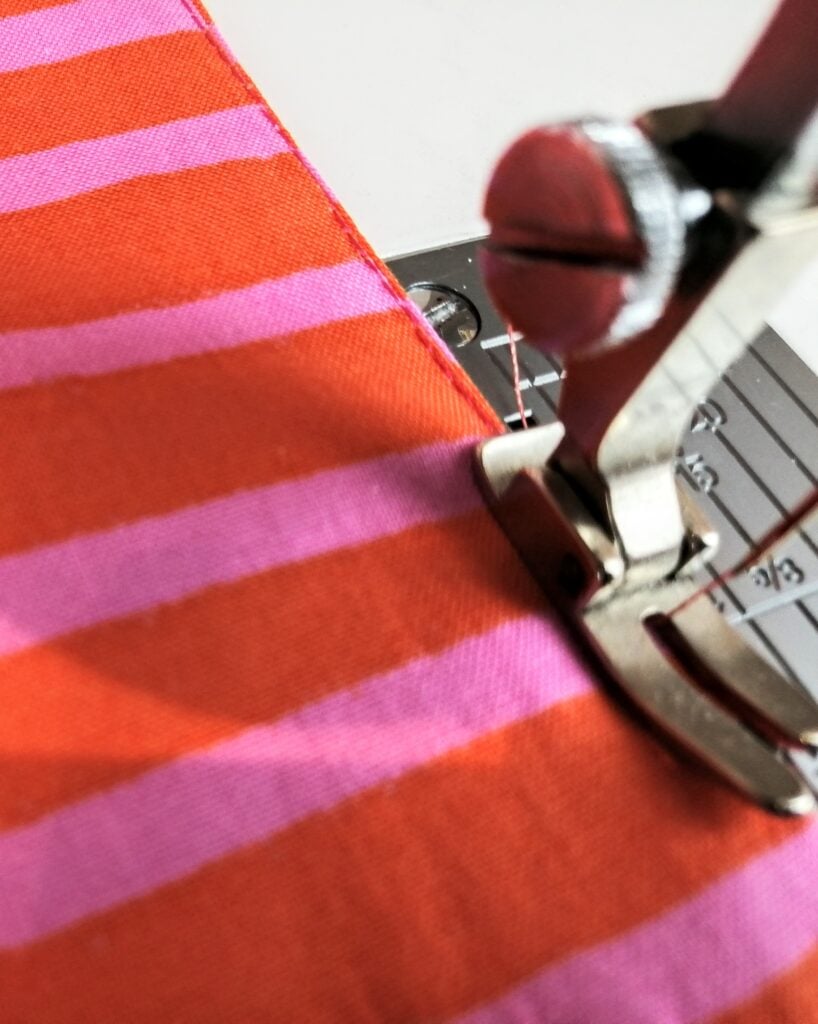
I stitched the pocket and lining together down the curved top, then snipped along just inside the seam. Then flipped it over, finger pressed it and ironed it to get a smooth curve. Lastly, I stitched the top sides of the pocket to the backing fabric so that the stitching would be inside the seam.
Adding the lining
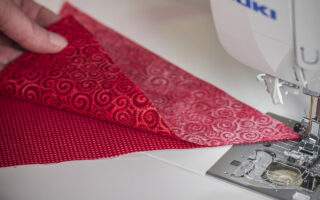
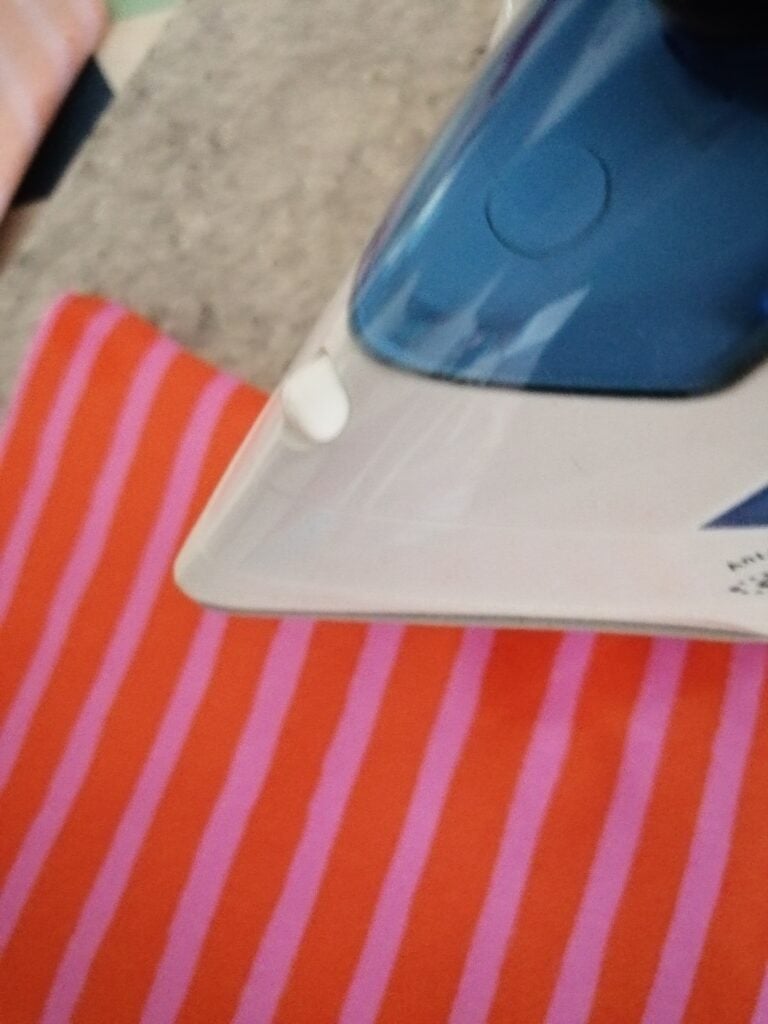
Now we’re ready to add the lining. I chose this stripy fabric and cut two 8 by 10 inch rectangles. The lining doesn’t need any interfacing.
Now stitch the lining, right sides together to the top of the front and back cover. Then open the seams and press towards the lining.
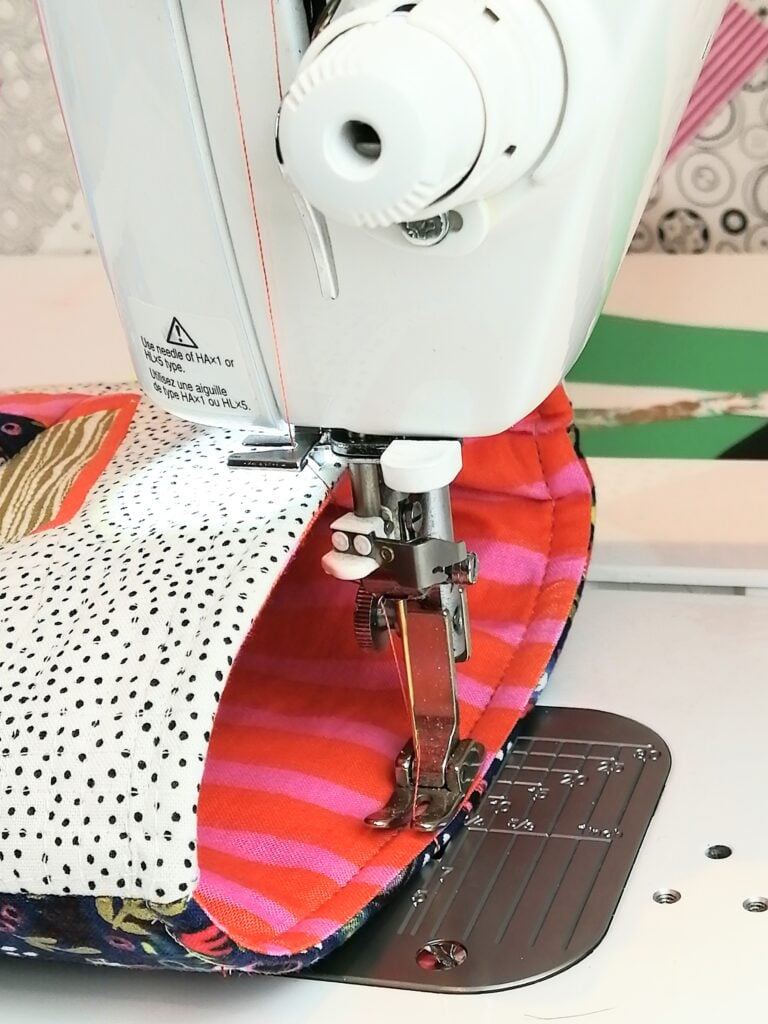
Now lay the back cover and lining over the front cover and lining, right sides together. Match up the top seams where the lining joins and pin in place. You are going to start at the lining, and stitch all the way around, leaving a gap at what will be the bottom of the lining, so you can pull the book sleeve through the gap. This is where the Juki TL QVP Mini straight stitch really shines. It goes through ALL those layers beautifully!
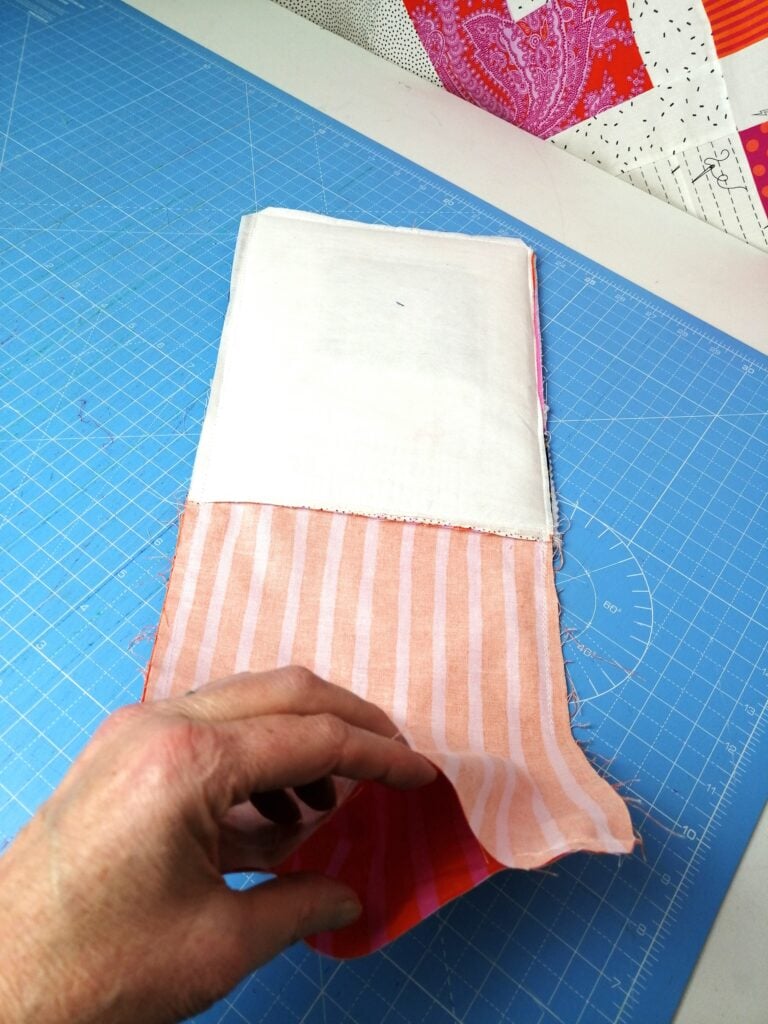
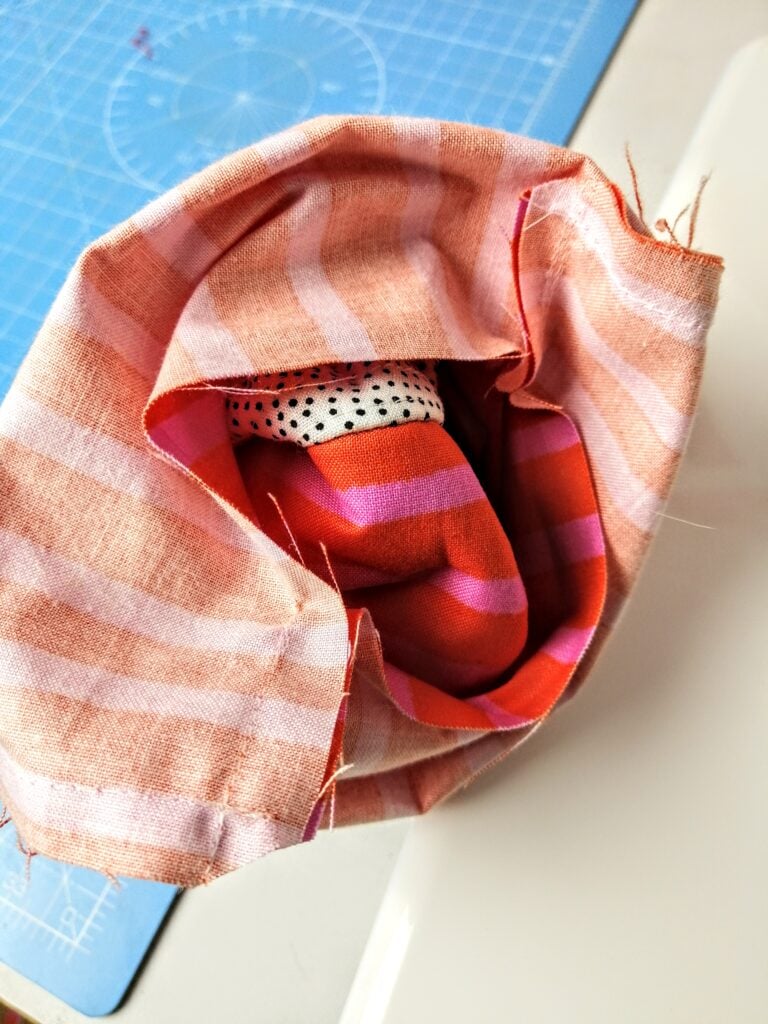
When you’re finished, reach through the gap, grab the bottom corner and pull it through. Some people call this birthing the bag. Now we’re nearly finished. We just need to stitch the gap closed and push the lining down into the book sleeve.
The final step is to Topstitch around the top of the Book Sleeve. And you’re done!
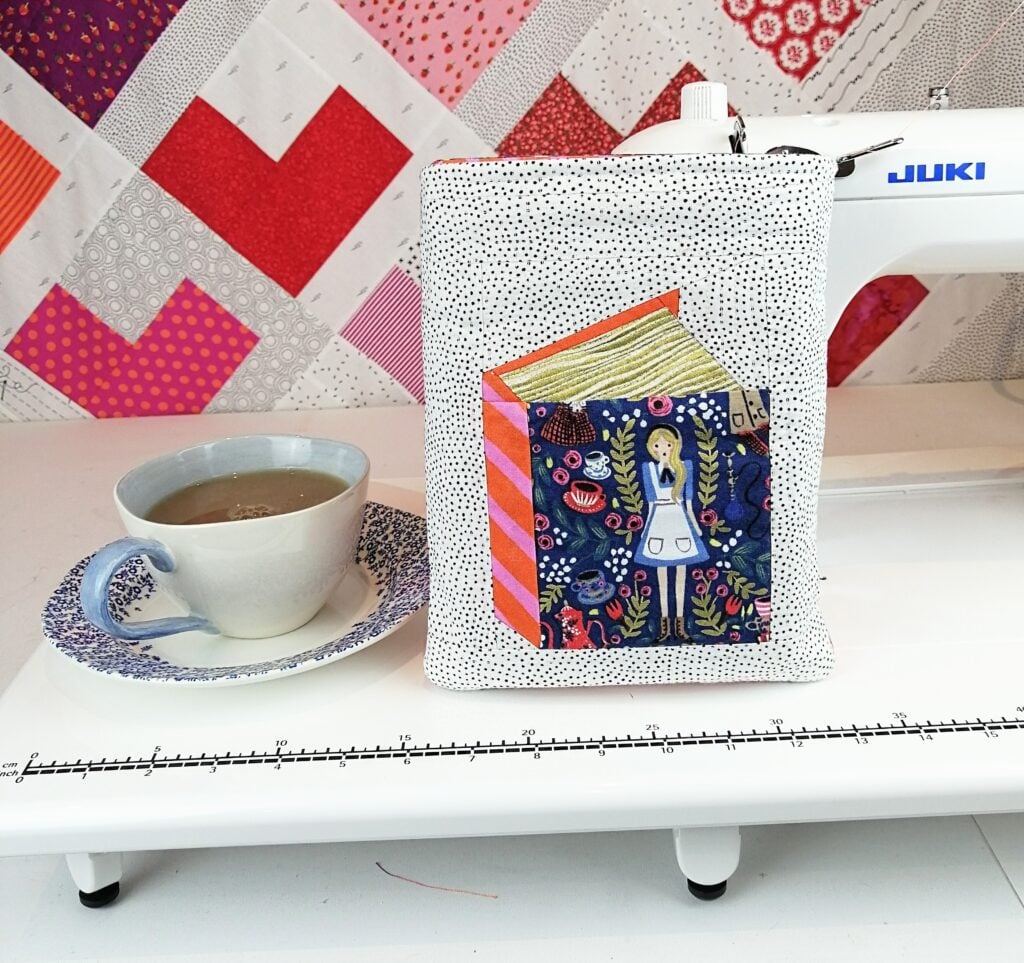
Looking lovely from all the angles! The quilting makes this so tactile.
Make it your own
The Book Sleeve can be adapted to fit any size book. Simply place your book over some fabric and cut it out a couple of inches larger than the book. Easy peasy. I cut my first book sleeve 8 inches wide and 10 inches tall. This was an ideal size for lots of books! I’d recommend making one this size and then adapting it for future book sleeves.
The main tip is to give the sleeve some structure. Interfacing is a must. And adding any kind of quilting is great for that. Making book sleeves is a great way to use up scraps, orphan blocks and UFO’s!
Young Sewists
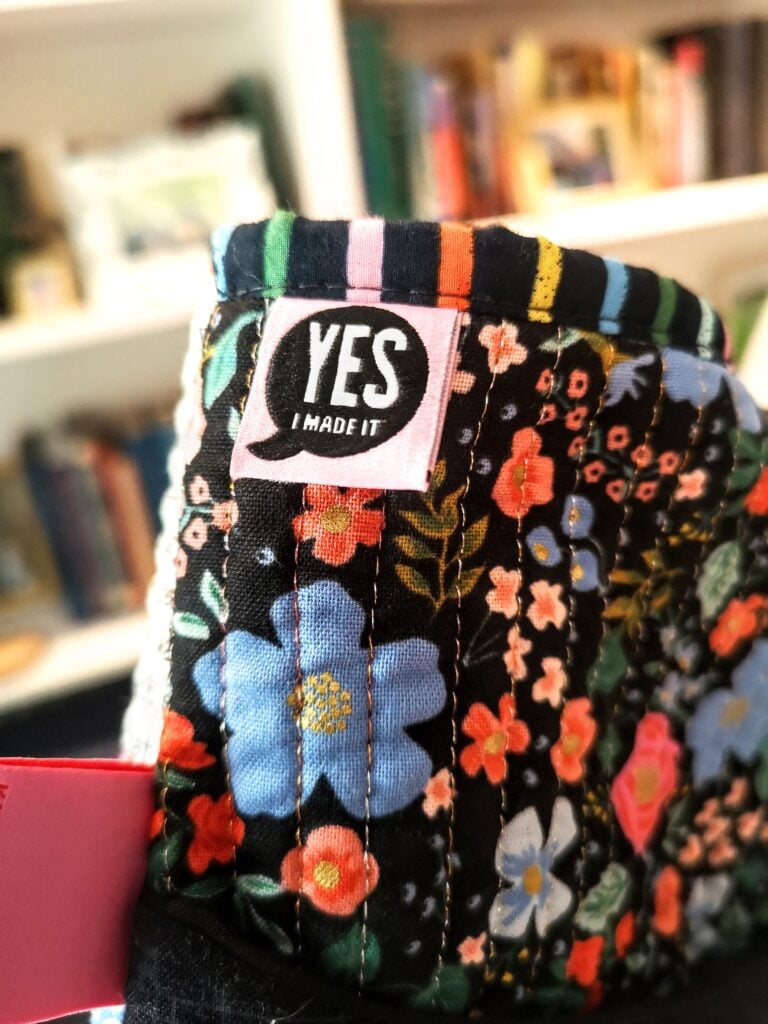
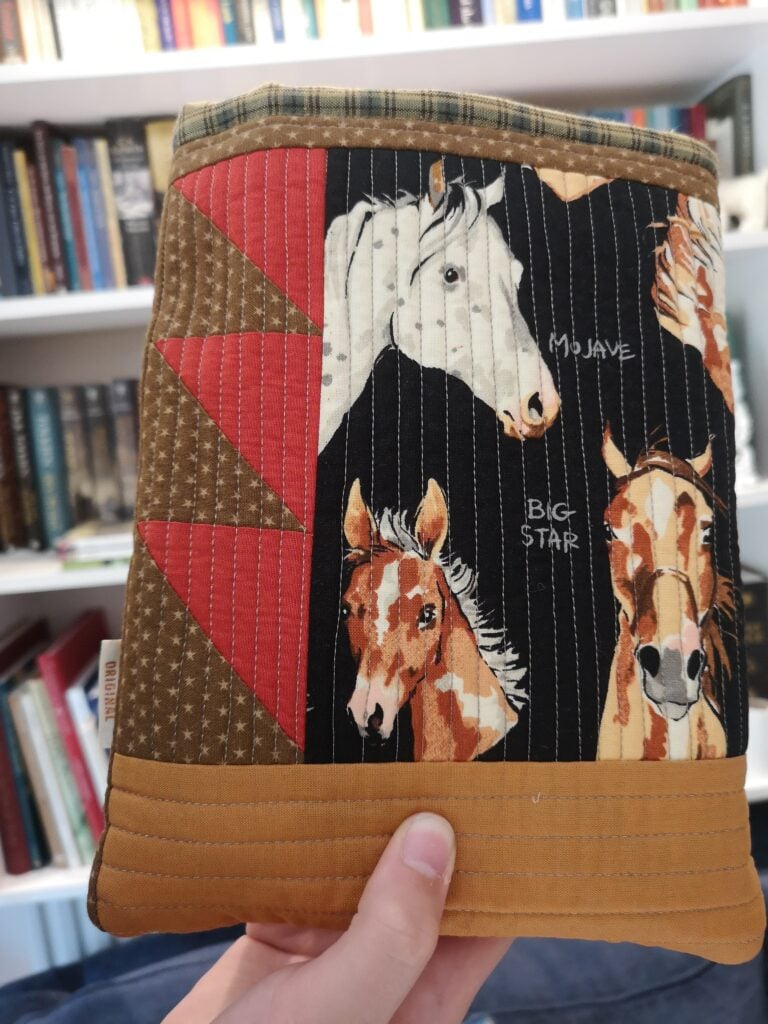
Making Book sleeves is an ideal project for young sewists. Book Sleeves allow beginning sewists to choose fabric and do basic piecing and quilting. The assembly is simple and the entire project can be completed in just a few hours. The girls had fun incorporating these Kylie and the Machine Labels into their Book Sleeves.
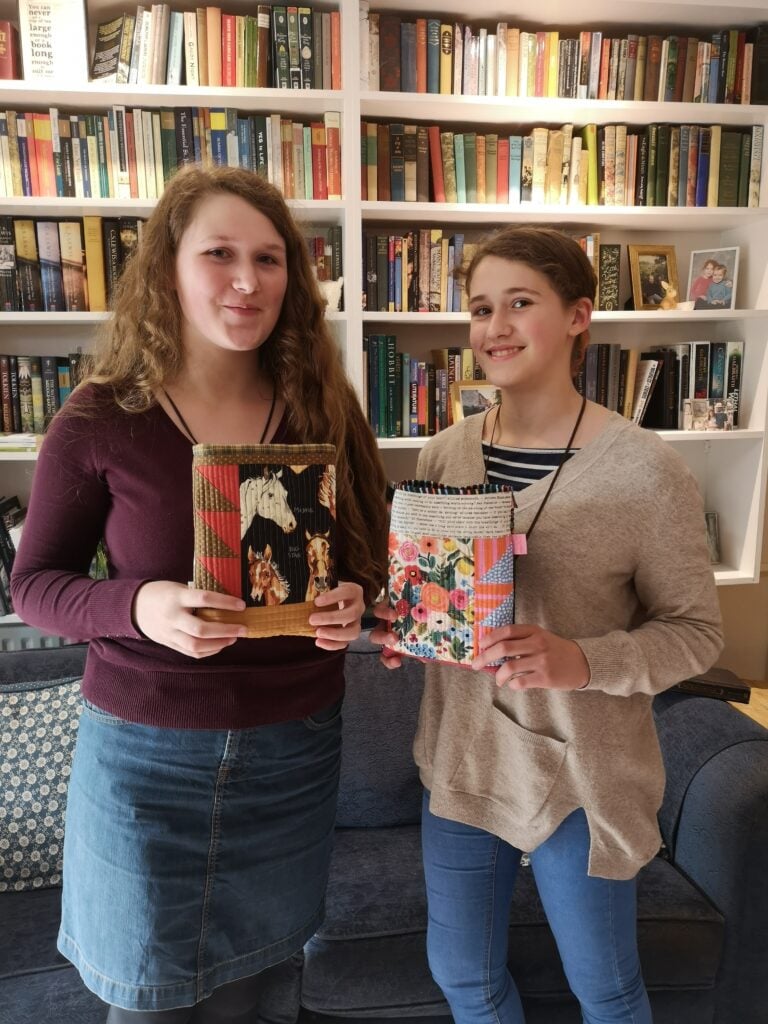
You can see that Teresa and Annie are thrilled with the results.
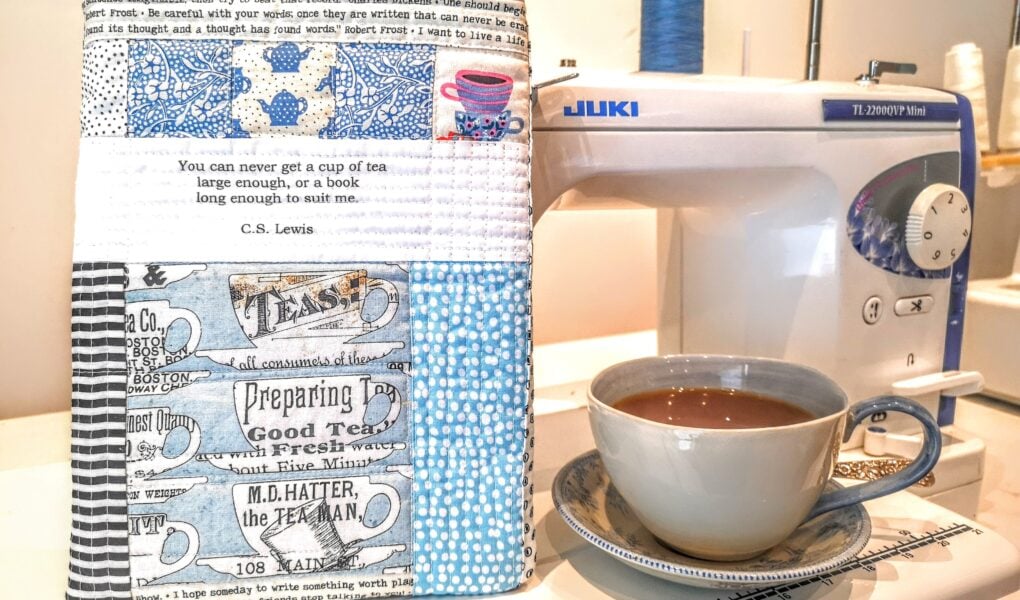
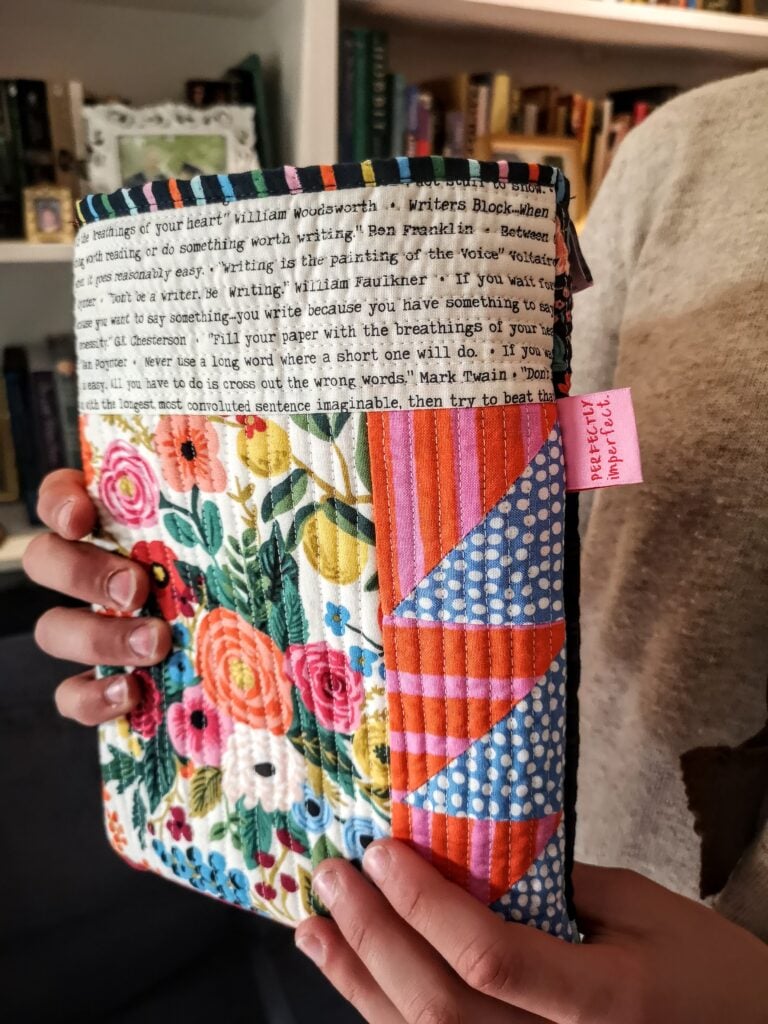
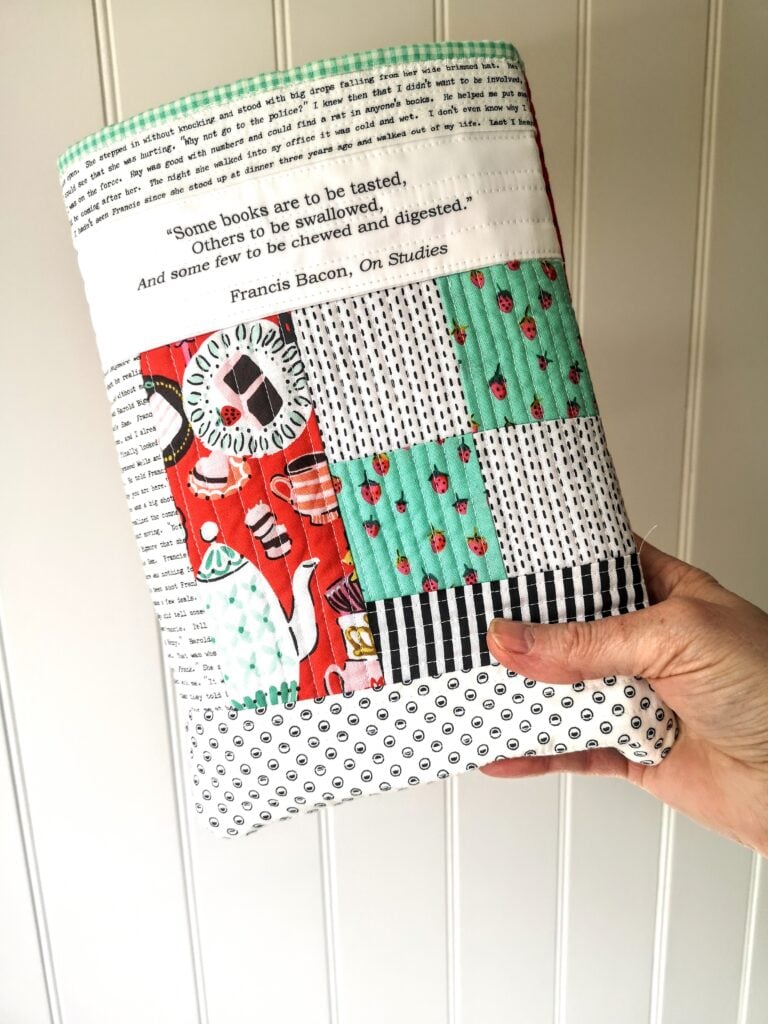
Photo Fabric Quotes
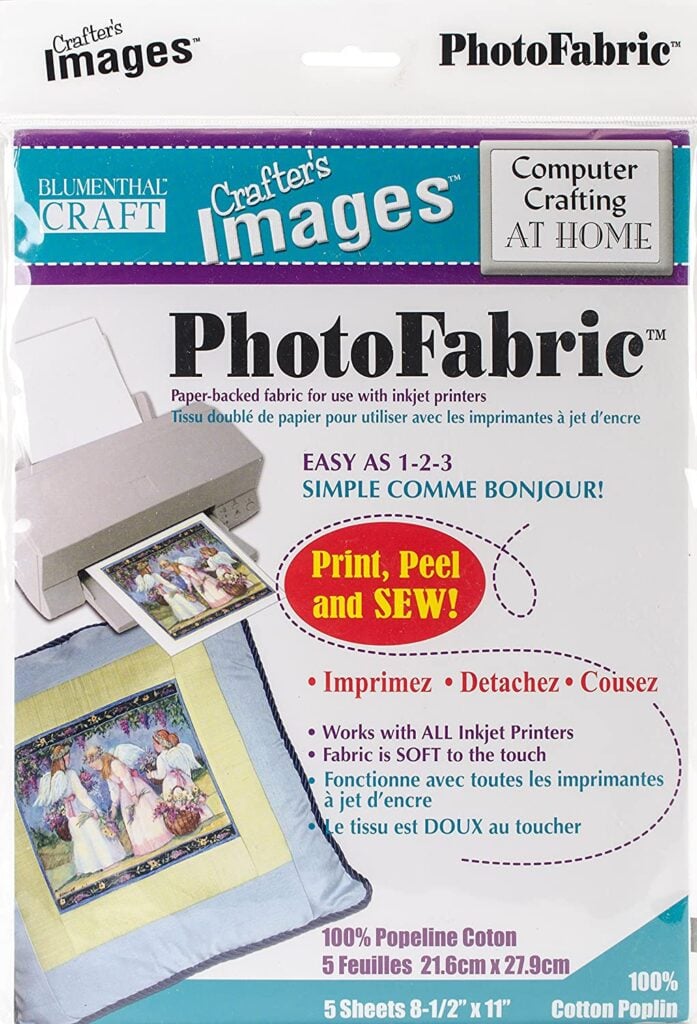
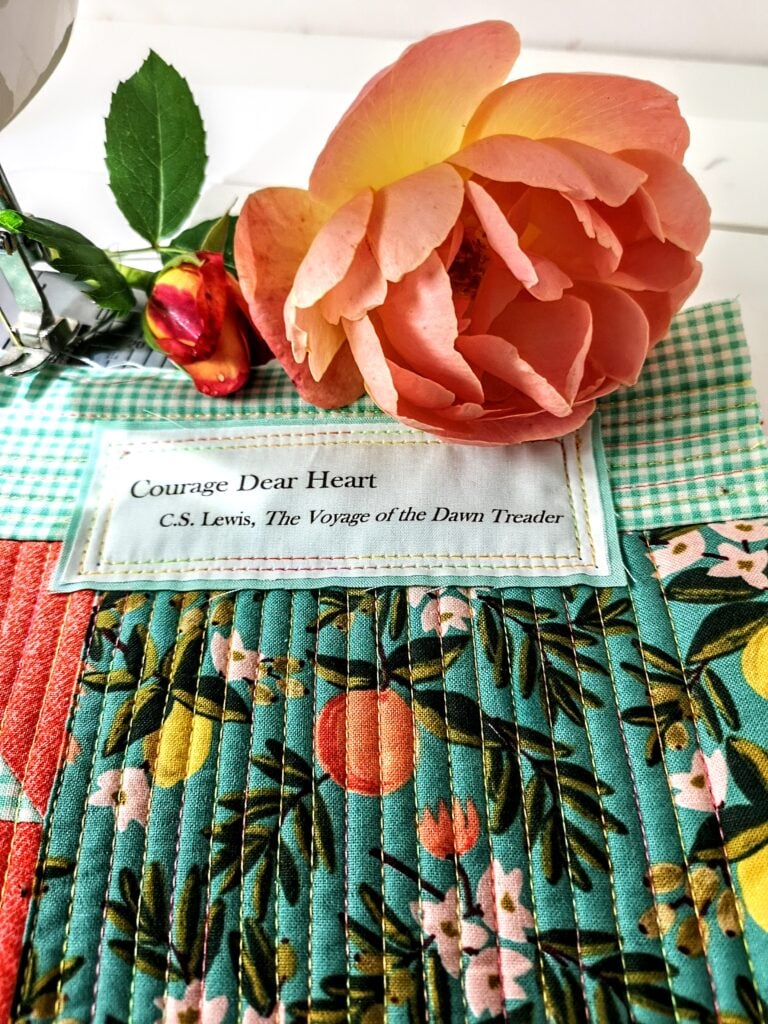
Another way to personalize the project is to add your own favourite sayings or book quotes with Photo Fabric. You can search for favourite sayings or quotes, write them up in a word document and then print them on your computer printer using this Photo Fabric printer ‘paper’. I got mine from Amazon. The directions are simple: print, let dry, rinse, let dry and use.

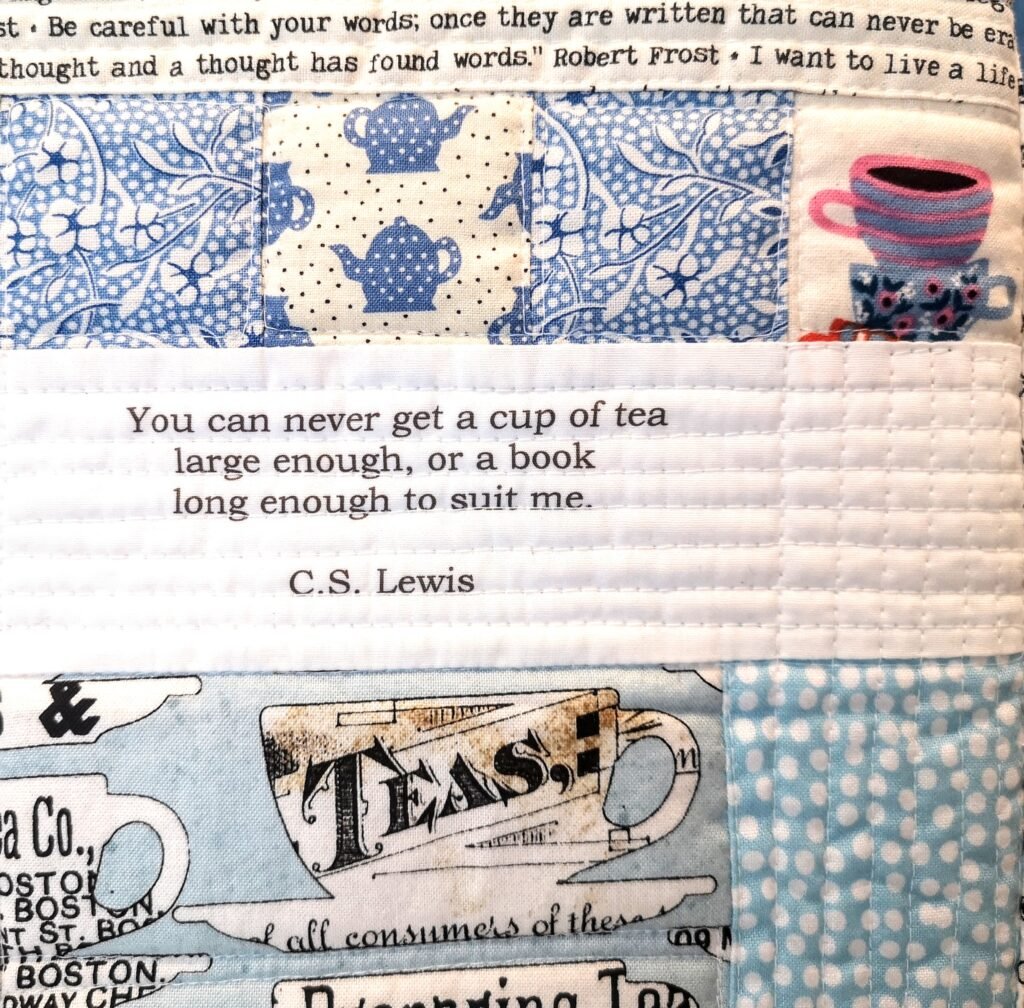
They work nicely whether you stitch them into the project or simply applique them on top.
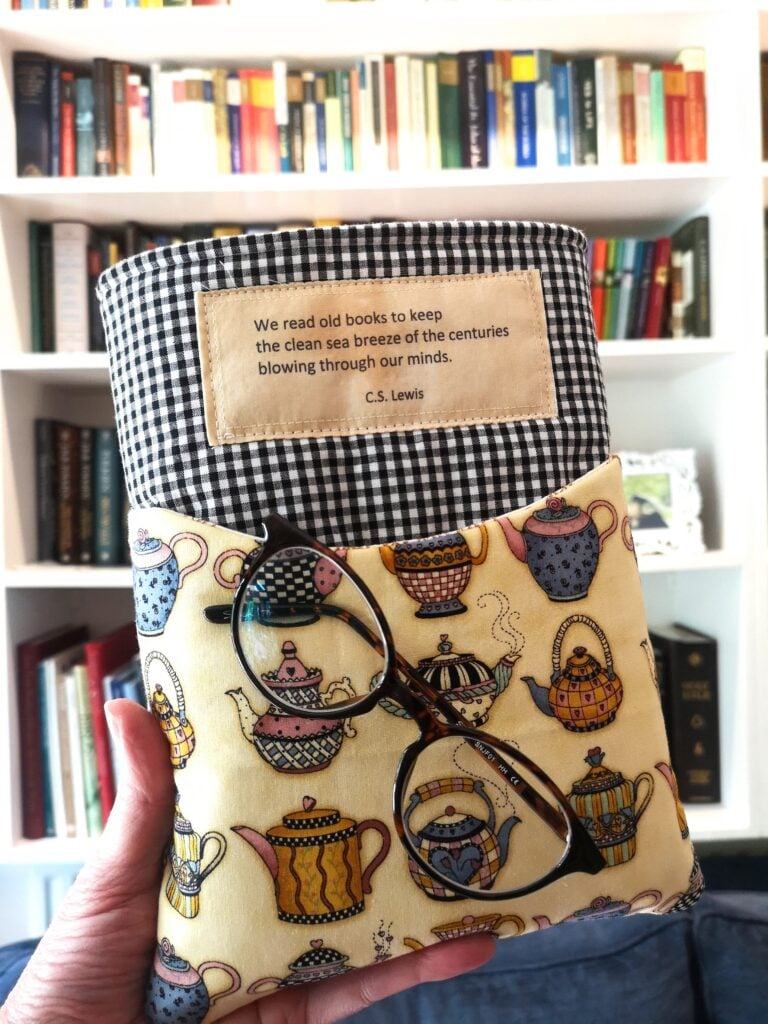
I think book sleeves make a fab gift for all the book lovers out there. Making Book Sleeves is the perfect project for people who love to sew and love to read. Sometimes I design the book sleeve to fit the reader and other times I design the book sleeve to fit the book. So many possibilities and so many ways to make them special!
Martha’s big loves are reading and sewing. It’s completely understandable that she’s been obsessing over Book Sleeves for MONTHS!