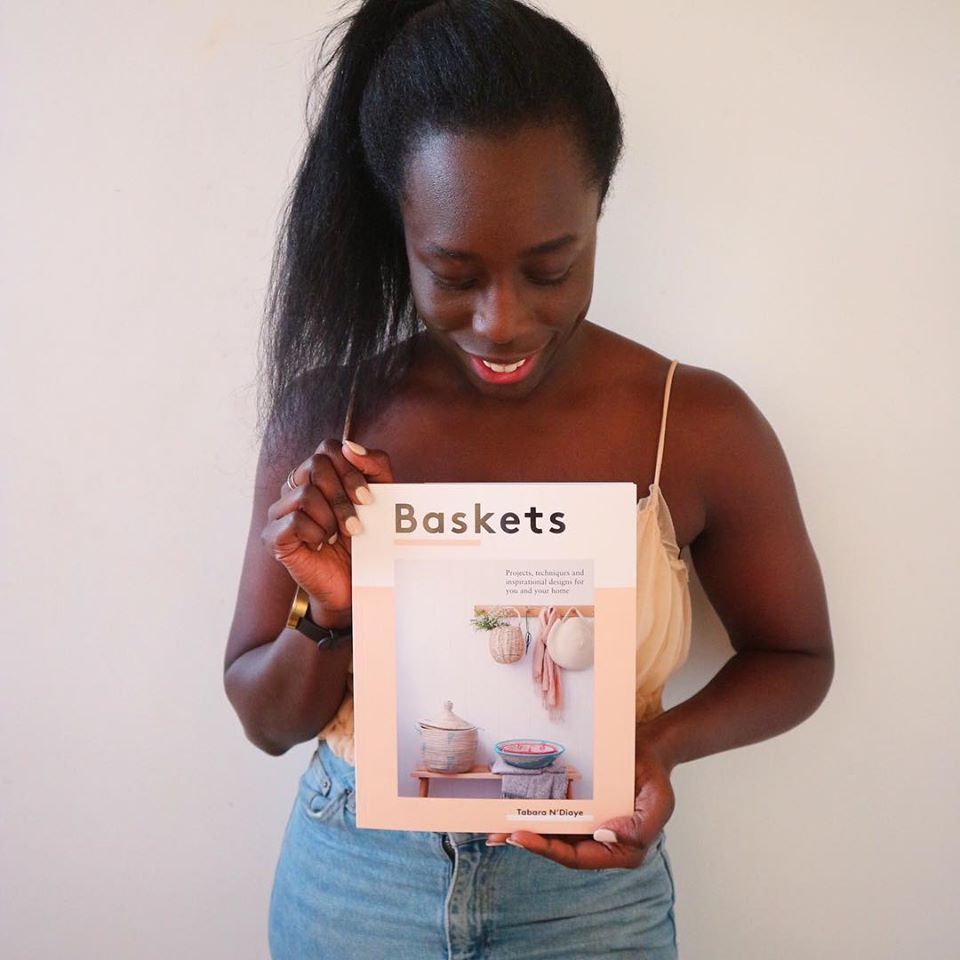
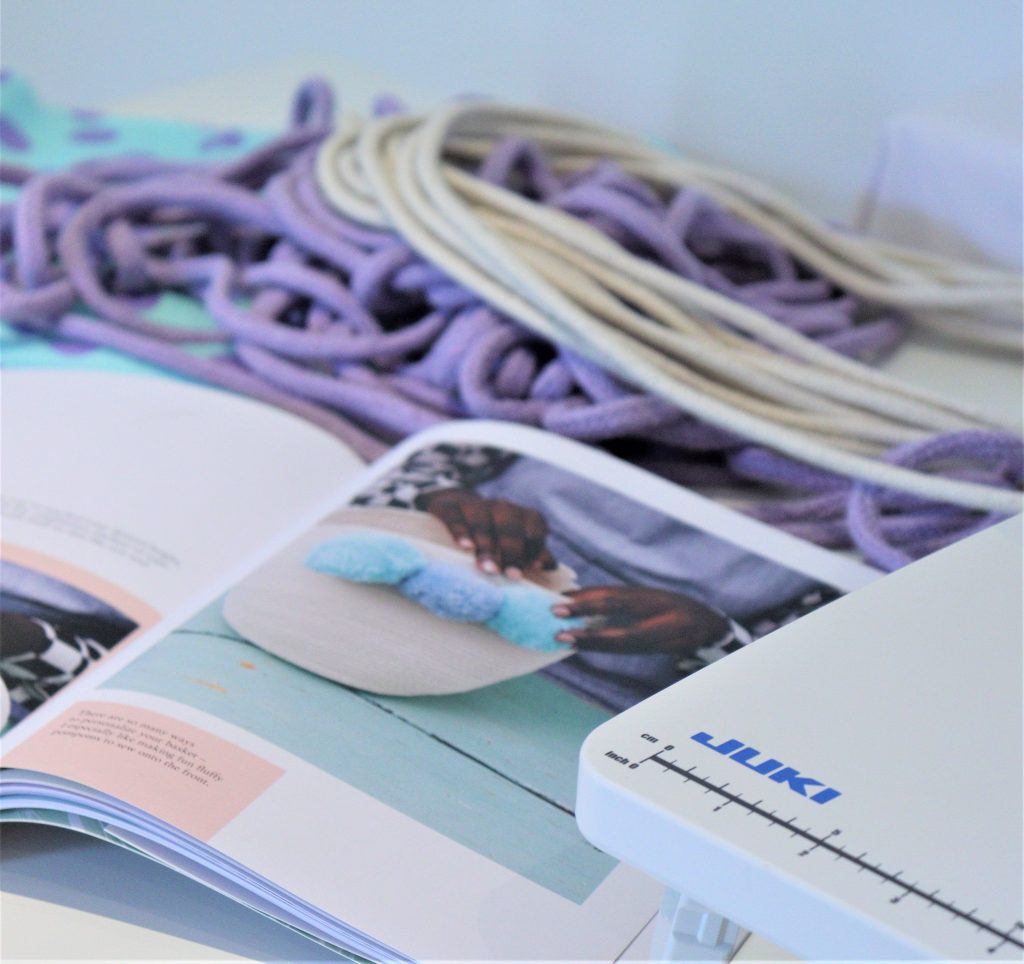
We’re big fans of Tabara’s Rope Bags. We discovered them in her book Baskets by Tabara N’Diaye. You can read Emily’s post all about it. There was something so satisfying about making the first bags that we wanted to make more, this time with some variations.
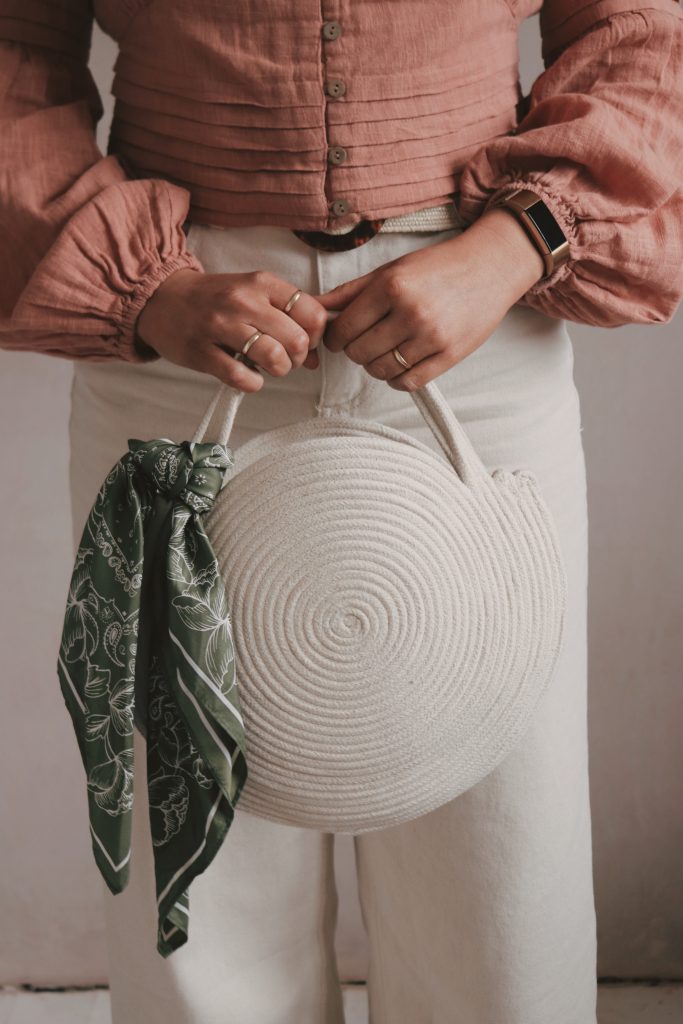
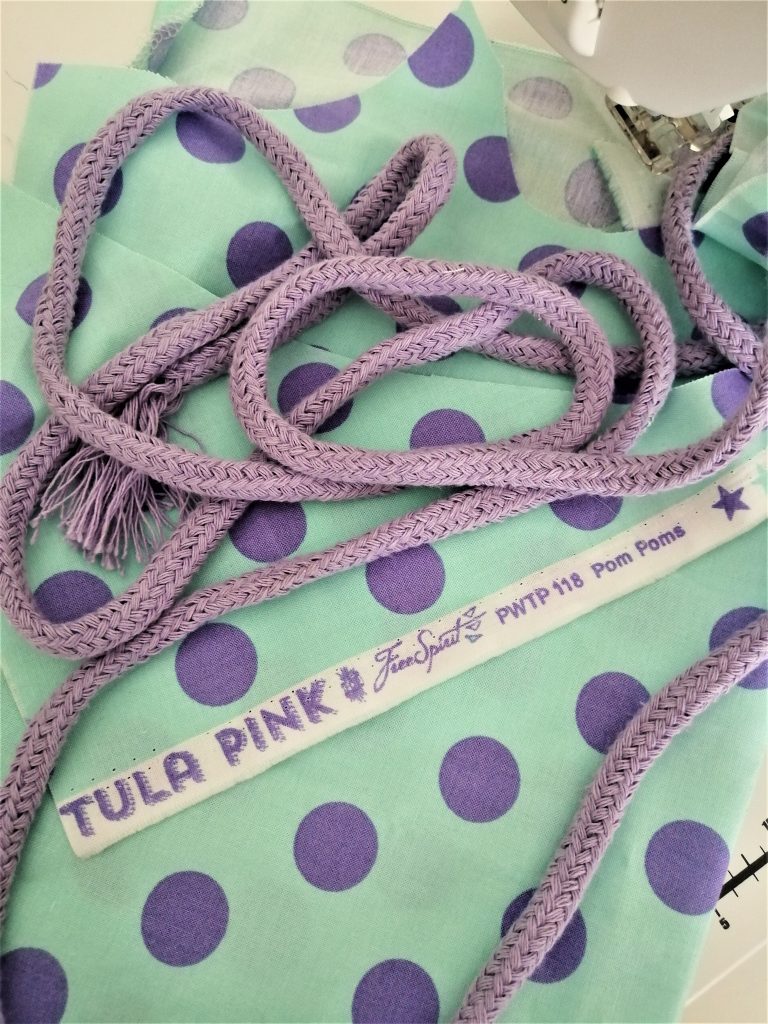
After a nice chat on Instagram, Tabara sent me some different kinds of rope to try. First I made a bag from the neutral clothes line rope, similar to Emily’s in the photo above. Then I thought it would be fun to try this light purple rope. It was a softer rope but it did hold it’s shape and I was happy with how it turned out.
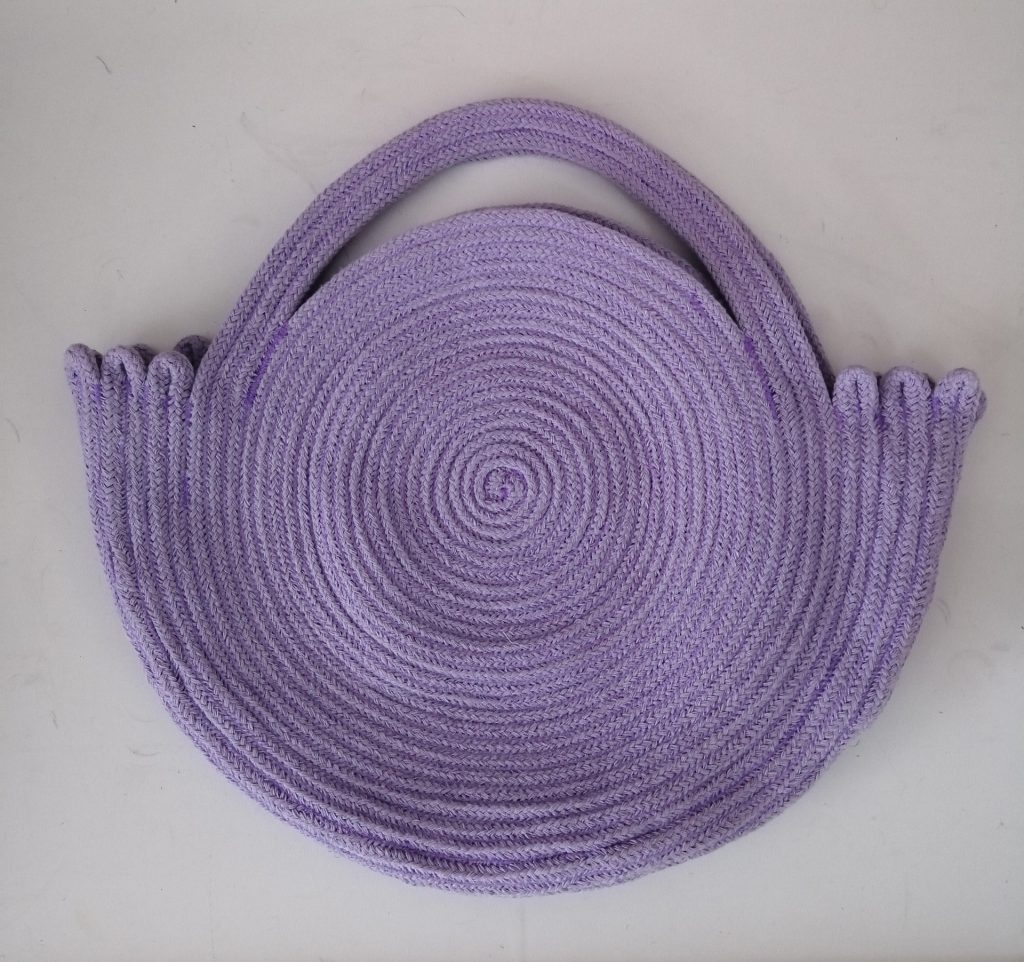
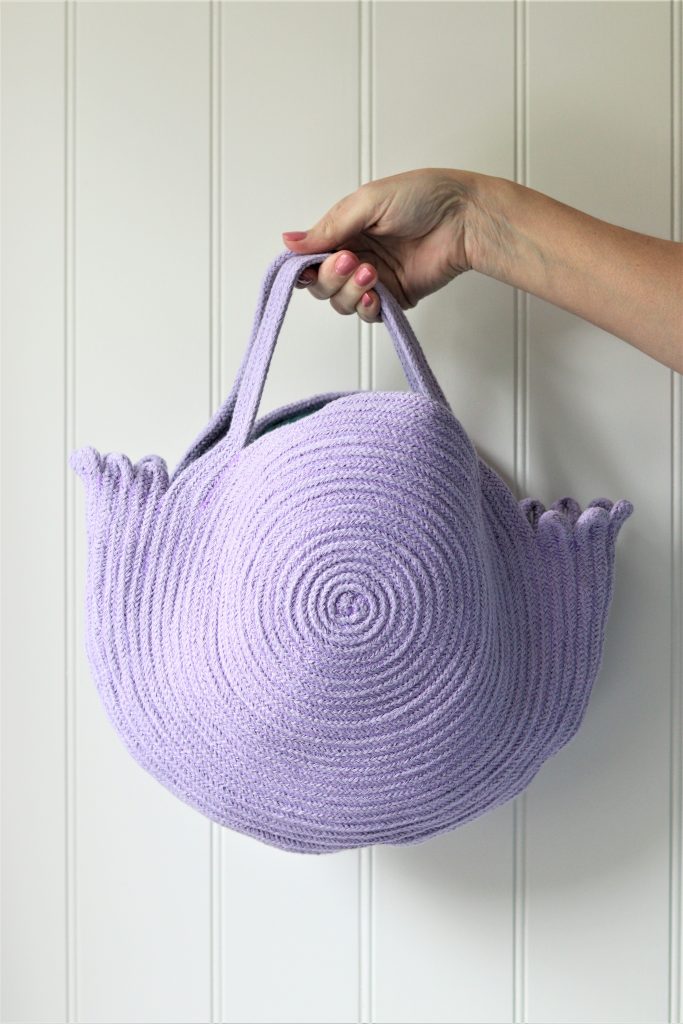
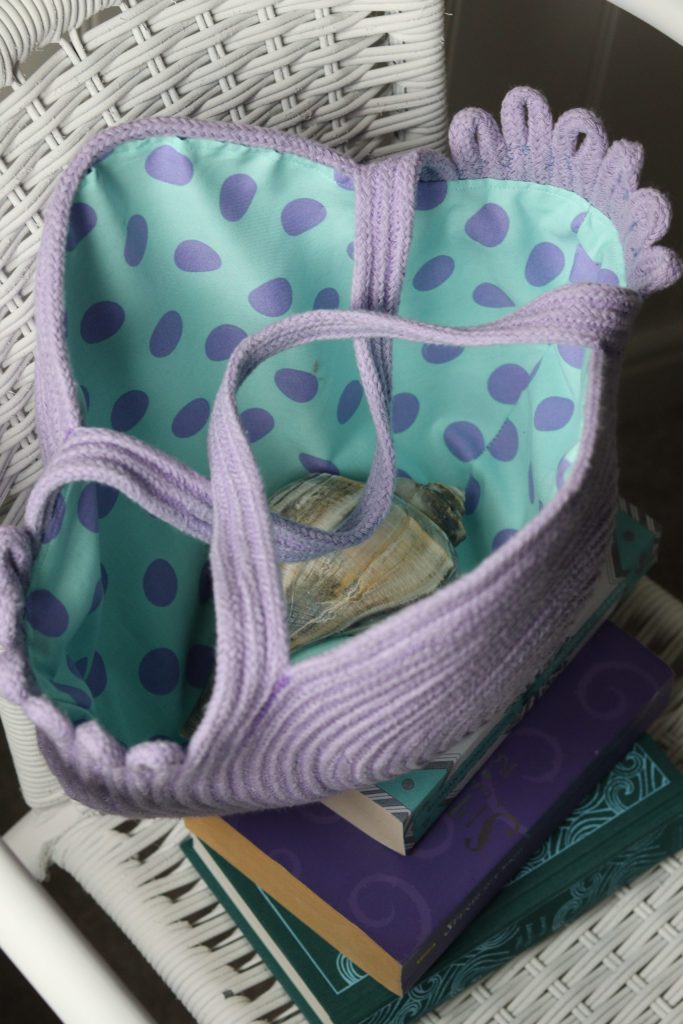
I wanted to play with the shape on this one, taking an inch away from the centre circle, making the handles slightly longer and adding an extra loop to the outer-most edges that make up the sides.
Constructing the bag
The design of the bag, beautiful in its simplicity, consists of two identical halves made from three parts. First the centre, then the handles and finally the edge or gusset that creates the sides and bottom of the bag. The two halves are then stitched together, by hand or machine.
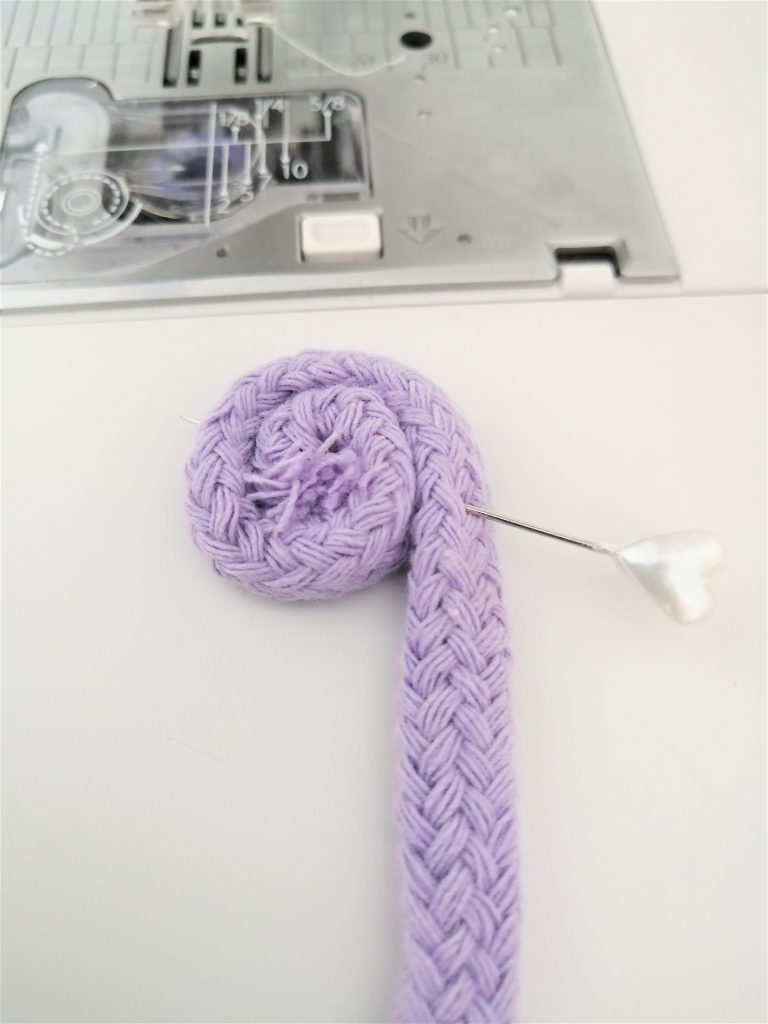
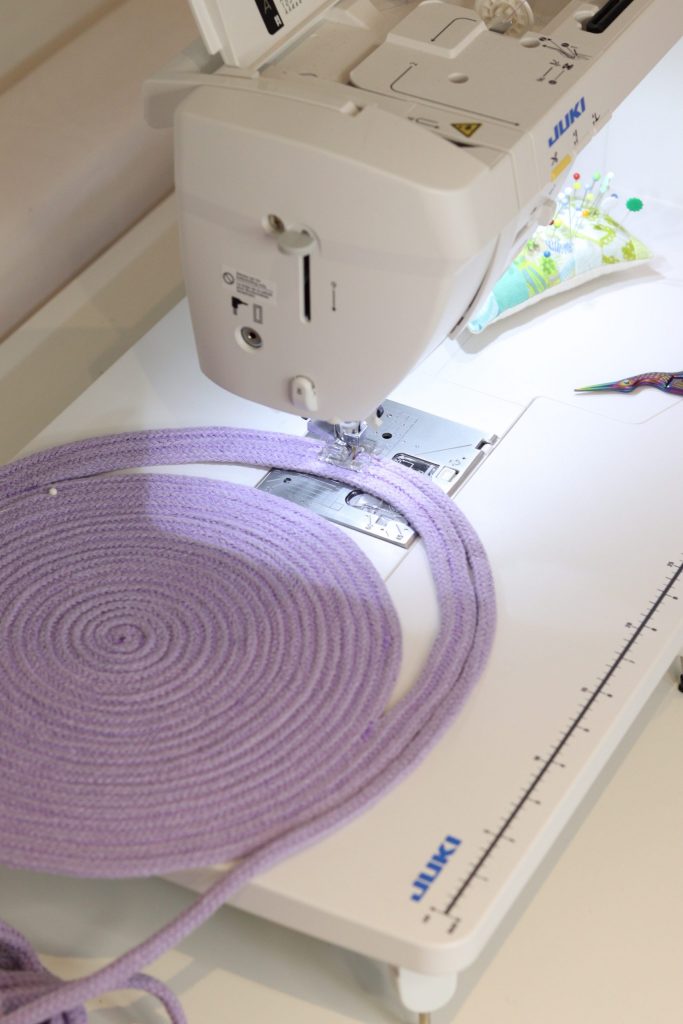
First you coil the rope around itself and zigzag stitch it together.
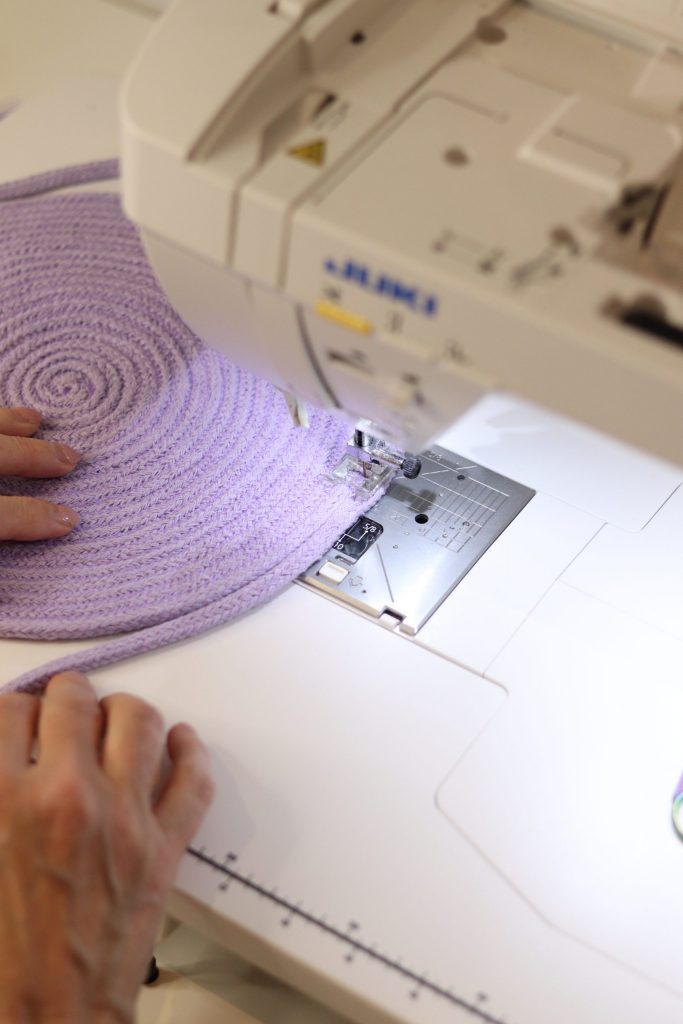
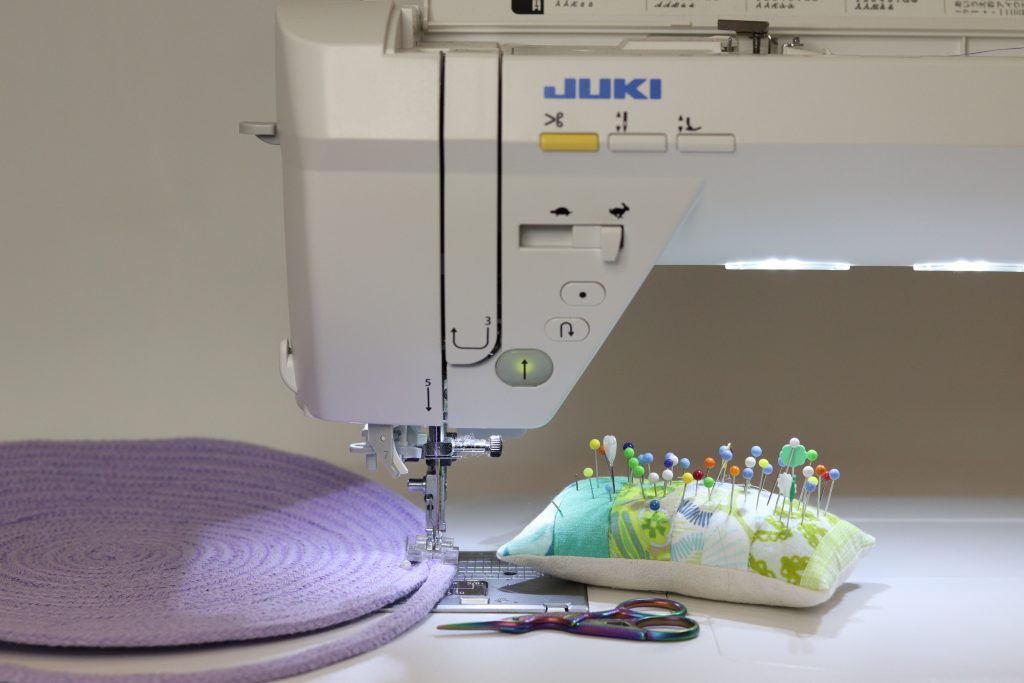
Then you simply go round and round to create a circle. I’m using the Juki NX7 sewing machine to zig zag the bag together. I’ve raised the level of the presser foot to accommodate the height of the rope.
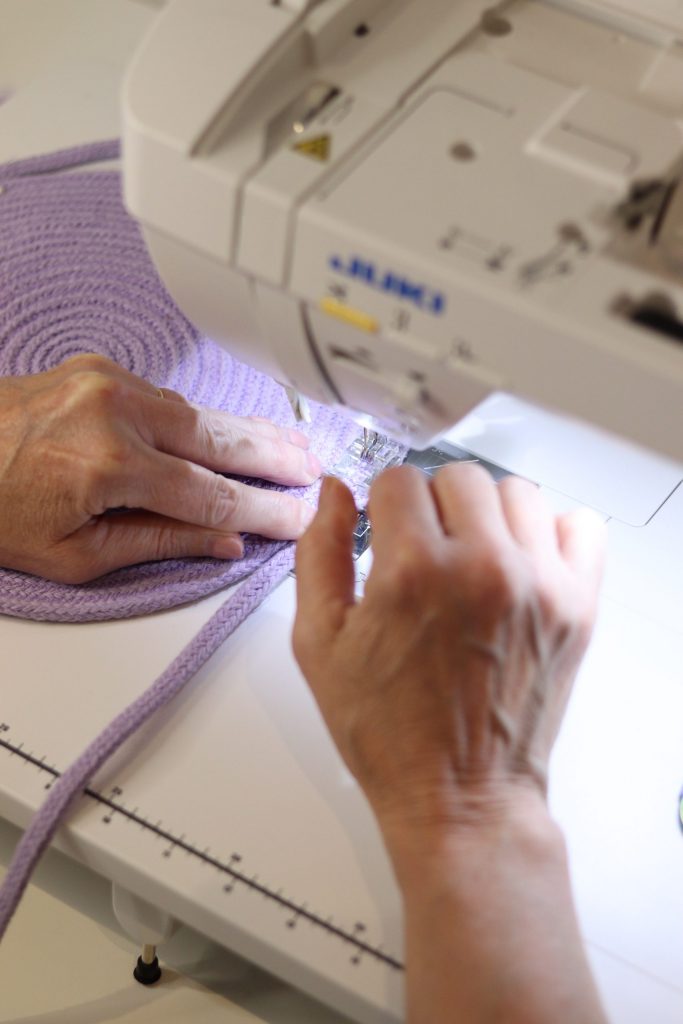
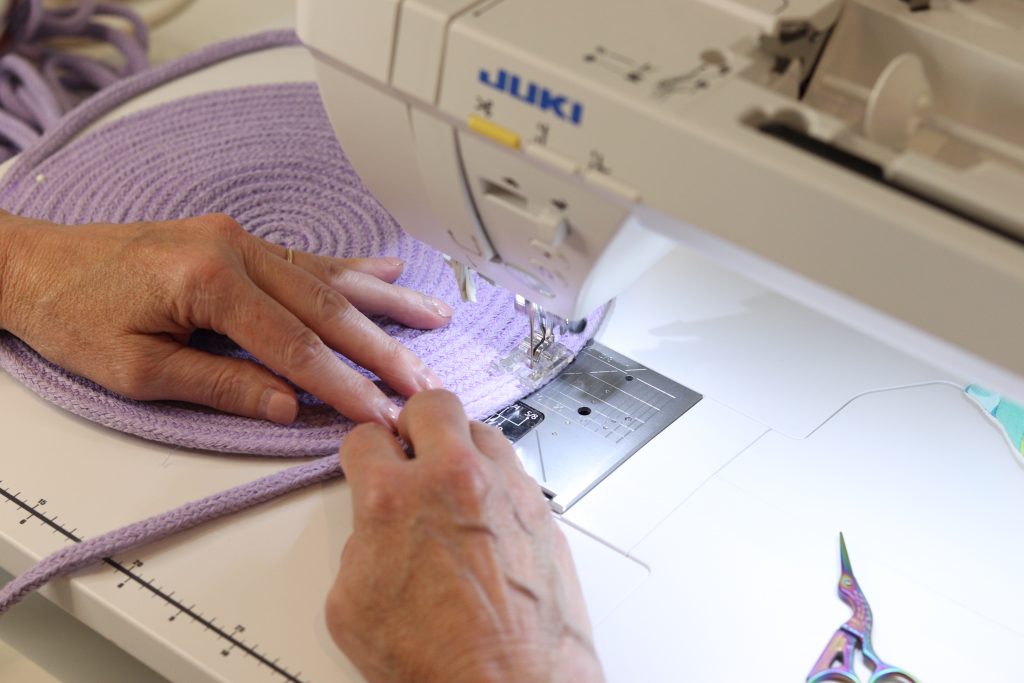
The NX7 also has a pivot function. It can be set to slightly raise the presser foot each time that I stop stitching. This is a favourite feature because it leaves my hands free to manipulate the rope. See the presser foot raise automatically in the close up part of the video below.
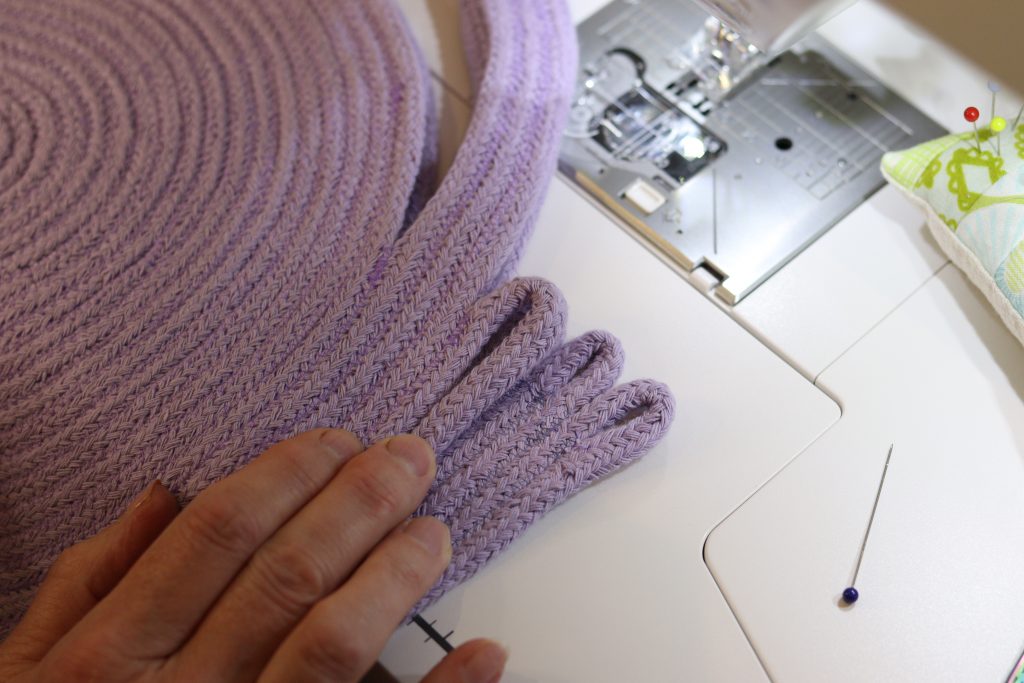
Once the circle is the desired size, you add the handles.
And finally you fold the rope over on itself to create the bottom and side panels.
Once you have finished one side, you do the same thing again. Take care to replicate the bag exactly so that the sides will match up when the time comes to sew them together. The book suggested to do this by hand but I managed to zigzag the two sides together by machine.
It came together so nicely! I decided to try to add a lining. Being new to bag making, I’d never tried a lining before. Some gorgeous Tula Pink fabric from my stash looked so pretty with the bag, I had to try.
Adding the lining
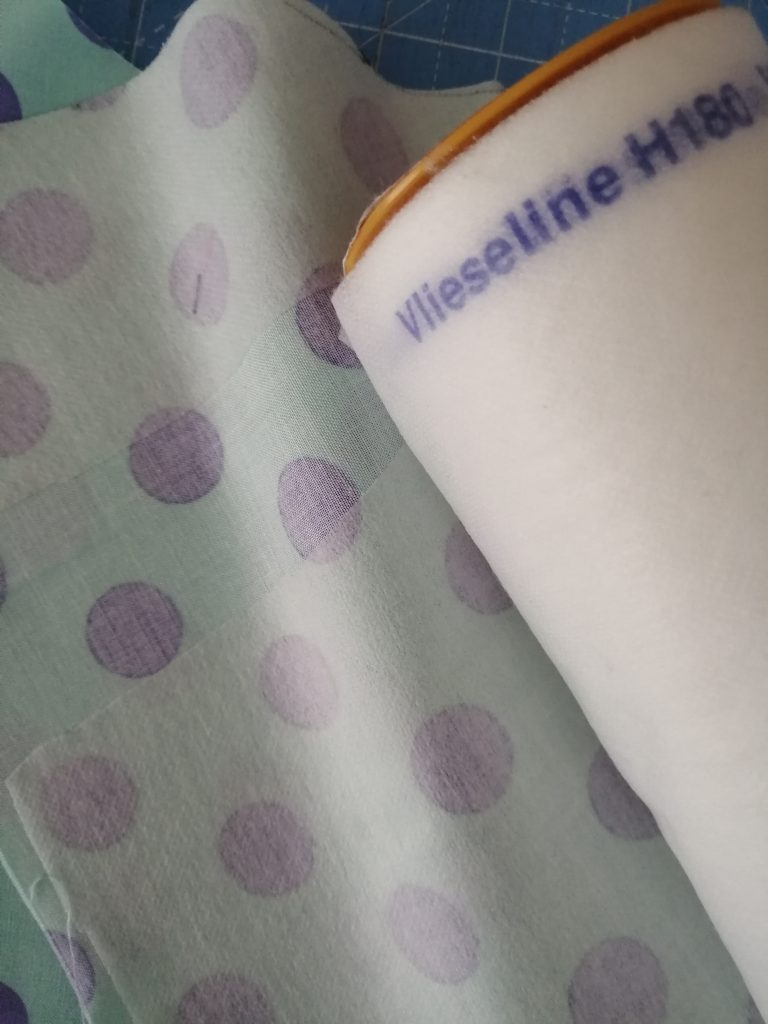
I decided to construct the lining in a similar way to the bag, in two halves that would be sewn together along the middle. First, I traced the bag shape on some paper and added a half inch all the way around and used this to cut out both sides of the lining. Then I backed the lining fabric in some iron-on Vilene to give it a bit of extra structure.

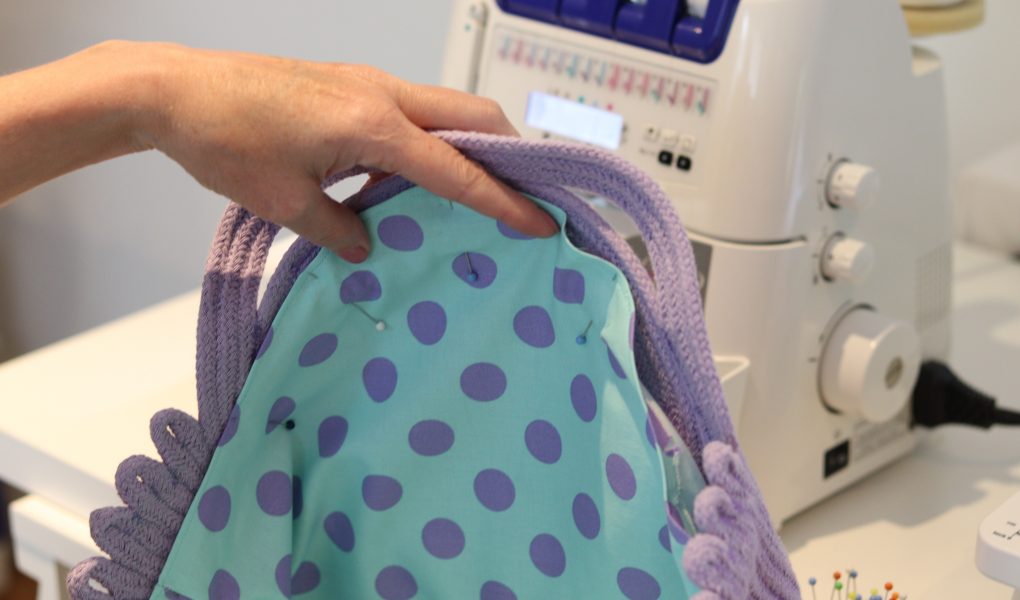
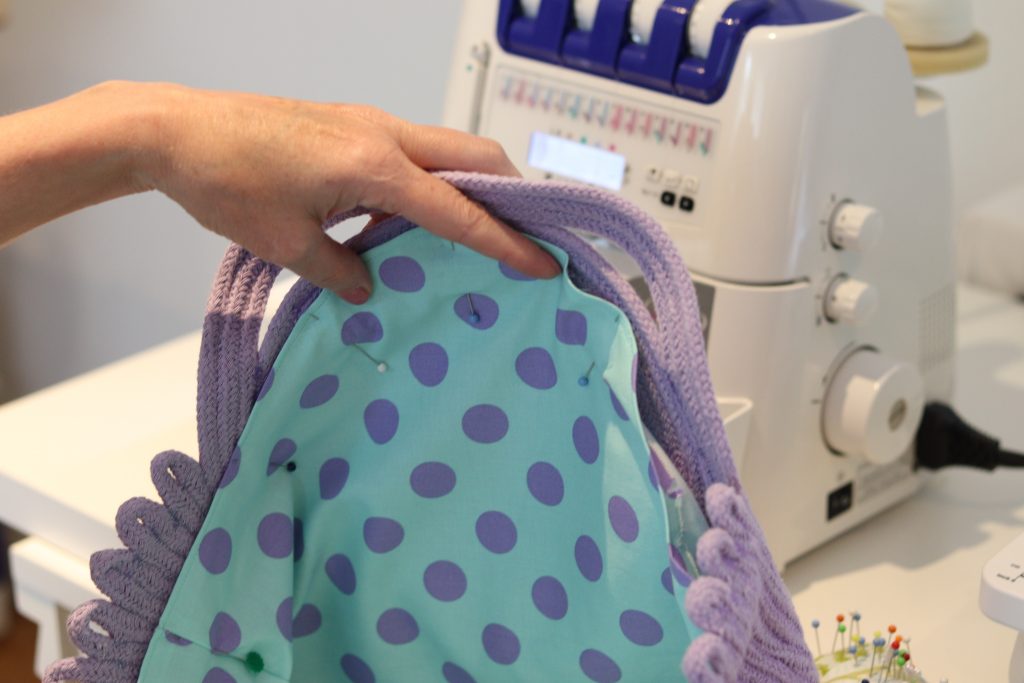
I used the Juki MO 2000 overlocker to stitch the two lining pieces together. Then I placed the lining in the bag to check the fit. Initially it was too baggy. I continued to adjust the lining shape, and test it inside the bag. The MO-2000 overlocker was great for shaving off a bit of the lining here and there until the fit was good.
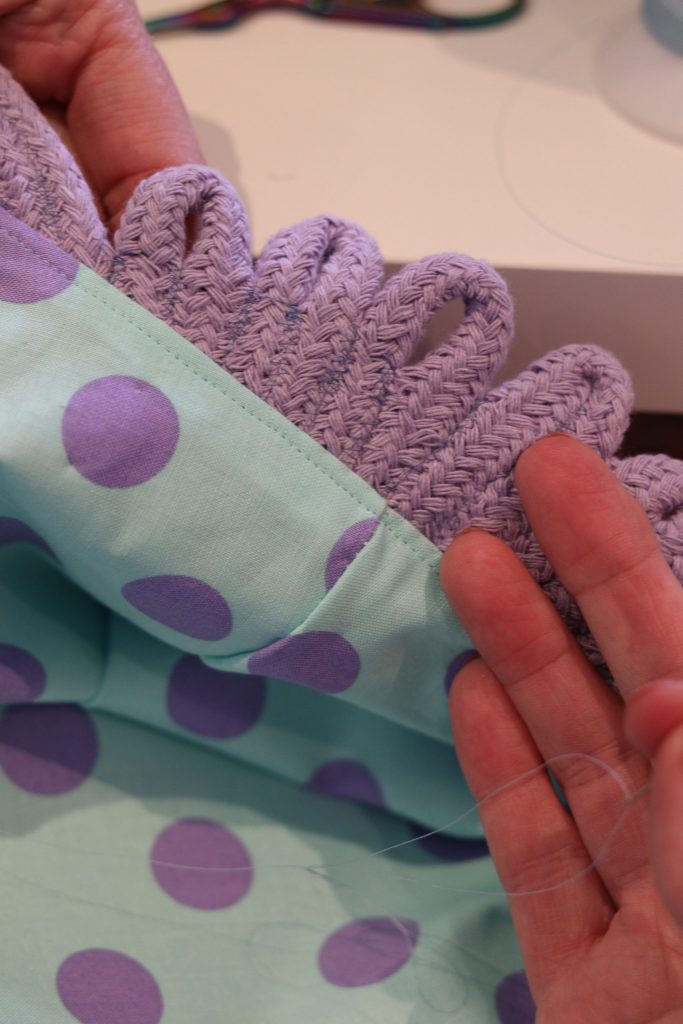
When I was happy with the fit, I went back to the NX7 sewing machine, turned the top of the lining over and topstitched the edge.
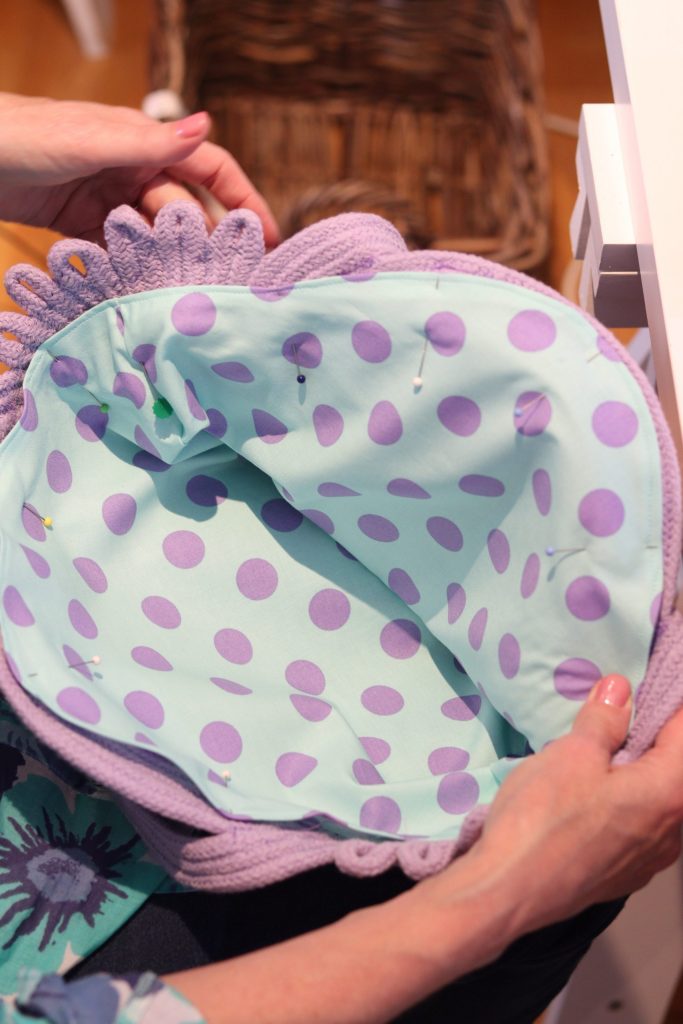
Now I was ready to hand stitch the lining to the inside of the bag.
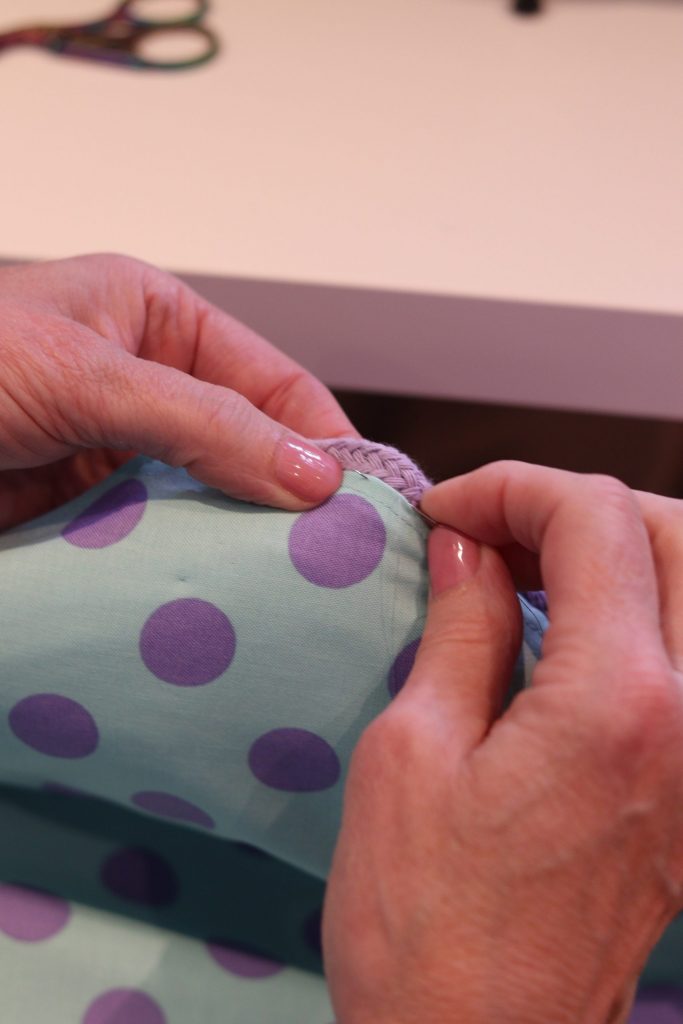
I used a thread that blended in with the lining and handstitched all the way around the top.
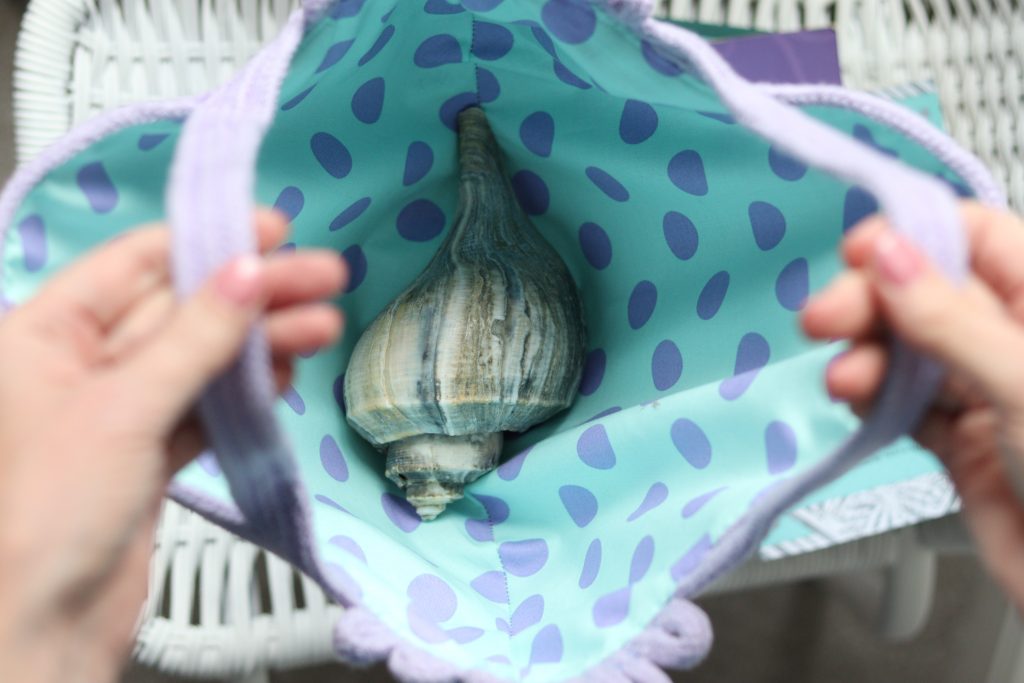
And here is how it turned out. I simply love the bag and the lining really makes it pop! Part of me can’t believe that I made it myself.

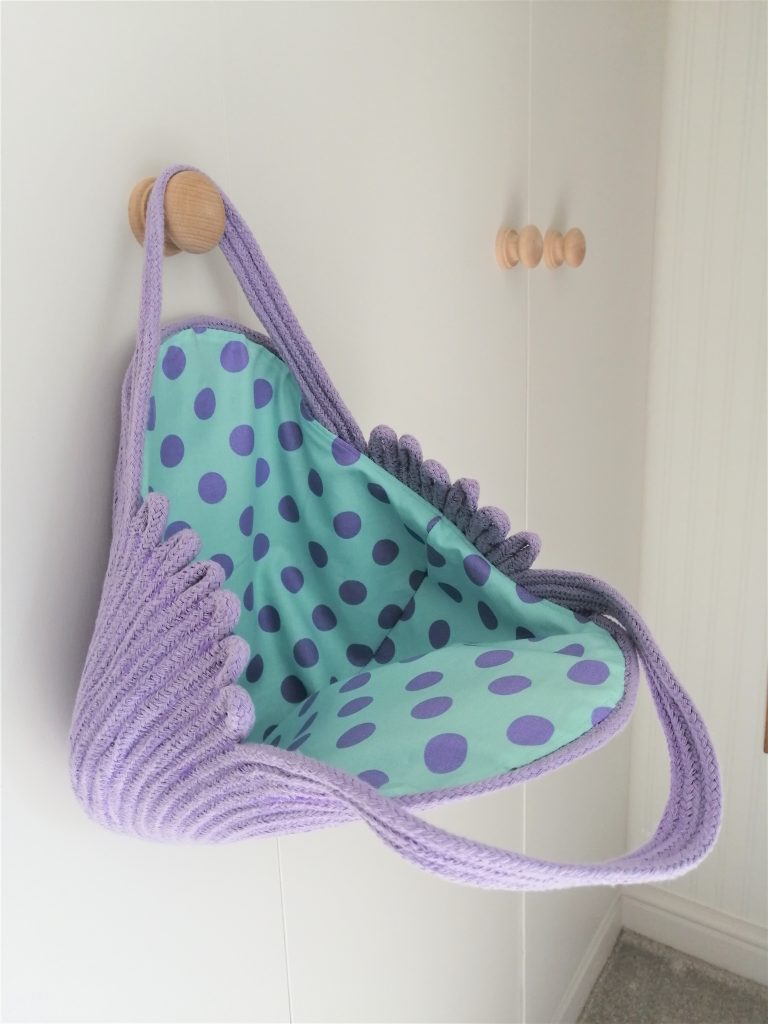
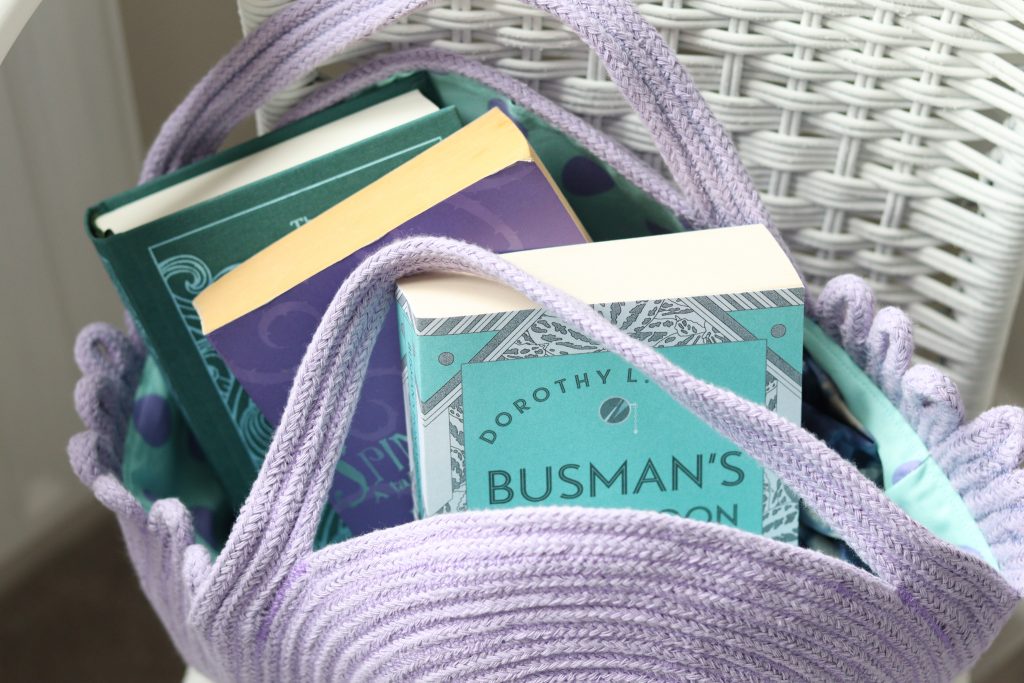
Now, I’m all ready to go to the seaside!
I think that I might just have to start making more rope bags in different colourways!
Fancy making your own? Tabara offers rope bag kits with everything you need to make your own. She’s also hosting workshops! Find out the latest information on Instagram @labasketry
A big thanks to Tabara @labasketry for the rope bag materials and inspiration!
Hiya! How did you manage to machine stitch the two sides together?
I put the two sides together and zigzag stitched INSIDE the bag. It required a bit of WRANGLING but it worked. I prefer machine stitching to hand stitching. But hand stitching would also be an option. Message me on Instagram @juki
_club and I could explain with photos. Hope this helps, do contact me through Instagram if you would like more details. All the best, Martha.
i’d welcome seeing the process of machine stitching together.
Hi Cheri, Martha here. Yes. Sewing the two halves together is the tricky part. Are you on Instagram? If so I can DM a photo and talk you through it. I don’t yet have a video clip of that part. But it is now on my to do list. Meanwhile, I put the two sides together and zigzag stitched INSIDE the bag. It required a bit of WRANGLING but it worked. I prefer machine stitching to hand stitching. But hand stitching would also be an option.