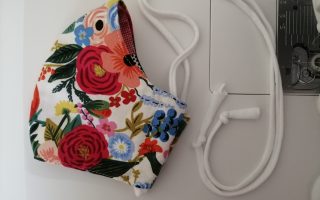
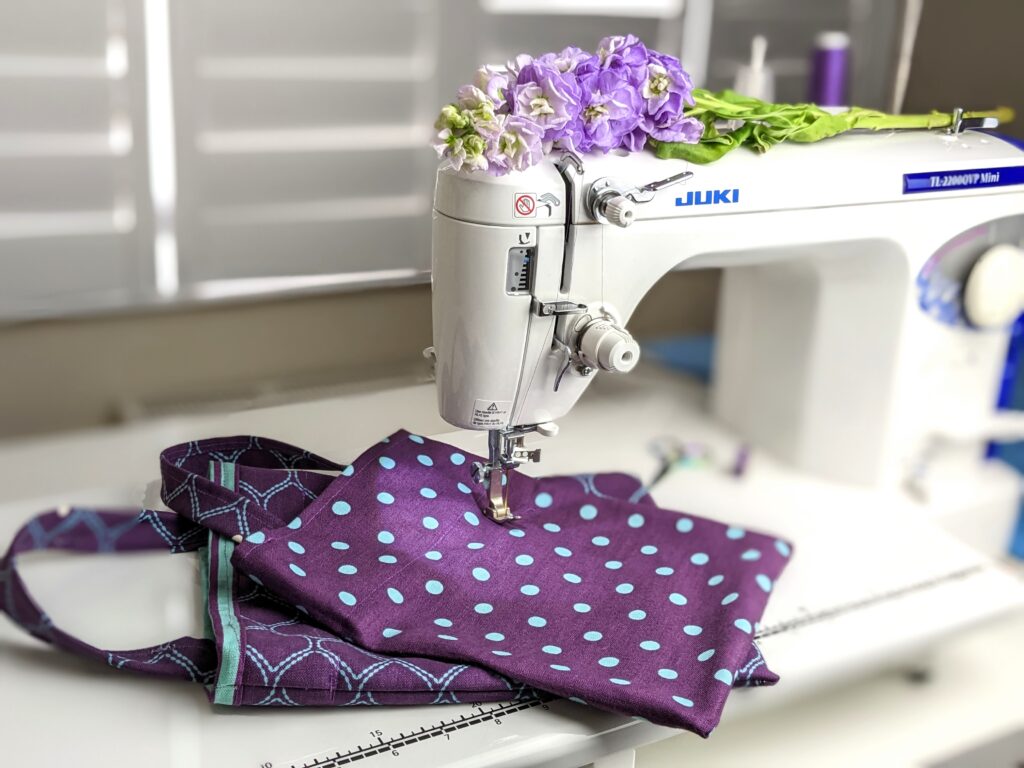
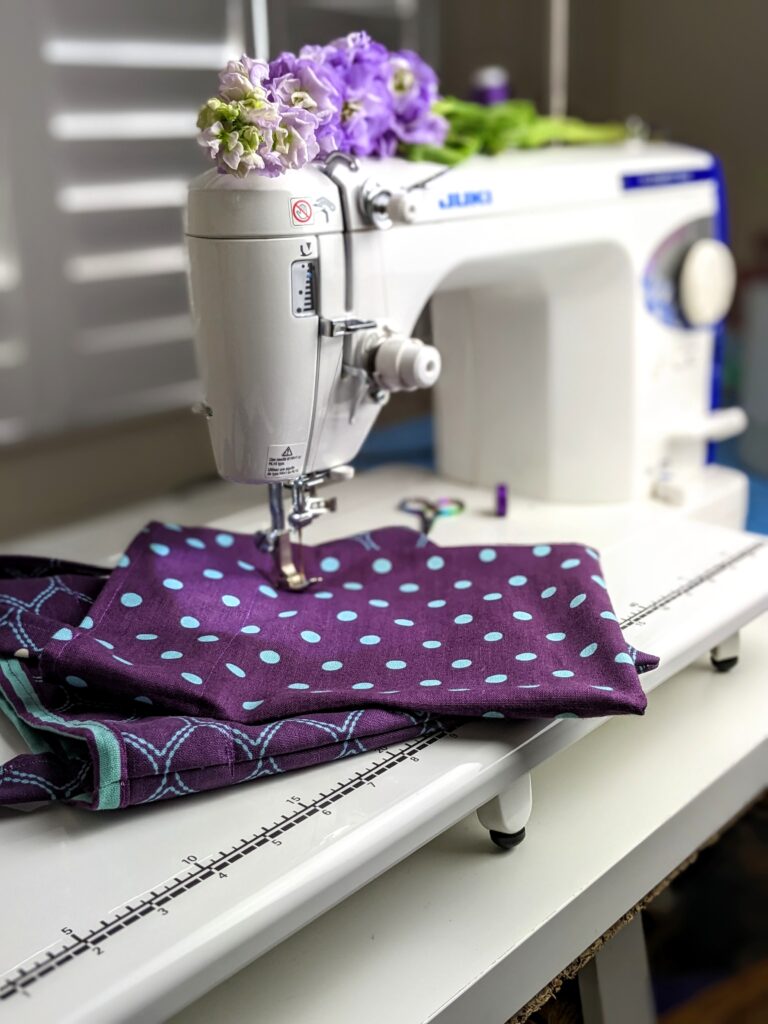
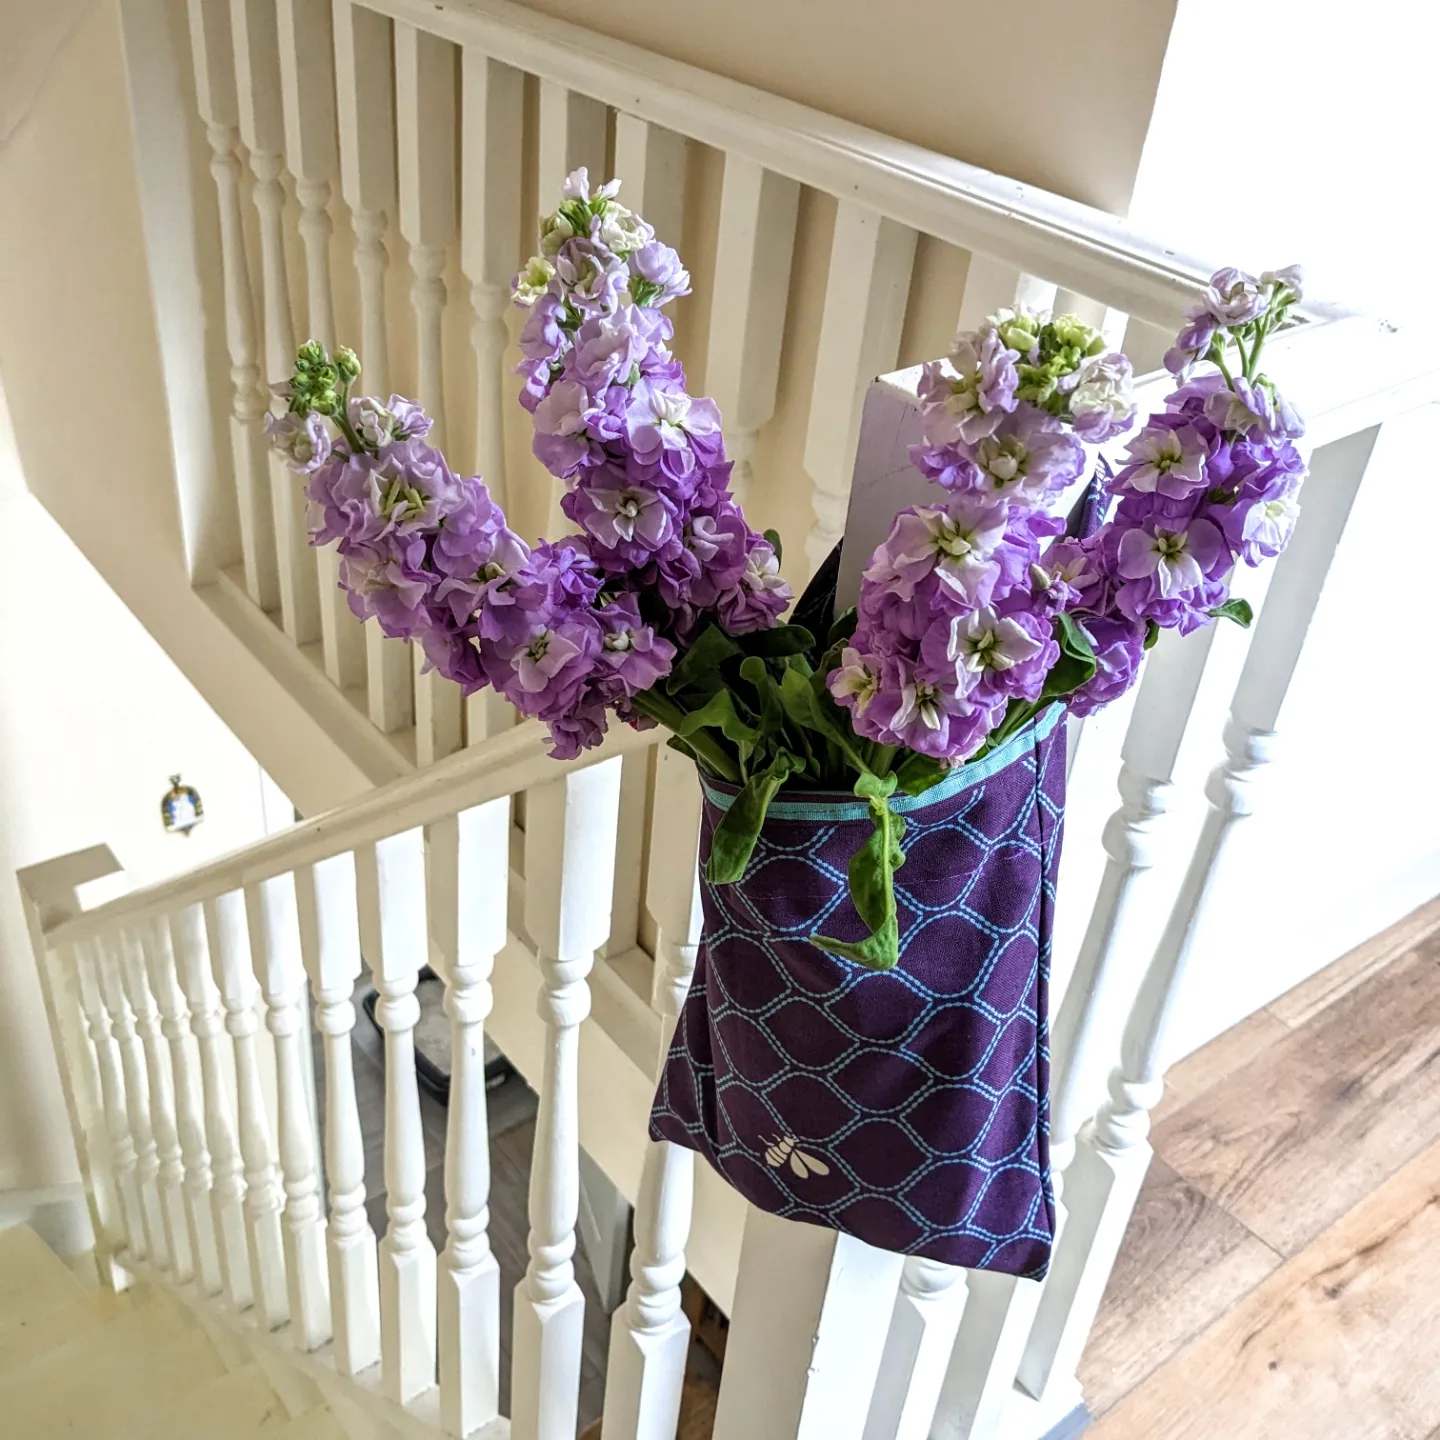
With May Mother’s Day celebrations just around the corner, these one handle storage bags make a lovely gift. They’re easy to stitch together. I’m using the Juki TL QVP Mini straight stitch sewing machine to make the bags. It’s a wonderful bag making machine!

Choosing the fabric
Go for a heavier weight canvas type fabric that will hold it’s shape while hanging. I chose this purple and aqua canvas that my daughter picked up at a show years ago.
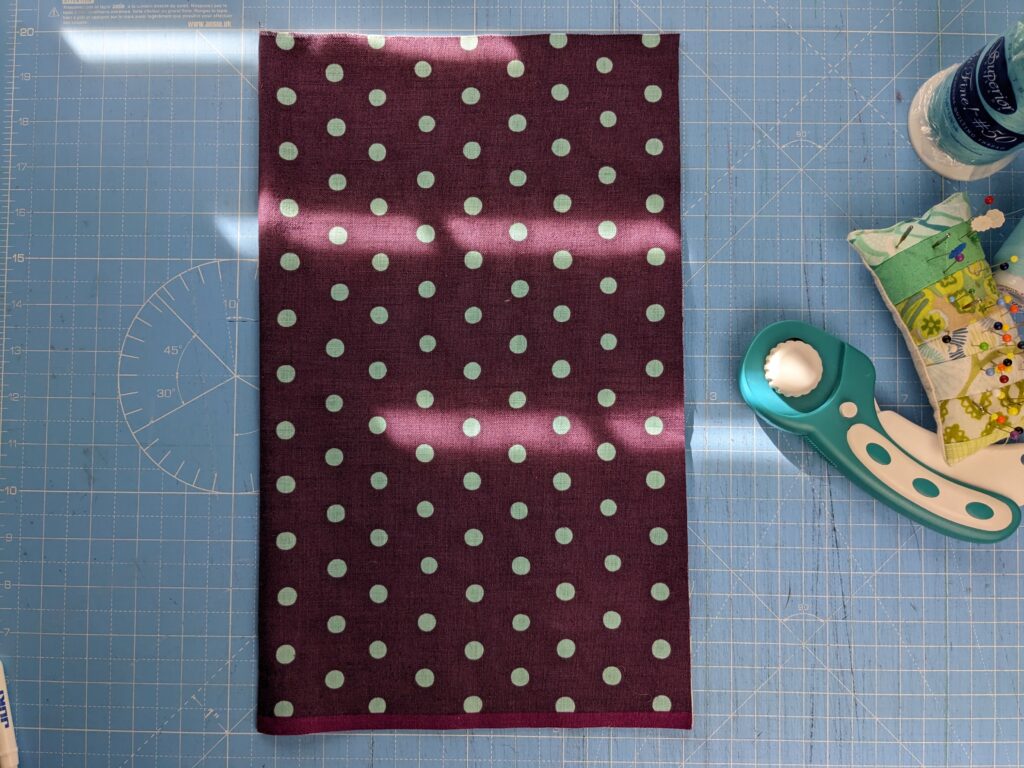
Cutting the shape
Happily, this is not a fussy project. These storage bags are useful in all sorts of shapes and sizes. Think about the size bag that you want and cut double or fold in half and cut. Here, I’ve just folded over a squarish piece of fabric to give me a long rectangle. I am going to fold over the top edge of the fabric to add structure and interest to the top of the bag. So I cut out the shape taller to accommodate the top fold.
French seams
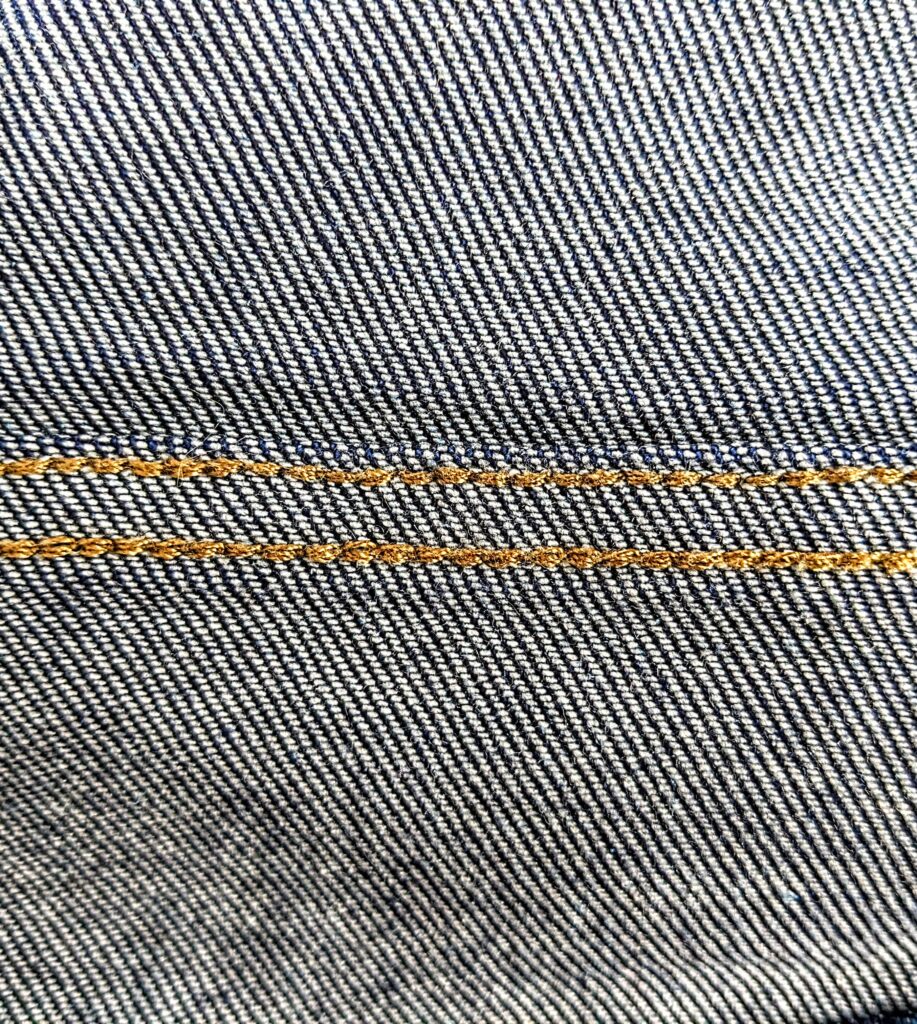
I’m going to use French Seams so that the inside of the bag is nice and tidy without any raw edges. French seams might sound fancy. But they’re not. You see them all the time on your jeans.
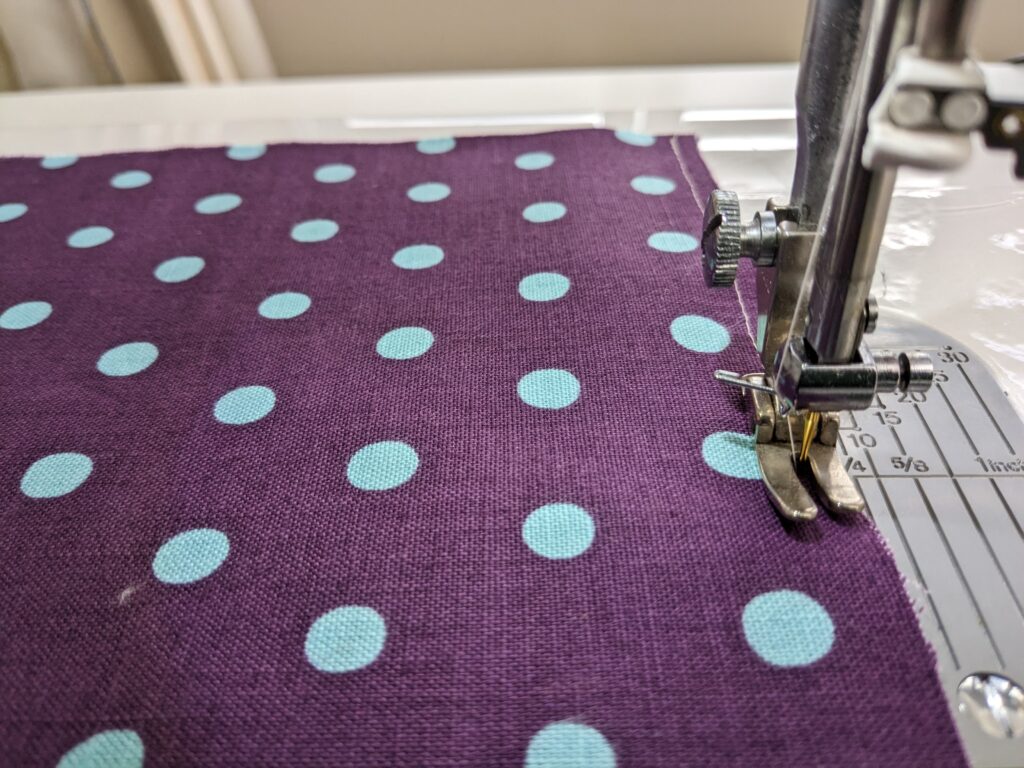
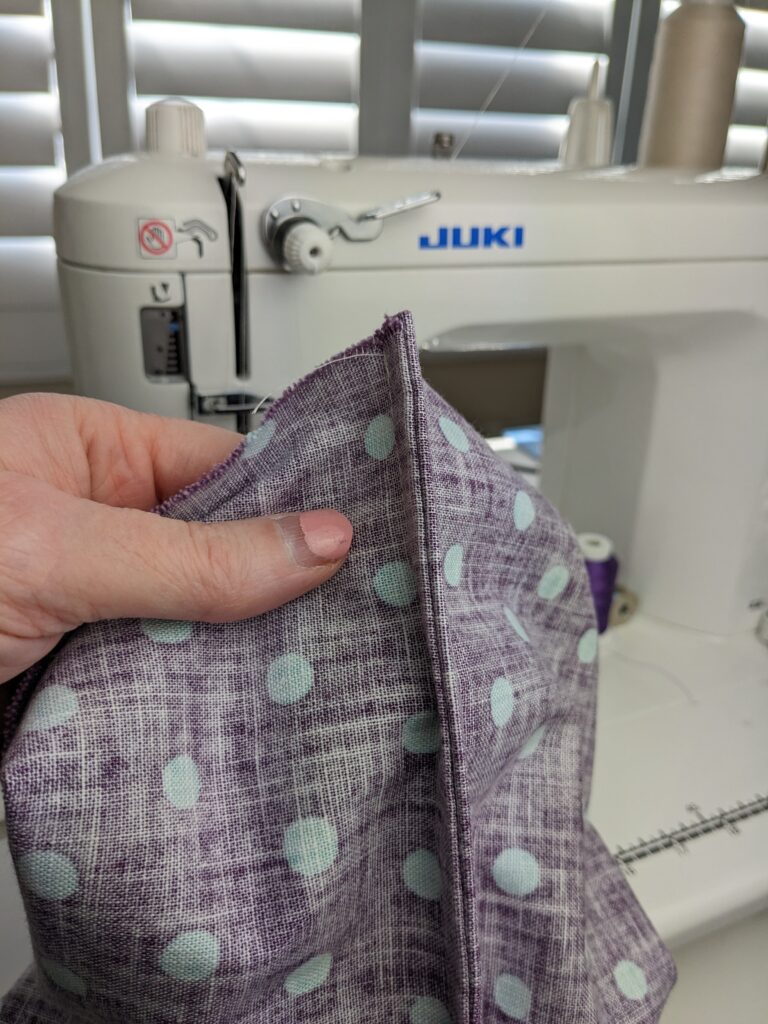
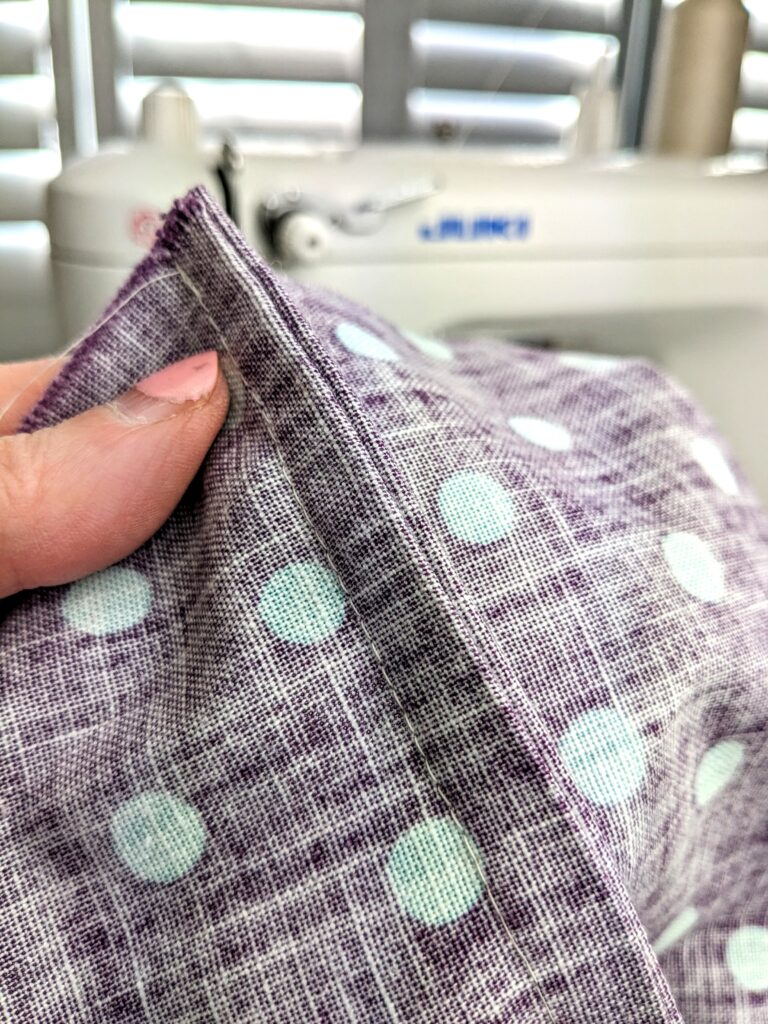
To make the French Seams, fold your fabric WRONG sides together and stitch along the edges. I know it sounds counter intuitive, just do it. For my bag, I needed to sew along the side and the bottom.
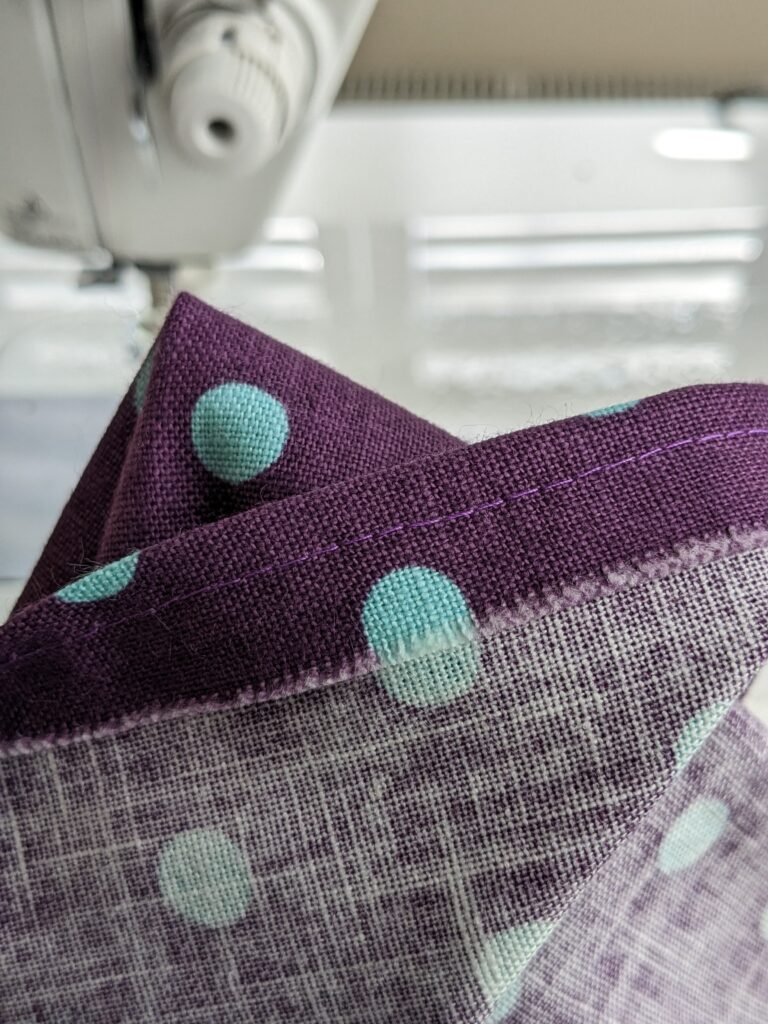
Now turn your bag inside out so that the RIGHT sides are together. Give it a press and then sew around the edges again making sure that the previous seam allowance is completely inside the new line of stitching.
sewing WRONG sides together 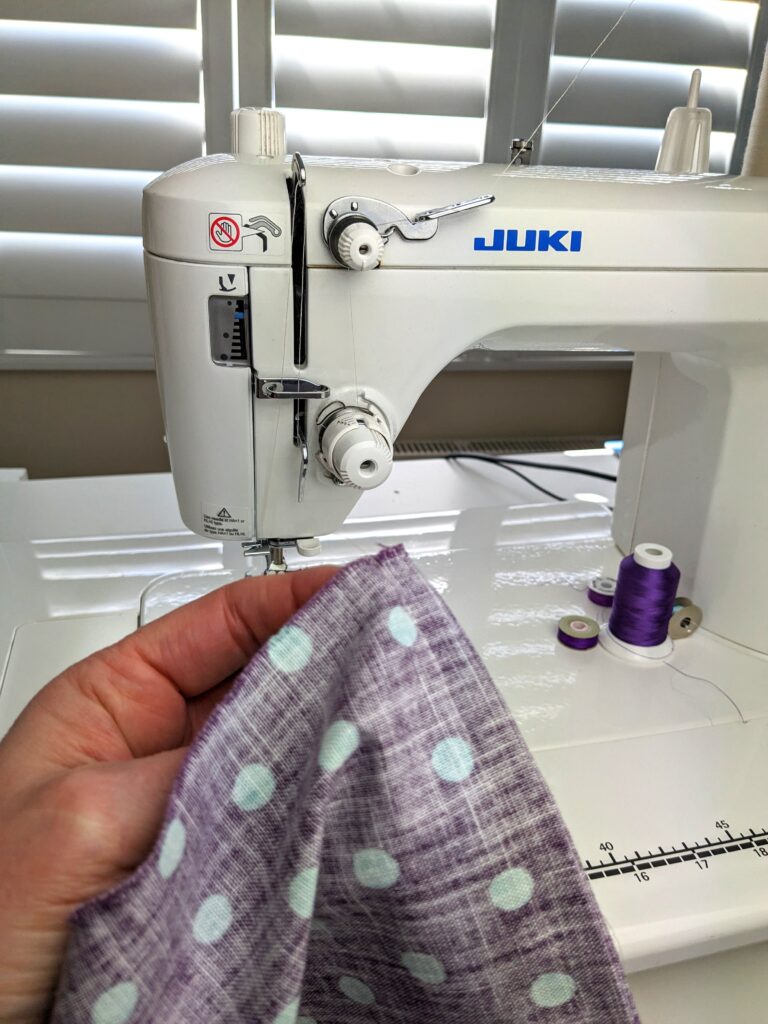
Flip, press, and sew RIGHT sides together
Turn inside out again and you have a lovely tidy French Seam with no raw edges showing.
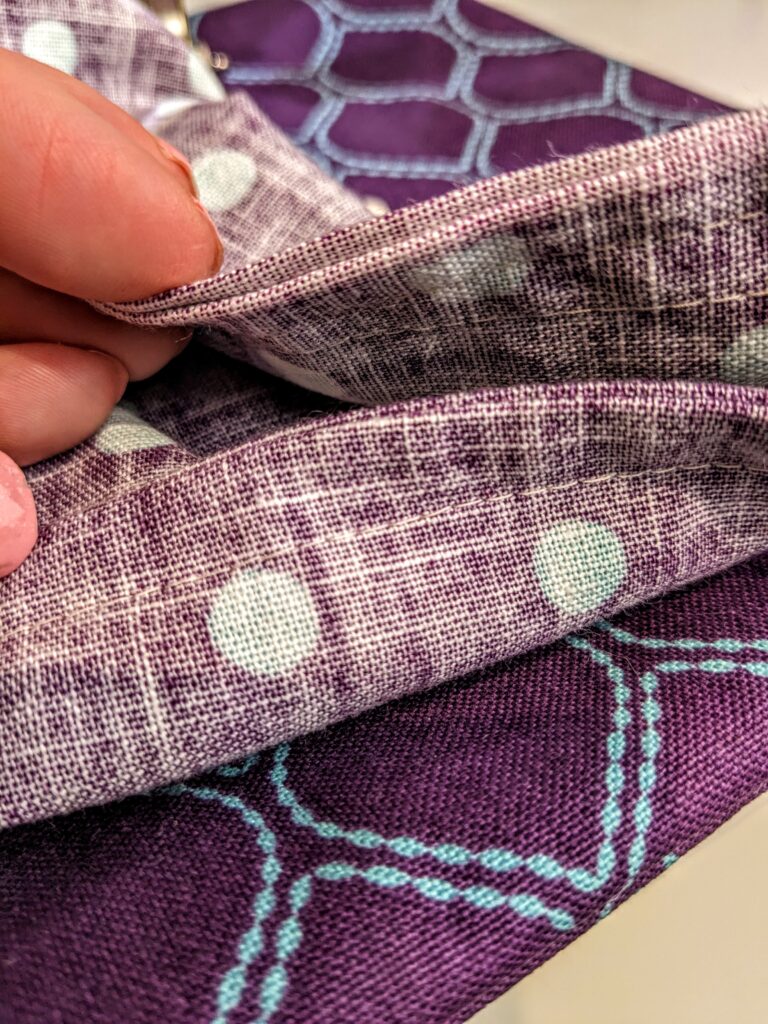
At this point, I could sew down the seam to make it lay flat, like on your jeans, but I skipped that part for this project. The bag is now stitched together using lovely French Seams so it looks good inside and out. We’re ready to tackle the top.
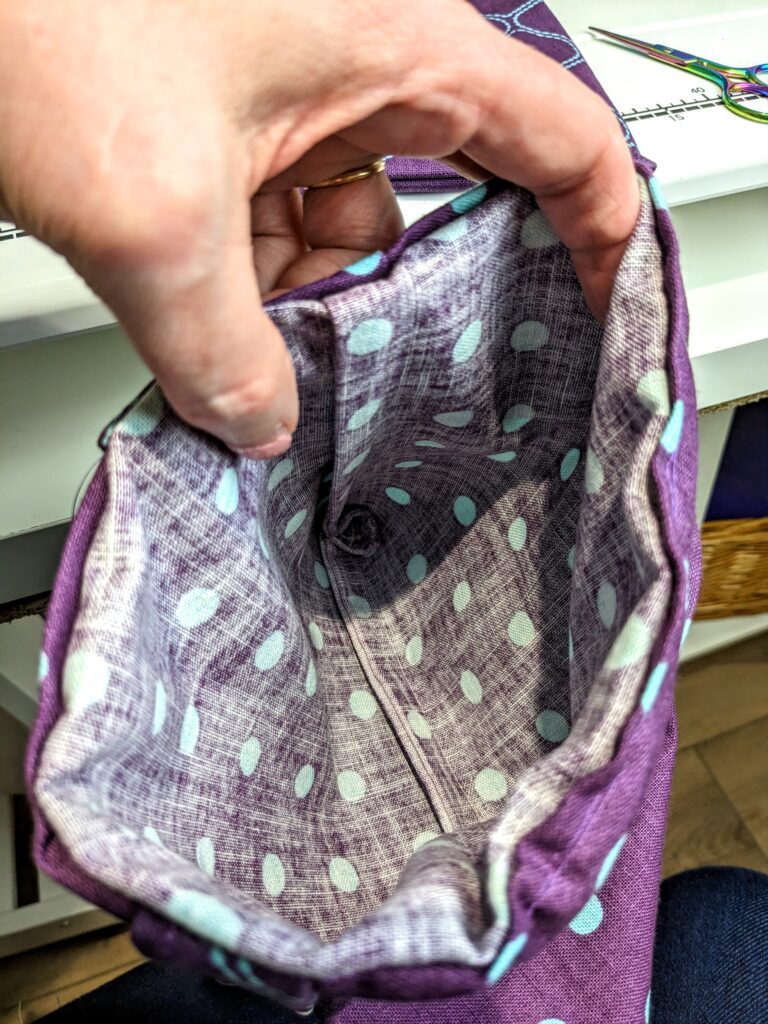
Sewing the top edges
Fold the top over about a quarter of an inch, press it and stitch all the way around. You’re going to fold this over to make a cuff as in the photo below. We’re ready for the handle.
Making the handle
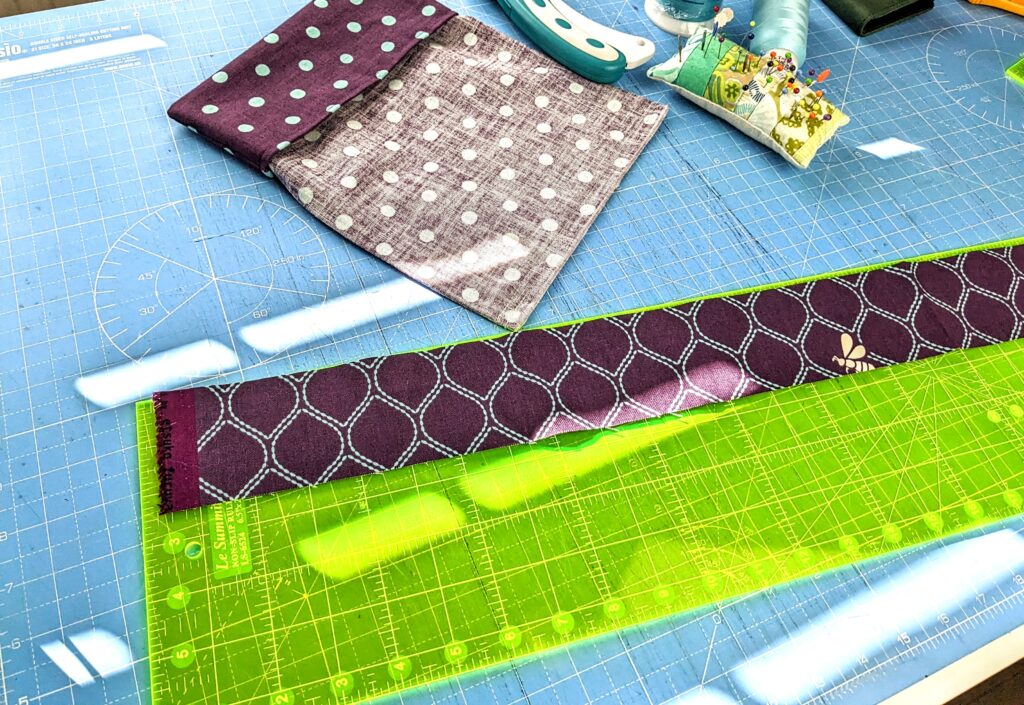
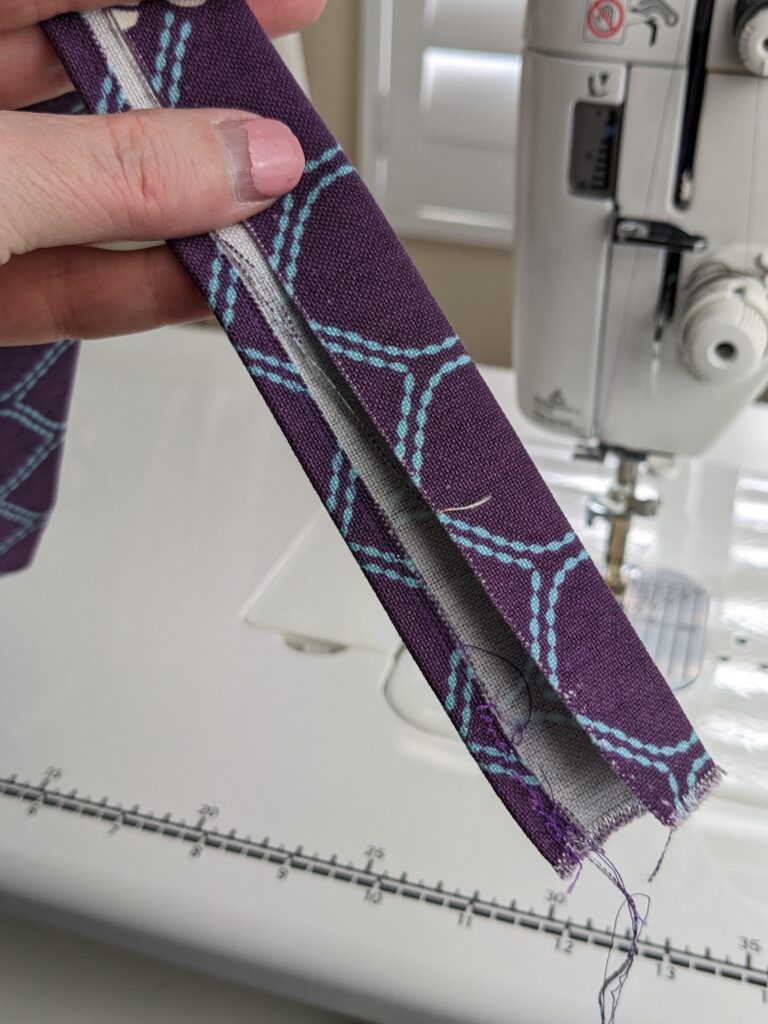
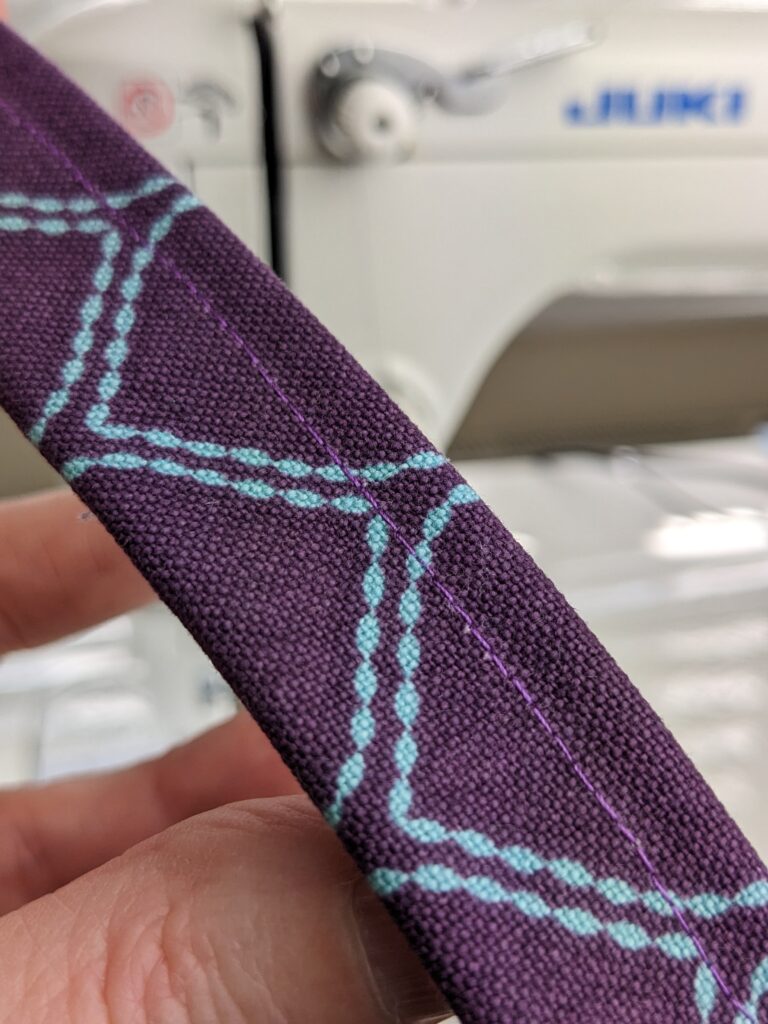
Cut a long slice of fabric between two and one half and three inches wide and about 20 inches long. Fold, press and stitch so that it’s doubled over.
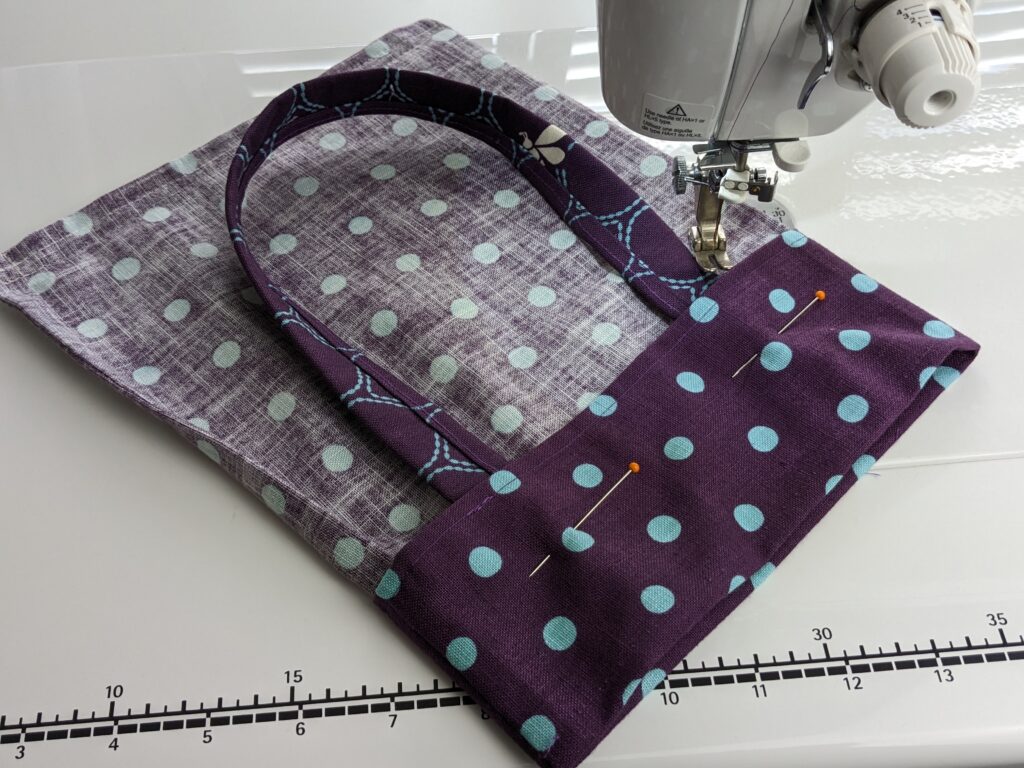
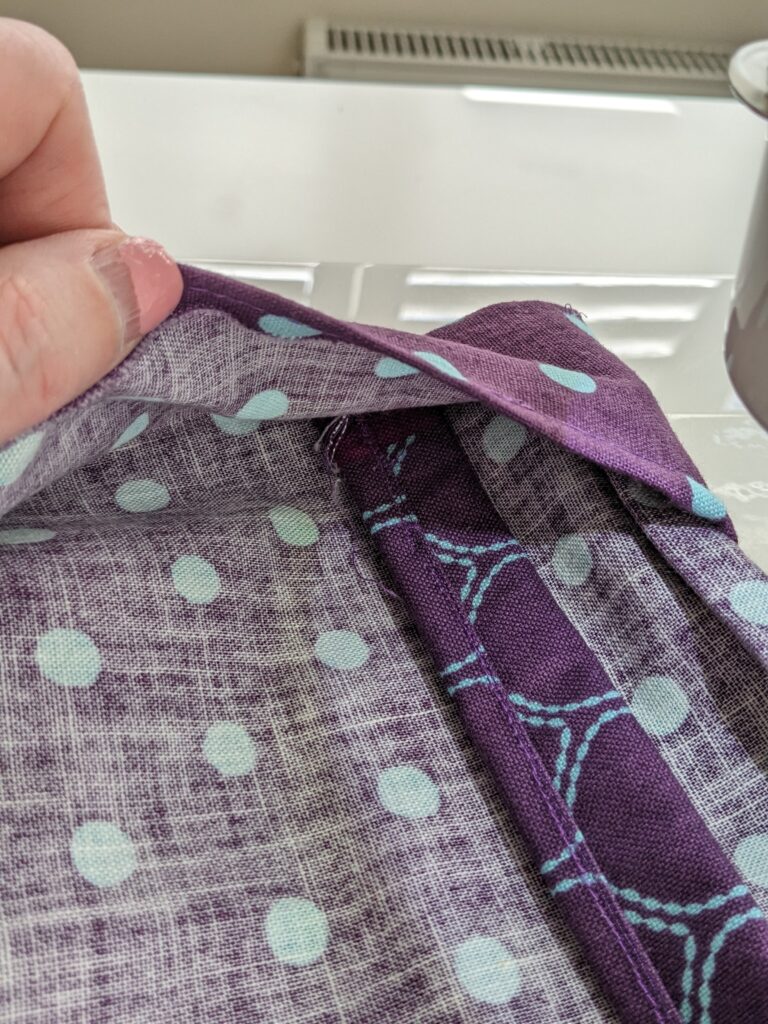
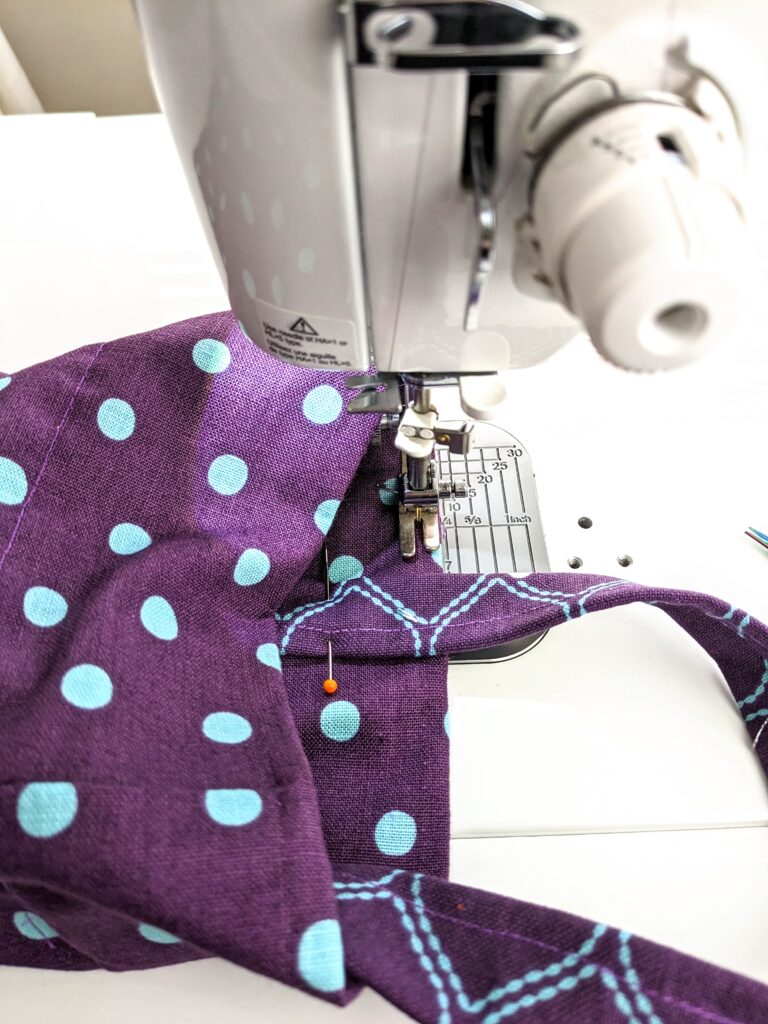
We’ve made the handle extra long because its going to slip underneath the folded down cuff at the top of the bag. Slip one end of the handle in, making sure that it goes all the way to the fold at the top. Then add the other end. Pin both in place.
Stitching the handle in place
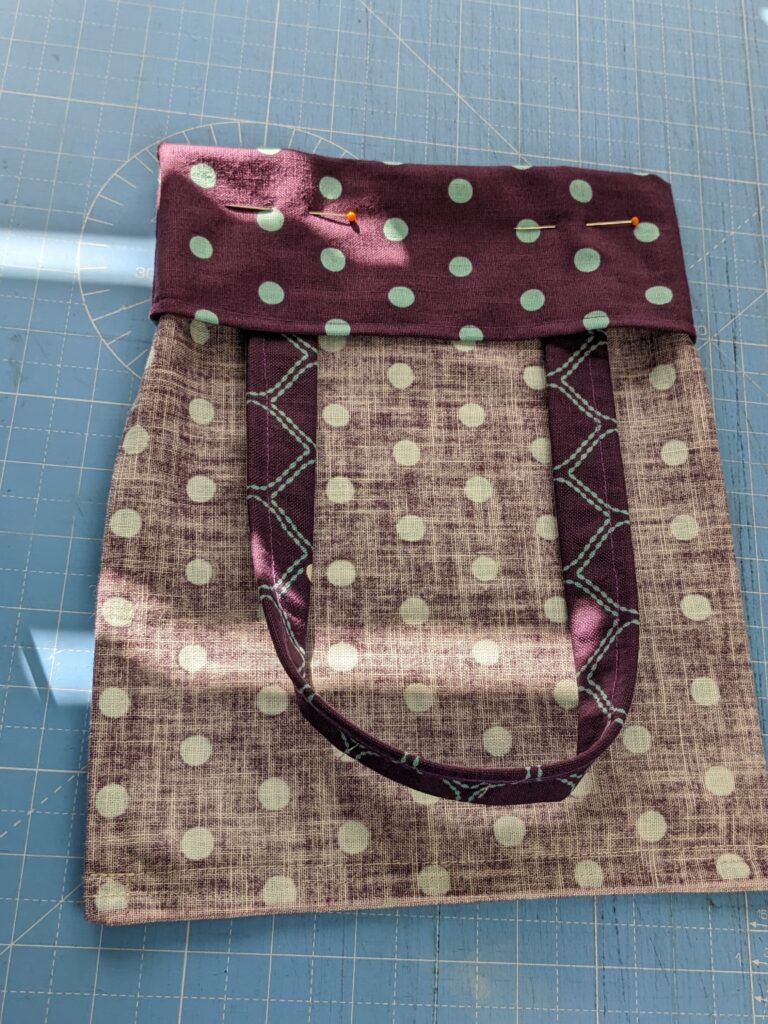
Begin at the bottom edge of the cuff and stitch all the way around the bag. I tend to back stitch over the handles.

It will look like this.

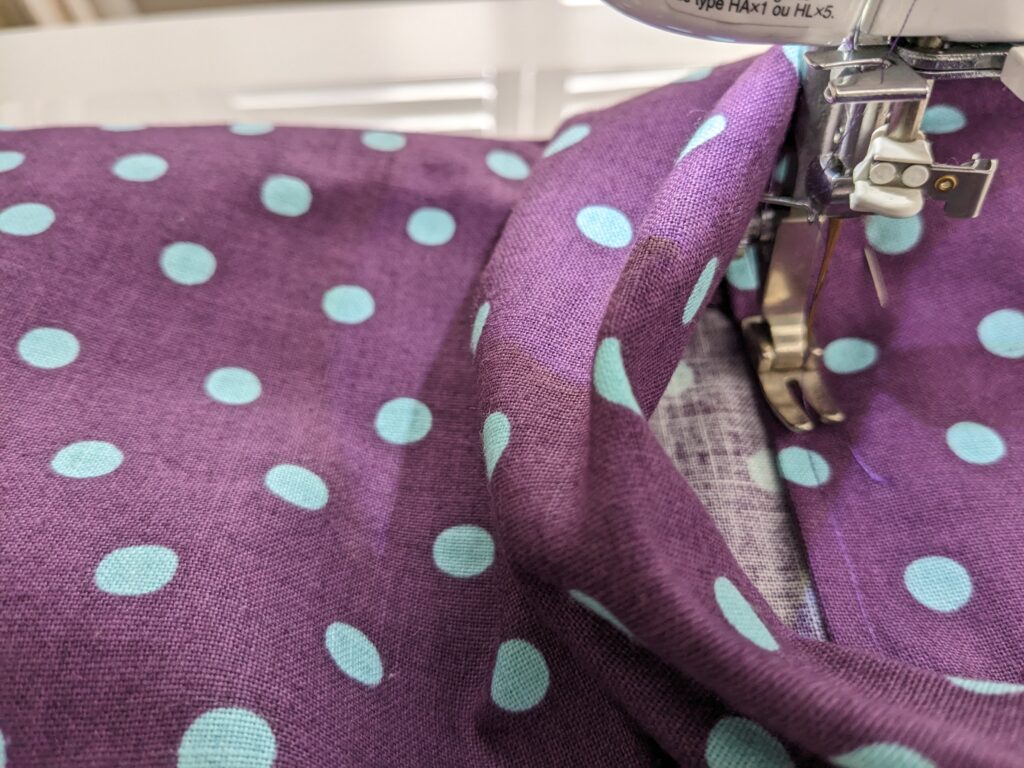
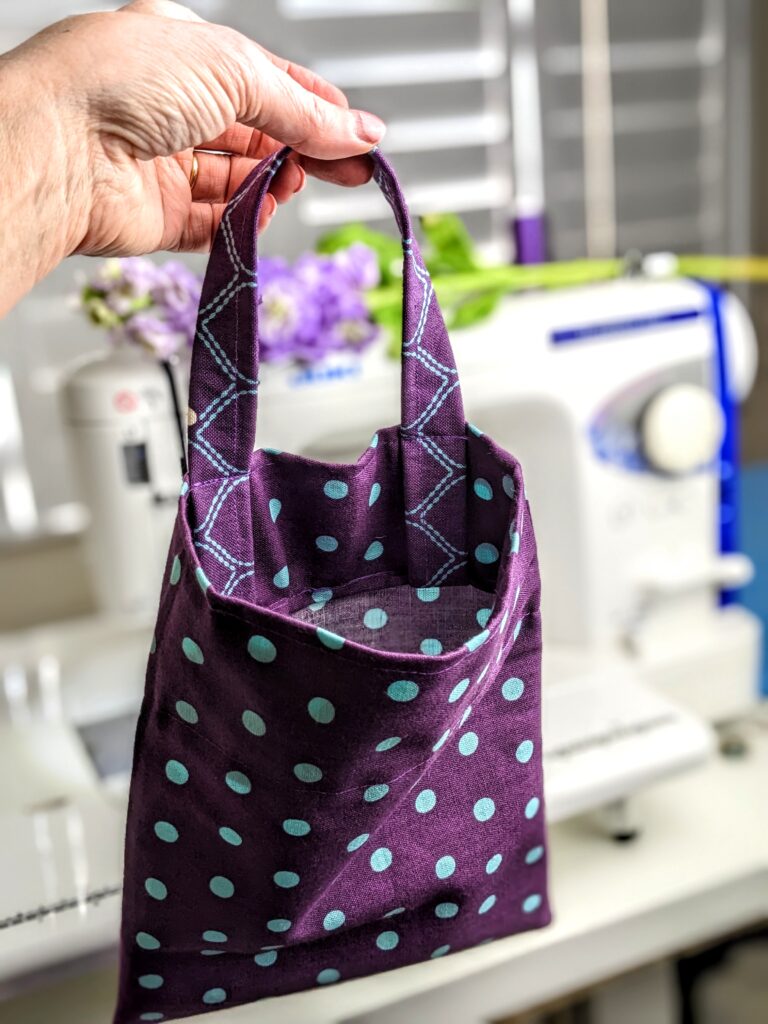
Now fold the handles back over themselves and pin in place again. The handle will now be coming out of the top of the bag. Stitch along the very top edge of the bag. All the way around. Backstitching over the handle for added strength.
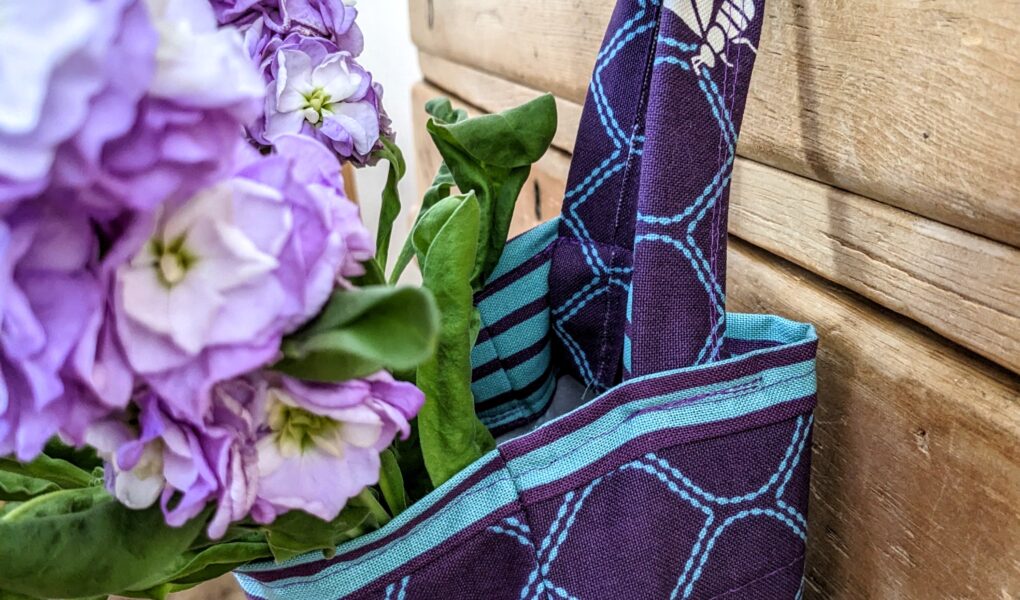
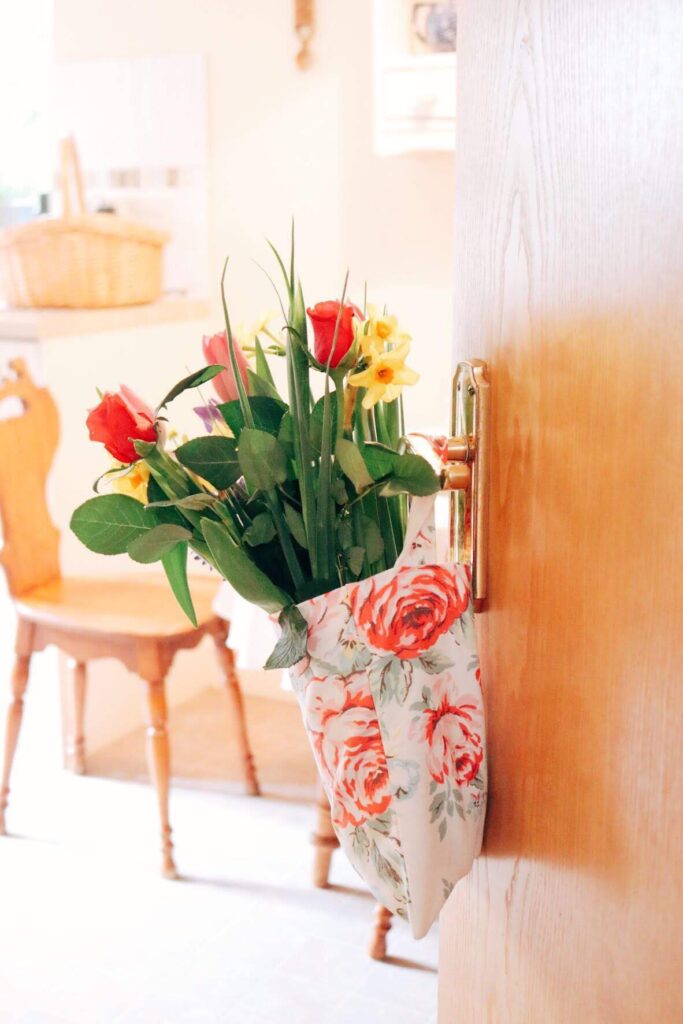
And when you’re finished it will look like this. It’s ready for flowers or whatever else you would like to fill it with.
Adding flowers
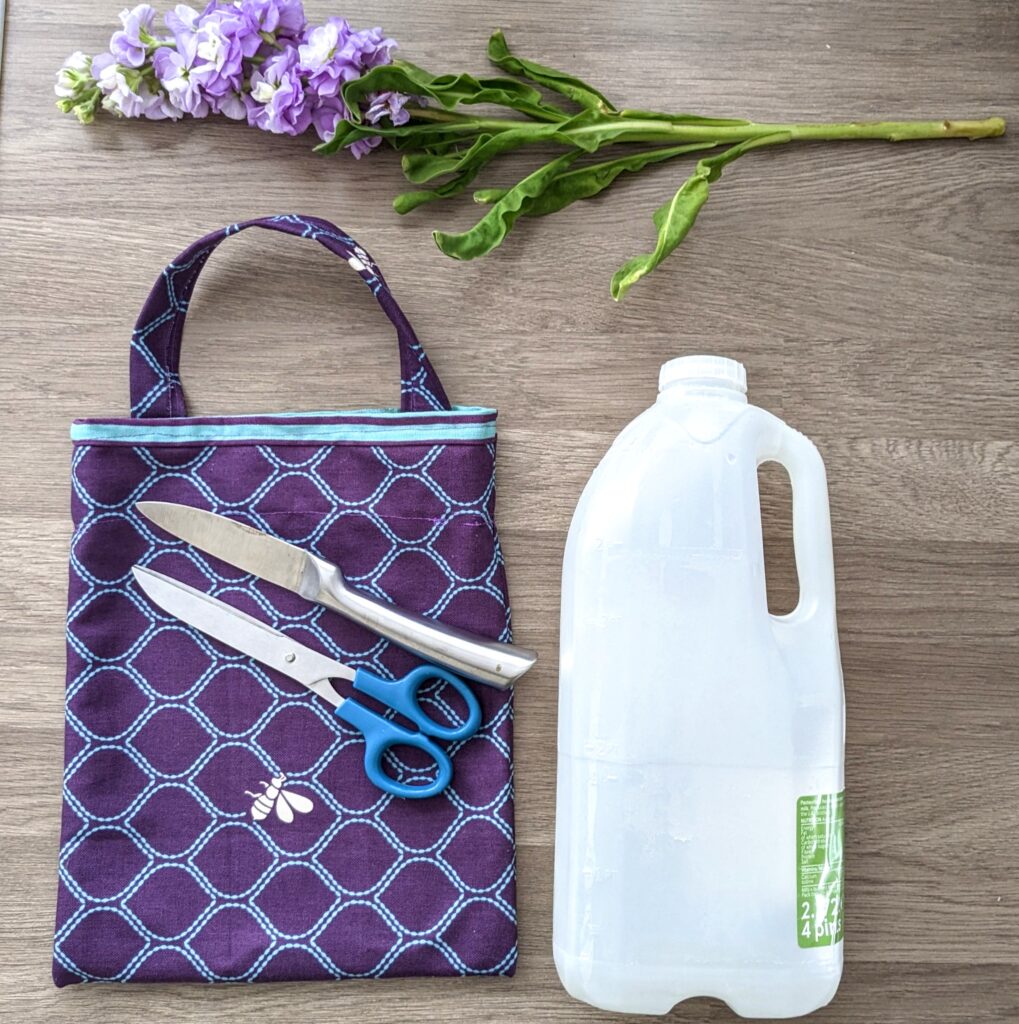
Adding flowers is fun especially for a gift! All you need is a plastic container. This plastic milk bottle was just the right size. I used the knife to poke a hole. Then I cut the top off with the scissors.
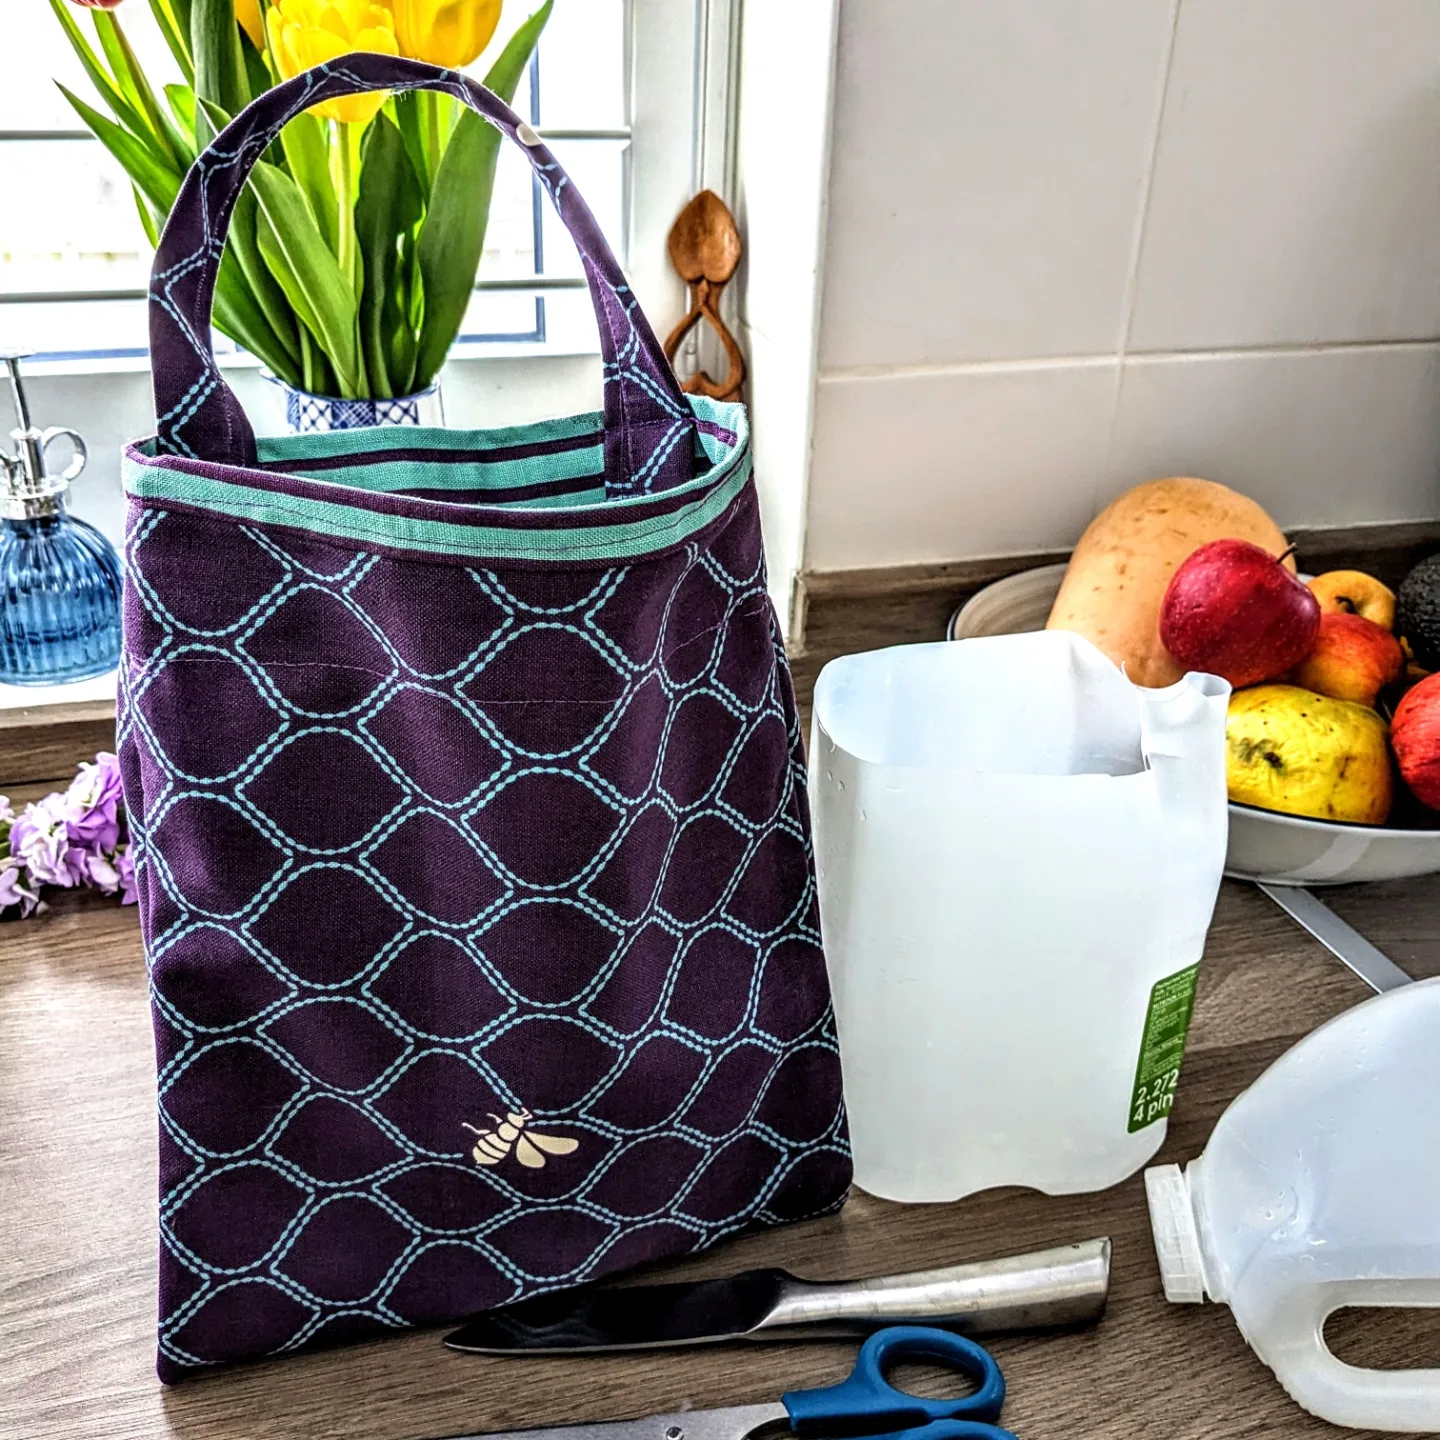
Then simply add flowers and some water. They’ll look lovely.


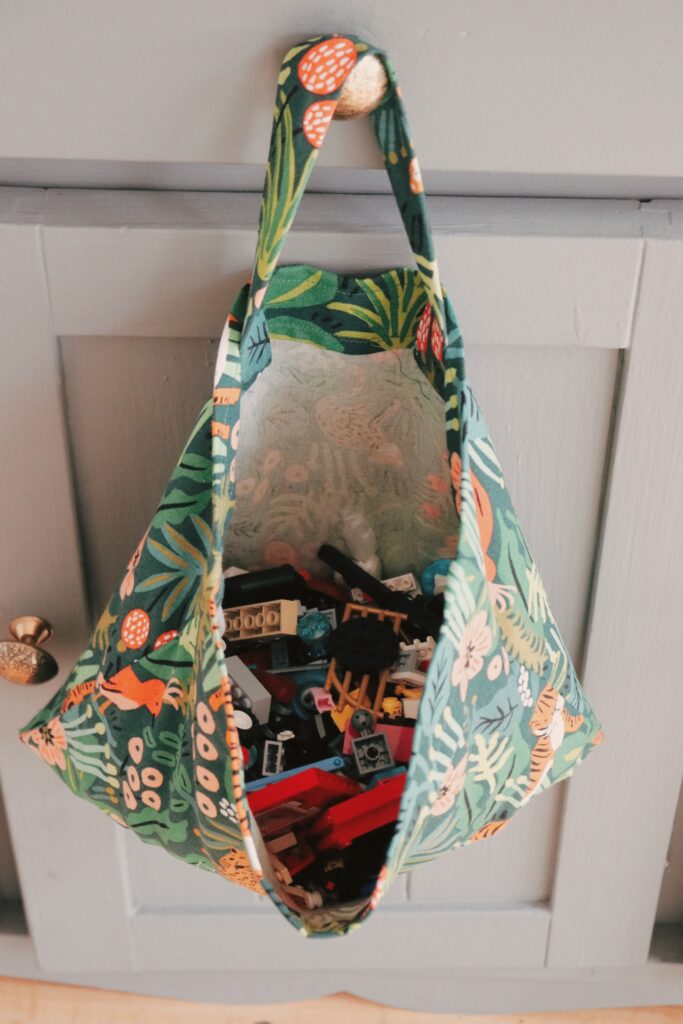
And when the flowers fade, the bag can be used to store other things.
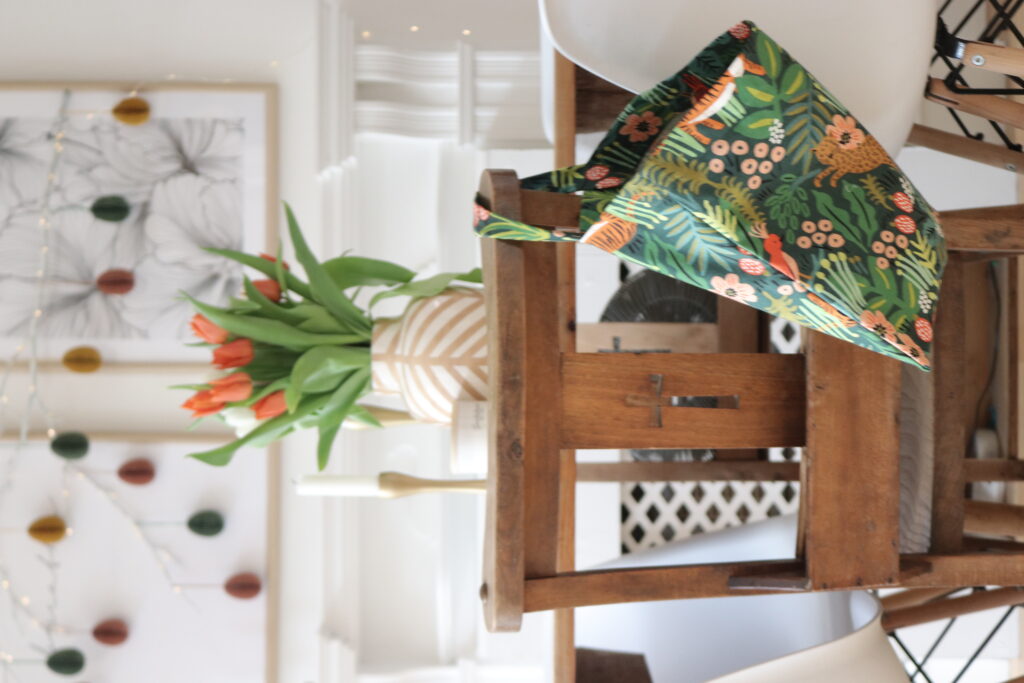


These bags are so darn cute! And useful too. We hope you enjoy making them. They have so many uses. When you start to think about it, the possibilities are endless.
Emily at Brick Dust & Glitter shared an easy step guide to making these fab hanging bags. Perfect for the busy family home, the storage bags can be hung on the end of beds, door handles and chairs and can store just about anything.
One Handled bag: http://brickdustandglitter.blogspot.com/2019/03/hanging-storage-bags-simple-sewing.html