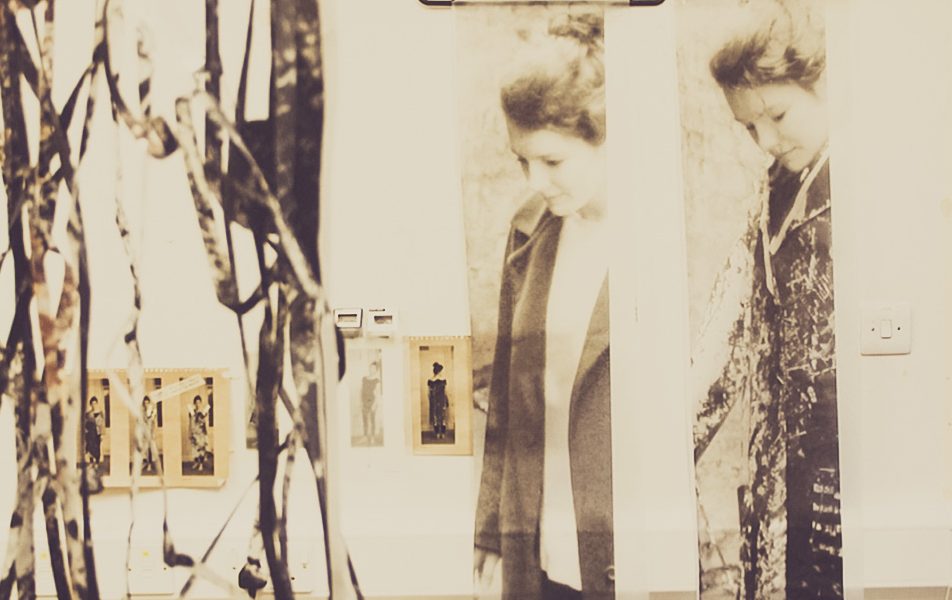


Rose shares her experience making the Jily Top as a beginner sewist

Today I thought I would share a little bit about the process of making the Jily Top by the Fold Line, from a beginners points of view, sharing things I learned in the process. As someone who has not made garments properly before, I was a bit nervous about starting! But once I got going I found the process really enjoyable and cant wait to make my next item.
As I mentioned, the top has two versions: one with a tie and one without. I started with making the one with the tie. The patterns are exactly the same except for the addition of the tie piece.

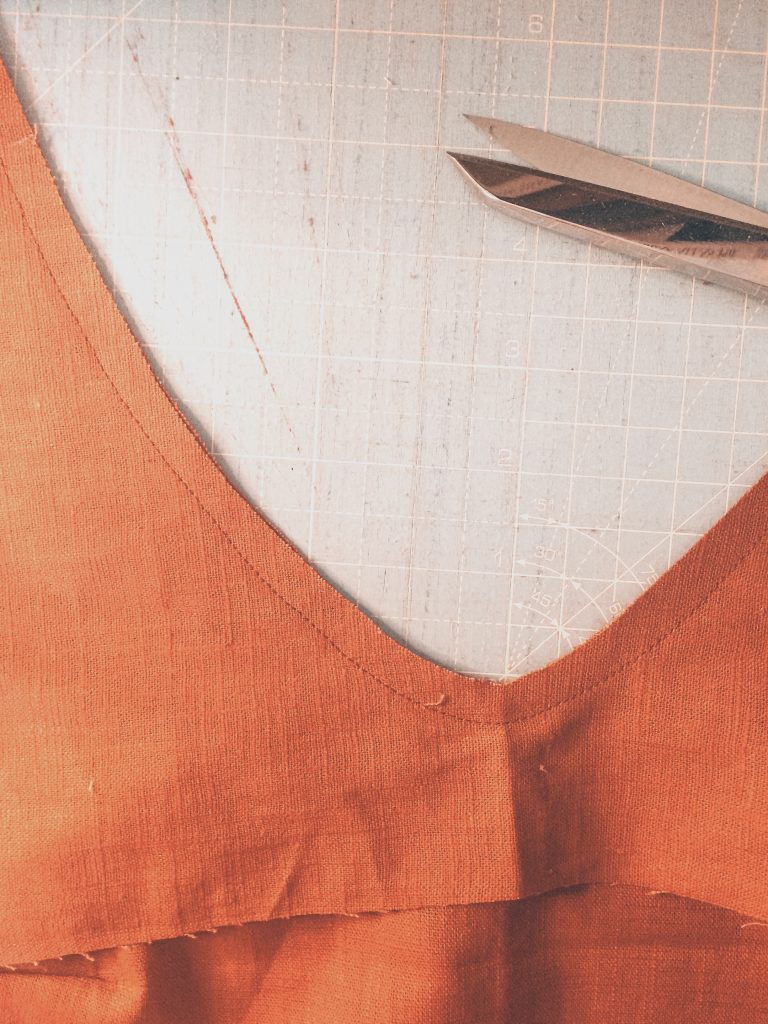
I love the neckline for this top, and whilst I was a bit skeptical about how the tie might turn out initially, I think it works really well and gives a fun edge to the sophisticated look of the top.

Sometimes I find that garments with ties can make them puff out awkwardly. At first it seemed like this might happen here too, but after wearing it a couple times, the fabric gets used to moving about and lost a bit of stiffness, meaning now it is hanging just right.

The process of making the top
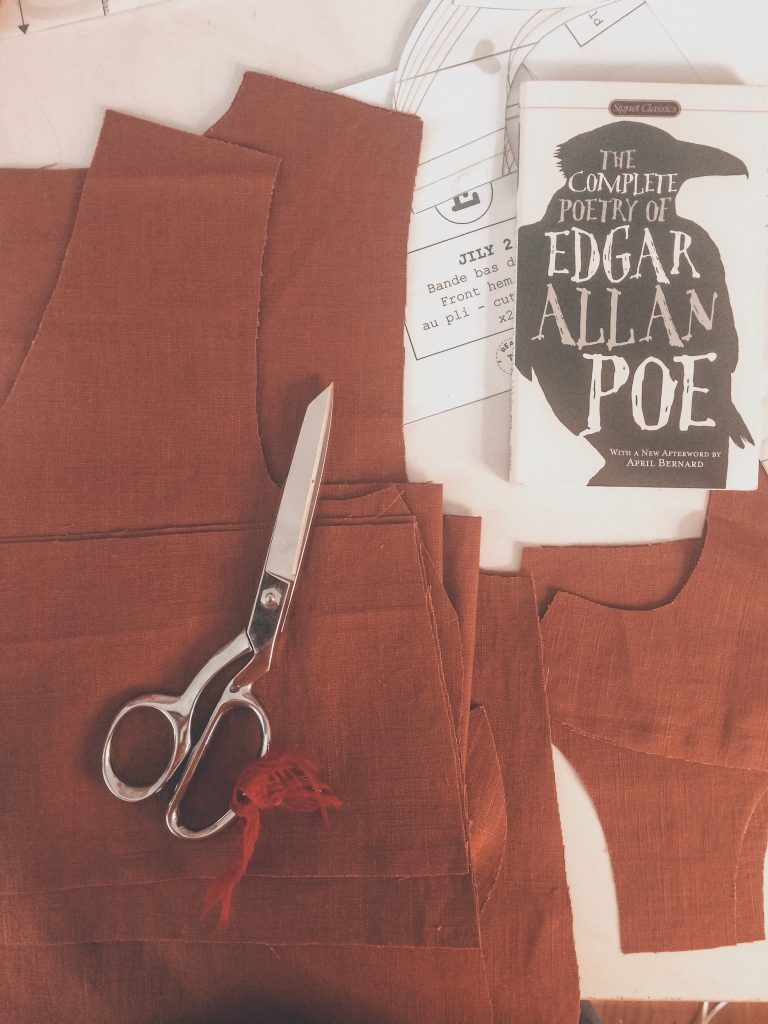
The Fabric
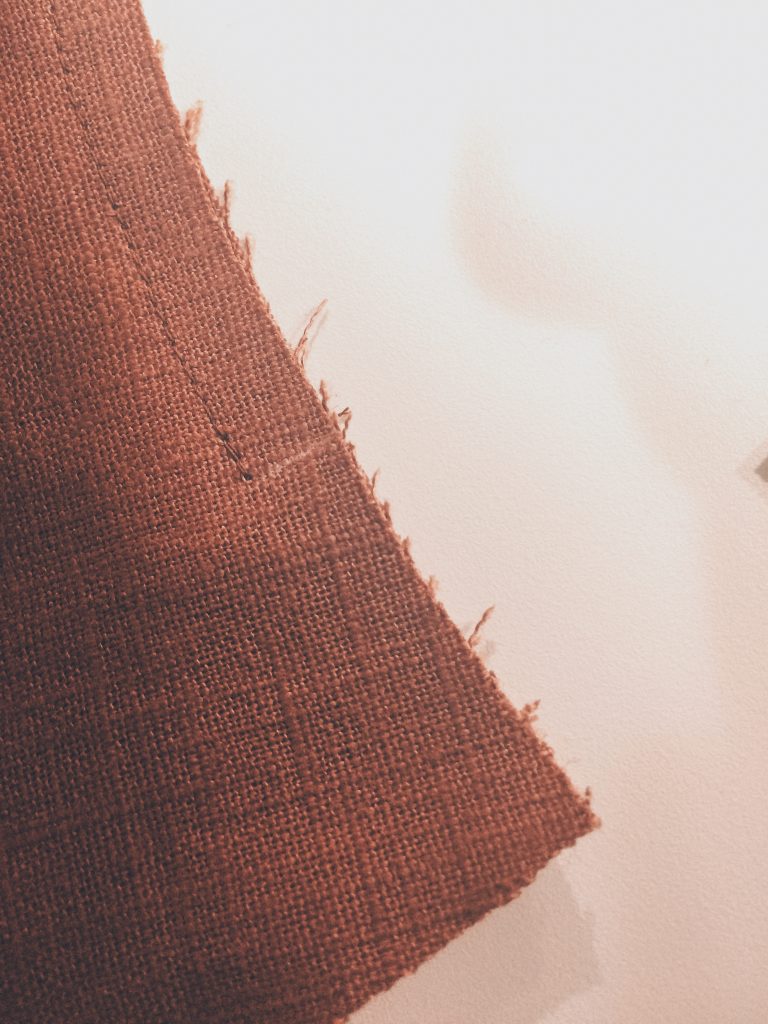
For this pattern I used a tangeriney-brown linen from Higgs and Higgs. I LOVE this colour and have several other store-bought dresses and tops in the same colour. The plain linen was a great fabric to work with as a beginner too; it’s really easy to find the grain, it doesn’t have a wrong side, and being plain meant I wouldn’t have to worry about ups and downs and matching different cuts of fabrics. That’s three fewer things to worry about, and as a beginner that’s pretty great. As a bonus, linen is also really cool – in both senses of the word; it breathes really well so is great for summer months, and as mum says ‘all the cool people wear linen…’

The pattern tells you how much fabric you’ll need – for this first version of the Jily Top, you need a meter of your chosen fabric.
Printing the Pattern
- What is cut on the fold? – the Jily pattern has you cut the pattern from fabric that’s folded over. This is just time saving; it means you don’t have to do two cuts of everything. Certain piece say ‘cut on the fold‘. This just means that you line up the arrowed pattern piece with the fold in the fabric, and then cut every other edge except that one. Pattern drafters use ‘cut on the fold’ for drafting symmetrical pattern pieces, where the pieces mirror along the fold line. This simple video helped me understand it.
- What are the long arrows running down the middle of some pattern pieces? I learned these arrows tell you to align the piece with the grain of the fabric. And not just if its a directional pattern. This is important even with plain fabric as it will stop the fabric from twisting in an unseemly fashion! I learnt this from this helpful video.
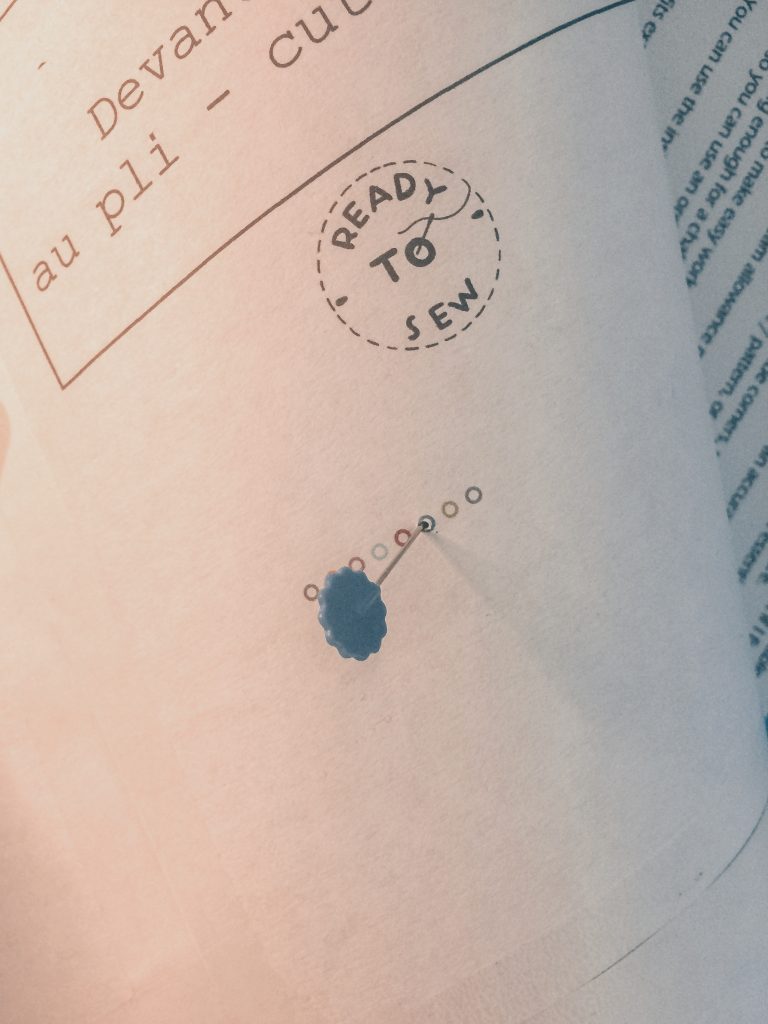
The pattern provides really super instructions. It even has links to videos and tutorials for some of the more complex parts of the pattern which I really appreciated! It’s a PDF pattern, but you can also order it straight from them if you don’t have your own printer. The PDF pattern was great – just print it, trim the pages, cut it all out and stick all the pages together with cellotape, and then cut out your pattern pieces. Tip – just make sure you don’t select ‘fit to paper’ and print it as ‘actual size’ instead. I printed a test page and measured the three cm test square they have, and this is definitely a must so you don‘t end up with the wrong size pattern!
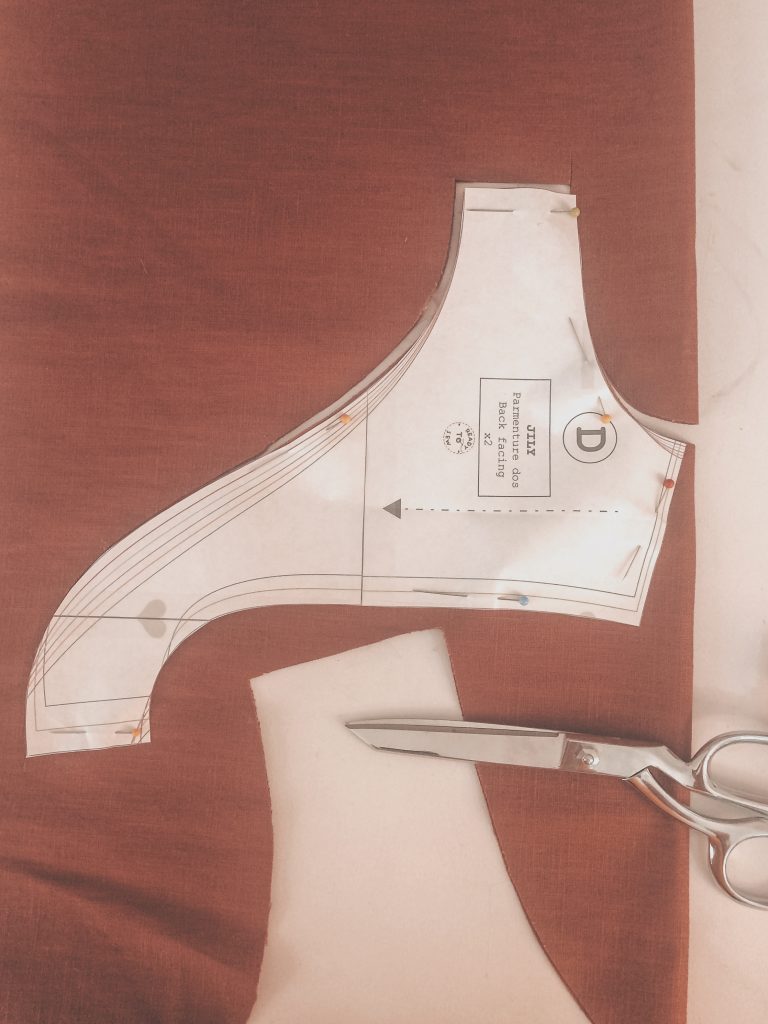
Cutting the Pattern
Once you’ve measured yourself up and worked out what size you need to cut the pattern out, you’re all ready to get cutting. The pattern comes with two suggested arrangements for cutting it all out. Doing this I learnt two things which any sewist worth their salt already knows, but for the beginners out there:
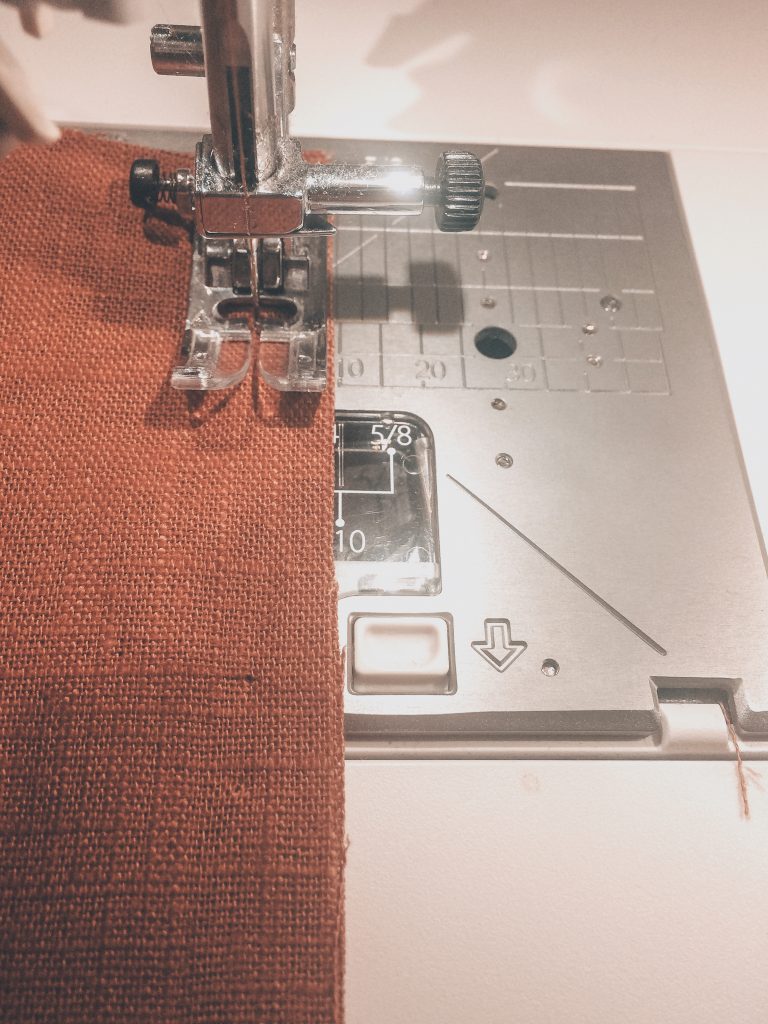
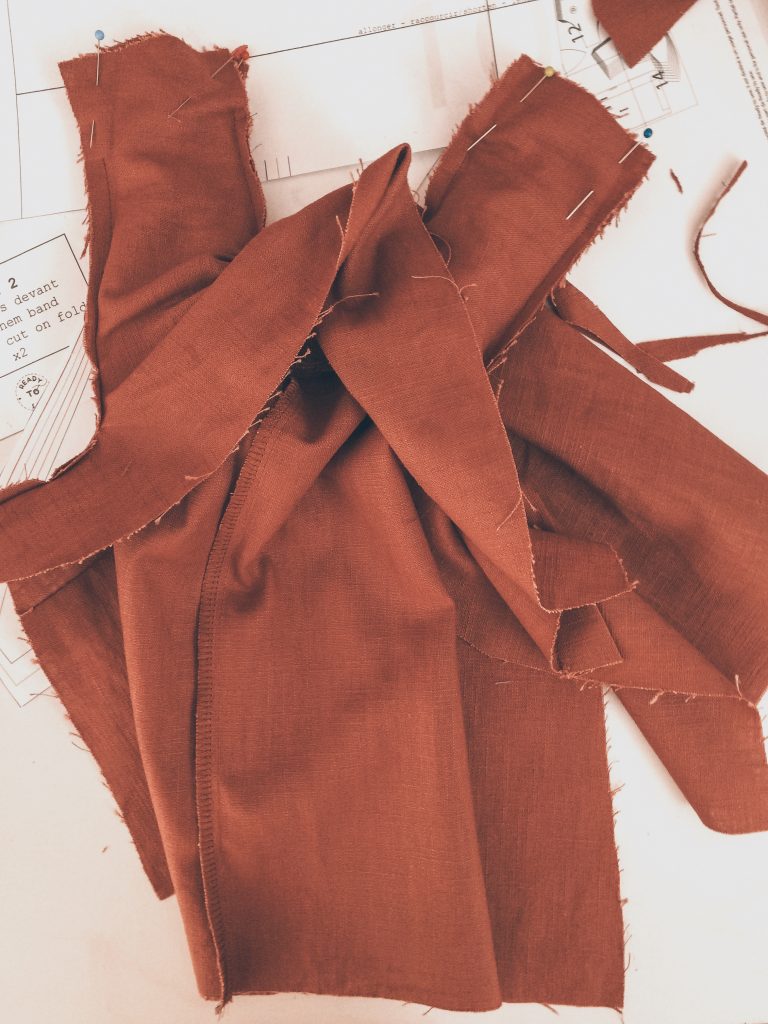
Stitching it it together
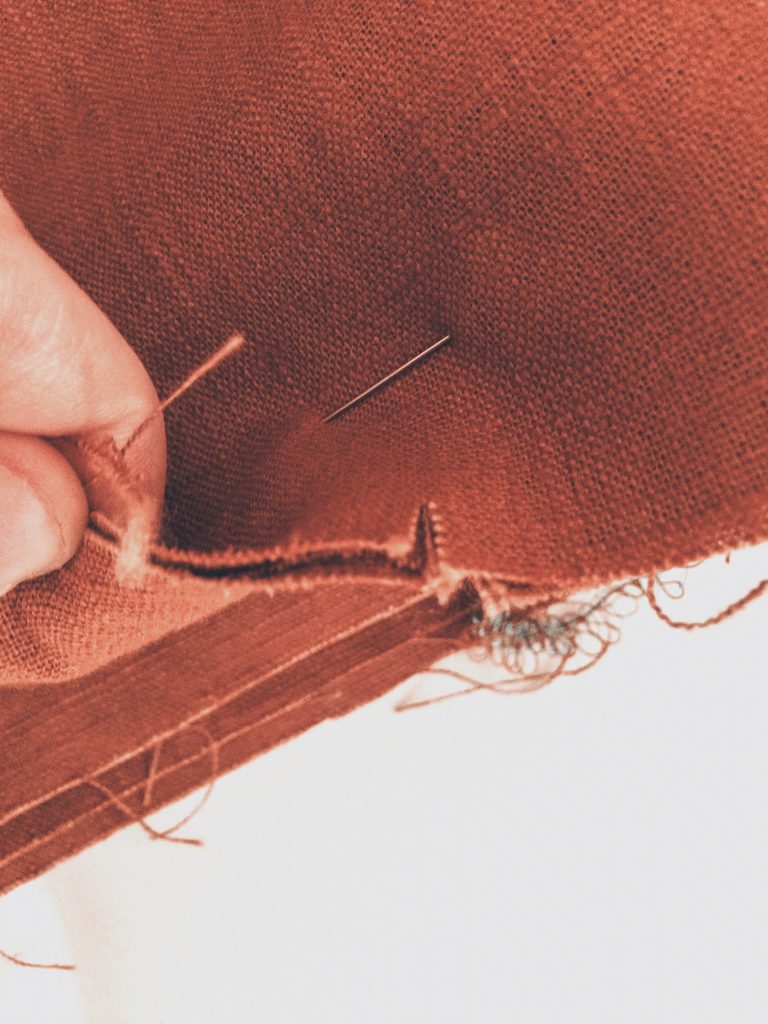
After cutting out my pieces, it was time to get going! For the straight stitching I used the Juki HZL NX7. The smoothness of the machine really surprised me; it sounds just gorgeous when it gets going! The pattern asked for 10mm seam allowances – the NX7 has distances from the needle marked, in inches and mm, so this made it really easy.
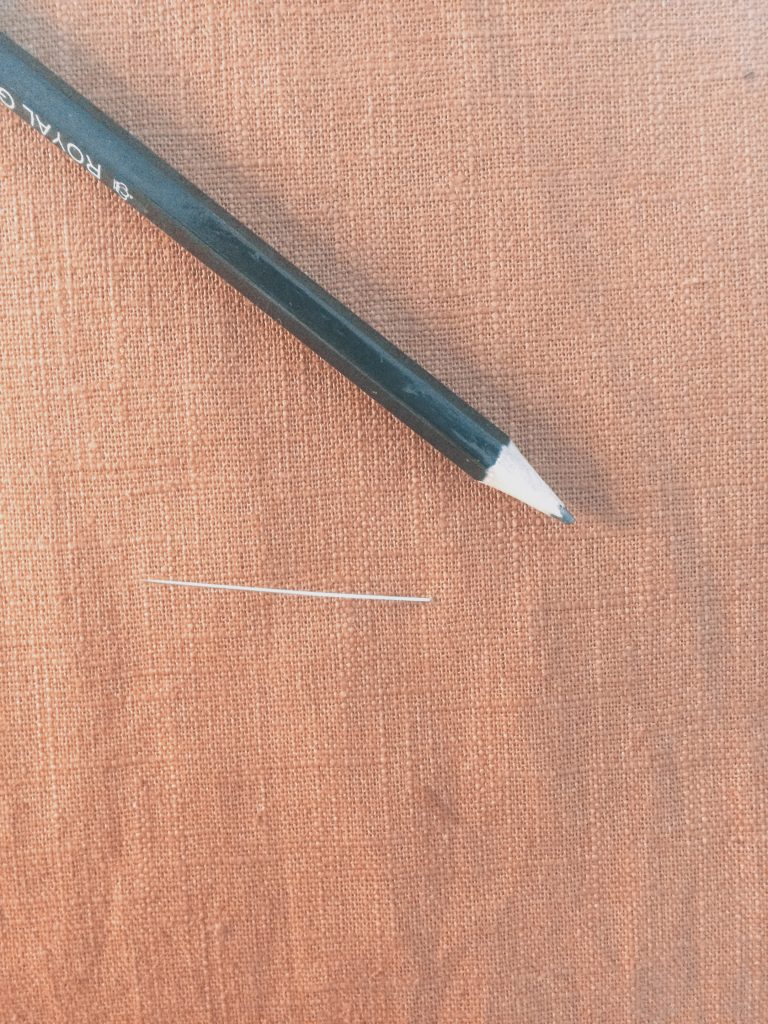
When sewing the arm holes, the instructions ask you to leave 3cm from the end, which you sew up later. Jen Hogg @jenerates recently sent us this really cool ruler tool she designed – like a tiny set-square which has numbers on the inside and the outside. It was perfect for marking out the 3cm from the end of the fabric.
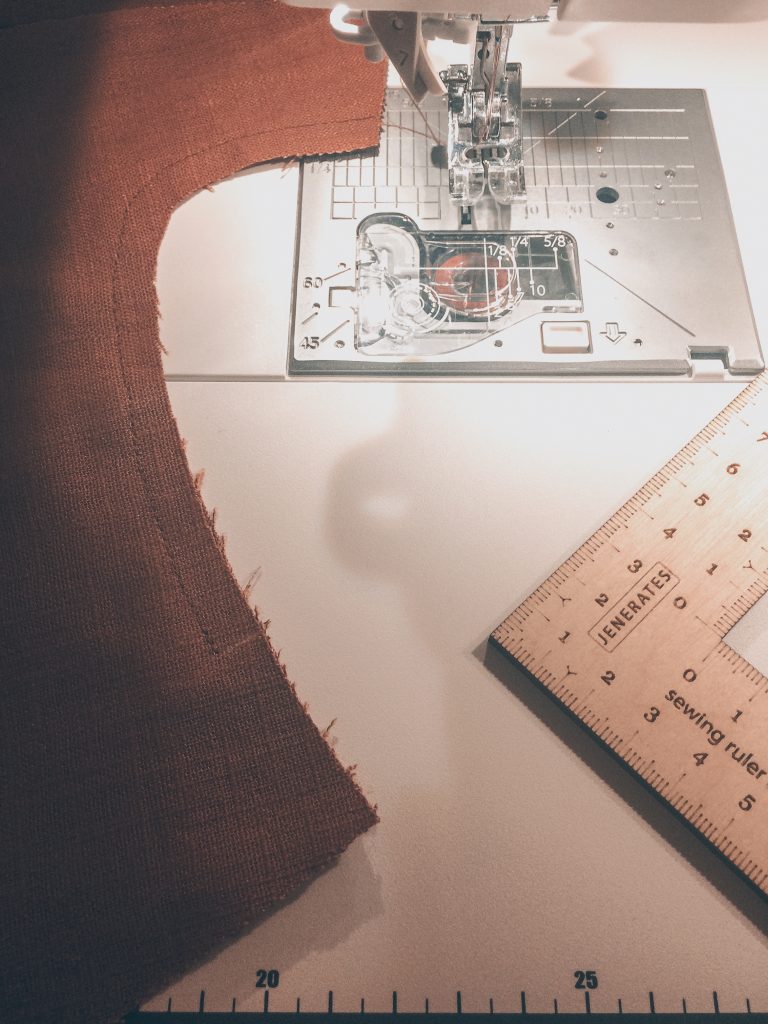
I used a chalk marker to mark 3cm from the end of the fabric.

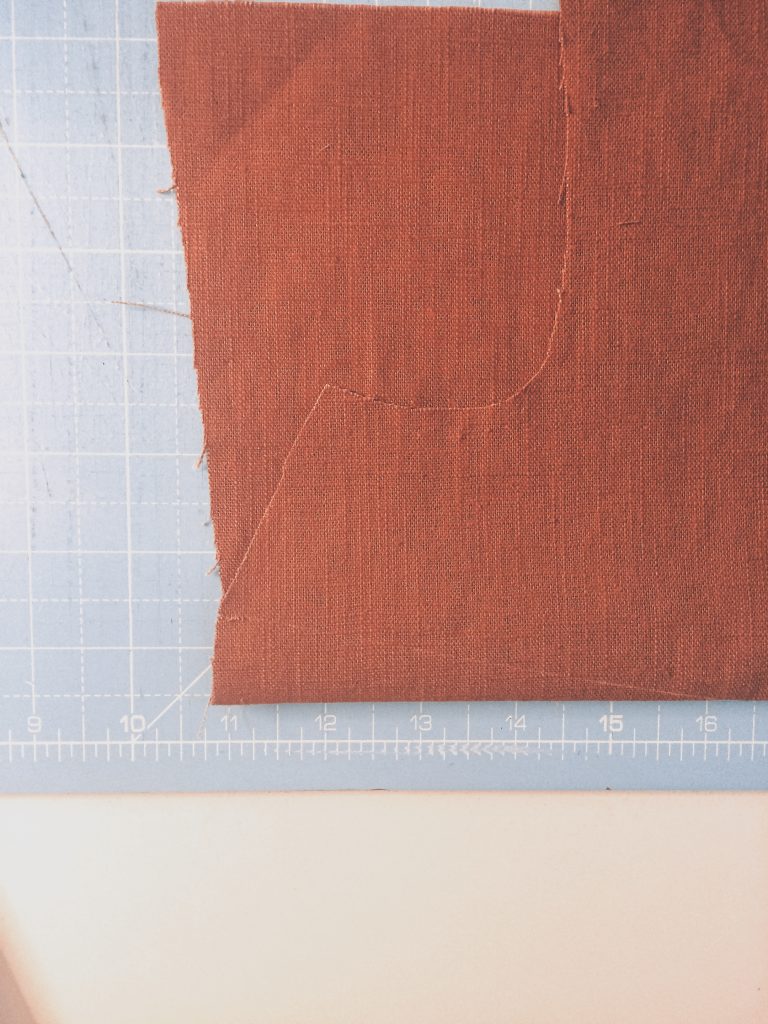
As I’ve already noted, I love the neckline in this pattern! You have to be careful when sewing it, that you get that nice tight curve. I had to go slow but not too slow on this part.
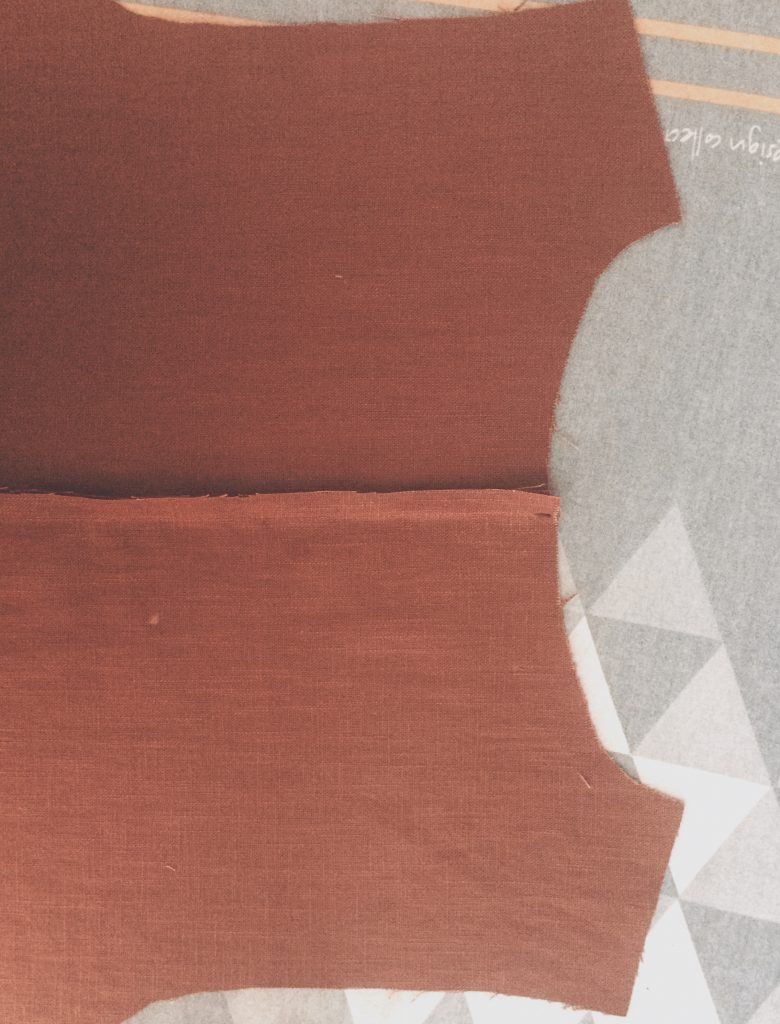
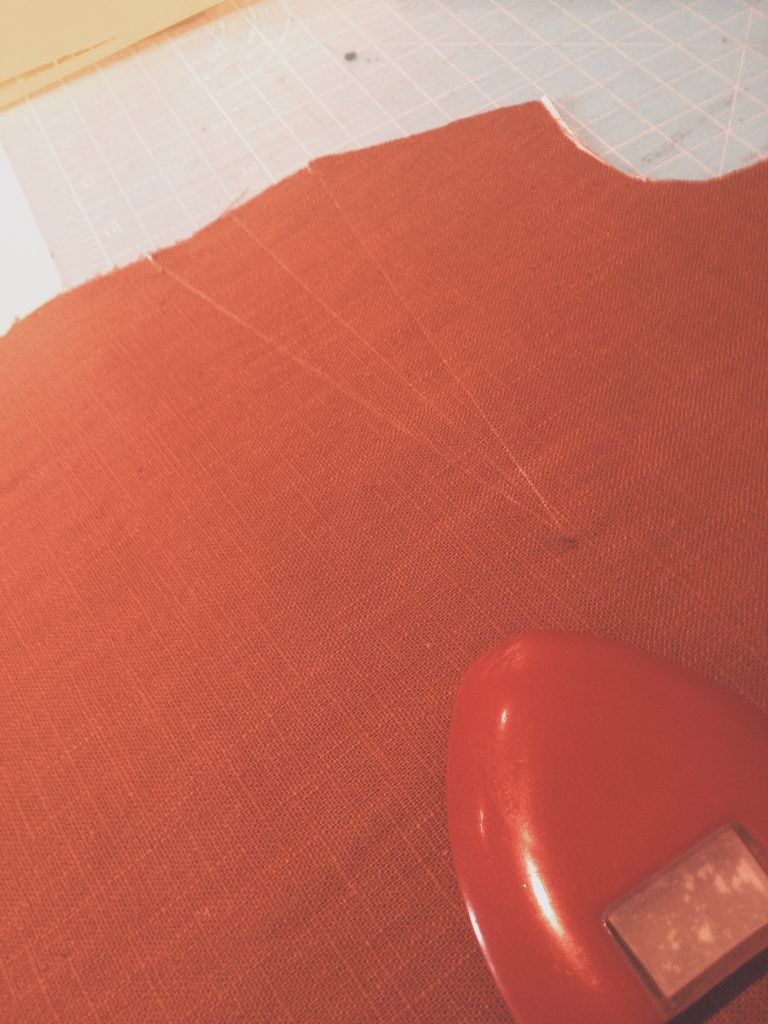
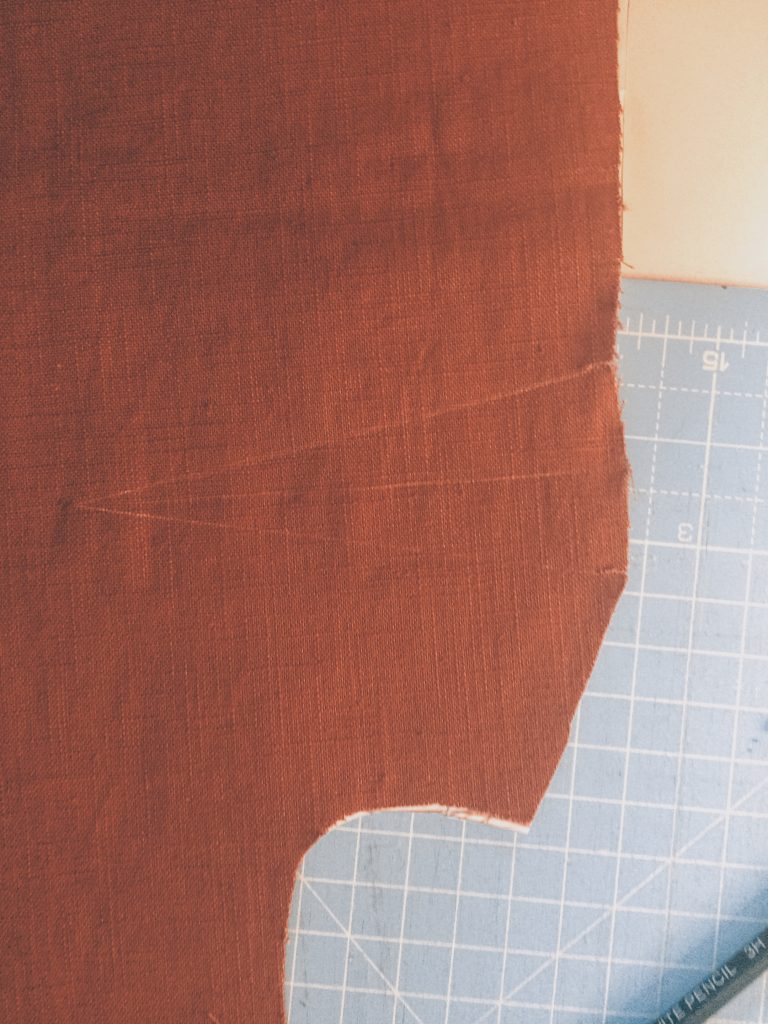
Adding darts to the Jily Top
During this process I learned what darts are! For beginners (like me): a dart on the pattern is a triangular piece of the pattern that you fold, sew up and press in order to give the piece some three dimensional form. I like this part of the process, as the garment literally begins to ‘take shape’ and become a more spatial object.
The front bodice of the Jily Top uses darts to shape around the chest. Two notches in the pattern piece mark out where the darts go. You cut them when you cut out the pattern. Different coloured on the pattern piece mark the point of the dart depending on the garment size you are working with. I transferred the dart point by overalying the original pattern onto the cut piece, and poking a needle through, then using a pencil to mark a small dot I could use to complete the dart triangle. Once you’ve drawn the triangle you then construct a centre line between the two edge lines, which you’ll need when you press the garment.
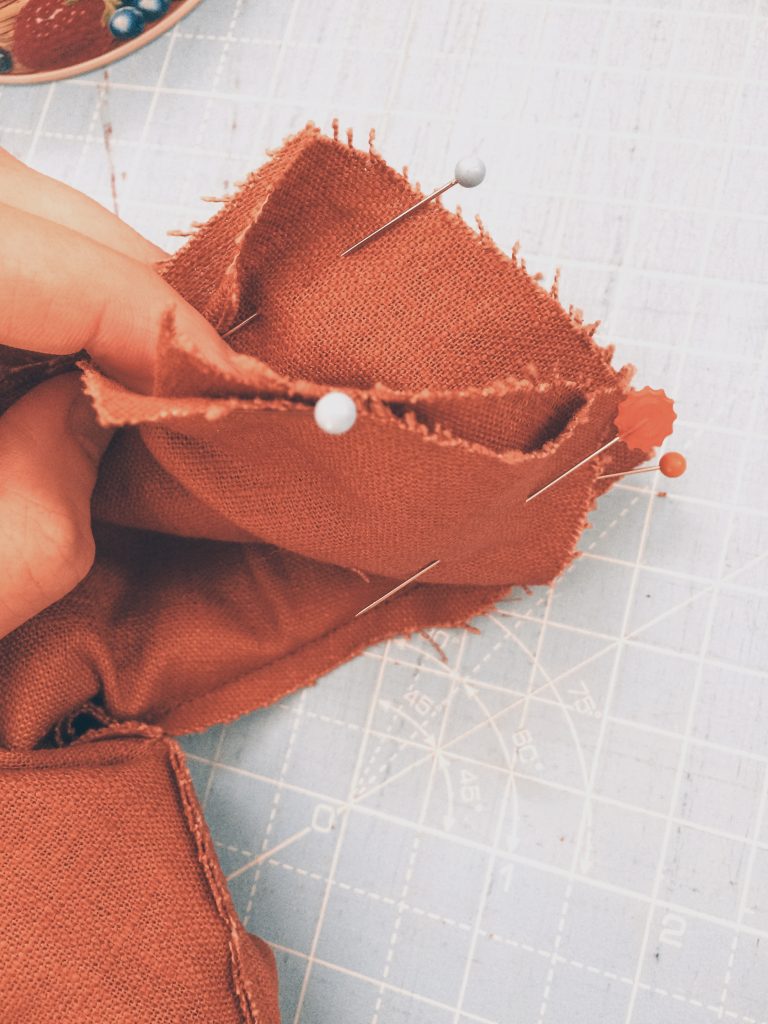
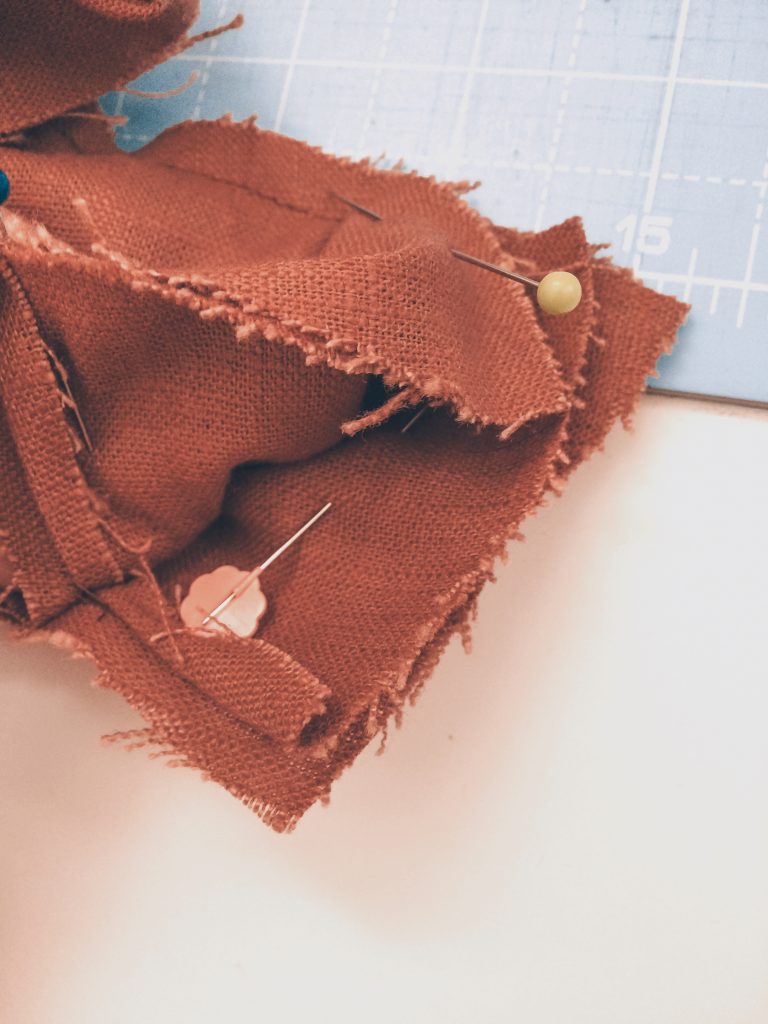
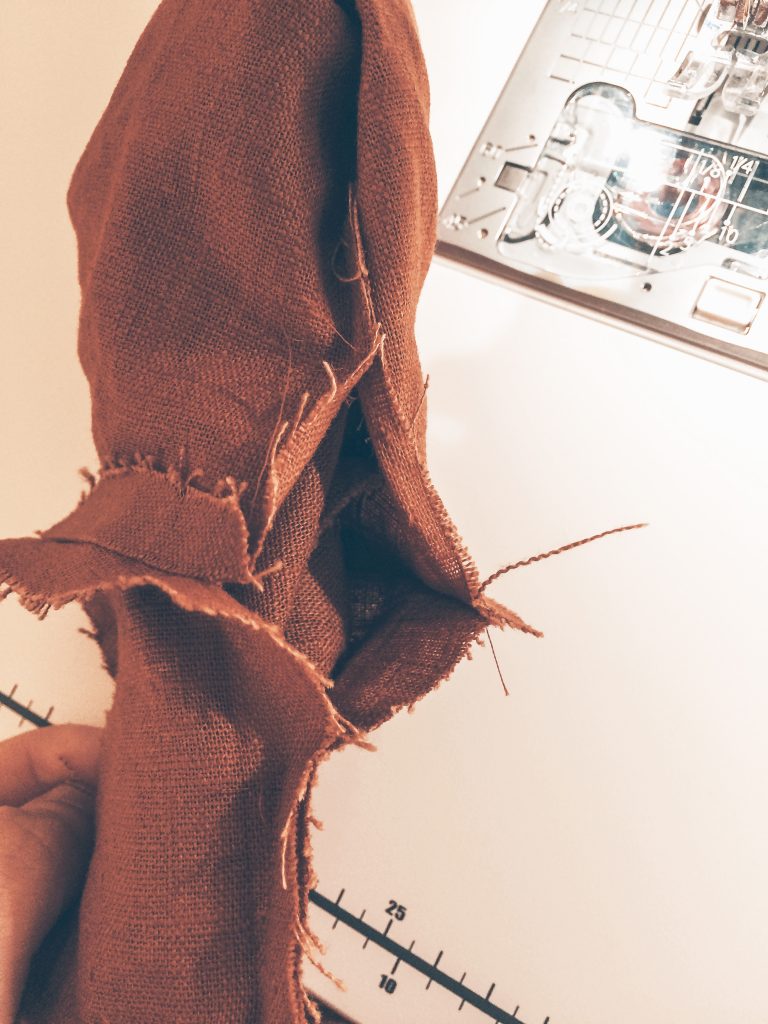
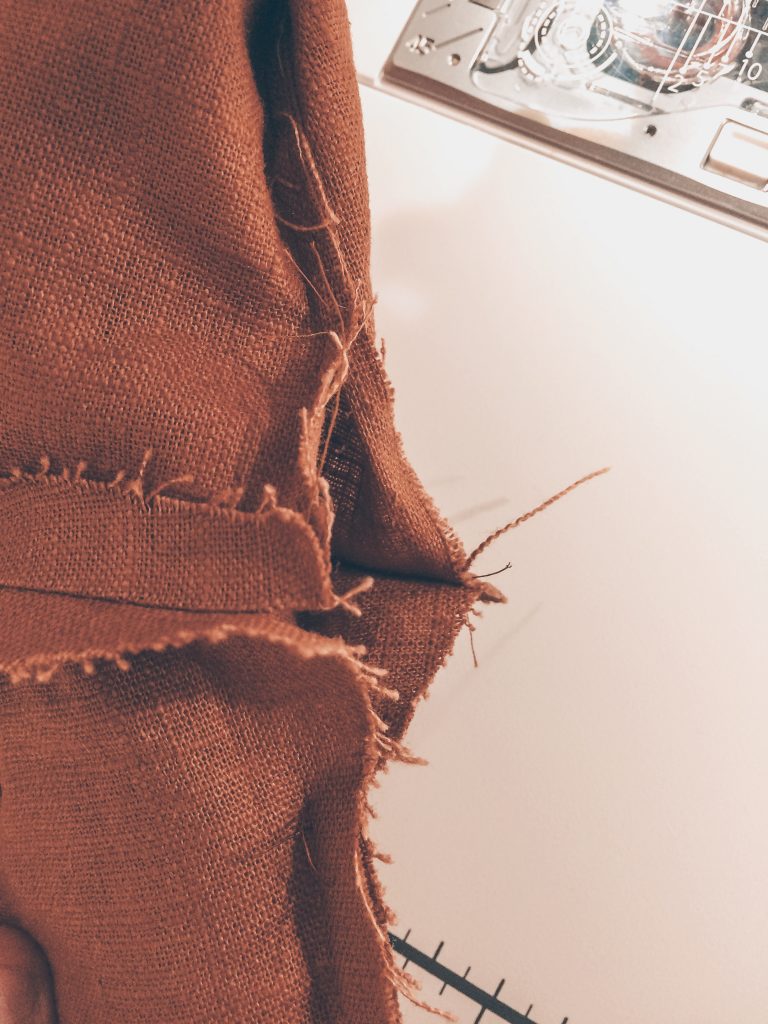
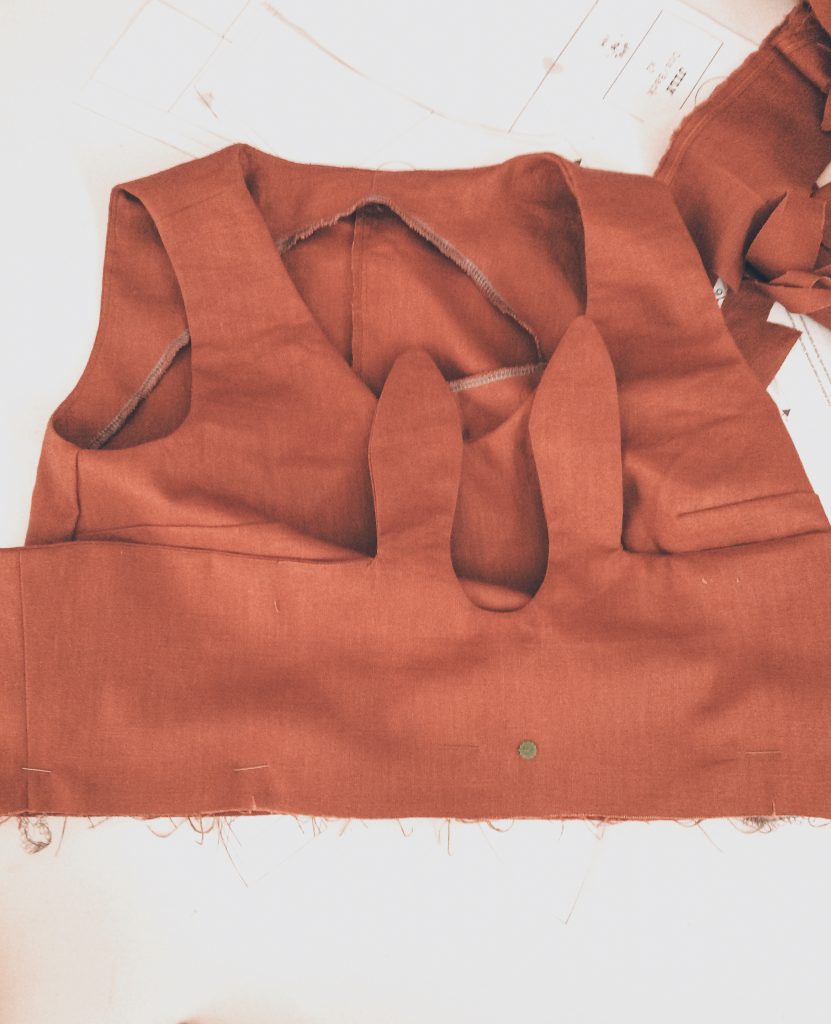
The Jily Top’s “inside out facing”
The Jily Top pattern uses an “all in one facing.” This technique finishes the neckline and arm holes all in one go.
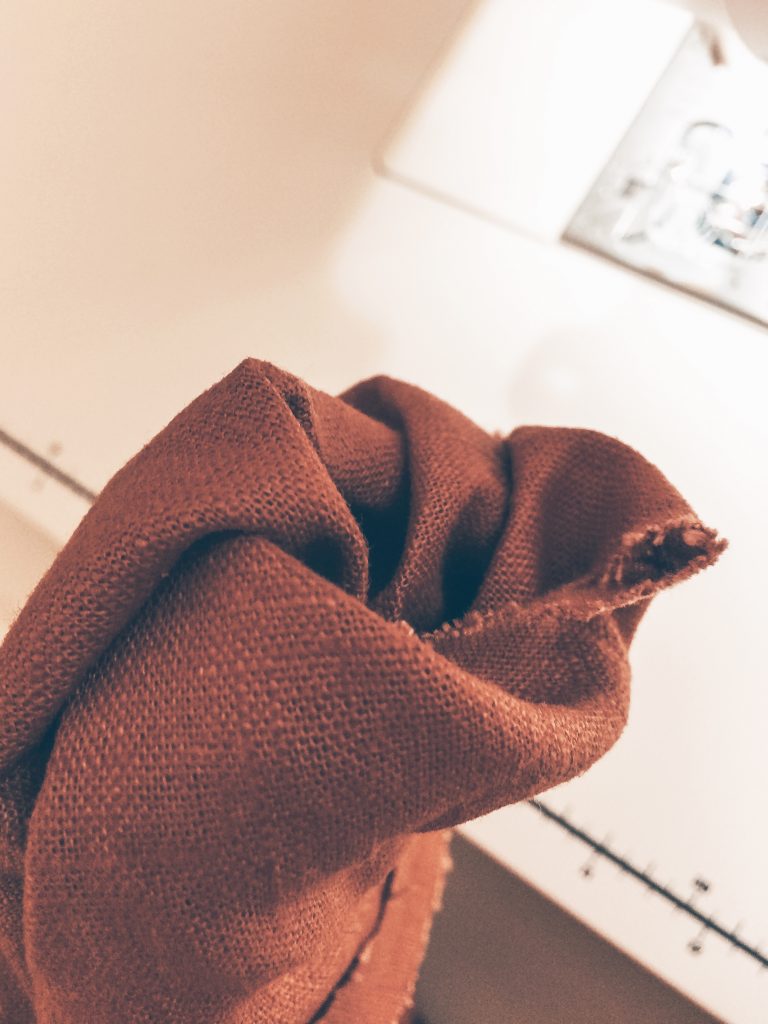
Doing this part of the process, I really didn’t think it was going to work. I’m practically directionally challenged – for someone trained in architectural education to think spatially, this is admittedly strange! For me this meant I really couldn’t believe the instructions were going to work, because I couldn’t quite visualise how it was all going to turn out right! There was a lot of front-to-front and back-to-back and on top of it it’s all inside out while you do it.

Final stages
Magically, it all came out very well! After that, there is really only the tie waistband to go. This last part is quite simple. Once the inside and outside waistbands were sewn together, all that remained was to sew the waistband to the main garment…
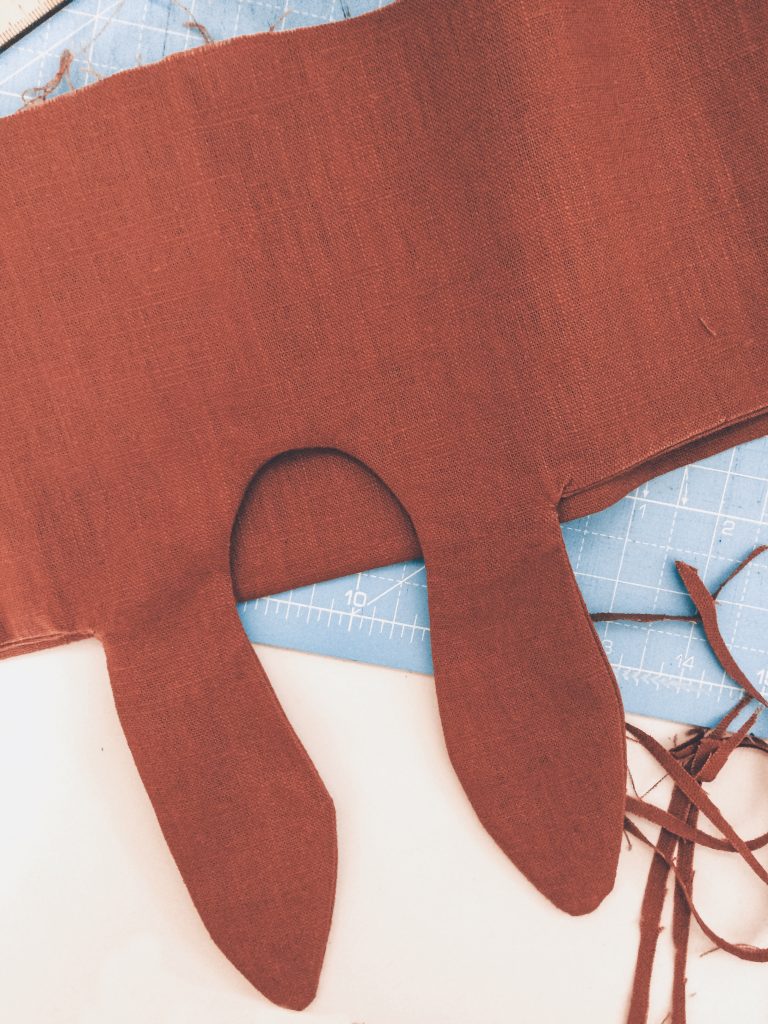
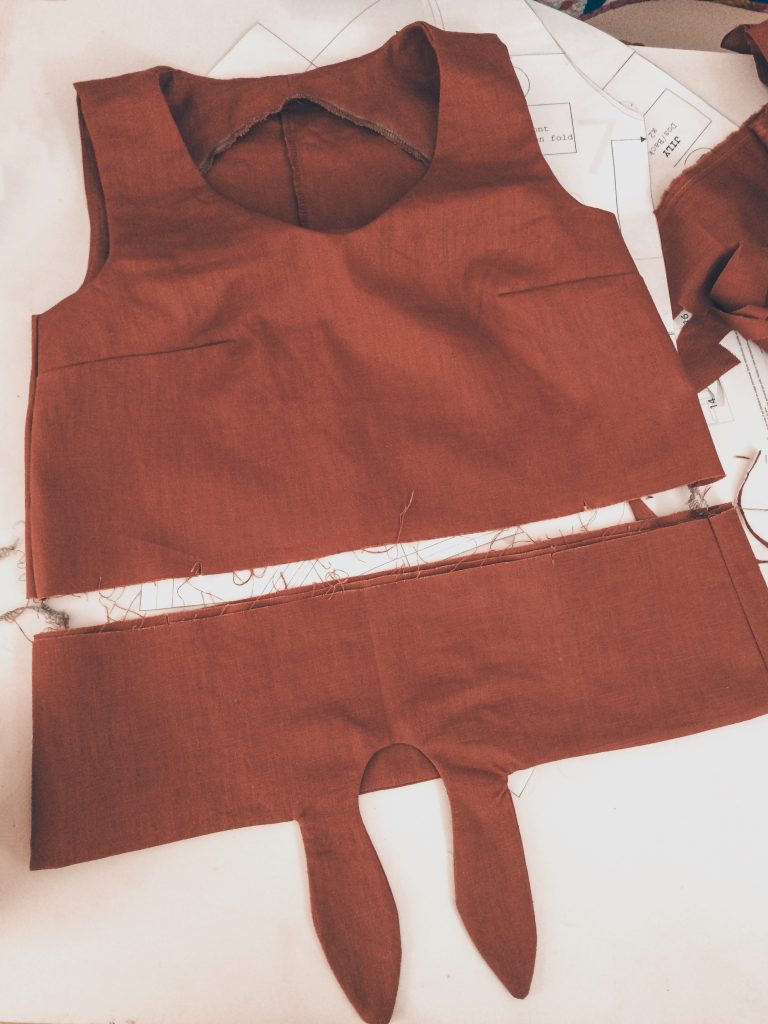
… and then voila! A finished top that really just took a day to get together.

I love this colour with the colour of jeans! It’s such a fun contrasting combo, but it works great with black skinny jeans too. I’ll bet it would work with long maxi skirts too!

Next on the list is to try the second version of the top. For that I am going to colour block it, using leftover linen in the same colour as this for the waistband, and then a teal-y kind of colour for the main bodice. I can’t wait to get going on it!


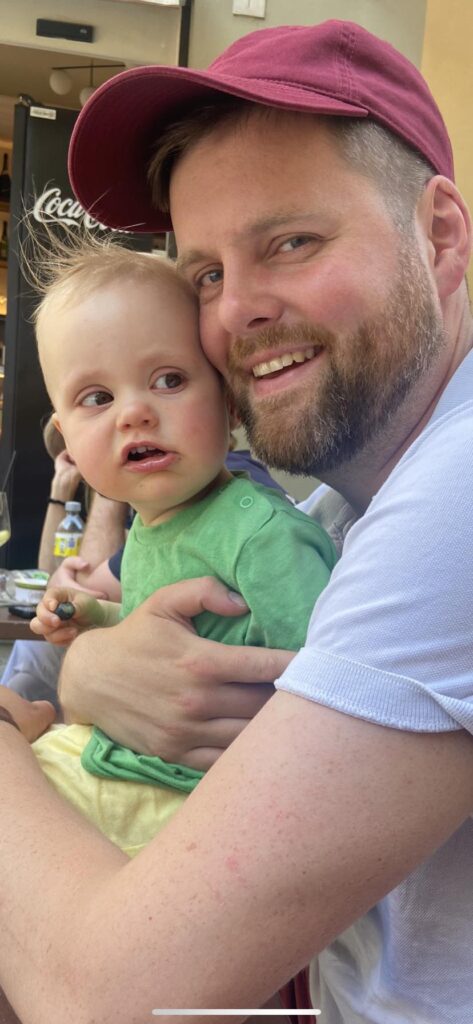
Update
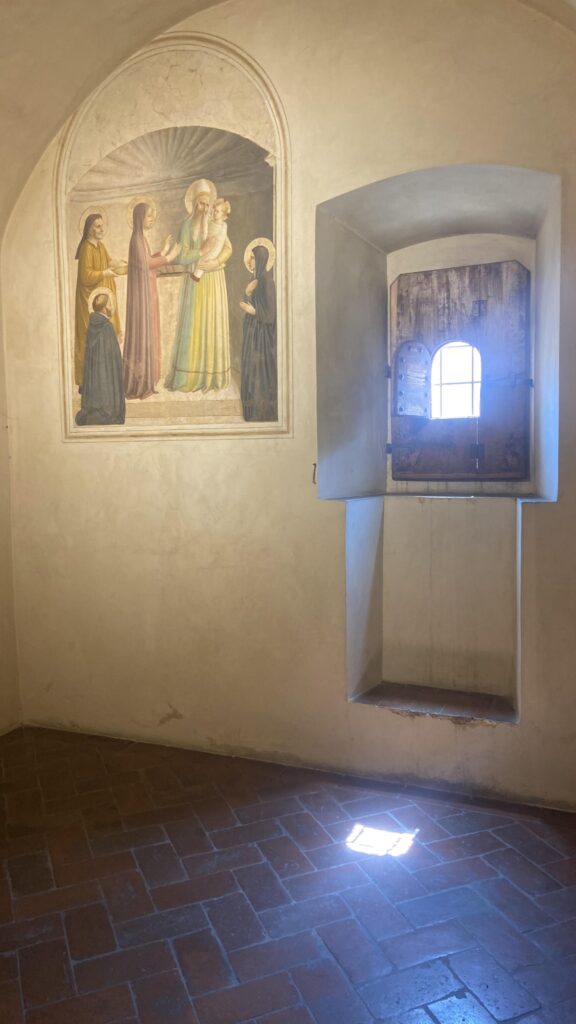
Since writing this, Rosie got her Masters in Architecture, won a scholarship to study in Florence, got married and had a baby. Great stuff. And guess what? She still has the Jily top she made. Rosie’s currently in Florence with her little family, taking in the beautiful city.

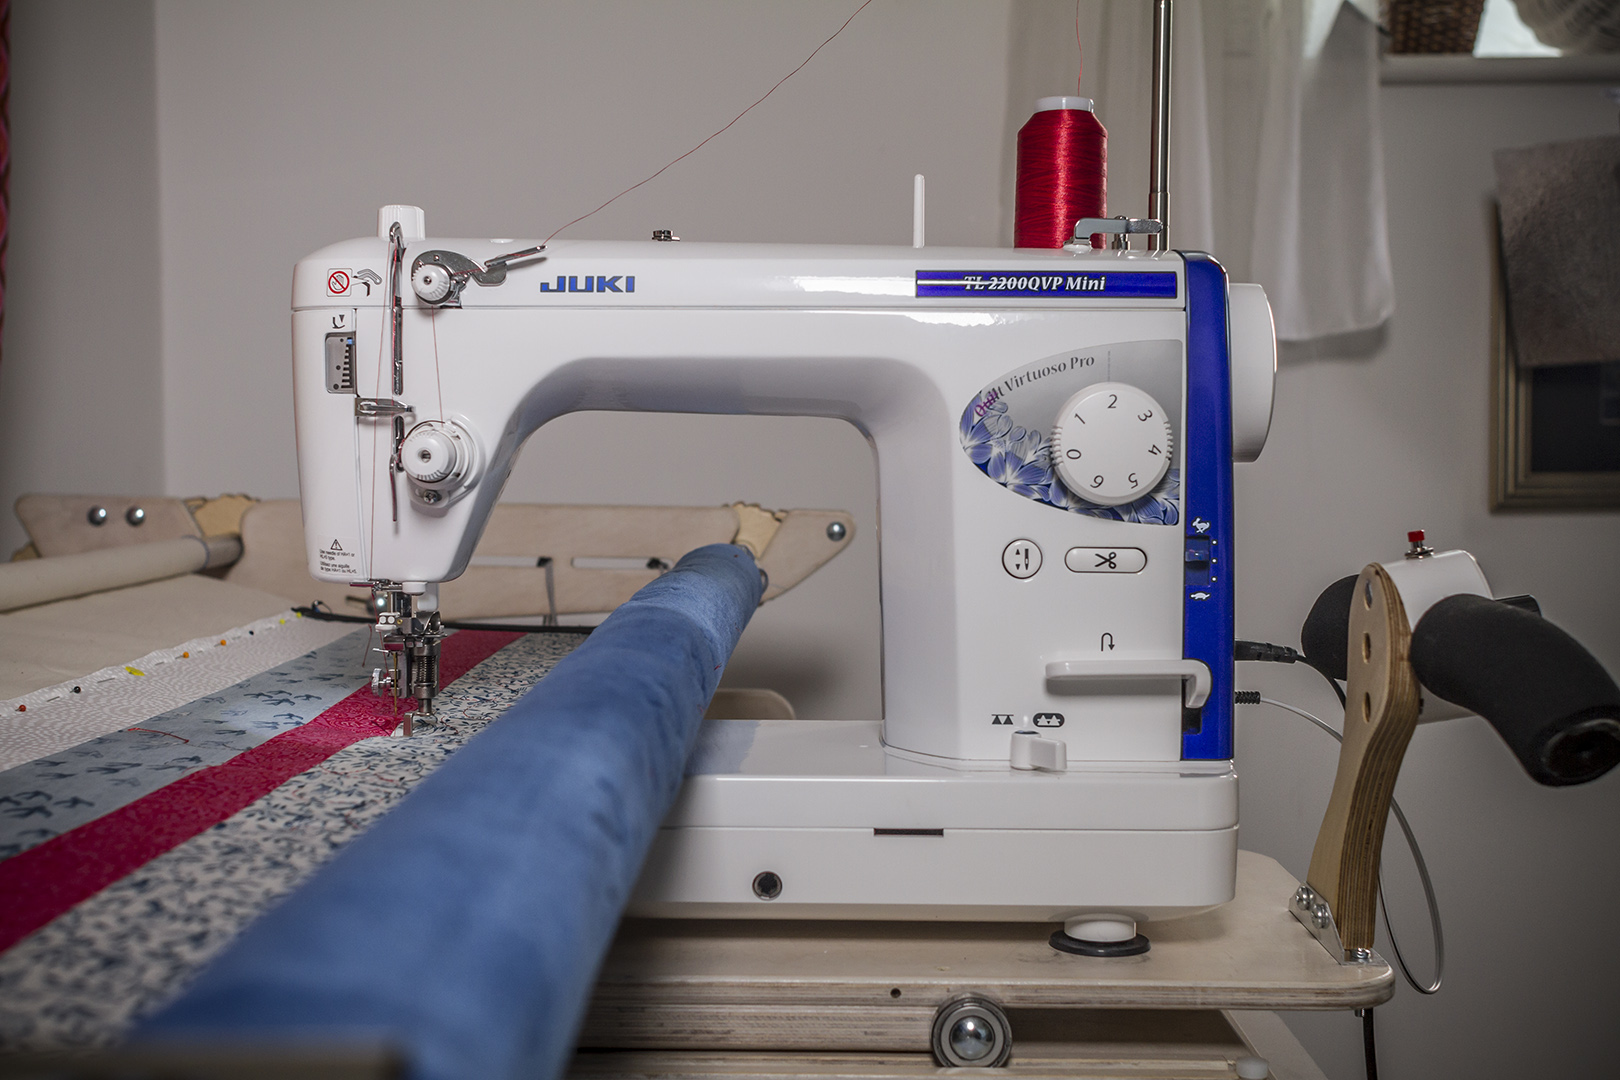

[…] was my first time threading the MO-2000QVP without assistance… Once I’d got the hang of it during my last project, it was super easy for this project! I just LOVE the air-threading feature. For an architecture […]