
It’s not waste until you waste it
Spring has definitely arrived but I’m still caught up in coats for the moment. However last week was Fashion Revolution week, and the jacket I want to talk about is most definitely an example of sustainable sewing.
In my last Juki Club blog I wrote about William Begg, the cashmere mill in Ayr on the west coast of Scotland, which produces top quality woven products for the luxury market. You can read more about the Beggs and their efforts to use cashmere produced to the highest ethical standards in the blog about my blanket coat.
I also mentioned “slitter tape”. Scarves are woven at the mill in bulk, as you would expect. The fabric comes off the loom as a huge panel three scarves wide and maybe 20 or 25 scarves long. The scarves have to be cut from this panel, which produces a ribbon of beautiful fabric from between the scarves. This is slitter tape – literally the tape left when the scarves are slit from the loom vertically, along the length of the fabric panel.
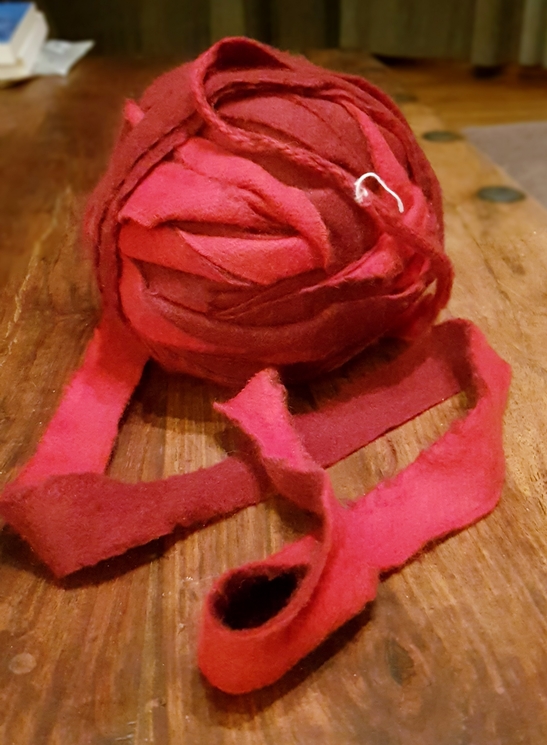
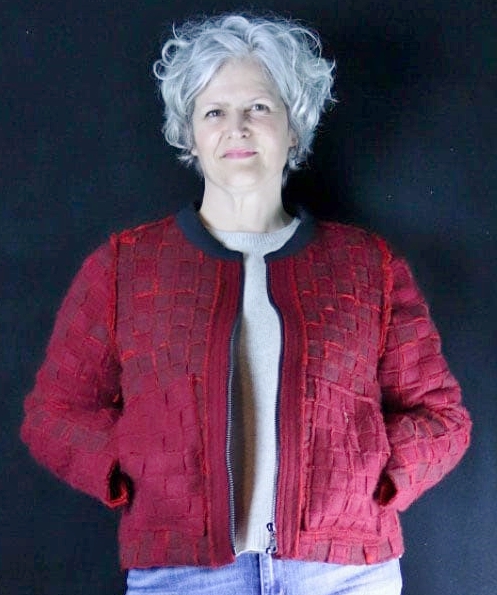
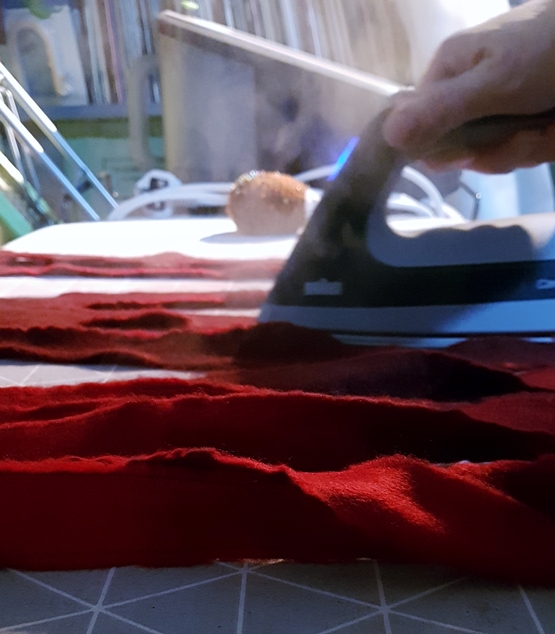
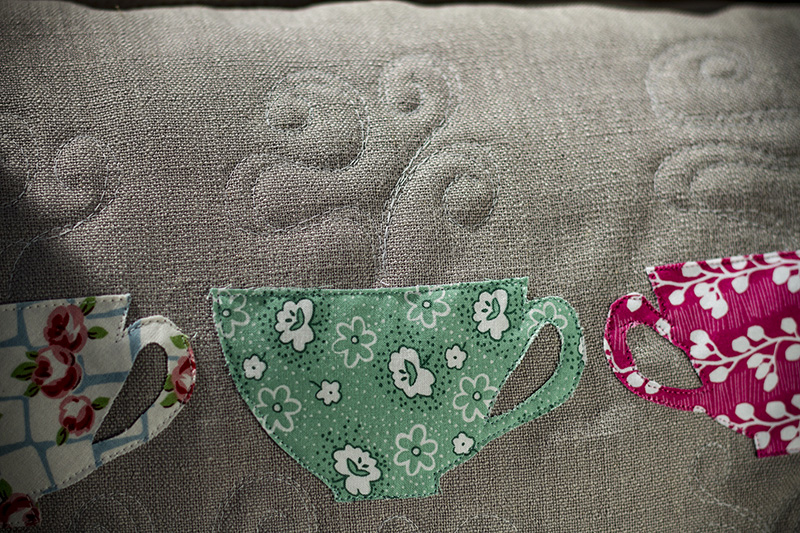
The tape I chose to work with for this jacket is about 2.5cm wide, and includes twisted sections from the scarf fringes. You can see a twist in the first photo above, marked with a white thread – the marker which indicates where the scarves should be cut horizontally. It’s utterly gorgeous fabric, 100% cashmere, a dark blood red on one side and a more vibrant scarlet on the other. My aim was to extend my usual practice of weaving a scarf, to make panels of fabric big enough to make a jacket.
Preparing the cashmere slitter tape
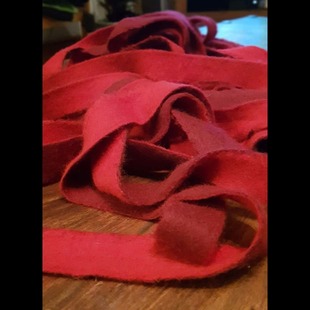
My first job is to prepare the tape for weaving. I didn’t want to include the fringes so I cut them out, leaving me with a bundle of tapes each about 1.8m long. These were pretty crushed so I pressed them with a generous amount of steam, which also helped to pre-shrink the fabric.
My loom is set up on polystyrene play mats, firmly pinning the warp (vertical) threads onto that, creating some tension. The mats are deliberately in bright primary colours. There are much more sophisticated grey or black versions, but I use these for weaving a lot and the bright colours make it much easier to see what I’m doing, especially when I’m weaving with dark tapes.
Weaving the slitter tape
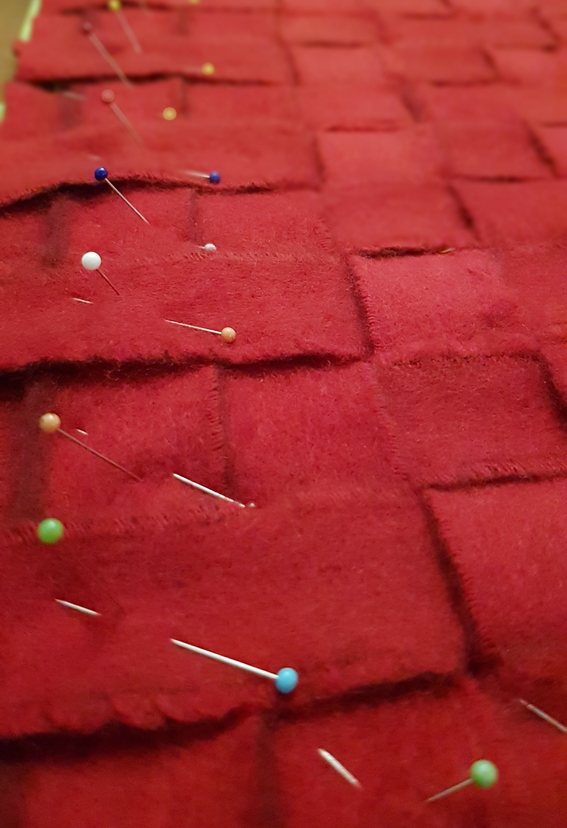
I opted for a simple weave, and with this size of panel I pinned each section of the weft (horizontal) threads at both sides and throughout the body of the fabric. This is to keep it all in place when I take it to the machine to stitch. (If you have eagle eyes you’ll notice that I haven’t completed the weave at the last warp thread in this photo. I knew my jacket wouldn’t reach the edge here.)
I really enjoy sewing these panels together. Every square of the weave has to be secured, with the most simple way being one straight line of stitching down the centre of each of the warp threads. Quite often when I make scarves, however, I stitch them in a random geometric pattern, with the aim of not repeating a line and keeping all of the stitching away from the edge of the scarf. There are a couple of videos of scarf weaving and stitching at the bottom of this blog.
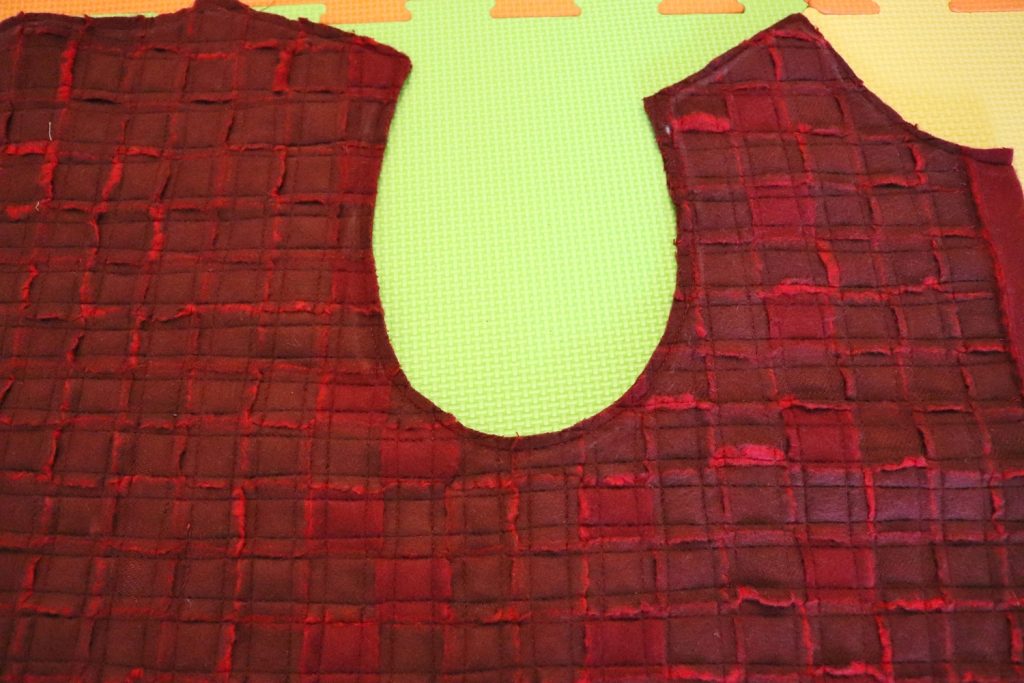
Sewing the panels
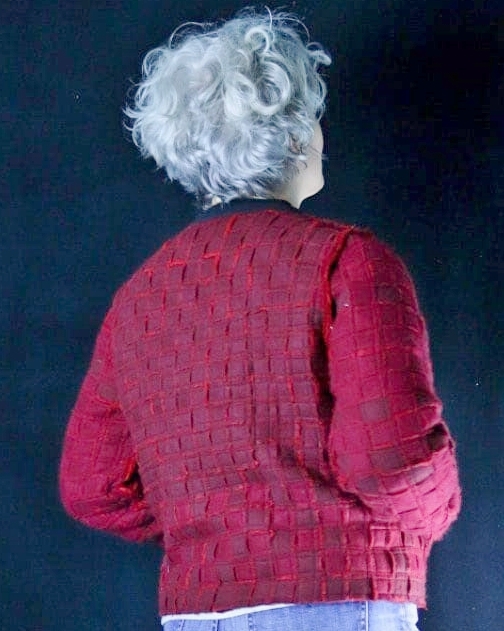
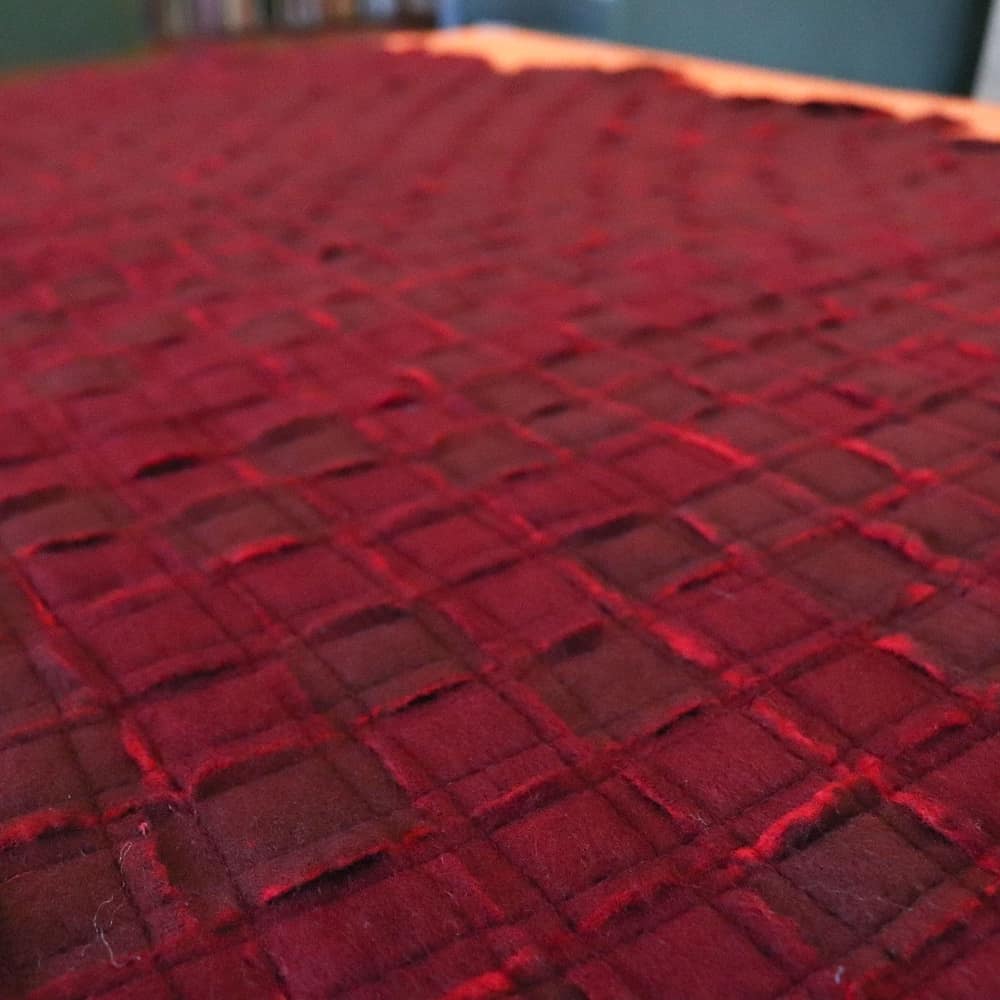
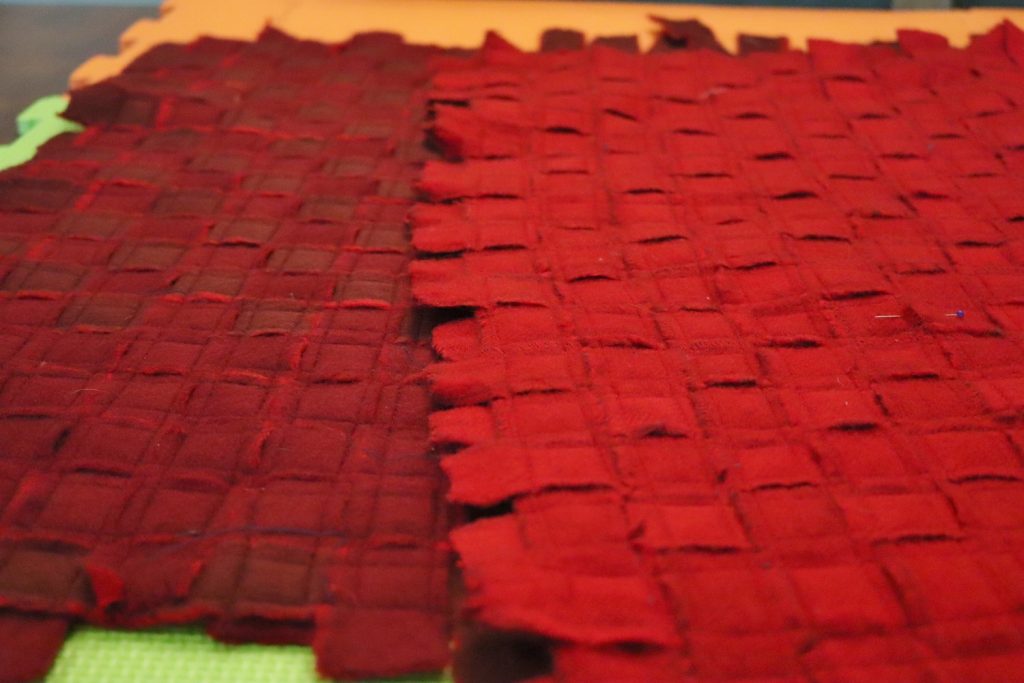
However with this large panel, given that it was going to become a jacket, I opted to stitch each square down on all 4 sides. Here’s the panel for the body of the jacket after it’s all stitched, and a photo showing the difference in tone of the two sides. I had to weave separate panels for the sleeves. By this point the project was turning into a serious labour of love!
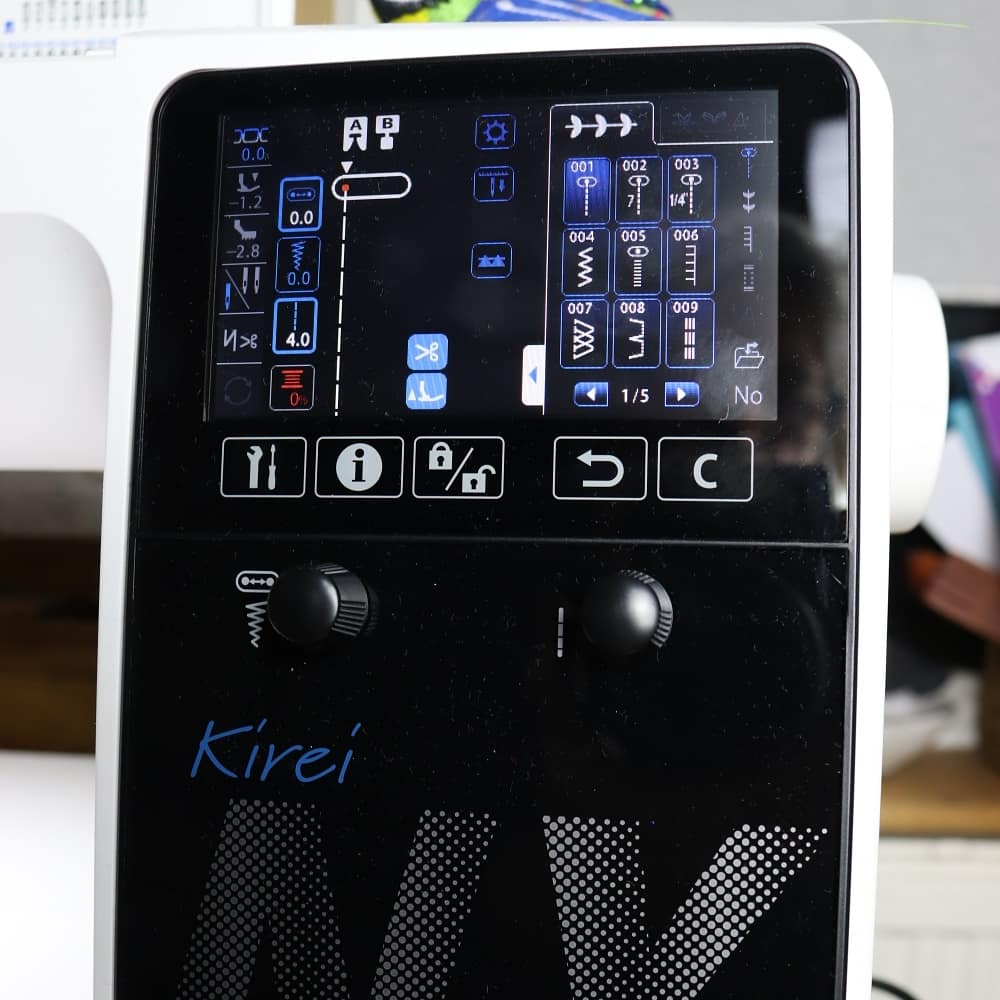
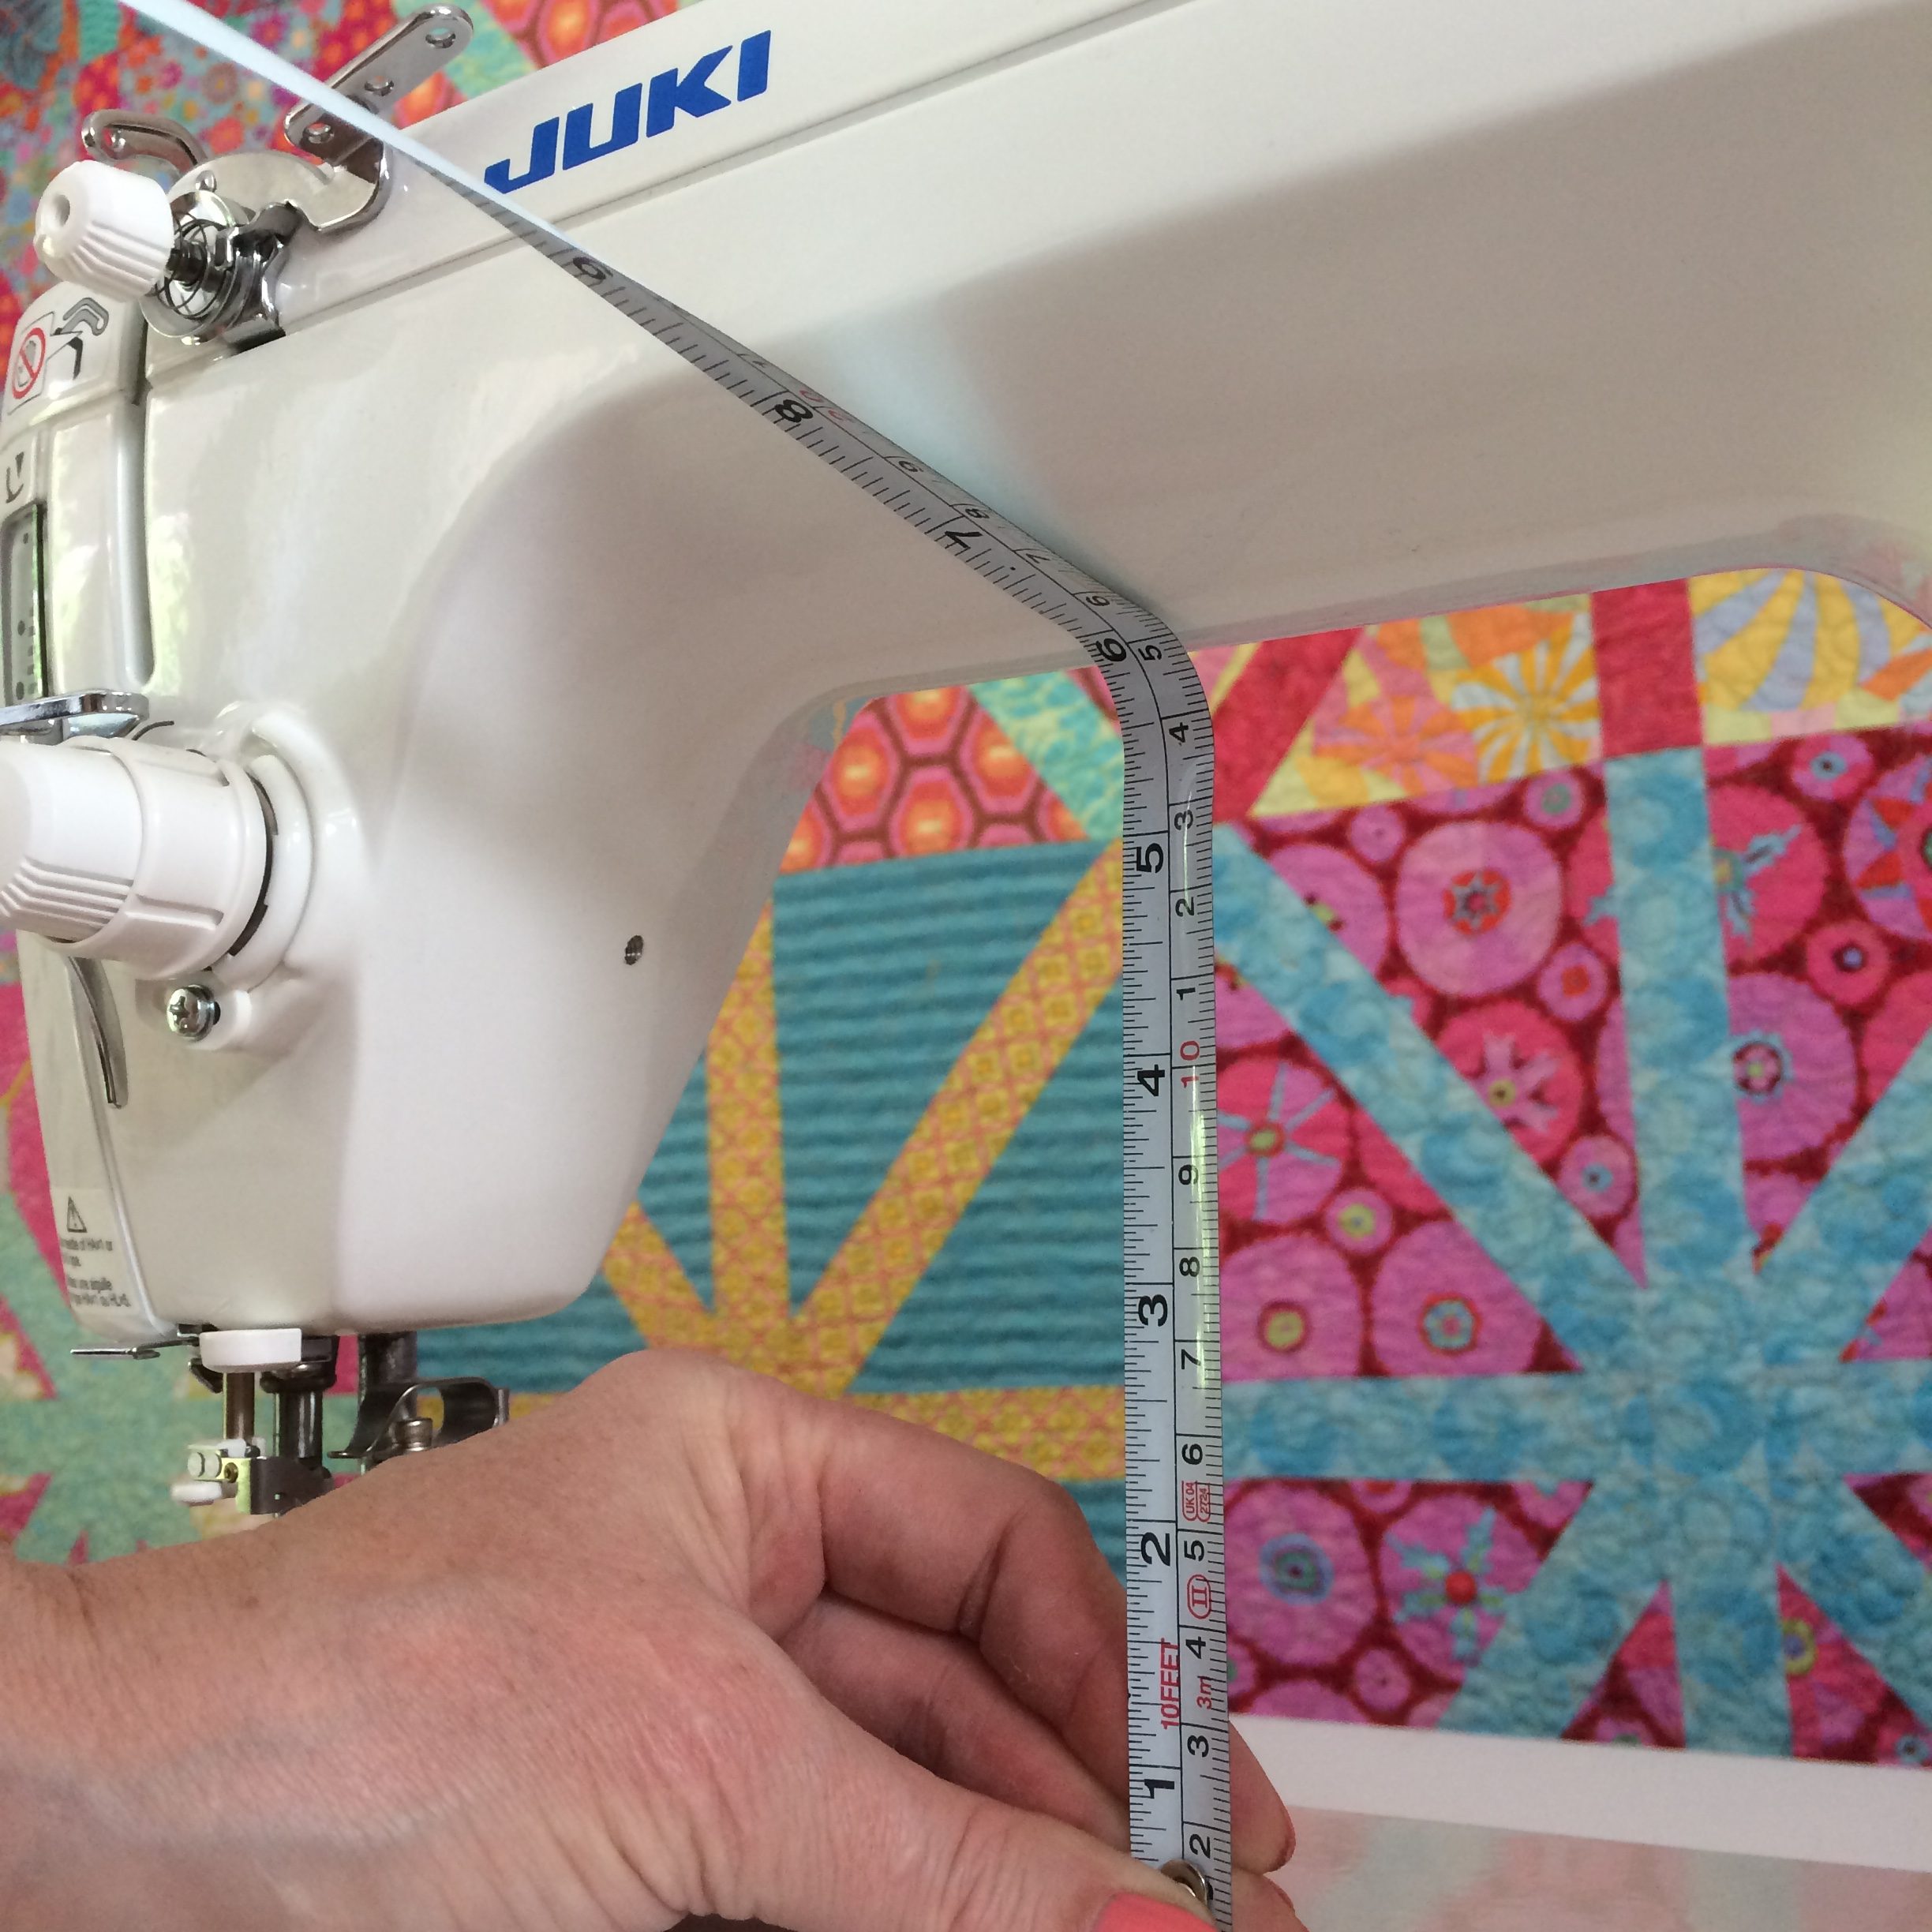
Being lucky enough to have a Juki NX7 is a real bonus here. I take all of the pressure off the presser foot, so it hovers over the tape. The walking foot is down, in this case set to a negative although that does vary depending on the tape I’m working with. You can see my settings below. This combination means the tape doesn’t catch in the presser foot and shift out of position, and also that the warp threads aren’t pulled tight, distorting the panel. The wide throat of the machine is fantastic too, giving more scope to sew with the bulk of the fabric to my right. The weave is so loose, the less I have to move the unstitched fabric, the better.
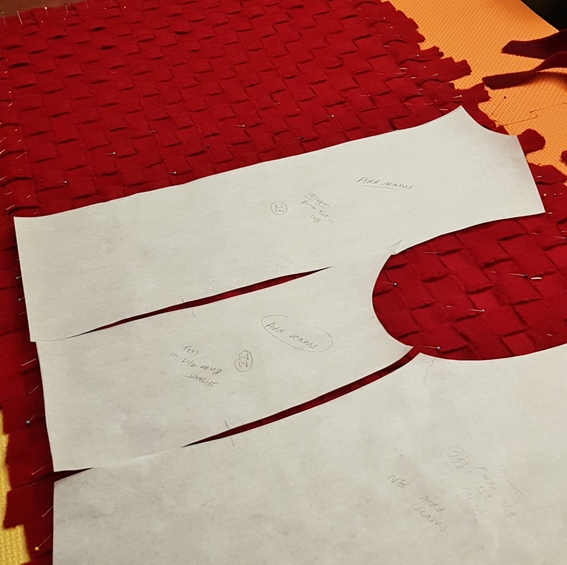
Cutting out the pattern
Next up, cutting out my pattern. I chose to go with the dark side out: the bright red combined with the shape made it all a bit too much of an homage to Michael Jackson. I used a simple jacket pattern (adapted from Burda Style magazine September 2019, pattern 111) and made it with as few seams as possible. Basically there are only three pieces – the body, and two sleeves.
A simple zip fastening, raw edges at the cuffs, a black jersey bomber jacket style collar and that was it. I also sewed the seams to the outside and added a couple of patch pockets. I had actually left openings to make pockets inside the jacket but I wasn’t happy with them, so I wove another panel big enough to give me two rectangles for very simple patch pockets, and again I left the edges raw.
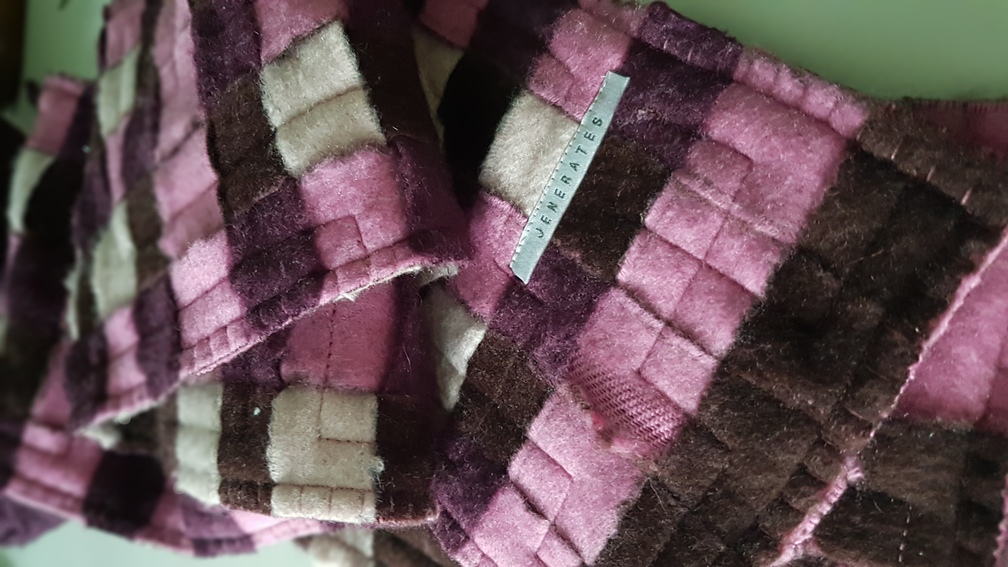
The perfect spring jacket
I love the fractured look of this fabric. You can see the bright red coming through, and there is quite a variation in tone in the dark red. I work with upcycled fabric a lot and like it to tell its own story – I’m not trying to hide the origins of this fabric but instead celebrate it. The fabric is incredible soft, it’s hard not to stroke it absent-mindedly, which can lead to some funny looks in the street. And warm! Not only is it cashmere, it’s a double thickness, effectively with hundreds of air pockets sewn in. Although the weather is getting warmer (yes, even in Glasgow) this jacket is perfect to throw on for the dog walk just before bedtime. So of course when I took the photos I realised I had a stash of poo bags in the pocket. I’m sure other dog walkers will relate. Every coat, every pocket, every bag!

Next up on my machine, I’m moving away from coats and becoming obsessed with jeans. How comfortable are hand-made jeans! What a difference, to wear jeans made to fit you. More on that next time.
Some technical information
- Universal needle size 90 (14). It was the needle which happened to be in my machine – this fabric is so soft anything goes!
- Straight stitch set to 4mm. The thick fabric takes a longer stitch
- Universal foot
- Walking foot in place with differential feed set to minus 2.8, although this varies with the tape being sewn
- Presser foot pressure set to minus 1.2, to hover above the fabric
Next Retreat
We’re excited to be running another sewing retreat at the glorious Stubton Hall, Newark, in November 2020. Jen will be holding a coat workshop, to help you with all of the techniques required to make a bespoke wool coat. You can bring any coat pattern, although good patterns for beginners are the Sapporo Coat by Papercut Patterns, and the Silvia Coat (with or without a hood) from Schittchen Patterns. More details will be posted shortly.
We’re also planning to have a scarf weaving workshop during the retreat. Jen will bring a wide selection of slitter tape and the mats to set up temporary looms. We love these short videos of the weaving and stitching process. They’re both speeded up but Jen tells us this is not far off the pace the contestants have to work at on The Great British Sewing Bee!
Jen Hogg lives in Glasgow with her husband and dog, and has two children at university. A former solicitor, she reached the semi-final of The Great British Sewing Bee Series 5 (2019). She also enjoys knitting and many other textile crafts, as well as silversmithing and photography, woodwork, wrought iron, stained glass, pottery and generally making things. You can follow her on Instagram and Facebook @jenerates, and at www.jenhogg.co.uk, and you can read our Juki Club introduction here.

[…] tape” – the thin strips of fabric left when they slice scarves off the loom. This woven jacket is made from slitter tape panels I wove to shape. Each square of the weave has to be stitched […]