
Tools and Materials
- JUKI DX7 sewing machine
- Tea cup shape in the right size for your project
- Plain template plastic – easily available online
- fabrics for tea cups
- Very fine Vilene – Easy Fuse Ultra Soft Light H180
- Thread for machine applique
Tea is always a good idea. Celebrate tea with this raw edge applique tea cup cushion. Making the templates: I’ve been saving tea cup ideas on Pinterest. When I was ready to start the project, I knew where to look. Visit my board for tea cup ideas https://uk.pinterest.com/marthamilne/tea-and-cakes/or do a search for your own. When you find a shape you like, adjust the size to suit your project.
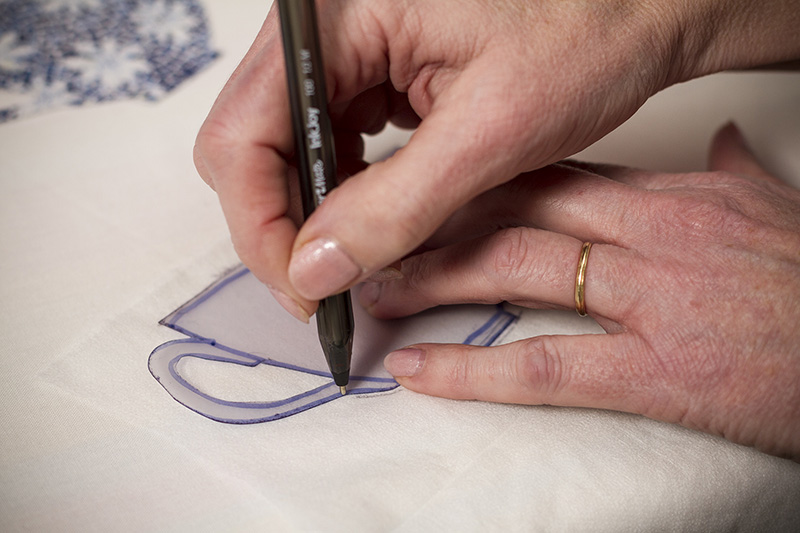
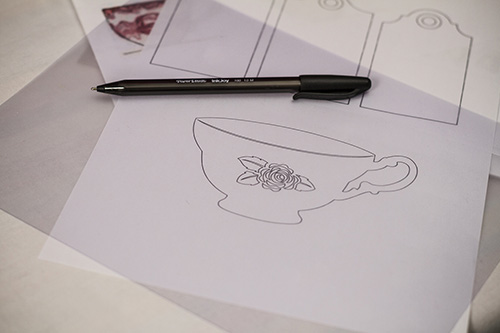 Place your clear template plastic over your paper template. Trace your tea cup shape onto the clear plastic and cut it out.
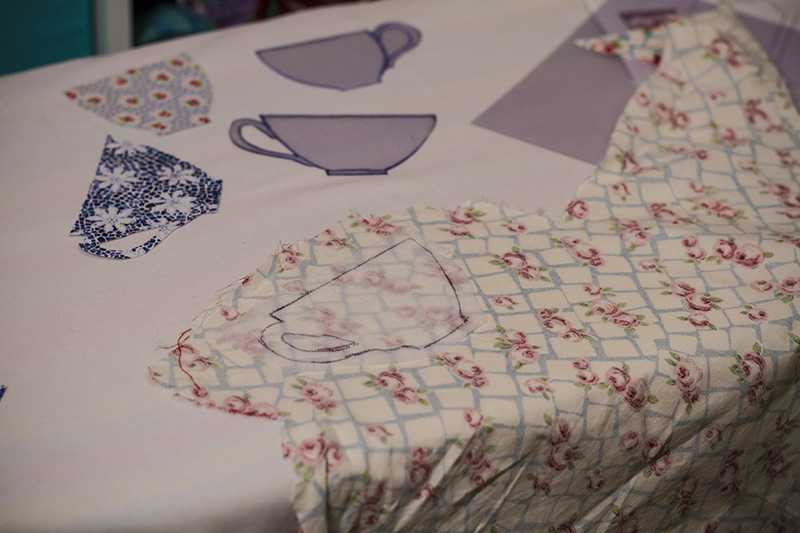
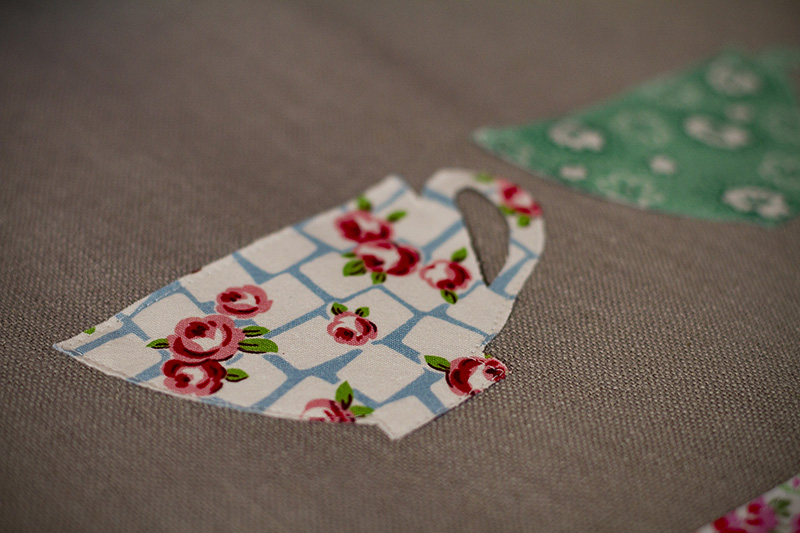
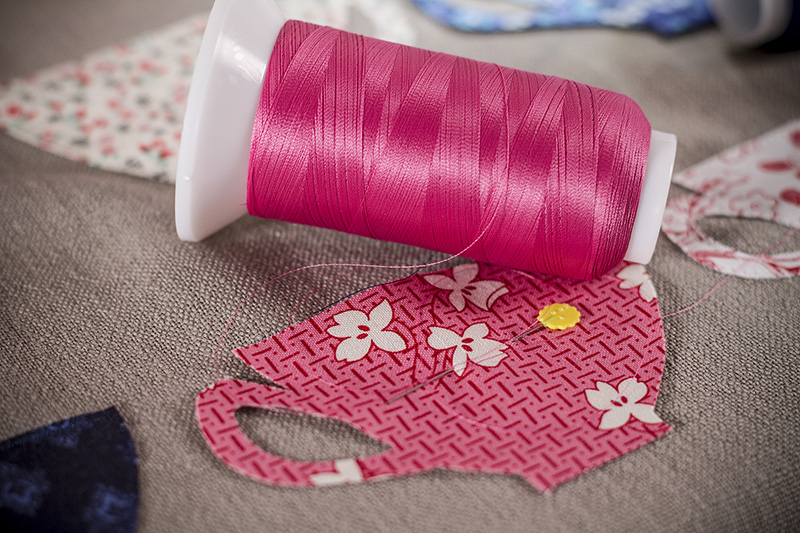
 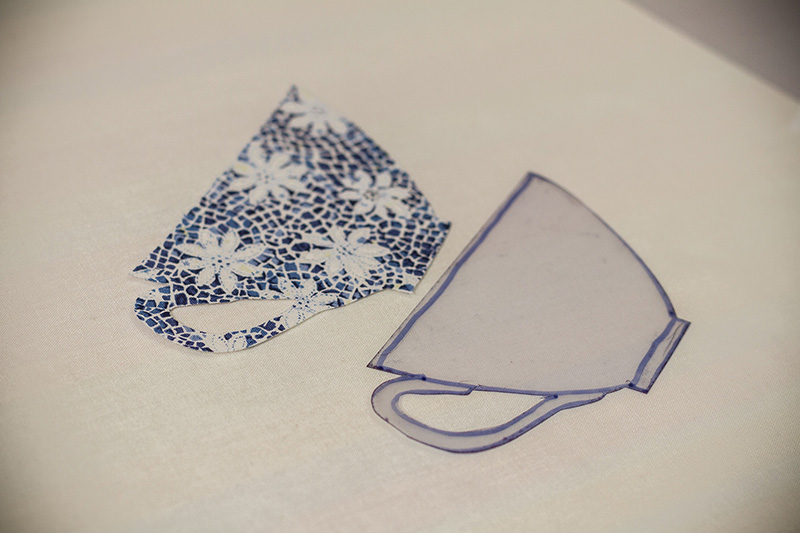 Go through your fabric stash and choose fabrics that would translate well into tea cups. The clear plastic template lets you see the fabric, so that you can fussy cut your fabric. I’ve chosen a pretty mix of retro colours for this first cushion. Next time I’ll be using a blue and white palate.
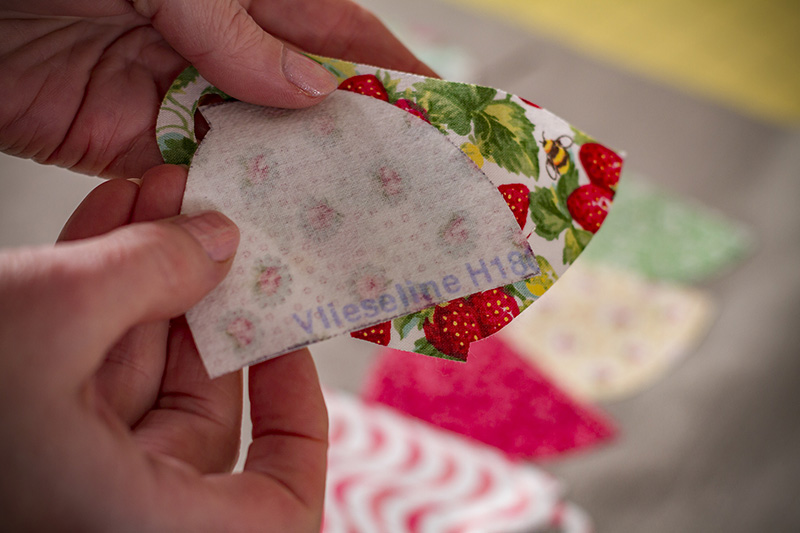
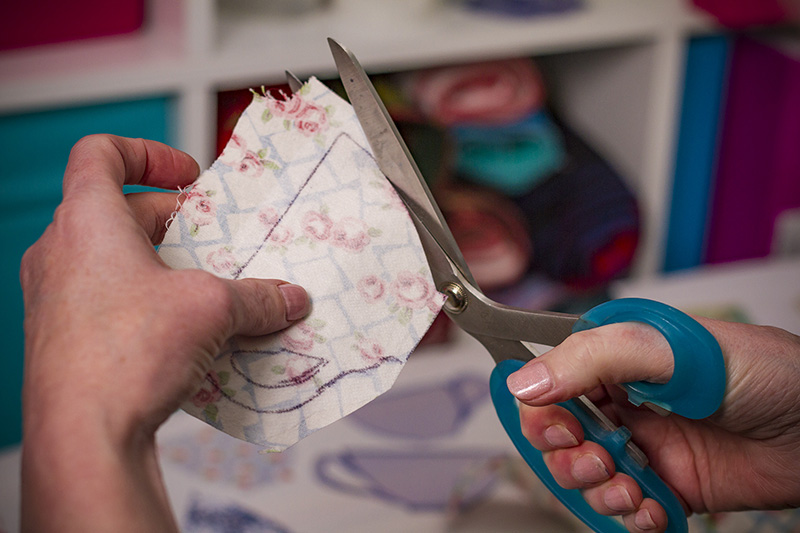
Trace and cut out your tea cups: Use the template to draw the tea cup shape on the Vilene. One side of the Vilene will feel soft. The other side will feel hard and bubbly. Put the hard-bubbly side on your surface, I used my ironing board and traced the template on the soft side of the Vilene. Cut out the Vilene but NOT on the line. Go a half an inch or a couple of centimetres outside the line and cut there. Draw and cut one Vilene template for each tea cup shape.
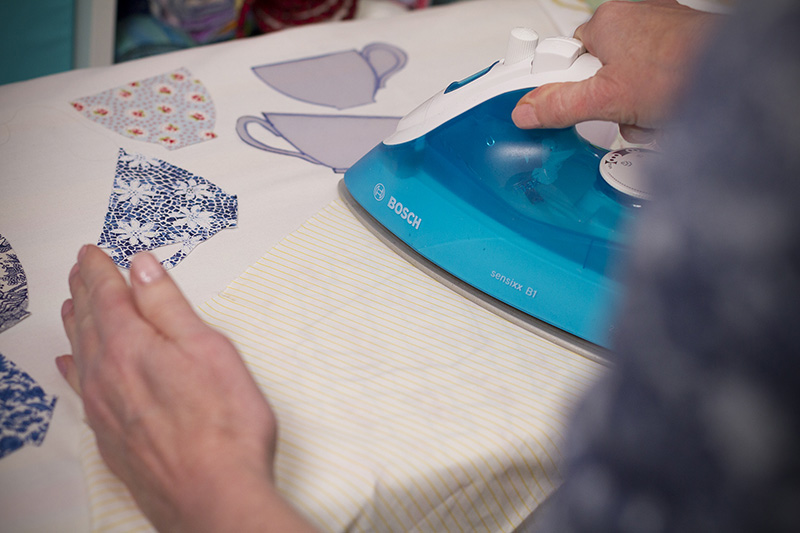
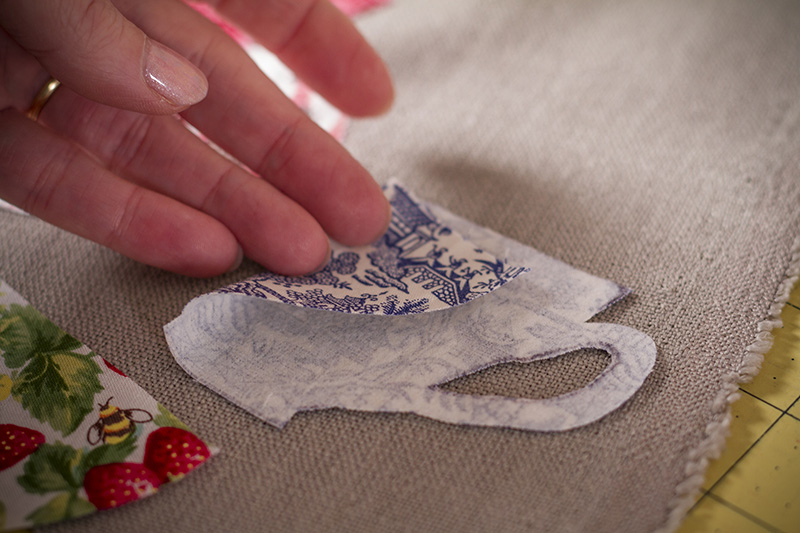
Now, place the Vilene template hard bubbly side down onto the WRONG side of your fabric. Follow the Vilene directions and carefully iron it down. I placed some scrap fabric between the Vilene and the iron so I would be sure not to melt the Vilene.
Once the Vilene was ironed to my fabrics, I carefully cut along the traced lines. The Vilene interfacing that I’m using for this project only sticks to one side; the tea cup fabric. It gives the fabric a bit of extra structure and keeps the edges from fraying too much. I also found it was easier to cut a nice straight line when I was cutting through the Vilene backed fabric. Later I’ll be using machine applique to attach the tea cups to the backing fabric.
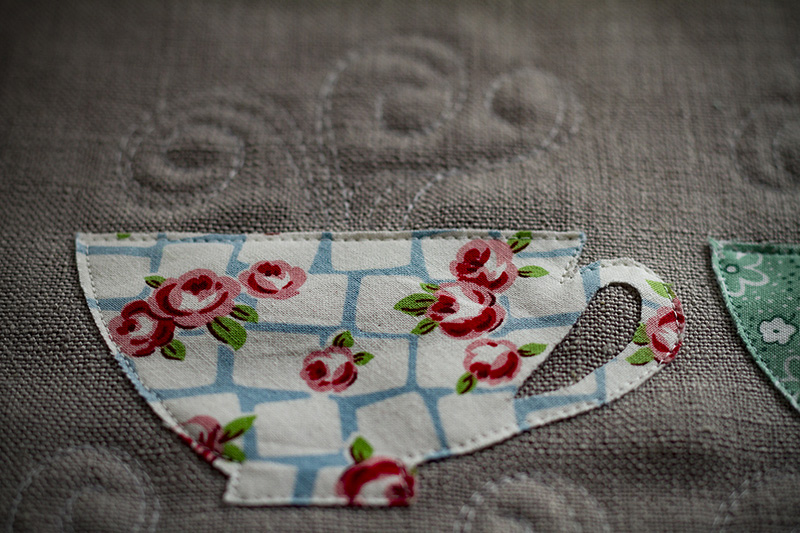
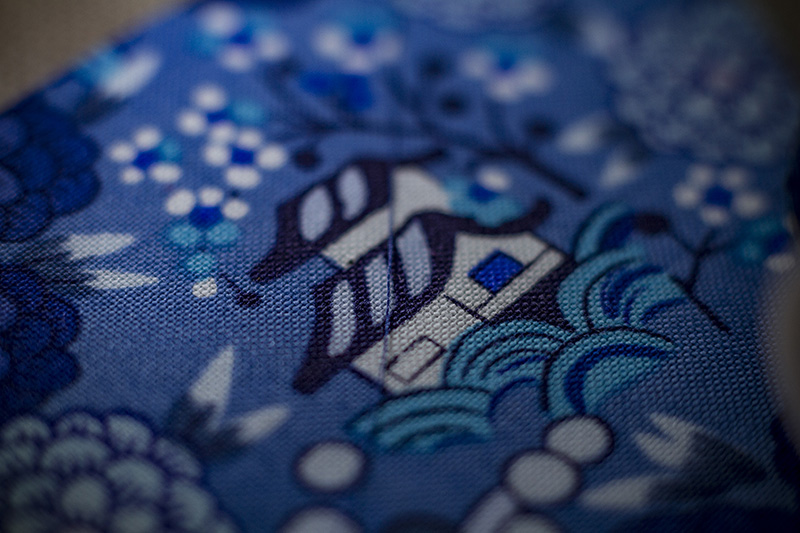
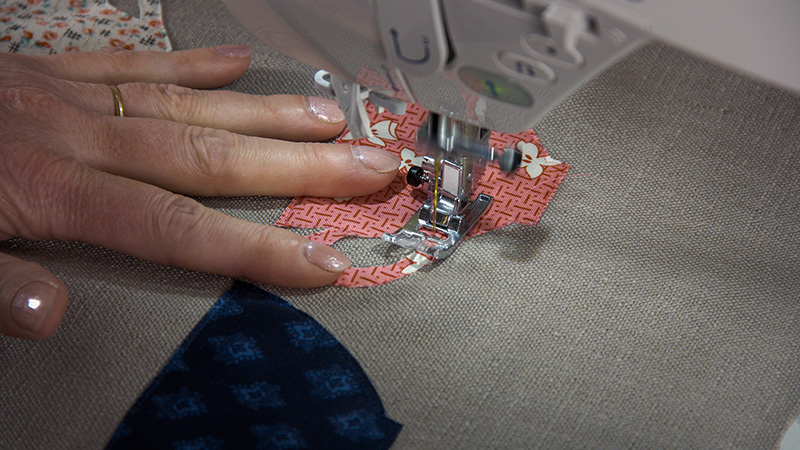
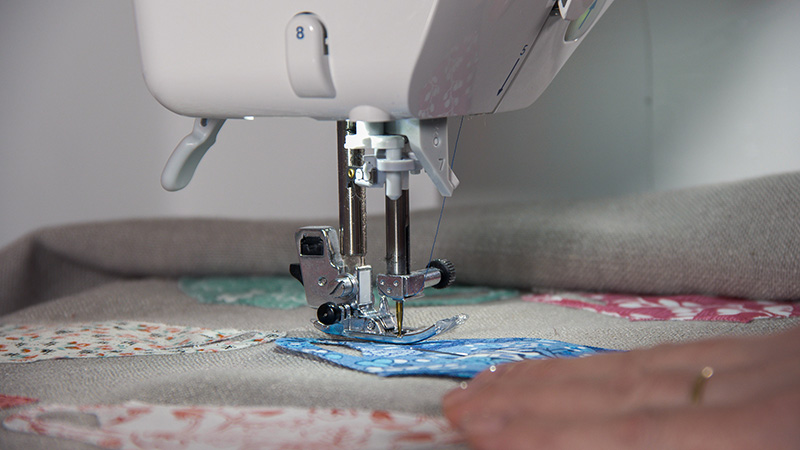
Machine applique: Arrange the tea cut shapes on your fabric and machine applique. I’m using a heavy linen fabric in a soft pewter colour. I’ve chosen threads that will blend in to my tea cups. A soft silver white worked well for some cups. For others, I used a very fine thread called Bottom Line in a colour that blended in with the tea cup.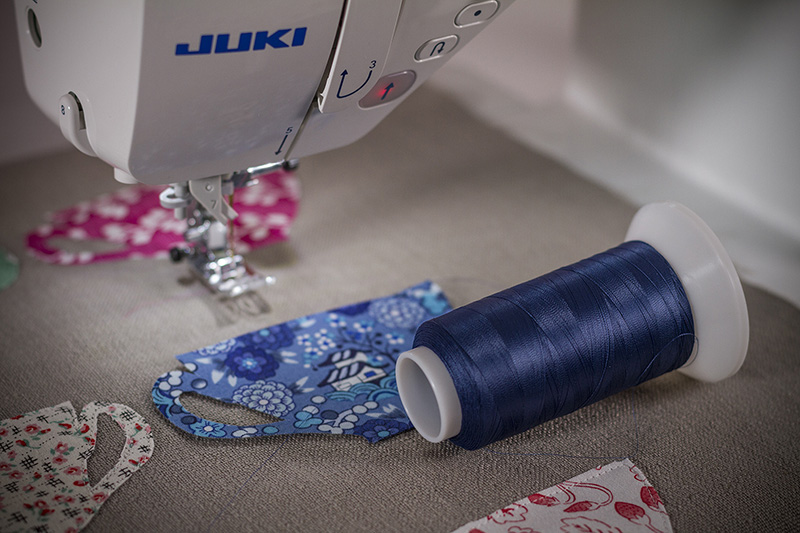
The hover function on the JUKI DX7 sewing machine made it a joy to machine applique. After each stitch the hover feature raises the pressure foot ever so slightly. This allows me to move or pivot the fabric so that I can follow the line of the teacup. I was even able to get a smooth line of stitching on the twiddly handles. It was just brilliant being able to use my hands to guide the fabric instead of having to stop all the time to raise the pressure foot manually.
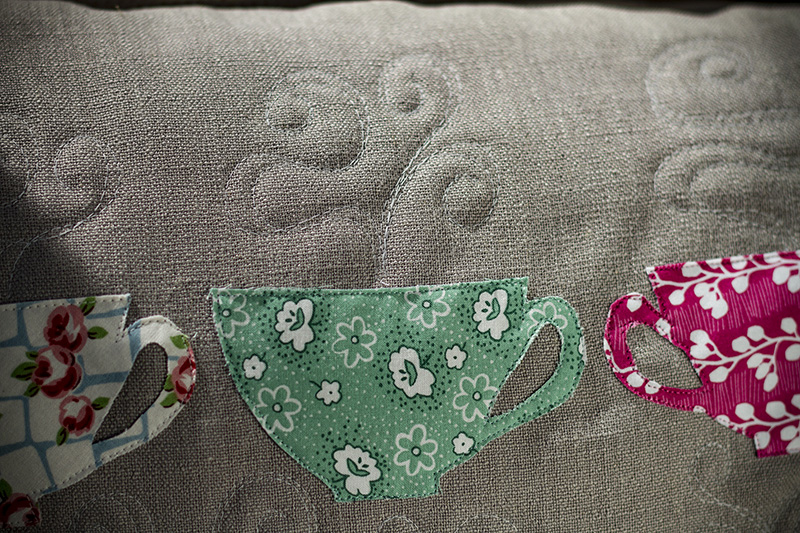
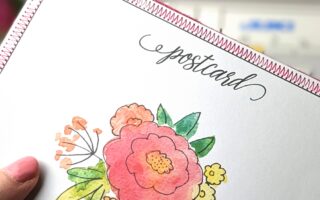
Final touches: Finally, I backed the applique top in fleece, attached it to my machine quilting frame and free-motion stitched some ‘steam’ rising from the tea cups. I’m going to add piping and make this into a cushion. But the same technique could be used to make a wall hanging, table runner, card or small quilt.

[…] could choose from all-ready-prepared applique cups & saucer projects with gorgeous Alice in Wonderland […]
[…] cup applique – this tea cup applique tutorial is featured in an earlier Juki Club website post . For the gals at the Salisbury Juki Club event, the tea cup shape had already been traced on pretty […]