In this post Jen Hogg shares her take and make on Jeans.
- History of jeans
- Jeans and the environment
- Ginger Jeans by Closet Core patterns
- Pattern hacks for high waist and wider leg
- Construction fitting
- Sewing tips
I’ve been a bit obsessed with jeans making recently. Made to measure jeans are a thing of joy. So comfy! So flattering! For me, jeans and coats are the two garments most worth learning to make, and to make well.
The History of Jeans
Jeans are integral to our modern popular culture. It’s common knowledge that the name denim comes from “serge de Nimes” – or the serge of Nimes, France. But did you know denim was originally made from wool? By the 1700s, it was made from wool and cotton and later came to be made from 100% cotton. Originally, this fabric was used to make sails, but eventually, some innovative sailors thought it would make good trousers.
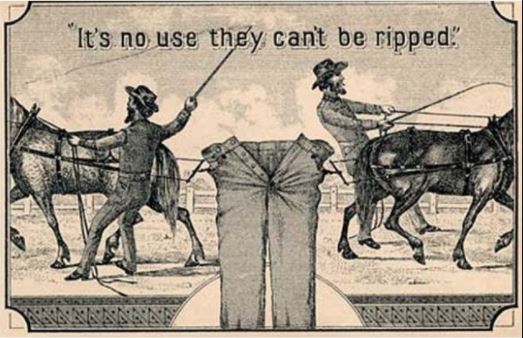
These still weren’t jeans as we know them, though. Levi Strauss first designed and marketed “Levi’s” in 1850s to meet the needs of miners in California. In the 170 years since, there have been only minor alterations to the original design. For example, original Levi’s did not contain rivets. They came about because a miner complained that his trousers were not rugged enough to hold his mining tools and Levi Strauss patented the use of rivets on his jeans in 1873. Roll forward 60 years, and the rivets on the back pockets were moved inside in response to complaints from school boards that students’ jeans were damaging the furniture, and from cowboys that the jeans were damaging their saddles. In the 1960s, Levi removed the rivets from the back pockets entirely.
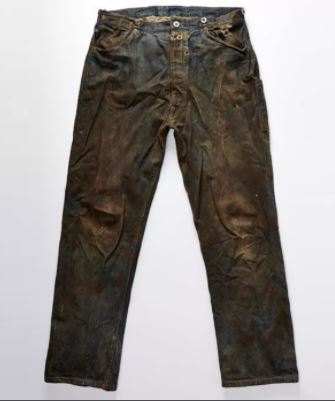
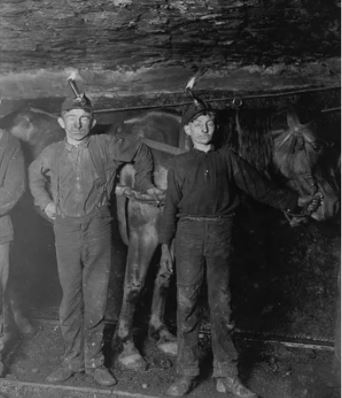
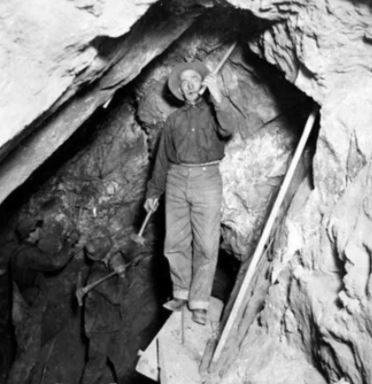
These photos show a pair of Levis from 1880, and the jeans as worn by miners in California. More information and images here.
Blue jeans found favour among young people in the 1950s, with sales growing year on year. In 1957, 150 million pairs were sold worldwide. By 2017, it’s estimated that 1.25 billion pairs were being sold each year. That’s a lot of jeans!
Jeans and the environment
Unfortunately the jeans industry also has a negative environmental impact. Cotton production uses a huge amount of water, fertiliser and pesticides. In fact the amount of water used to irrigate the crops can be as high as 25,000L per kilo of cotton. Add to this the environmental cost of preparing the soil; harvesting and transporting the crop; manufacturing the jeans; finishing by stone or enzyme washing for example (which also reduces the life expectancy of the garment); and transporting the jeans to wholesalers, then retailers and then customers.
This surely means that we should choose or make our jeans with care, use them for as long as we can, mend them when possible, and if possible repurpose the denim when the jeans have come to the end of their life.
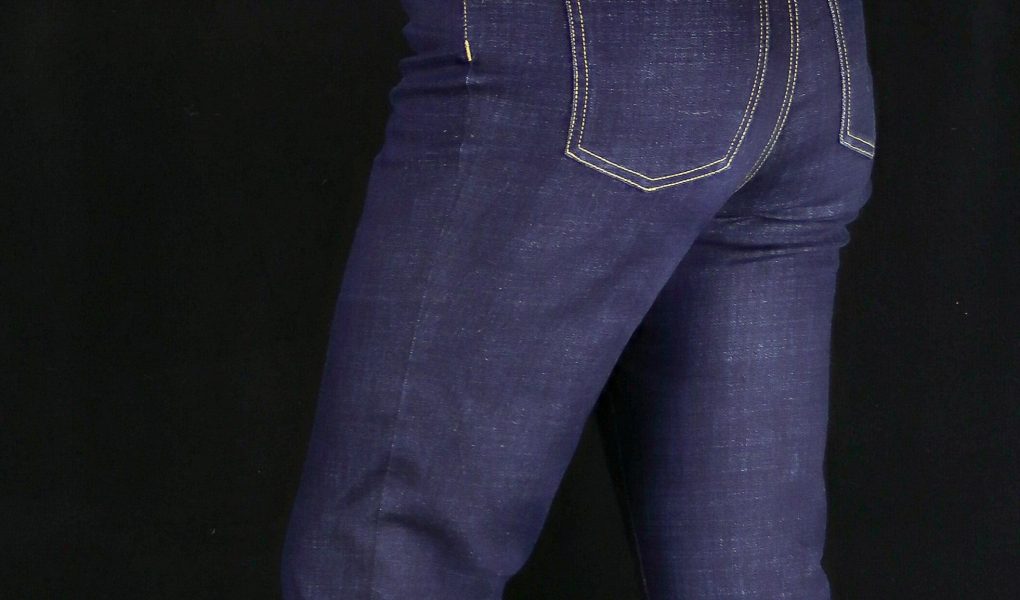
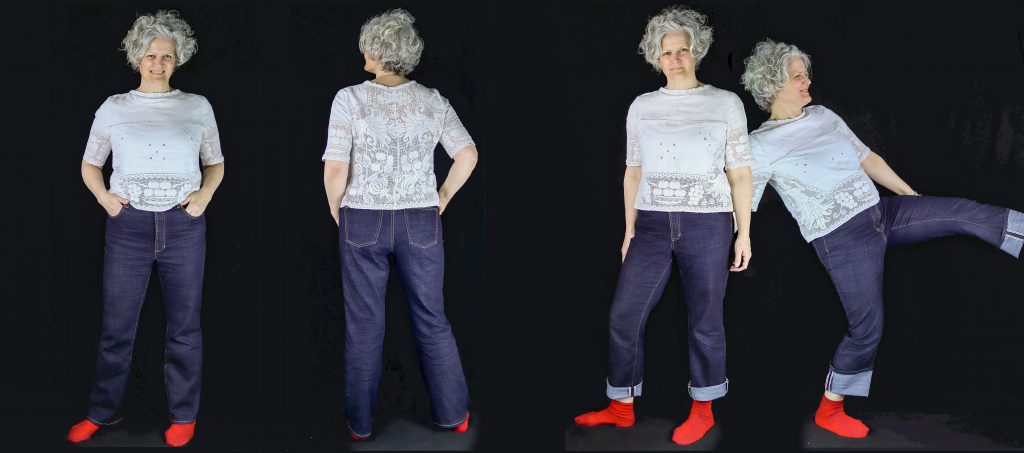
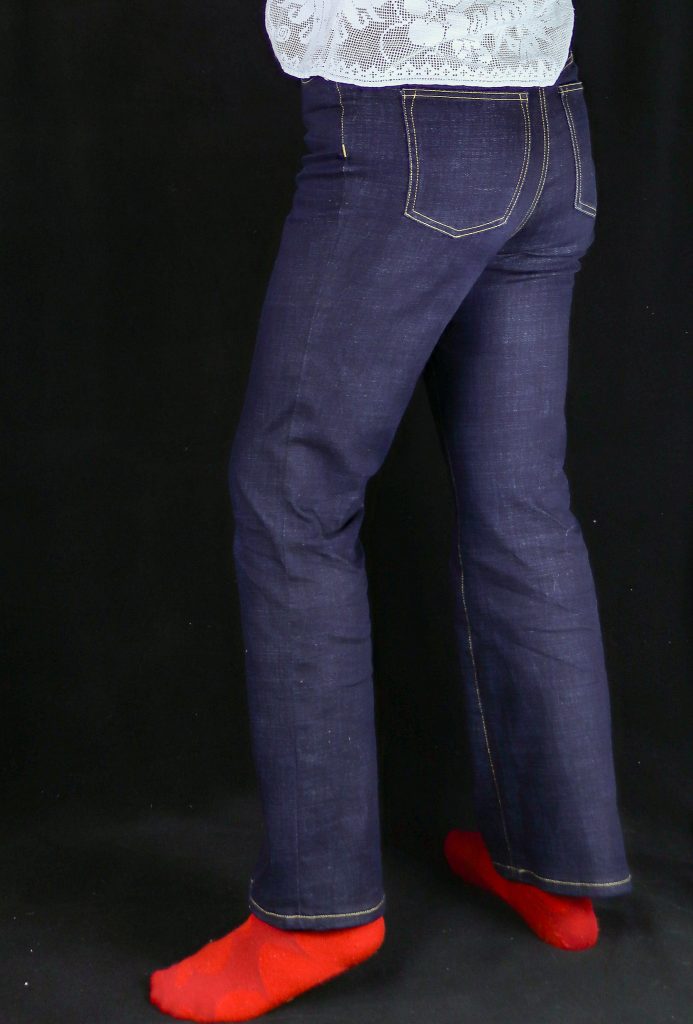
My jeans!
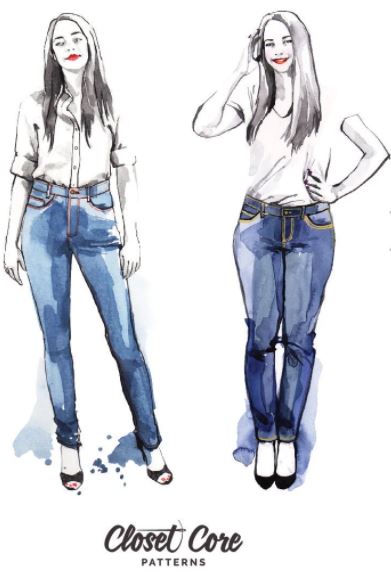
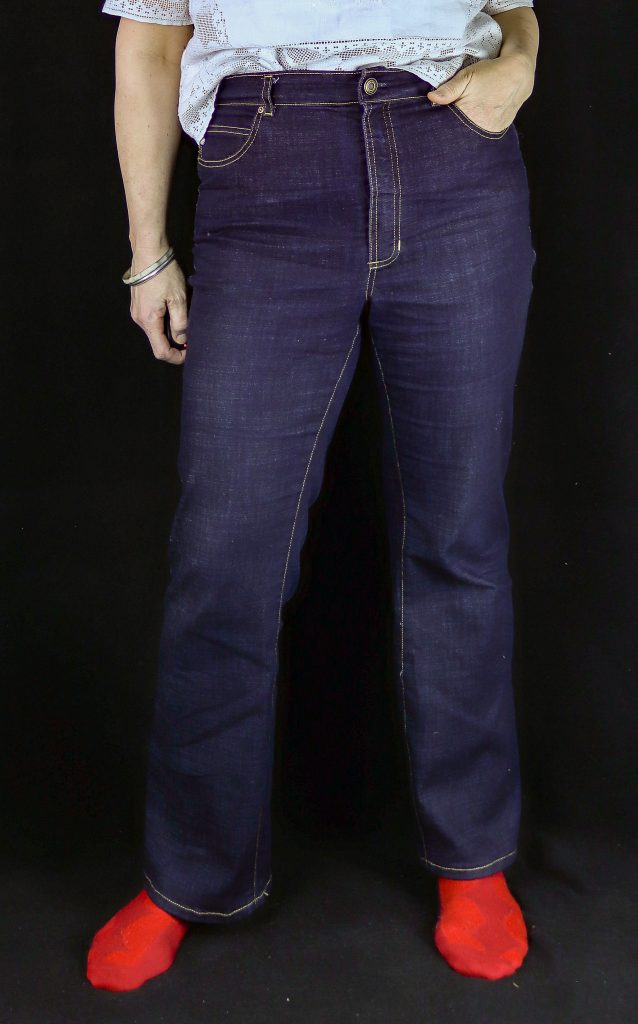
So, as much as I enjoy making jeans, I don’t do it lightly. It’s important for me to make the jeans as well as I can, both in fit and construction. The pair in the photos here are based on Ginger Jeans by Closet Core Patterns, in a heavy stretch denim. I can hands down tell you that these are my most worn me-make this year. They’re so comfy, and I love the colour and the shape.
The Ginger is a great pattern, although I was initially put off by how skinny they look in the illustration. I don’t do skinny jeans, but actually if you look at #gingerjeans on Instagram you’ll see they’re not super-skinny, and I decided to hack the leg shape anyway.
There are numerous guides to sewing jeans, and Closet Core have excellent instructions and fit guides. I’m not going to repeat their advice here, instead I’ll go over some of the things I did differently.
Adding height to the waist.
I wanted these jeans to be super-high-waisted. There are markings on the pattern to show where the rise should be altered, so this was straight forward. I also changed the length of the fly piece to keep that in proportion. It starts quite low down on the pattern so I moved it up by 2cm or it would have looked like the longest jeans zip ever.
Changing the leg shape
I decided to go for fitted to the knee, then widening to the ankle. So, kind of bootleg but with a bit of 70s vibe about the fit on the thigh. I added the width to the bottom by a slash and spread adjustment, to add fabric at the centre of the leg, as well as the side seams.
Cutting out
I cut out with a 2cm seam allowance on all vertical seams – leg seams and the centre back – to allow fine-tuning to the fit during construction. Then I increased the seam allowance similarly at the yoke and the waist. I make a sketch of this to remind where I’d added the extra allowance, and put post its all over my sewing room with “2cm” written in large letters.
Although I had made a quick toile, it’s amazing how much the fit is affected by the fabric used.
A few tips at this stage –
- Glue the fly guide onto cardboard before cutting it out. I’ve used it for a number of patterns.
- Don’t cut deep notches into the yoke pieces. If you want to do a traditional lapped seam at the yoke then you might be using all of your seam allowance and a deep notch gets in the way. I actually mark that notch with a dot of Sharpie on the wrong side of the fabric. It’s going to end up hidden anyway.
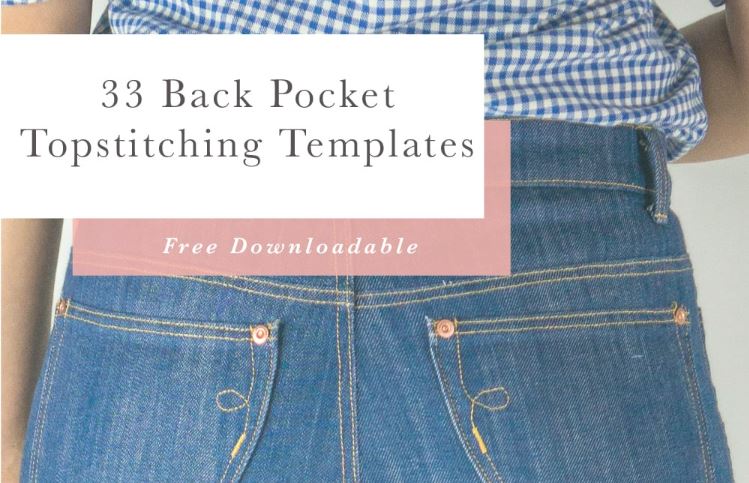
- If you’re making a small size think about reducing the back pocket. The pattern only comes with one size of pocket, which is kind of strange when you think about it, given the variation in sizes of bottoms! As for decorative stitching, Closet Core has a whole booklet of stitching suggestions for the back pockets
Sewing pockets
A size 100 jeans needle copes with both the denim and Gutermann top stitching thread, which saves a bit of work given how often you move from regular to top stitching thread. Also, if you don’t have the right colour of top stitching thread, you can use strong thread instead, or 2 strands of regular thread.
When sewing the front pocket I mark the stitching line in chalk to get an exactly symmetrical result. I have a cardboard template taken from the pattern, which I’ve used every time I make jeans. Also roll the pocket seam 2mm or so to inside to make sure the lining fabric is hidden.
I take a lot of time over the fly zip, inside and out. I actually choose to add my topstitching in two separate lines here, rather than using a jeans twin needle. That’s because it’s quite a tight curve, so the twin needle will give you longer stitches on the outside tramline.

topstitching the pocket
It’s a tiny detail, but I want my stitches to be the same length. OK, I admit, that is a bit pedantic and nobody but me will know, but it gives me a certain satisfaction.
On the fly
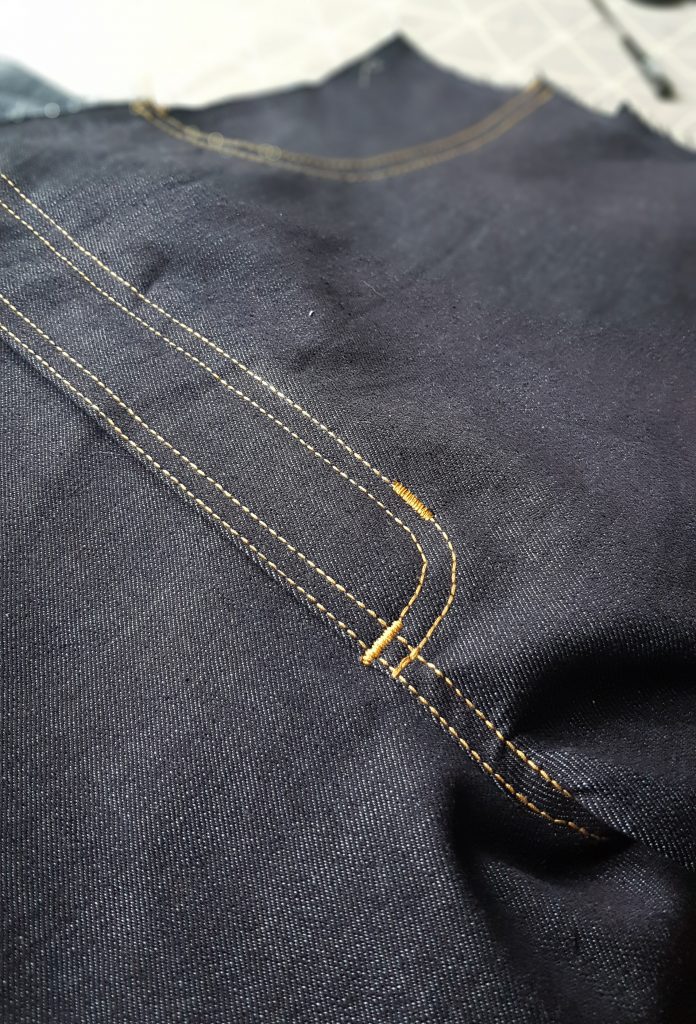
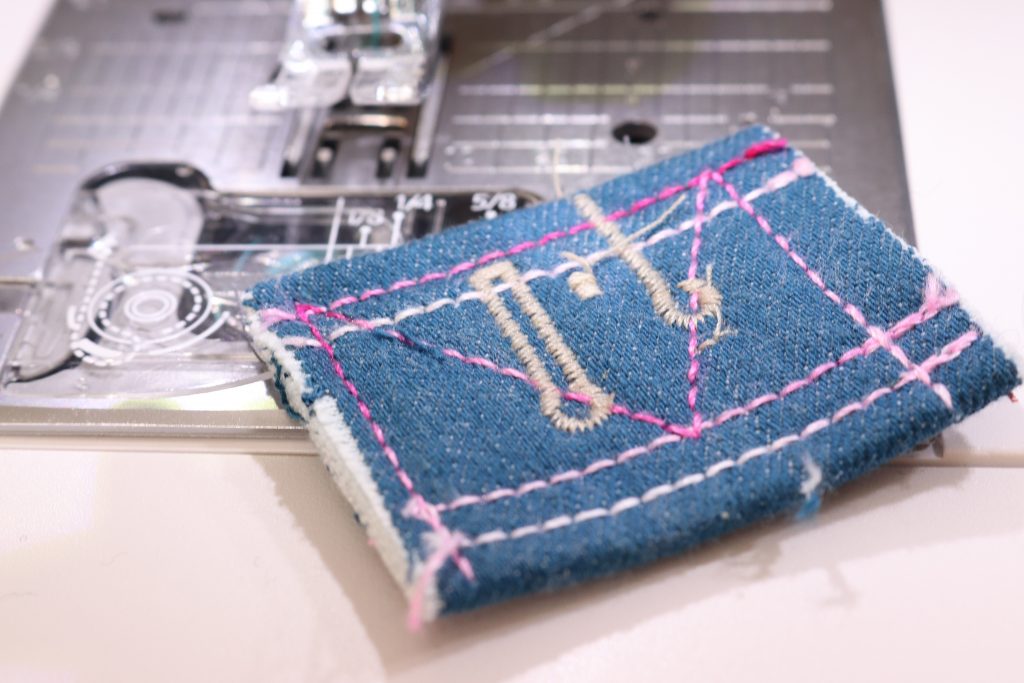
bar tack stitching detail
Also, I use stitch no. 5 on the Juki NX7 for my bar tacks. That’s on the home screen but I’ve taken a photo of the bar tack screen with other options as well.
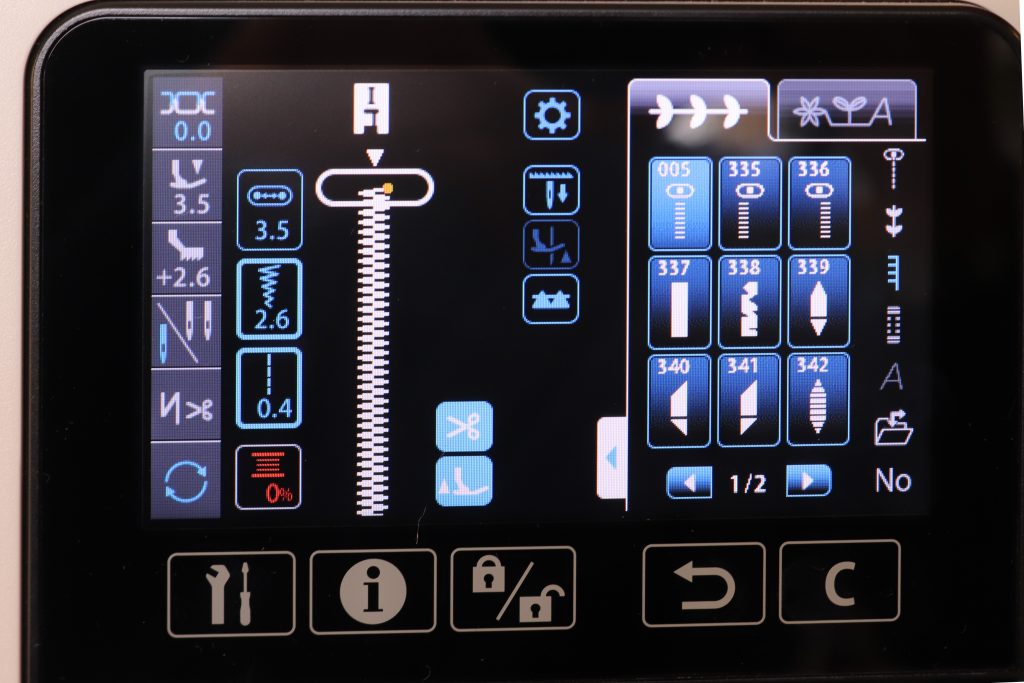
Jeans bar tack screen
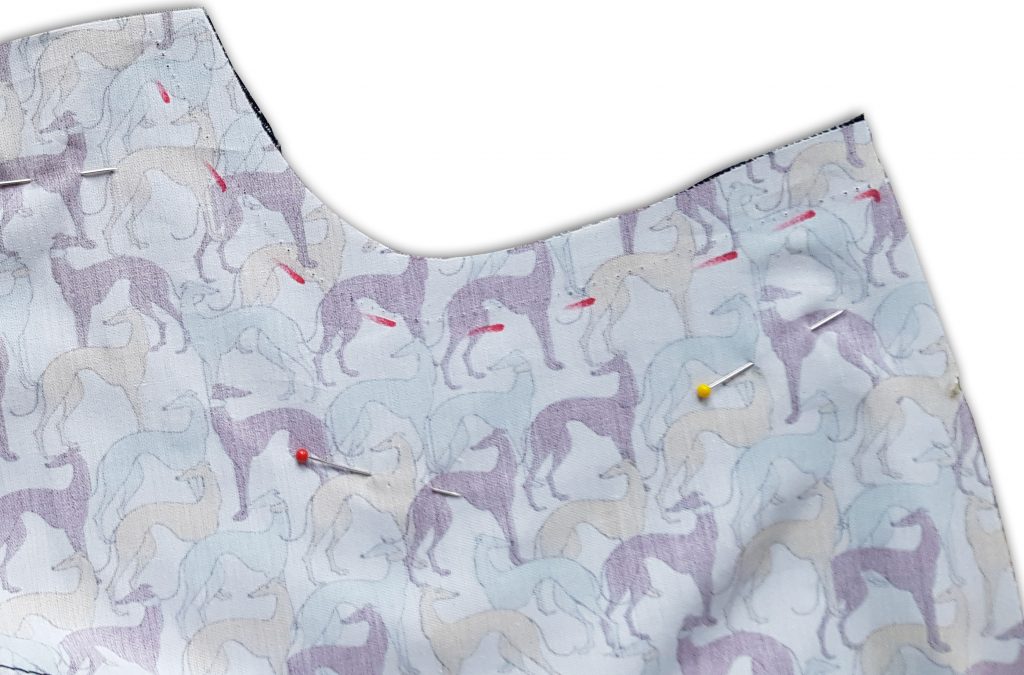
Once the fly is done, I baste from the yoke onwards to check the fit. Once you’re happy you can trim down your seam allowance.
At the basting stage you can position the back pockets too. I use a double sided tape to check the position I want then baste them in place. Later, once I’ve sewn the centre back seam, I’ll stitch the pockets down. It’s much easier to do this when you’re only working on half of the jeans, rather than at the end (per the pattern instructions) when you have the entire garment getting in your way.
Legging it
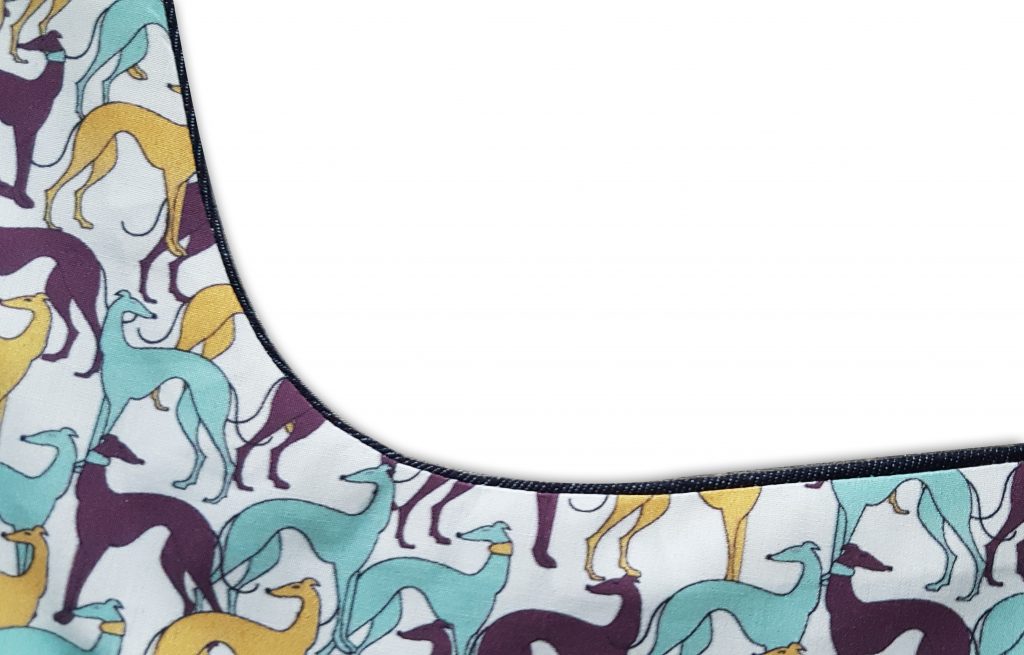
On the pair in the photos, before I stitched the leg seams I added some striped binding to each side of the lower legs. When I sewed the seams, I pressed the bound sections open and finished the rest per the instructions. I often roll my jeans up at the bottom, and here I get a pop of colour from the bindings. I didn’t have enough of one colour, so one leg is red, and the other green. Port and starboard?
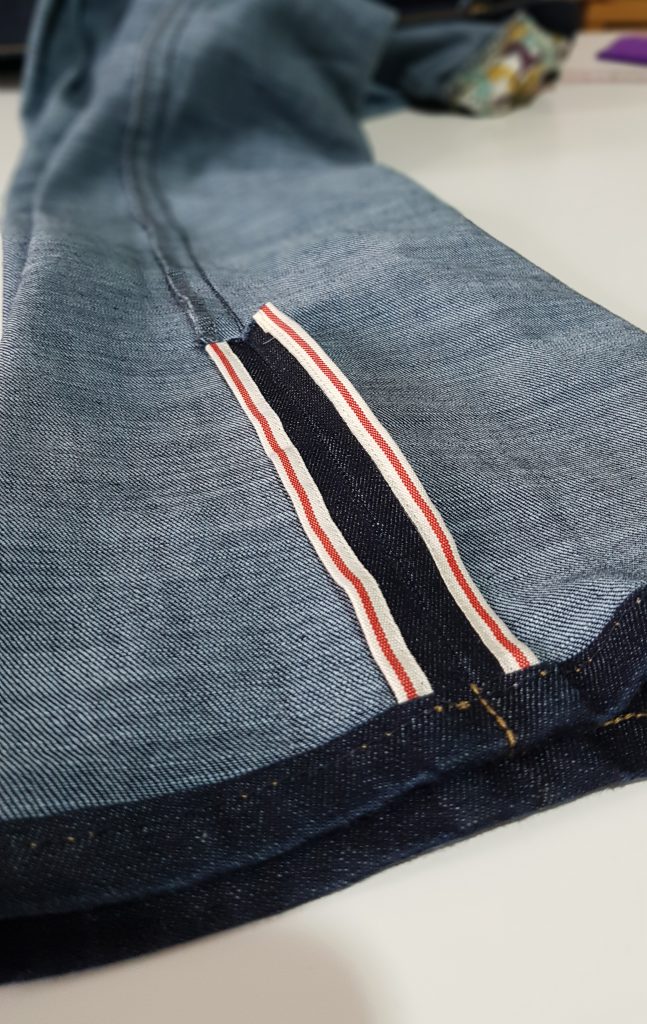
adding striped binding to the lower leg seams
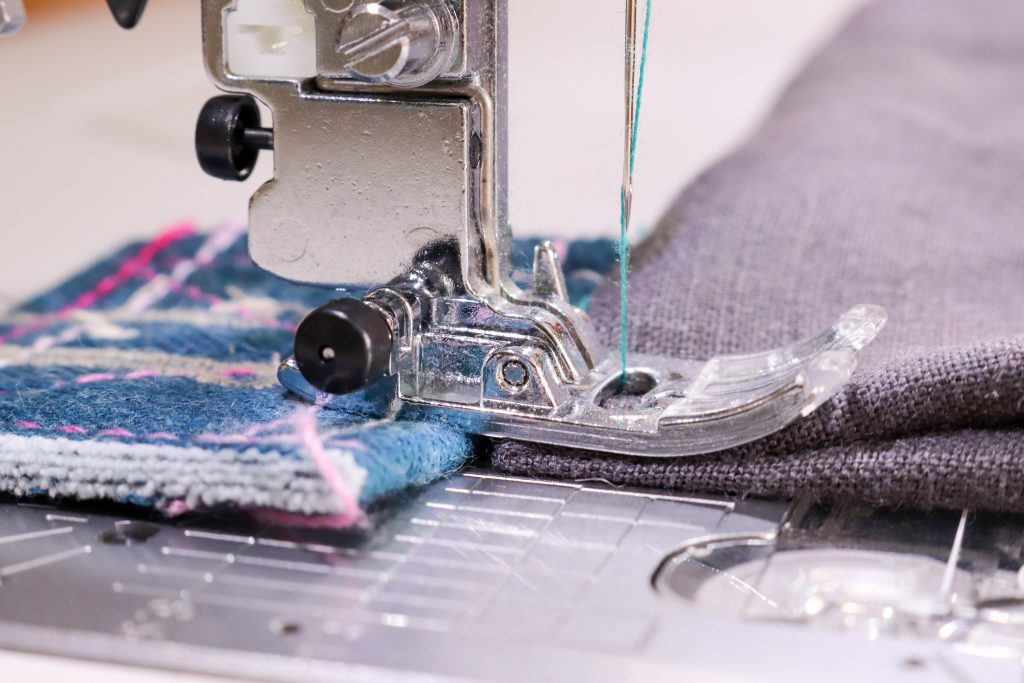
A seam jumper is really useful when you come to sew the intersection at the yoke. You’re dealing with 8 layers of denim here, and the seam jumper helps your machine to navigate up that hill and back down the other side without skipping a beat. I make my own out of a small strip of denim folded into 3 or 4 layers and stitched down. You can see I’ve used this one to test some buttonholes too! I’ve added a photo of the seam jumper in action. Position your sewing, put the needle down, then lift the presser foot and pop the seam jumper underneath the back of the foot. You can see how that keeps the presser foot on an even keel.
As for the waistband, this is the only place I’ve discovered that the pattern varies from RTW jeans construction. On the Sewing Bee last year we made jeans in episode 3. The waistband was sewn onto the jeans from the inside then folded in half and top stitched from the outside. This is the opposite way round from dress trousers. The Closet Core pattern follows the dress trousers construction: it is easier to get a neat finish that way and in the end the difference is subtle. But if you’re a purist, go for the traditional jeans construction.
And last of all, the belt loops. Again they are much easier if you use your seam jumper.
Up next
Well that’s a good start to the Jen on Jeans topic. Making and enjoying the jeans is only stage one of the process. Next up Jen is going to look at mending old jeans. But that’s a whole different story!

Jen Hogg lives in Glasgow with her husband and dog, and has two children at university. A former solicitor, she reached the semi-final of The Great British Sewing Bee Series 5 (2019). Life for Jen now revolves around sewing: writing, teaching and recently bringing the Jenerates Sewing Ruler to market. She also enjoys knitting and many other textile crafts, as well as silversmithing and photography, woodwork, wrought iron, stained glass, pottery and generally making things. You can follow her on Instagram and Facebook @jenerates, and at www.jenhogg.co.uk, and you can read our Juki Club introduction here.
[…] about jeans! As I touched on in my previous blog, denim has a high environmental cost to produce which brings with it a responsibility to make full […]