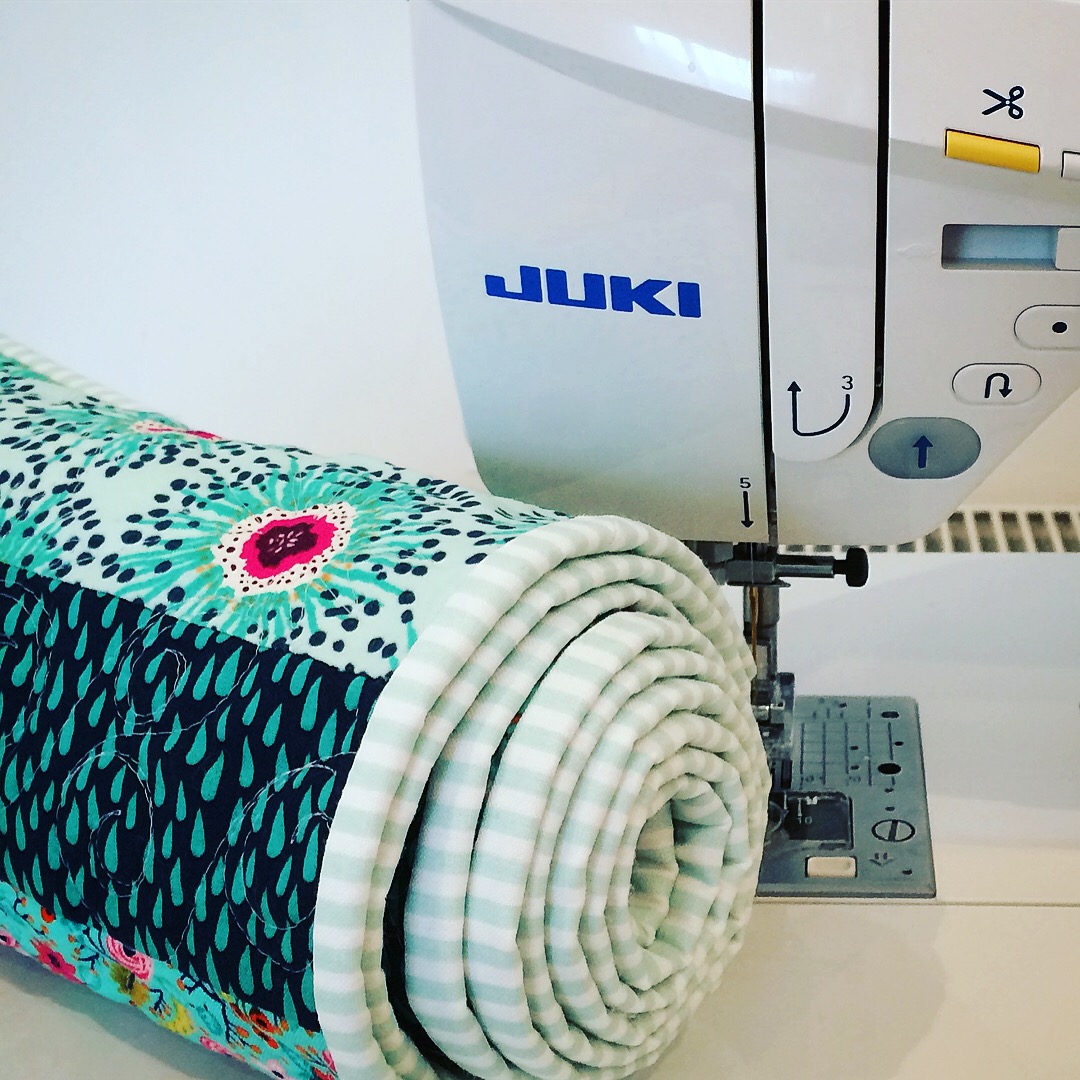
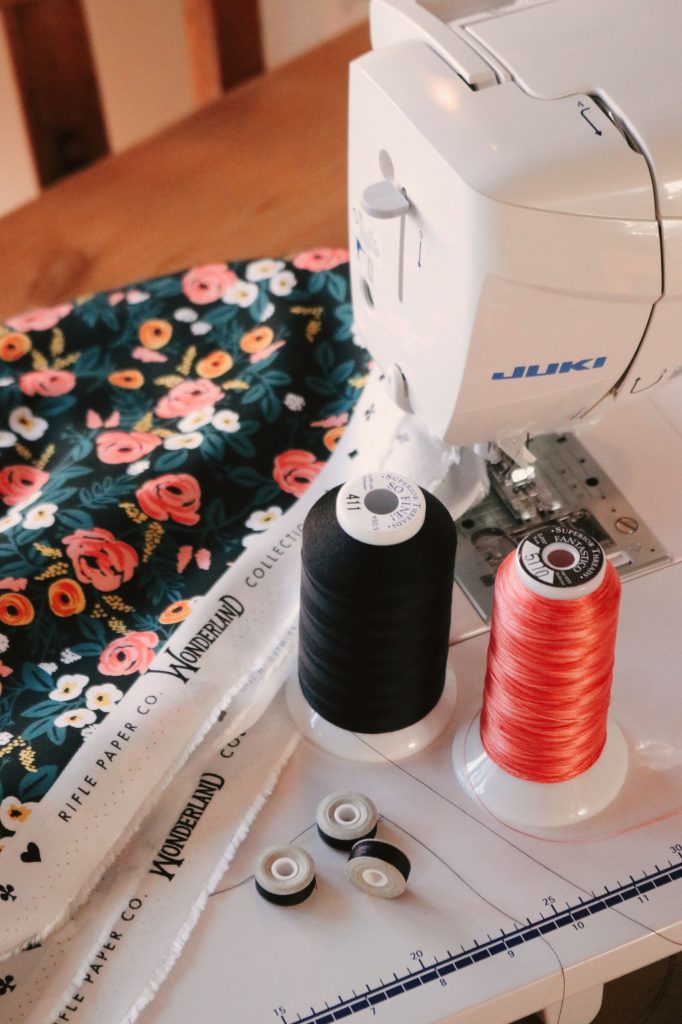
We made a dress! Martha found the fabric. Emily found the pattern and Linda knew just how to put it all together. The Juki stars of the show were the DX7 machine that does everything well and the MO2000 air threading overlocker which gave our project, even though sewn by beginners, an amazingly professional finish. Martha and Emily are new to dressmaking so it was brilliant to be able to learn from Linda. We’re going to let Emily tell you the story.
I found a pattern that I loved but needed someone to help me read it. I throw away instructions most of the time, so planning and preparing for sewing clothing left me panicked and confused. Linda was the perfect person to help. She’s been making clothes for a long time and was able to guide us through the process. Linda’s first big tip was; READ THE INSTRUCTIONS! Then read them again, even multiple times before you start the project. Why? Because they really do tell you exactly what to do and following them means you are more likely to walk away with a garment rather than a sack!
Hygge
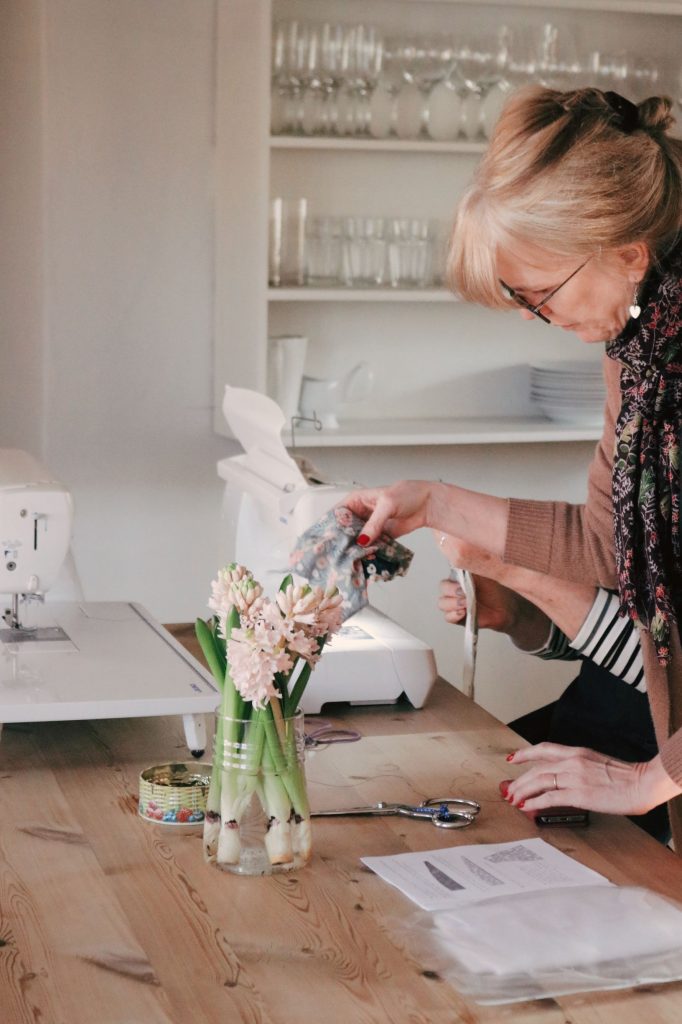
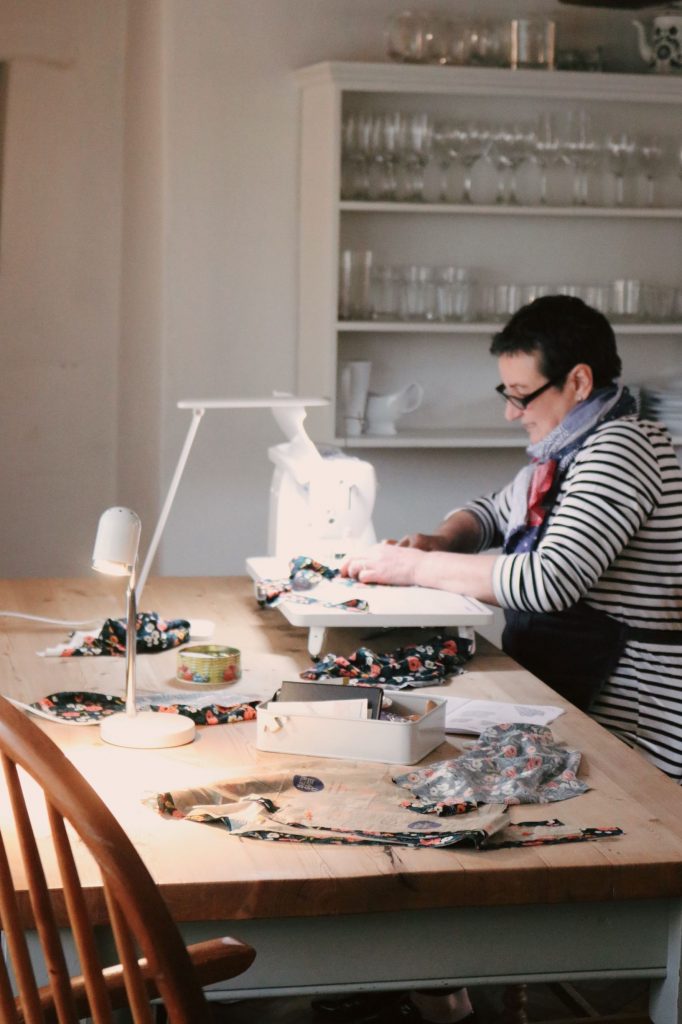
Linda was amazing. From the moment I walked into her home I just felt inspired. Not only was her home beautiful but it had a Scandinavian charm that just instantly connected with me. In fact, it had been a while since I had experienced {*buzz word alert} HYGGE but Linda radiated it and so did her home.
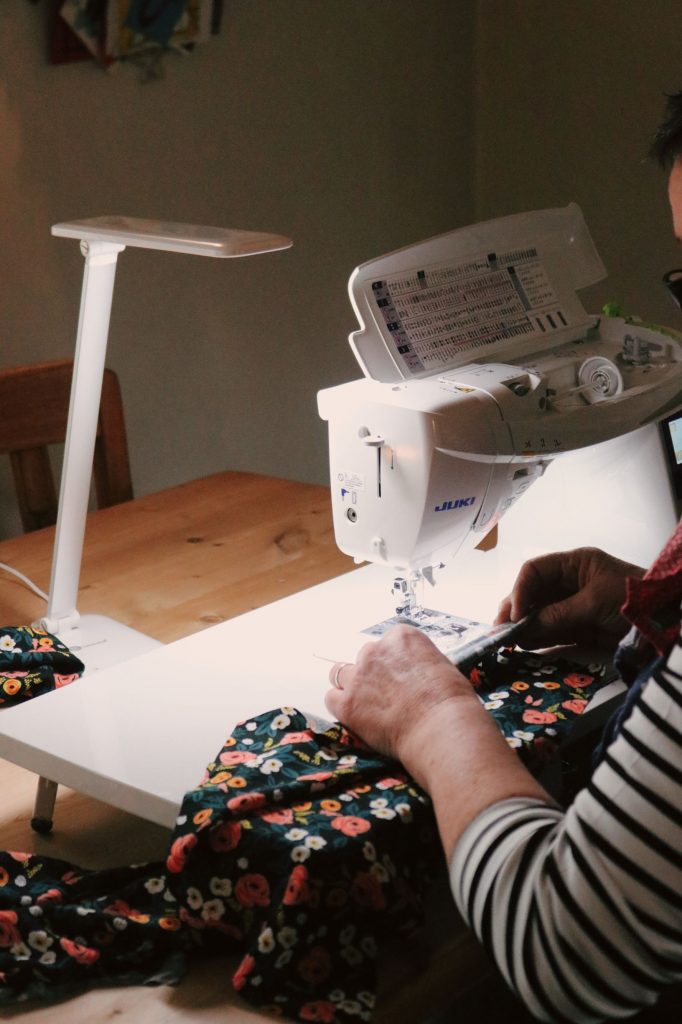
I went to Linda to learn how to make a dress. I did a lot of observing and listening and spent a lot of time trying to understand the method behind sewing clothes. Why you needed a good straight stitch, why the pattern had to be pressed, how to use an overlocker. These were things that hadn’t really come up in my sewing journey so far!
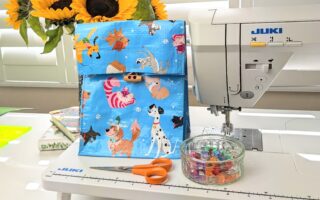
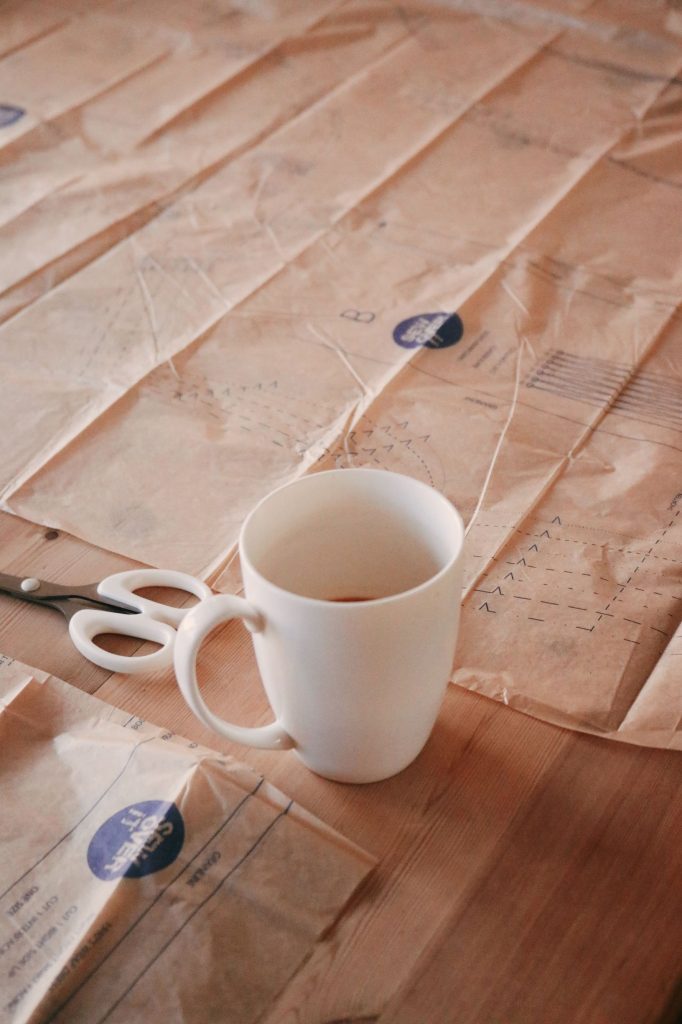
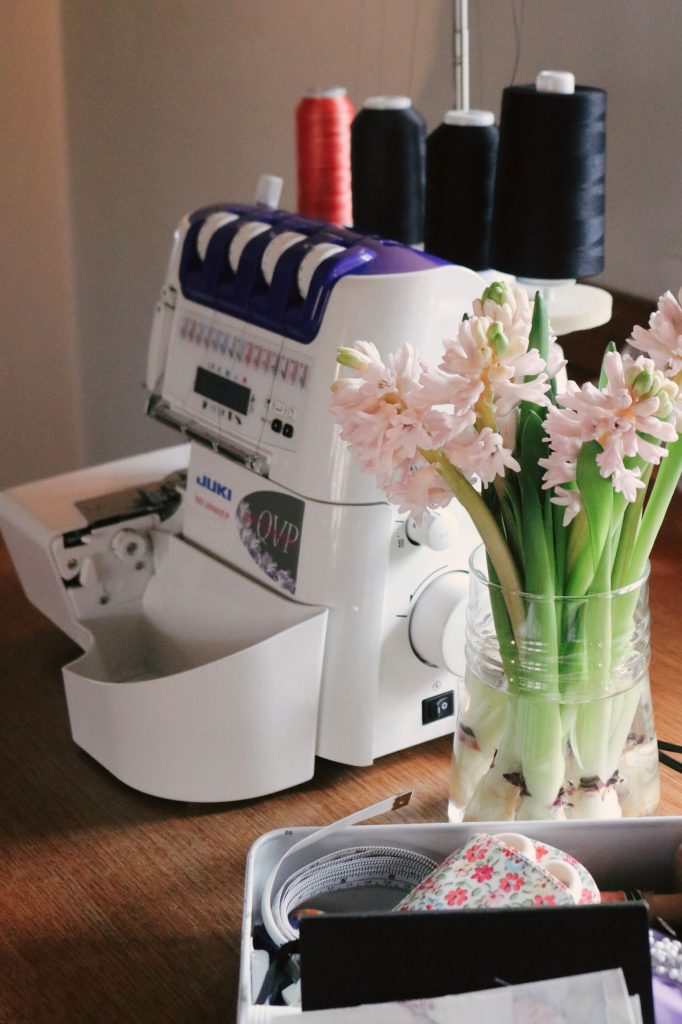
Gathering Materials
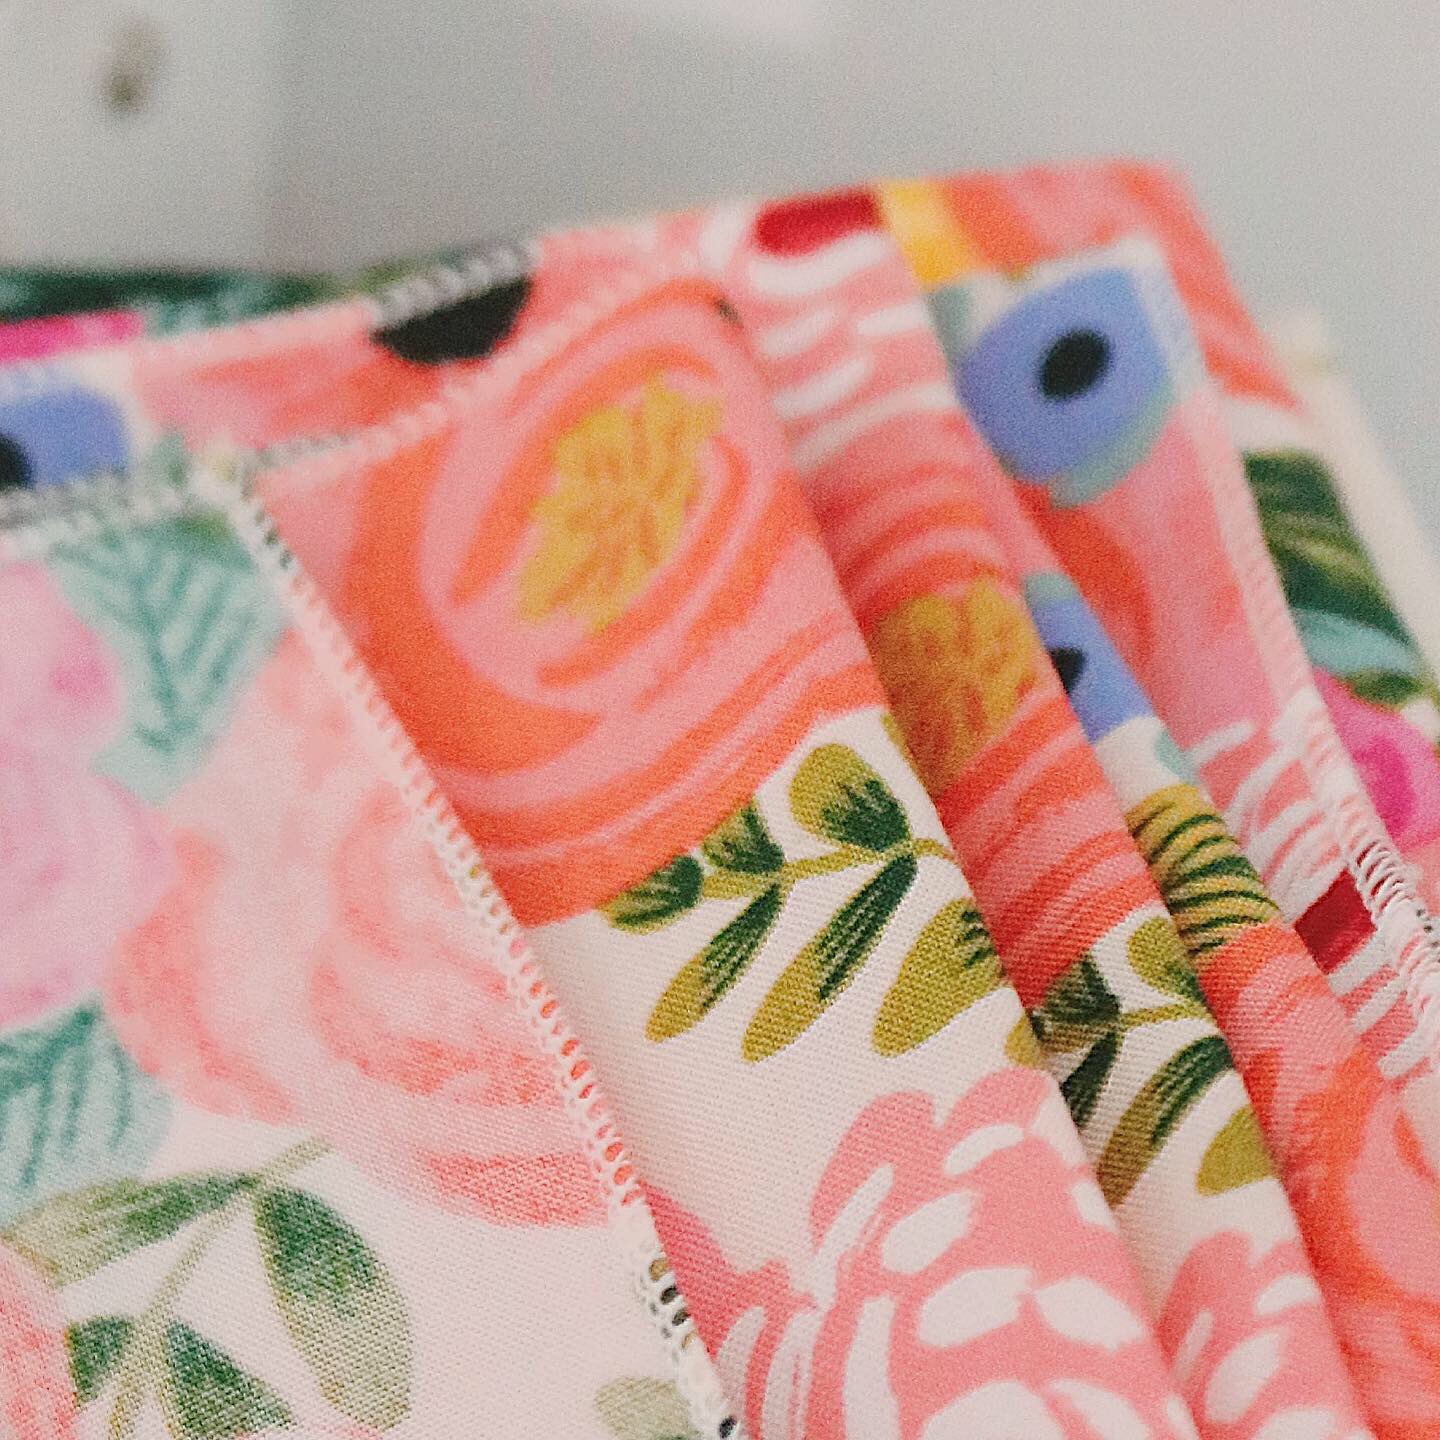
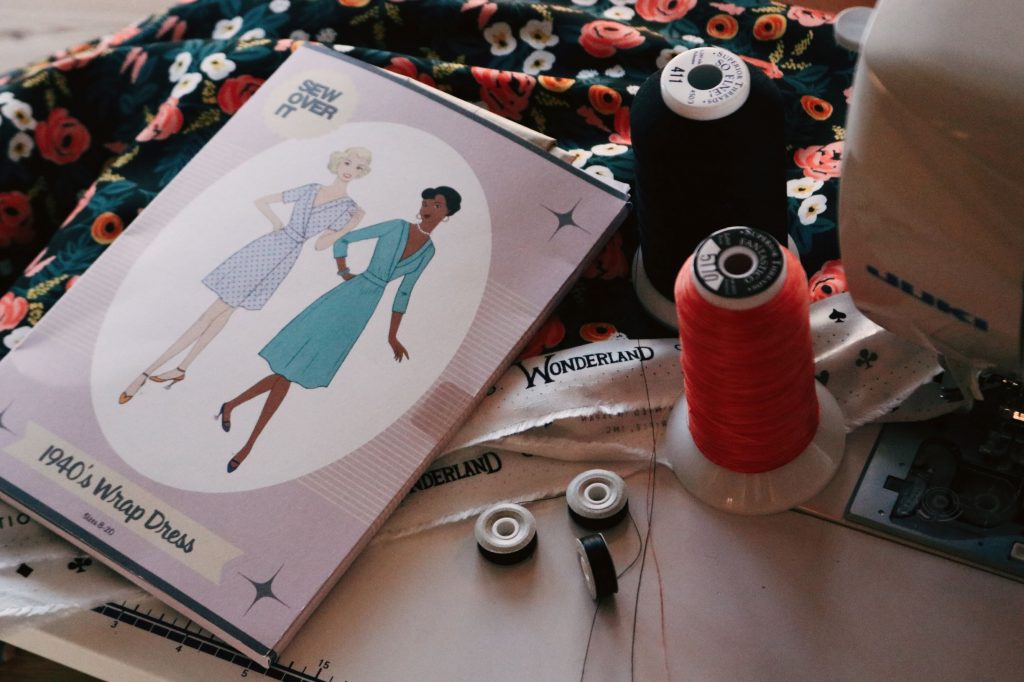
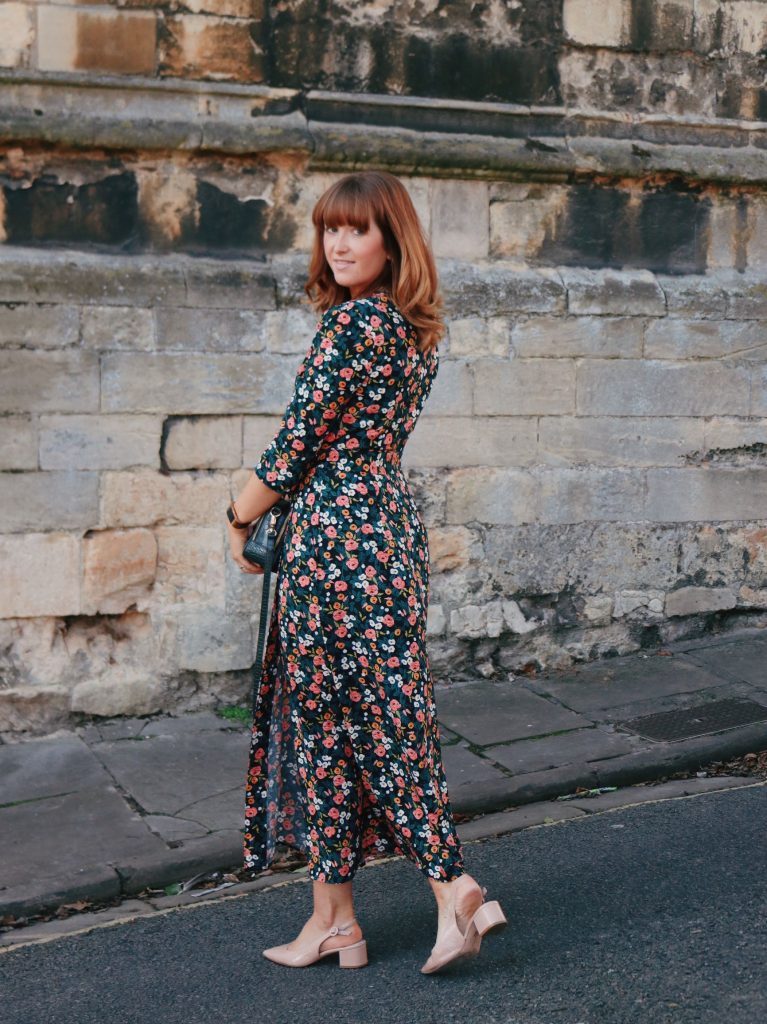
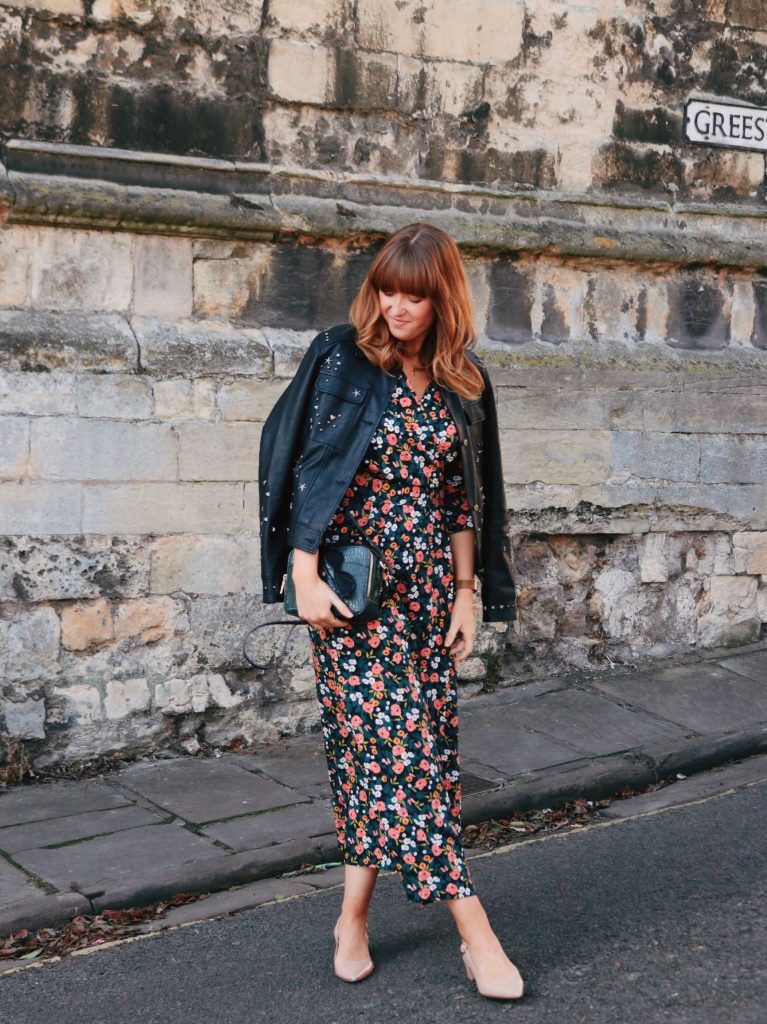
Anyway, the day started, we got set up and we made a dress. We had some beautiful fabric by Anna Bond of RIFLE PAPER CO called WONDERLAND Painted Rose in Black in a soft Rayon which is great for dress making. It just drops and washes over your body beautifully. The dress pattern was by the brilliant London based designer Lisa Comfort at SEW OVER IT We used the 1940’s WRAP DRESS PATTERN which we bought as the paper pattern and instruction booklet, not the PDF. Having Linda on hand to help made all the difference. She was able to guide us step by step. The actual dress we adapted and made much longer to suit my height and you know me, I love an ankle grazer length on anything!!
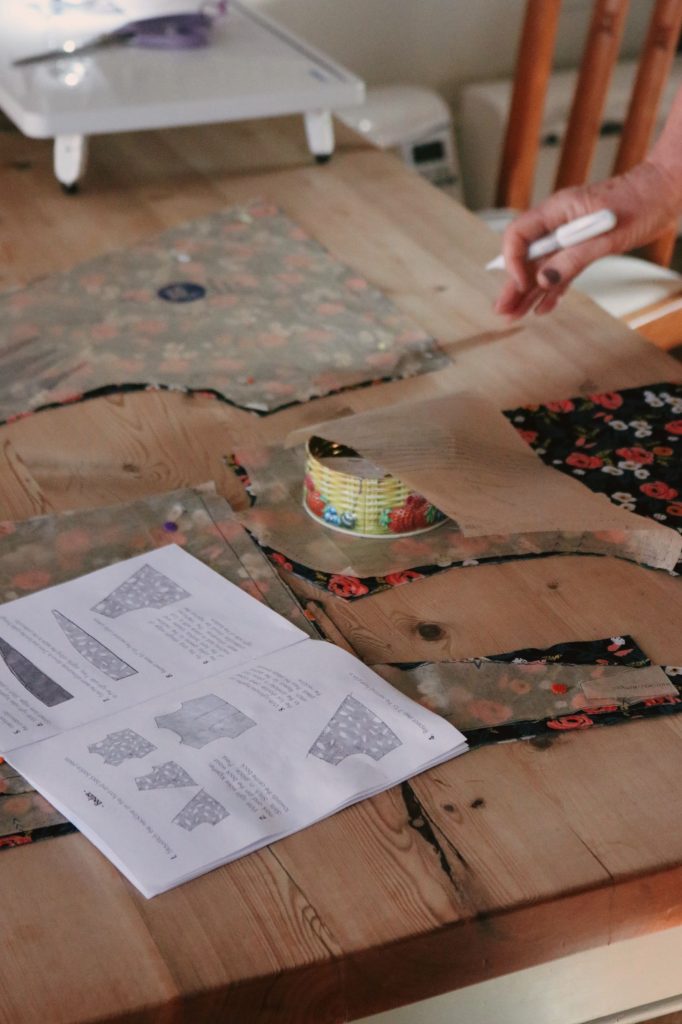
Making the dress was the real experience. Linda has some fab tips which I will share at the bottom of this post on how to make a dress. Rather than repeat the SEW OVER IT directions we recommend going straight to the source. Lisa Comfort’s directions were clear and comprehensive and we can recommend her patterns without hesitation.
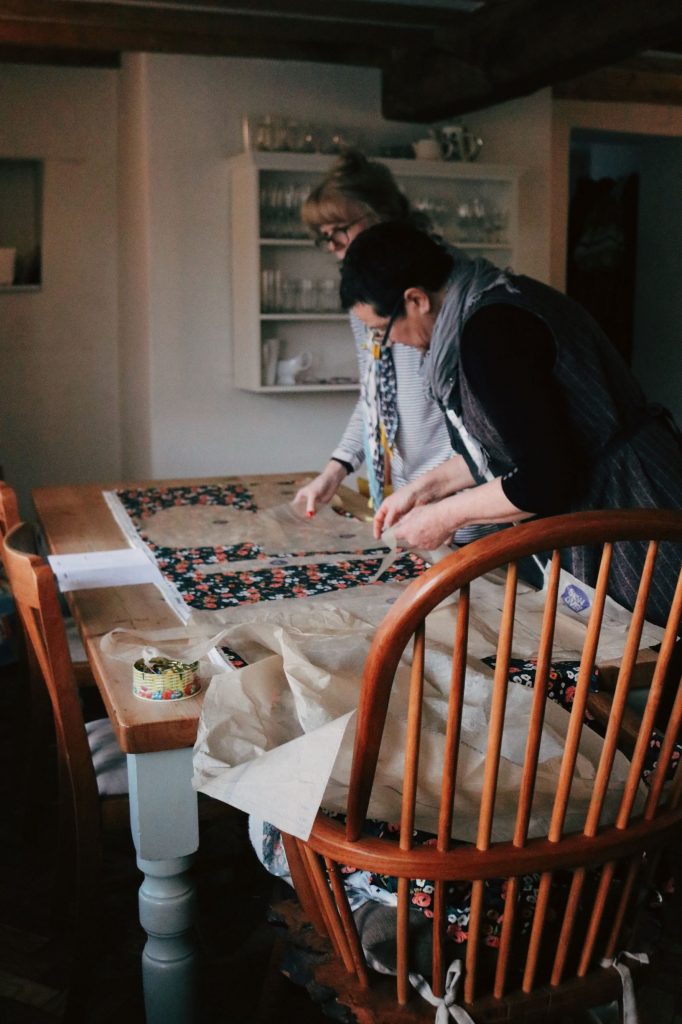
Sewing together
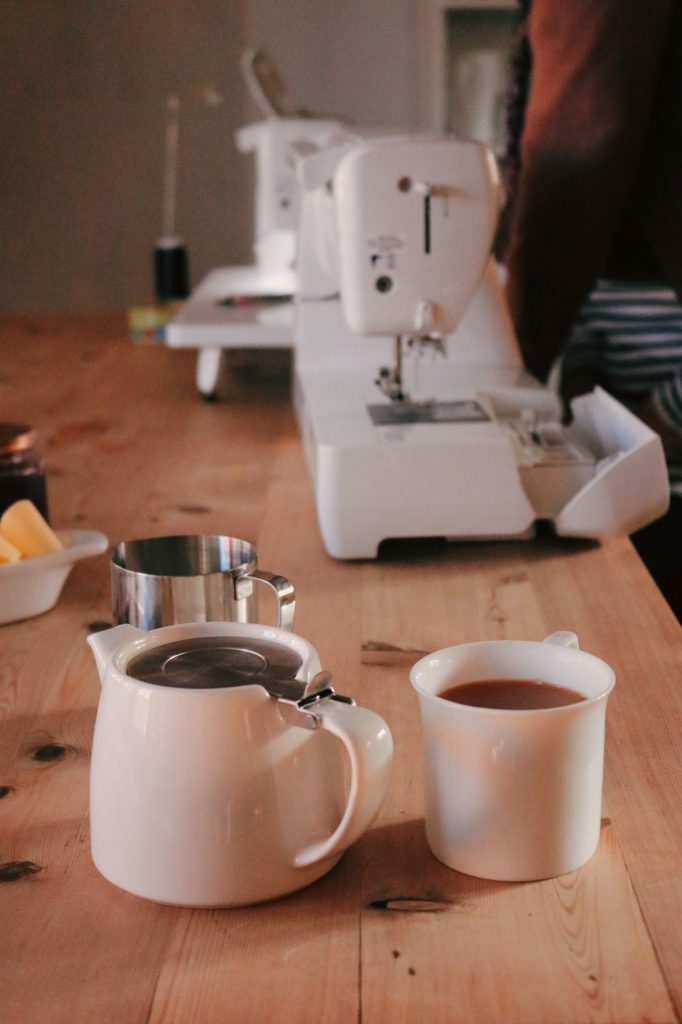
What I want to tell you more about, was my experience of peer to peer learning. It was awesome! Through the cups of tea, the home made soup and bread and lively discussions about dressmaking and sewing machines, I found myself absorbing more than just information. Working with a partner on something so creative itself was inspiring. Listening to direction, and understanding the reasons behind them allowed me to be so much more present in the moment where real education was being given.
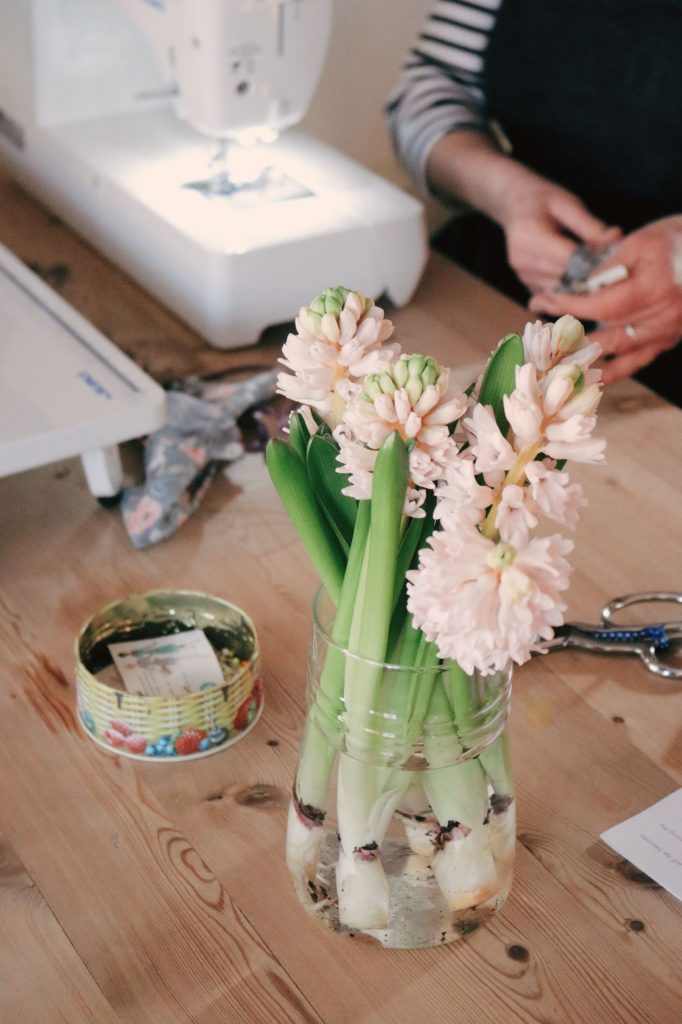
Linda’s space helped; the natural light, the big table with all the tools and materials close at hand, meant that we were able to immerse ourselves in sewing. Seeing the dress come together was awesome. But it was more than the dress.
Women Empower Women
Women in my life have always empowered me, always had my back, and inspired me, but this situation was different, Something new and really quite alien made we want to punch my fist in the air and shout “HELL YEAH, GIRL POWER!” because here I was stood in a room with two other women being taught a skill that I thought was so beyond me! It was like a tiny WI club, almost an experience from “the good old days”, when we taught each other useful skills to bring more meaning to our roles in life. Sewing together is powerful. The three of us working together on my dress woke me up to that truth.
Stepping away from the experience side of this post, I just want to share some top tips for sewing your own clothes that Linda passed onto me.

Tips for dressmaking
Getting Started
Do not rush into dress making. Getting the pattern right is key. I usually would love to just start a project quickly and get on. But it’s better to accept that dressmaking will take time. Put your music on, get the kettle boiled and just enter into this project calmly.
Pattern Buying
Pick a pattern for your level. They are graded for a reason. Talk to people in fabric shops who are more likely to know more about this area.
Take into consideration the fabric you want to use. Is it the right fibre? Does it have a directional pattern? The pattern will tell you how much fabric you need to buy for your size
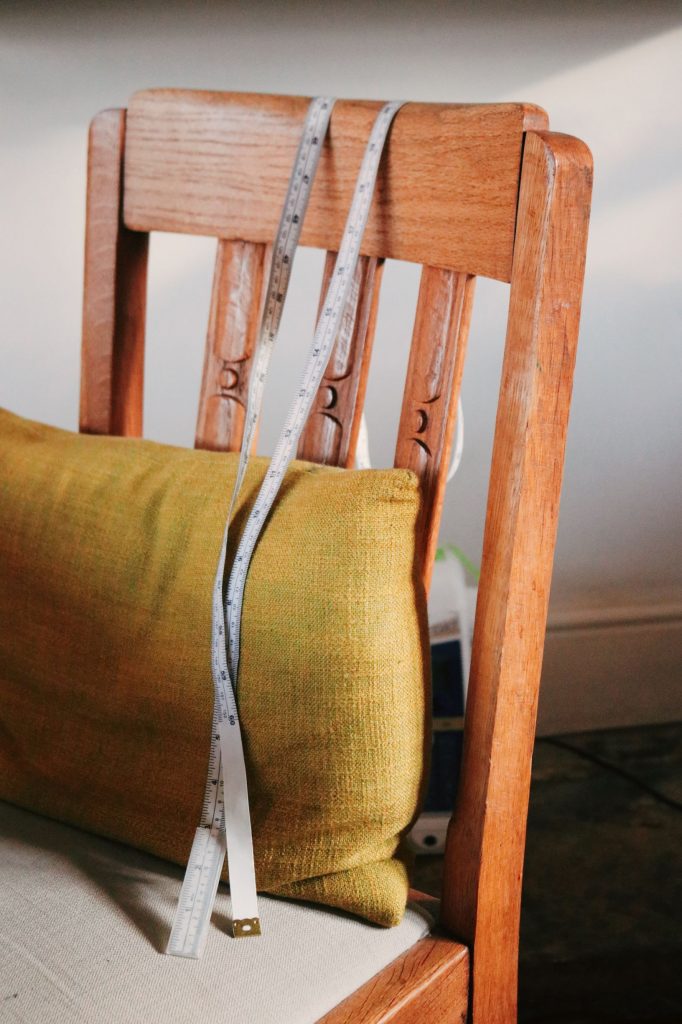
Find a friend or again, someone in a fabric shop to help measure you and if you are between sizes always opt for the bigger size as you can adjust accordingly
Reading patterns
When you open the packet leave the paper pattern inside and remove only the notes/ instructions. Take your time.
Read the instructions twice
Check and double check measurements on pattern against true body measurements to find the best size for you. Always go bigger if you are between 2 measurements. If in doubt, read the instructions again.
Cutting pattern
Do not use fabric scissors to cut out paper pattern. Have a pair of paper scissors specific for this task.
Lay out one sheet at a time on your surface. Make sure you have lots of room. Cut only one sheet and do not cut on top of another. You need to clearly see the lines.
Always remove cuttings to another place, near the ironing board as you will be ironing them before pinning them to fabric.
Ironing
Iron pattern paper using a dry iron setting. Iron fabric ready for use.
Changing Length
Keep off cuts of pattern paper to use in lengthening. It is nice to use the same type and weight of paper throughout if you are going to adjust the pattern.
Placing
Take time to place pattern on fabric.
You should have already considered the direction of pattern, grain line and folds which will be in the instruction booklet you have.
To pin, don’t just tack. Pin with the head to the centre of the paper. Keep the pin end not poking over the pattern edge so that it is out of the way for scissors. Put as many pins in as necessary for your comfort level. If you have not done this before more pins may make you feel more comfortable!
Cutting
Once everything is pinned, take your fabric scissors and in a slow smooth motion follow the edges of the paper.
Do not cut the paper. Just cut as closely to it possible.
Remove cut pieces from space. Clarity helps when dressmaking.
Remember, with your folded fabric {according to your pattern} you will have two pieces per cut. In this dress’s case we did. So no need to unpin and re-cut unless indicated on the instructions. This is why reading them twice is vital.
Adding in
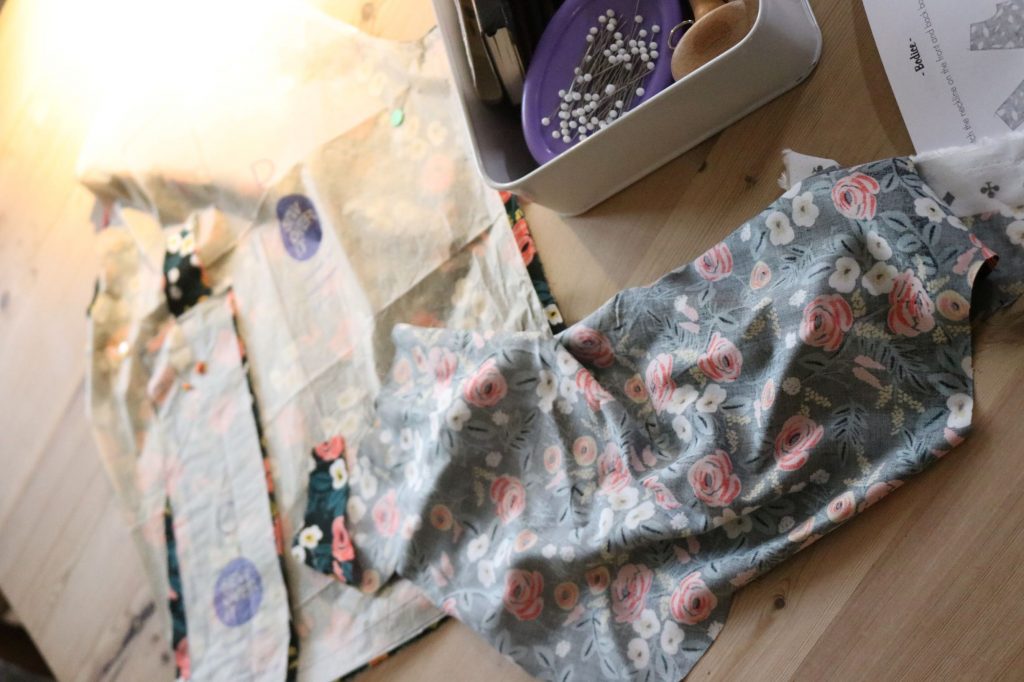
How to go about lengthening will always depend on the pattern. If a pattern has a complicated hem line, a lot of panels or much flare you may need to adjust the length by extending the middle of the pattern rather than the end.
In this dress’s case, there is no panelling and we can simply draw onto the bottom of the pattern and piece paper to the right size.We have extended the skirt to a midi length suitable for my height.

Initially, his project started with making a dress, but it ended up being all about developing community and understanding the power of peer to peer learning. I’ll be highlighting this in other posts because it’s essentially what our Juki Club is all about. Sewing together was such a fun way to gain new skills and build friendships. Even so, it was pretty wonderful to walk away from our time together with this dress!


Emily Inman is an award winning lifestyle and fashion blogger living in Lincoln with her husband and two children. She enjoys creating content to share with creative people. Emily works with Juki Club as an influencer, content creator and photographer. You can follow her on Instagram @brickdustandglitter and see her blog: www.brickdustandglitter.blogspot.com