Happy Father’s Day to all the dad’s out there! We’re celebrating with a post on sewing Boxer Shorts. It’s a collaborative effort between Suzie and Mercedes. Suzie is a huge fan of the Great British Sewing Bee and she was thrilled to get to meet Mercedes, a GBSB contestant from the super popular 2019 series. While chatting together during one of our Juki Club team meet ups, Suzie and Mercedes discovered that they both share a passion for working in stretch fabrics.
The Boxer shorts challenge
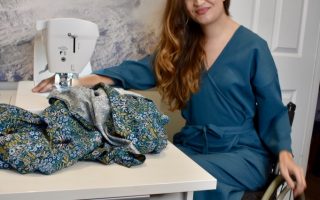
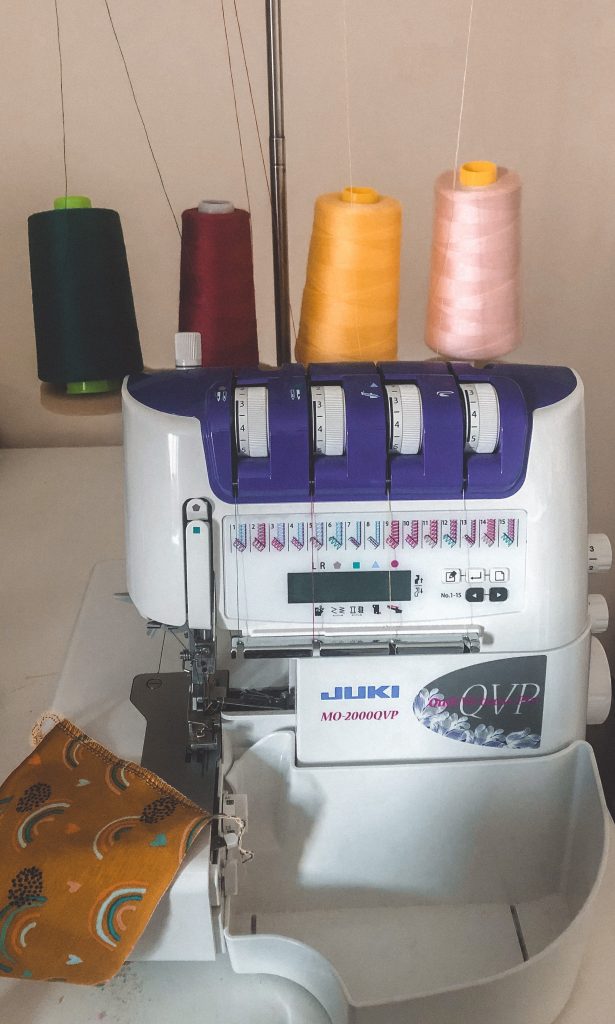
We sent two women two pieces of fun jersey fabric from Higgs + Higgs. We asked them each to make two pairs of boxer shorts and share their tips and tricks. Suzie and Mercedes used the same pattern with some personal variations. Here’s what they came up with. We’ll start with Suzie. She is using the Juki DX7 sewing machine and the MO 2000 overlocker.
Suzie @lovesuzieshop 
Mercedes 2019 GBSB 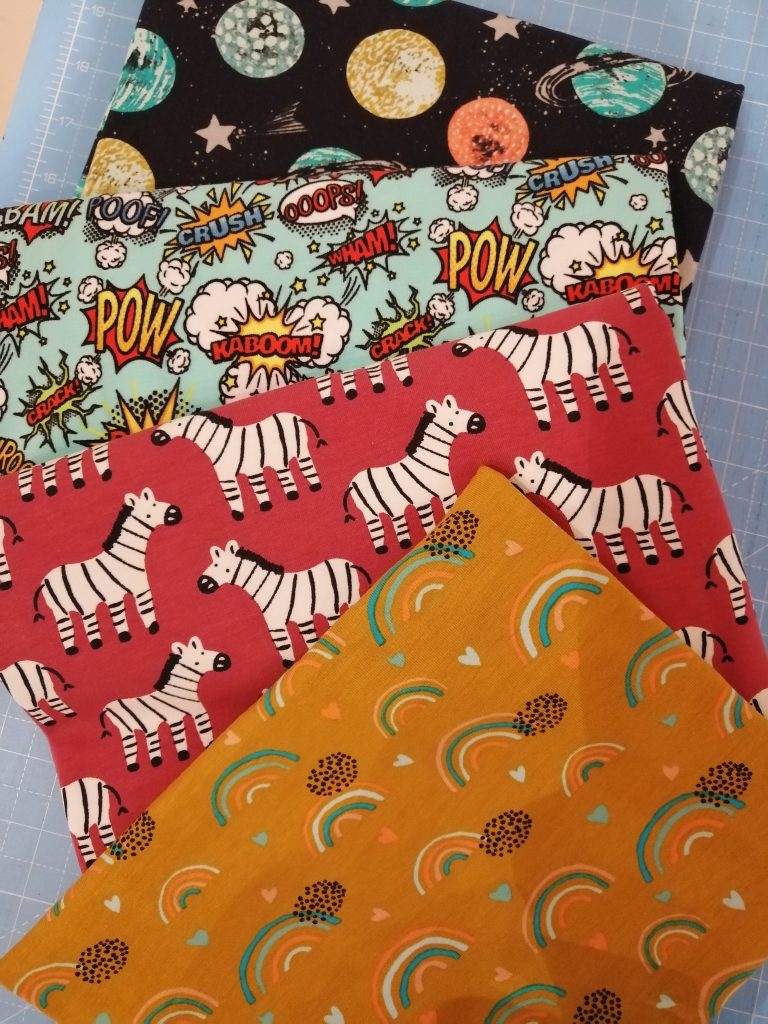
Jersey fabrics
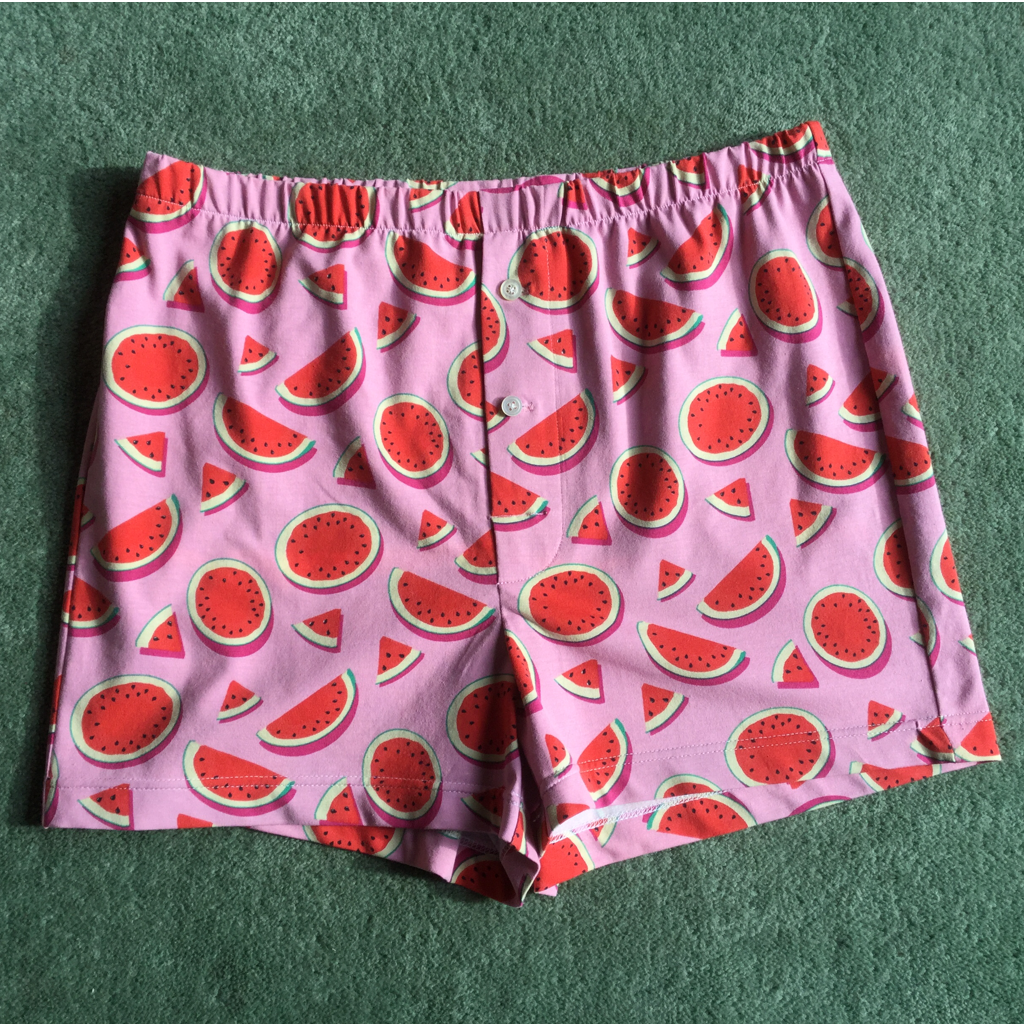
Suzie’s boxer shorts
Let’s face it, when it comes to dads, socks and underwear are a go to present. I can’t knit socks, so underwear it is! The jersey prints were lots of fun. I decided to play it safe on the first try and I was slightly more daring with the next pair.
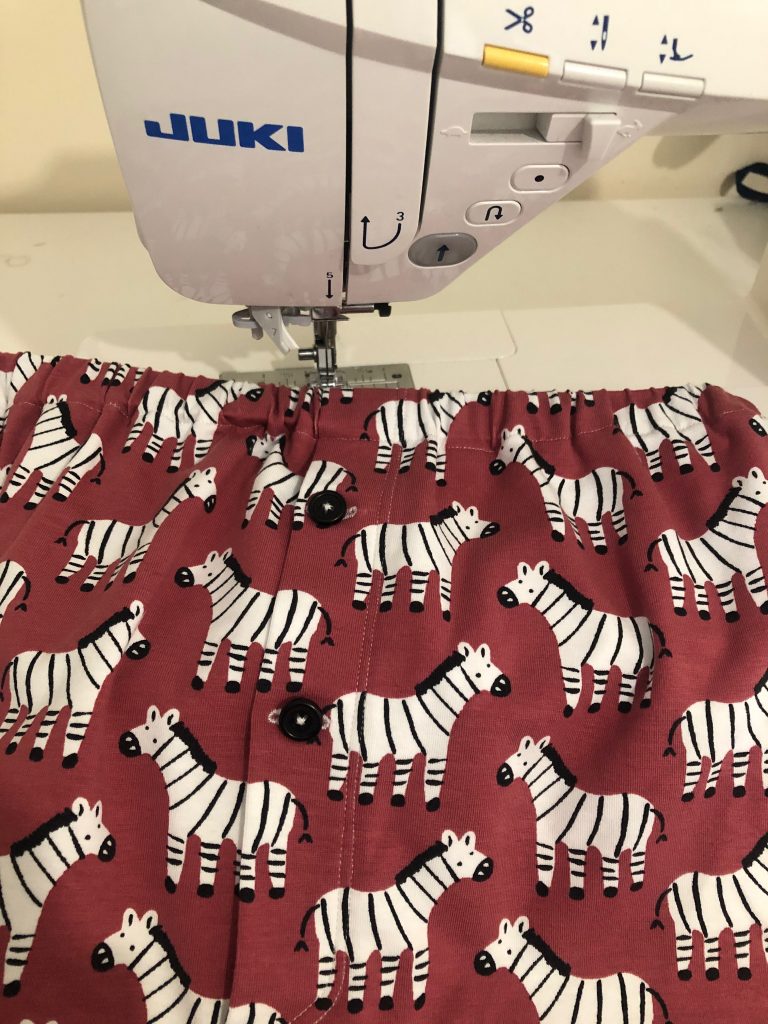
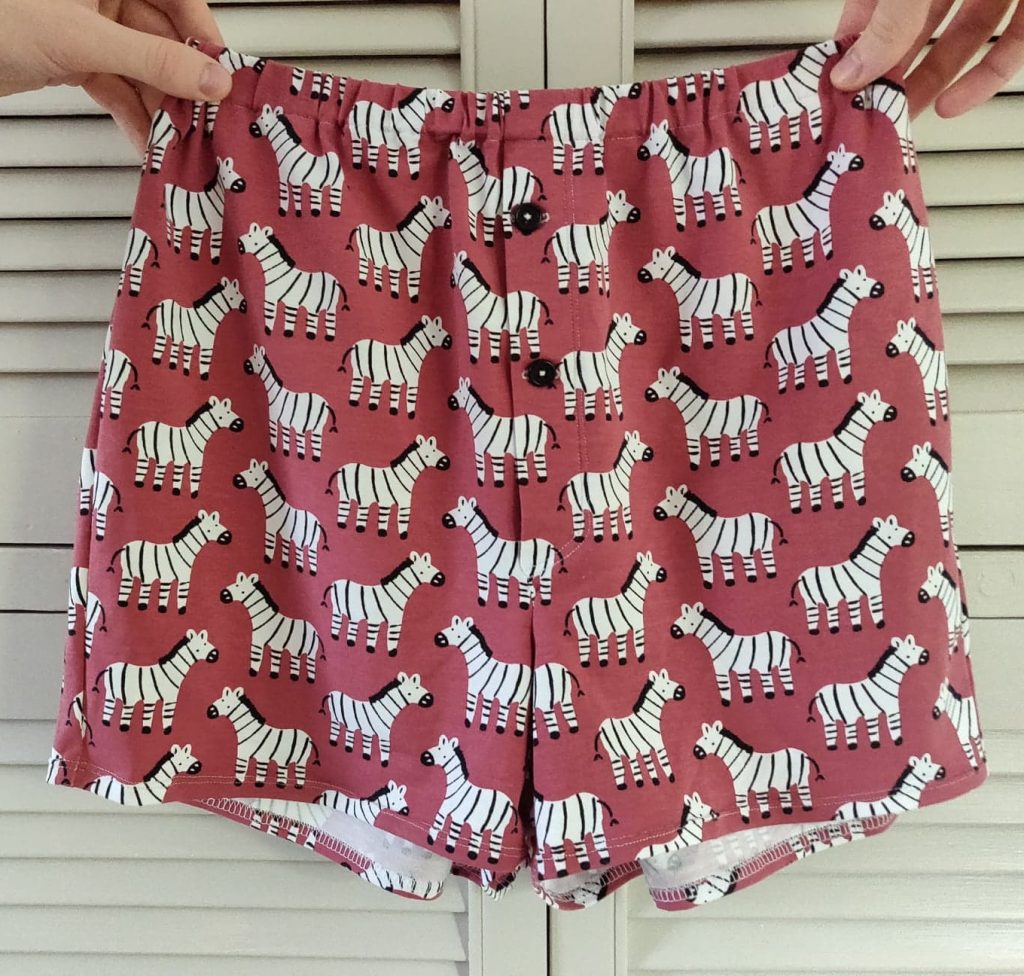
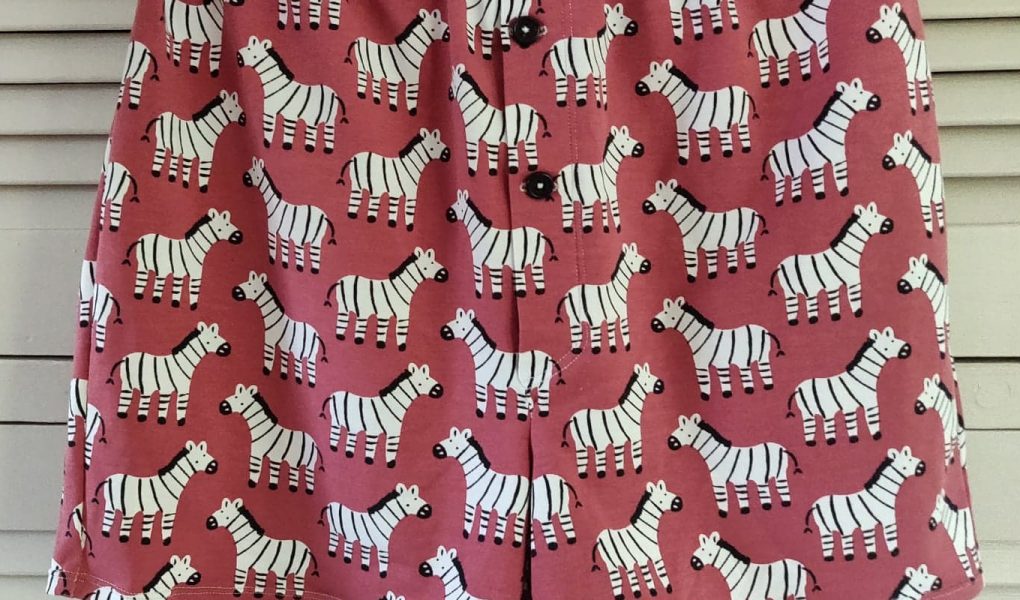
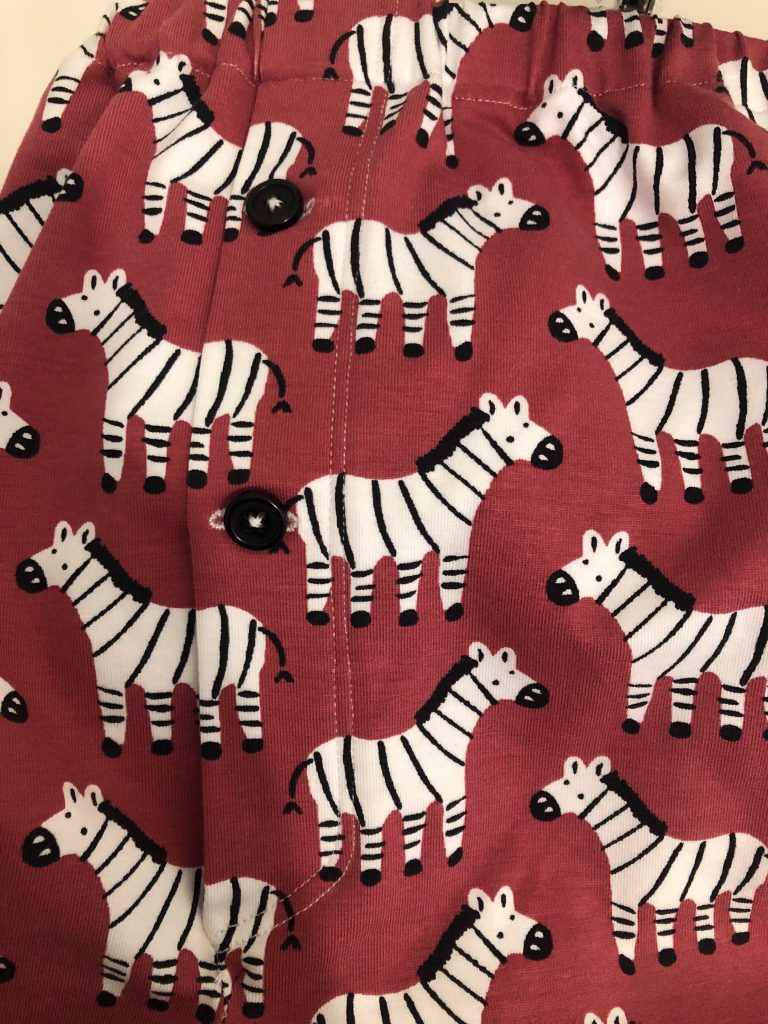
Zebra fabric boxer shorts.
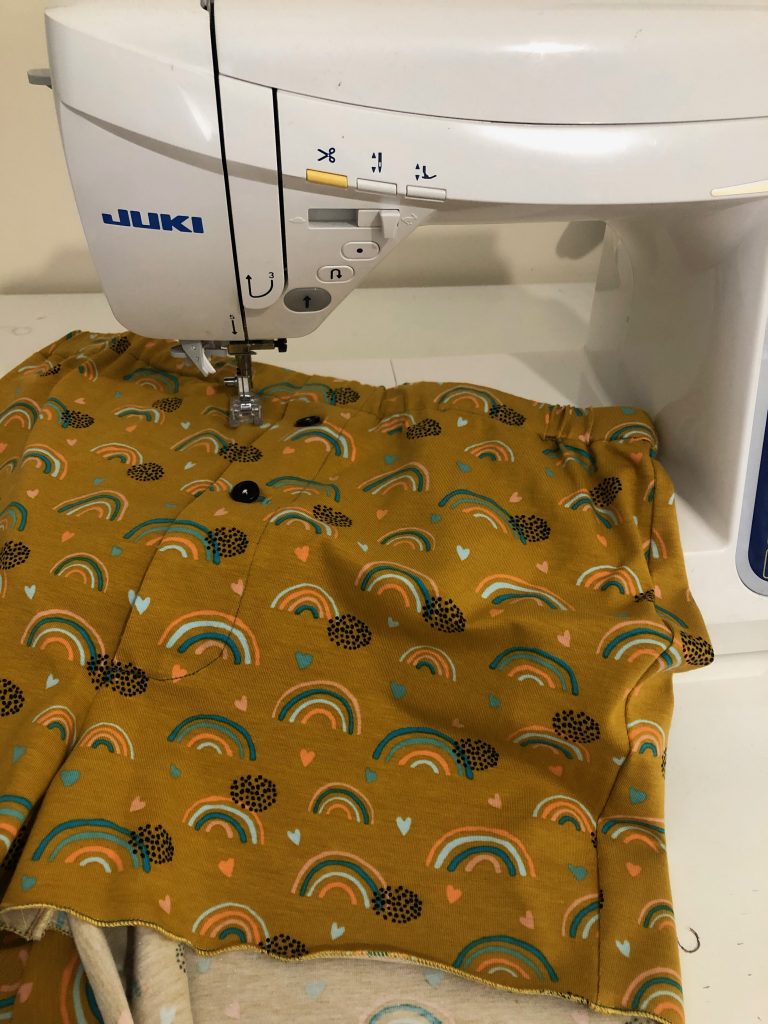
The zebra was up first, I went for a mock fly with double stitching, as it gave me the security of getting the print matching and stable. I was able to re-purpose the perfect buttons from an old shirt in the back of my wardrobe.
My main challenge was to work on the pattern matching of the zebra. If I do say so myself, I may have done a little happy dance once I saw how well it went!
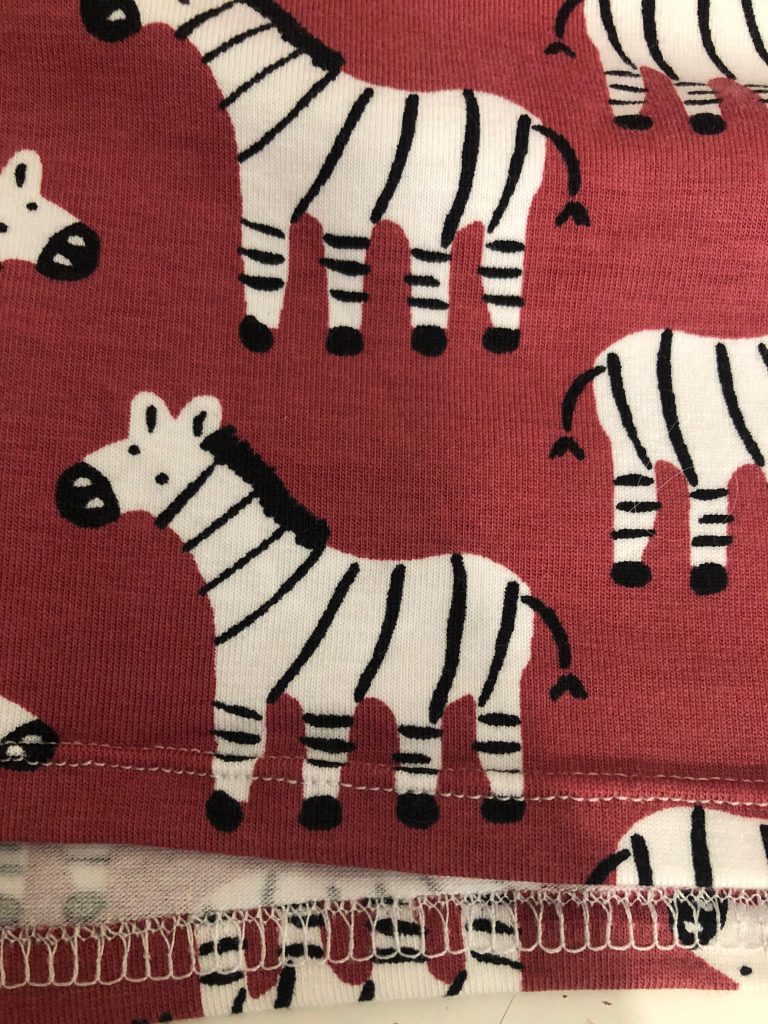
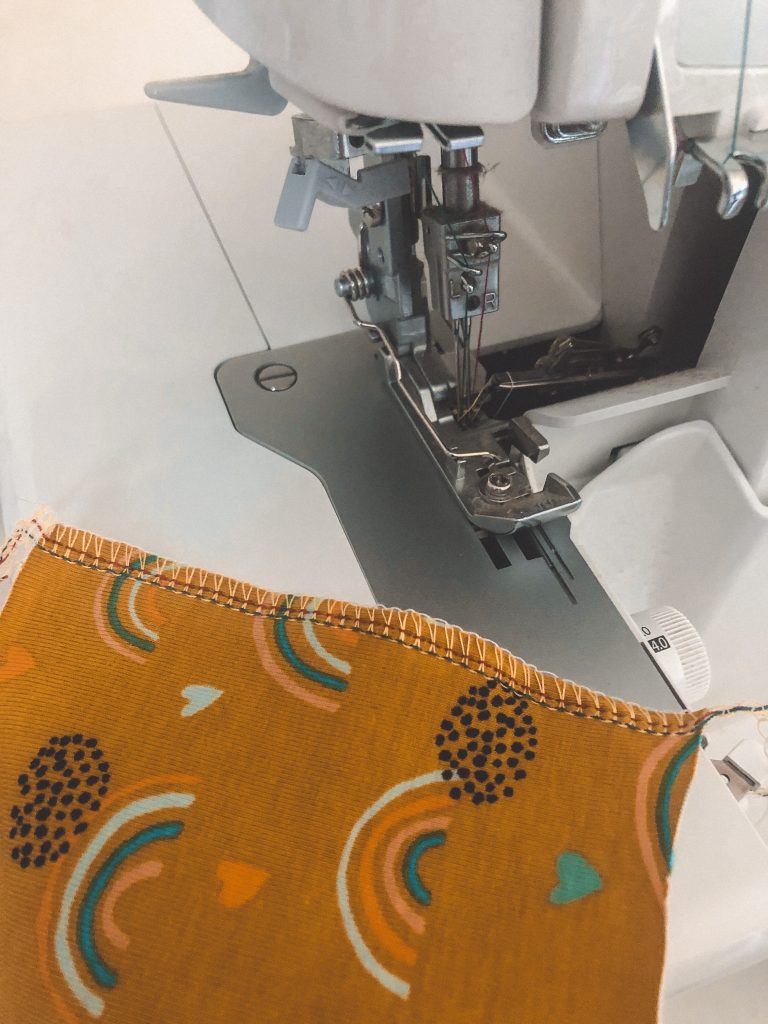
When I got to the hem I went for the safe option. To get a classic stretch finish, without the use of a cover stitch machine, I overlocked the edges with the Juki MO 2000. Then I used a twin needle on the DX7 and just did a straight stitch, giving it a neat finish.
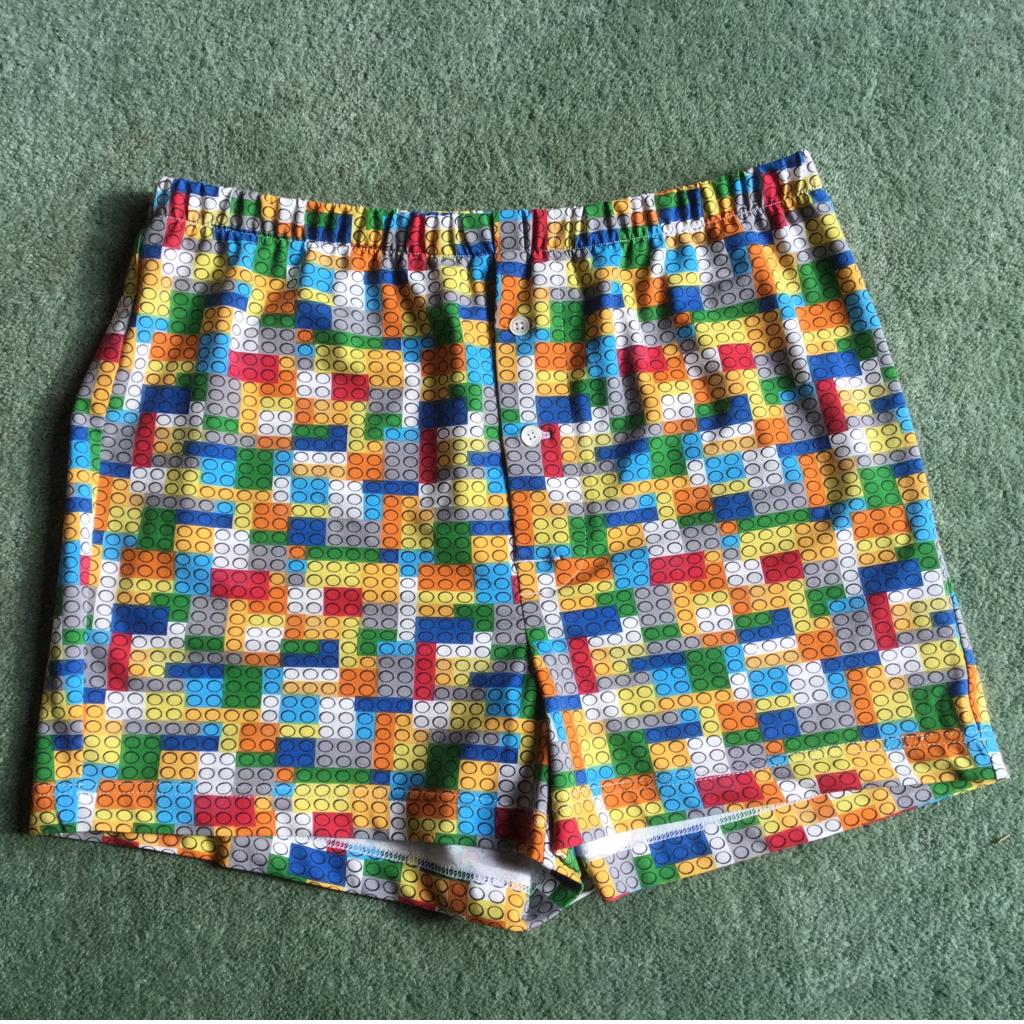
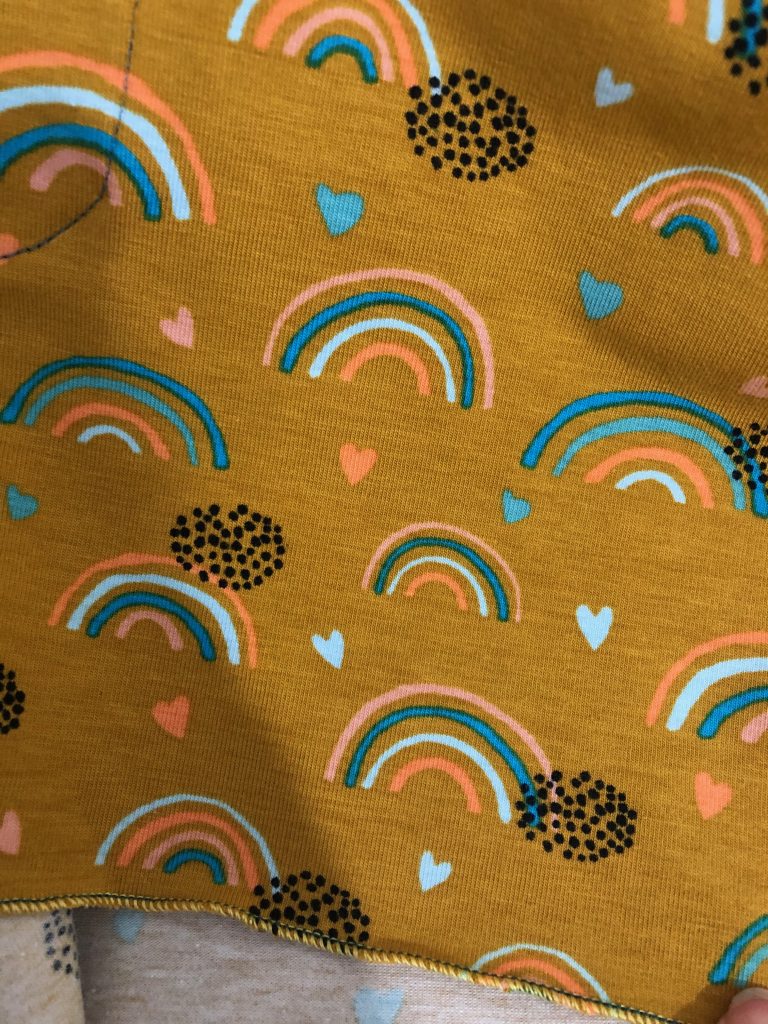
The Rainbow boxers
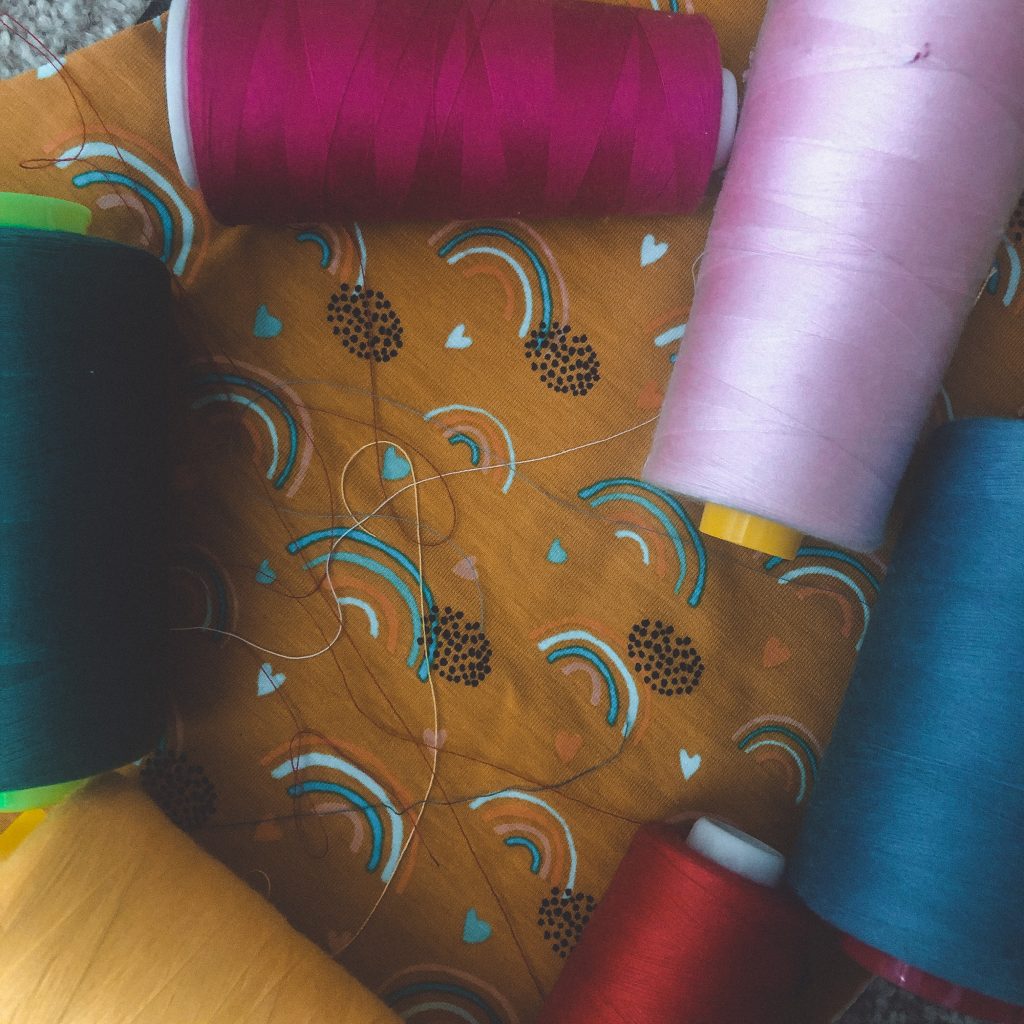
On to pair number two. I love the colours on this rainbow fabric so I thought that I’d have some fun with the thread. Instead of plain white, I went for something a little more adventurous. It’s always a good idea to audition the thread off the cone directly against the fabric.
Overlocking the edges
I finally narrowed it down to four different colours for the overlocker and a different one for the DX7. Threading the MO 2000 overlocker is a breeze! So it was fun to put the threads in different positions and see how the stitch turned out.
Making the button holes
I thought it would be fun to test out different button hole shapes to see what else I could use. Did you know the DX7 has 16 different buttonholes! I was spoiled for choice. In the end, I stayed with the classic square button hole. I guess you can’t beat a classic. The button hole attachment is amazing! It’s easy to use and gives a professional finish.
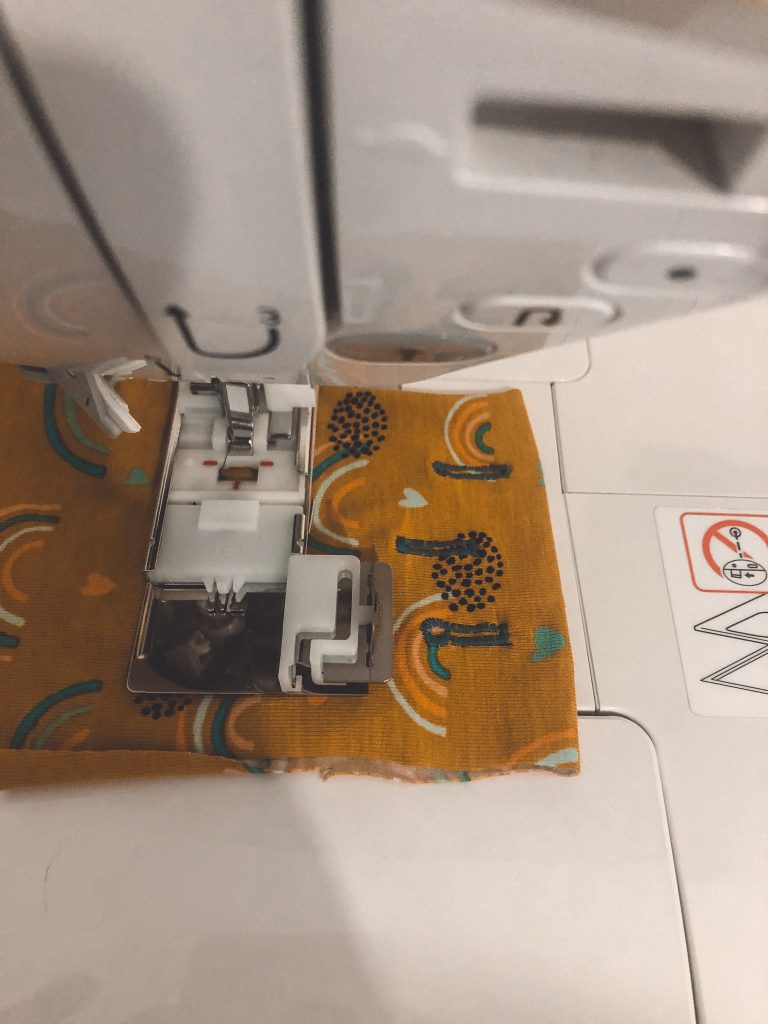
The Buttonhole attachment on the Juki DX7
To do the elastic on both I tried out a technique Mercedes taught me! I was so excited to try this as it made so much sense and made the waistband so much smoother! Mercedes will show us her technique later in the post.
Finishing with a rolled hem
To finish off, I thought I’d try a rolled hem. Rolled hems have always scared me a little as there is usually a lot to change on an overlocker to create a rolled hem. Big surprise! The MO 2000 overlocker is so easy that even a beginner could do it. The digital display walks you through the settings. I got YouTube up as a back-up but never needed it. Reading the screen told me everything I needed to know. I made a perfect rolled hem!
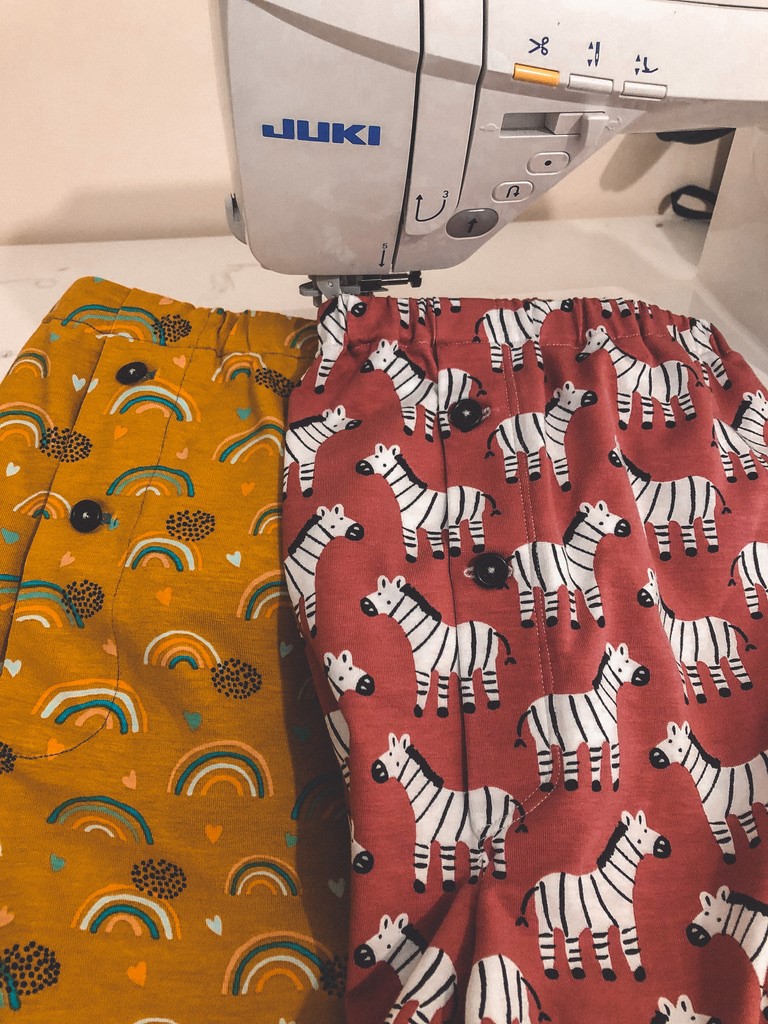
Suzie’s boxer shorts – variations on a theme
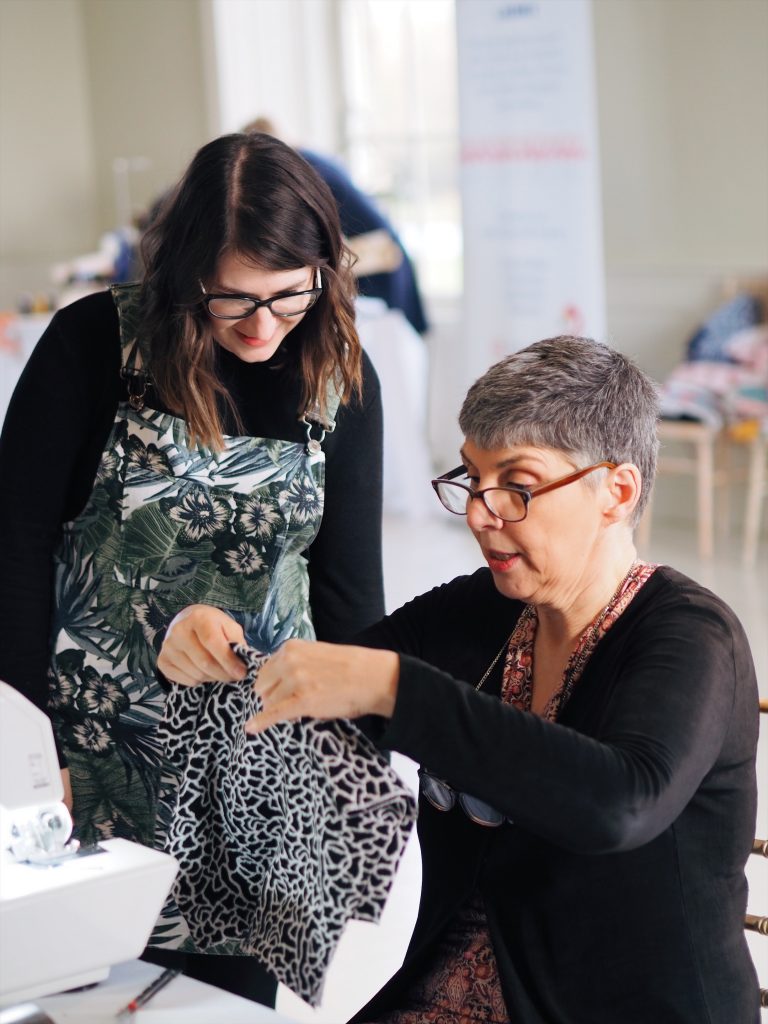
Ta-Da, that’s it. Two pairs of boxer shorts with variations. Now we move on to Mercedes. She’s always up for a challenge especially with jersey. Mercedes is going to share some tips about adding an elasticated waistband. Suzie found these tips super useful while she was sewing her boxer shorts and we hope you will too.
Mercedes’ boxer shorts
Having made knickers for her daughter, Mercedes thought that it was only fair to venture into the world of sewing boxer shorts for her son. We’re going to get the lowdown on how to sew an elasticated waistband with an overlocker.
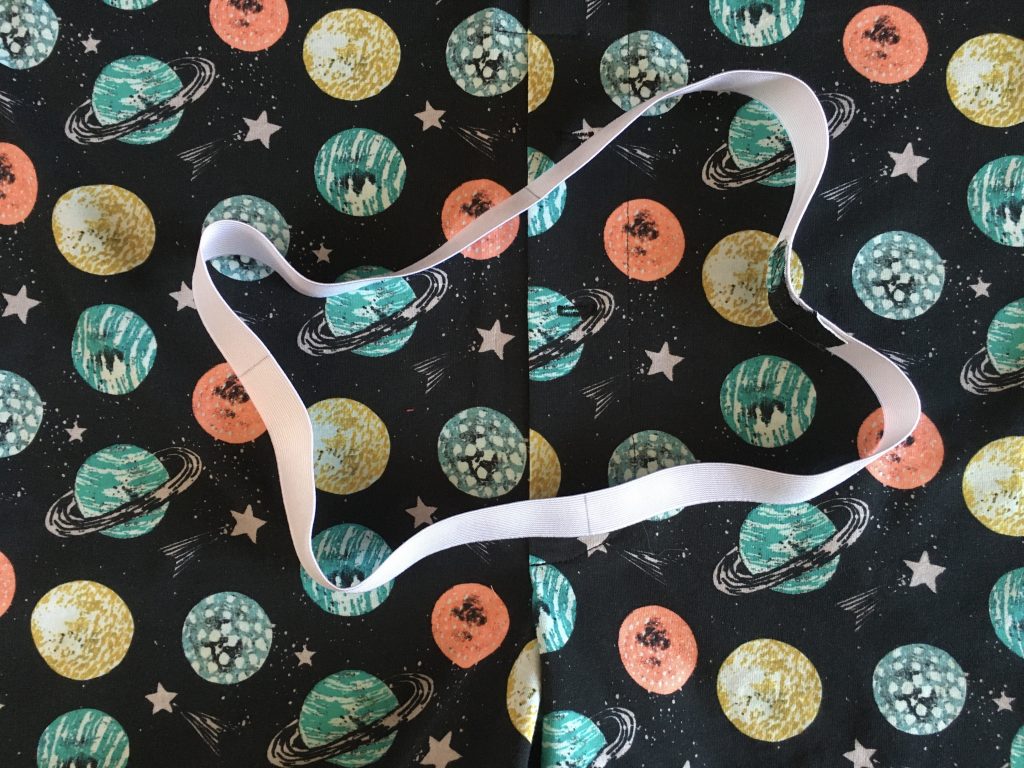
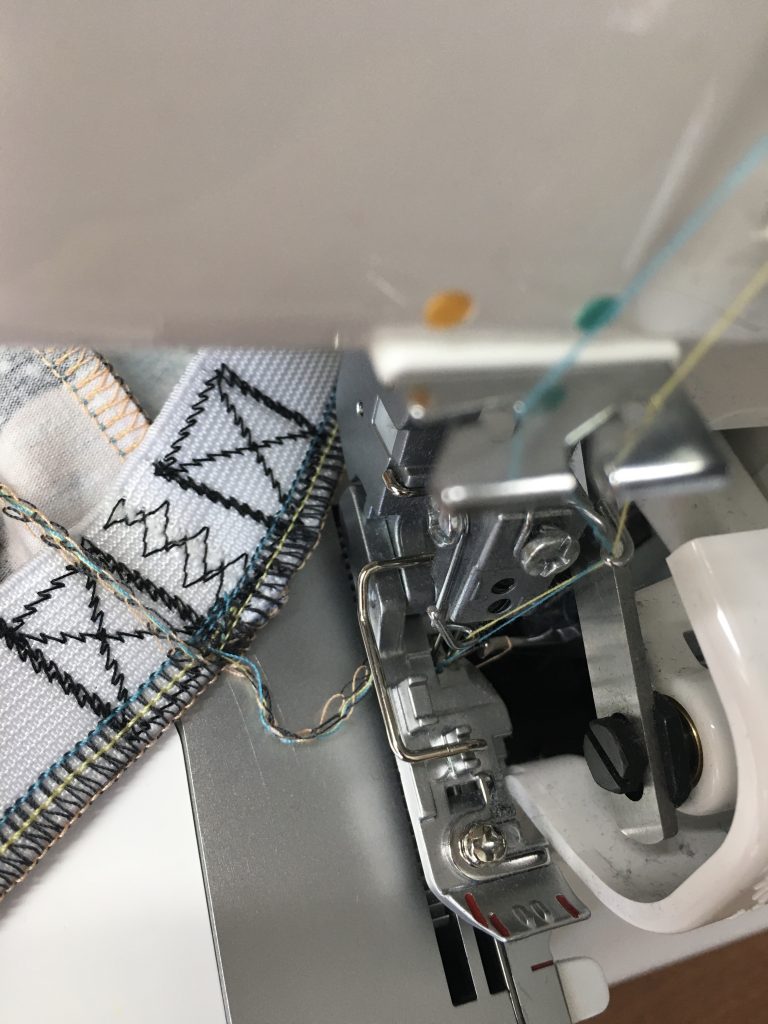
You might think there isn’t much to an elasticated waist but there are a couple of tricks to maximise comfort and stop the elastic folding or twisting inside the casing. In the method below I use my Juki MO-654DE overlocker to attach the elastic to the top edge of the garment, which will then be folded over to create the casing with elastic already inside and evenly sewn in place. This gives you a polished and professional finish with minimal bulk, always important at the waist!
Joining the elastic
Notice the marking of the quarter points of the elastic.
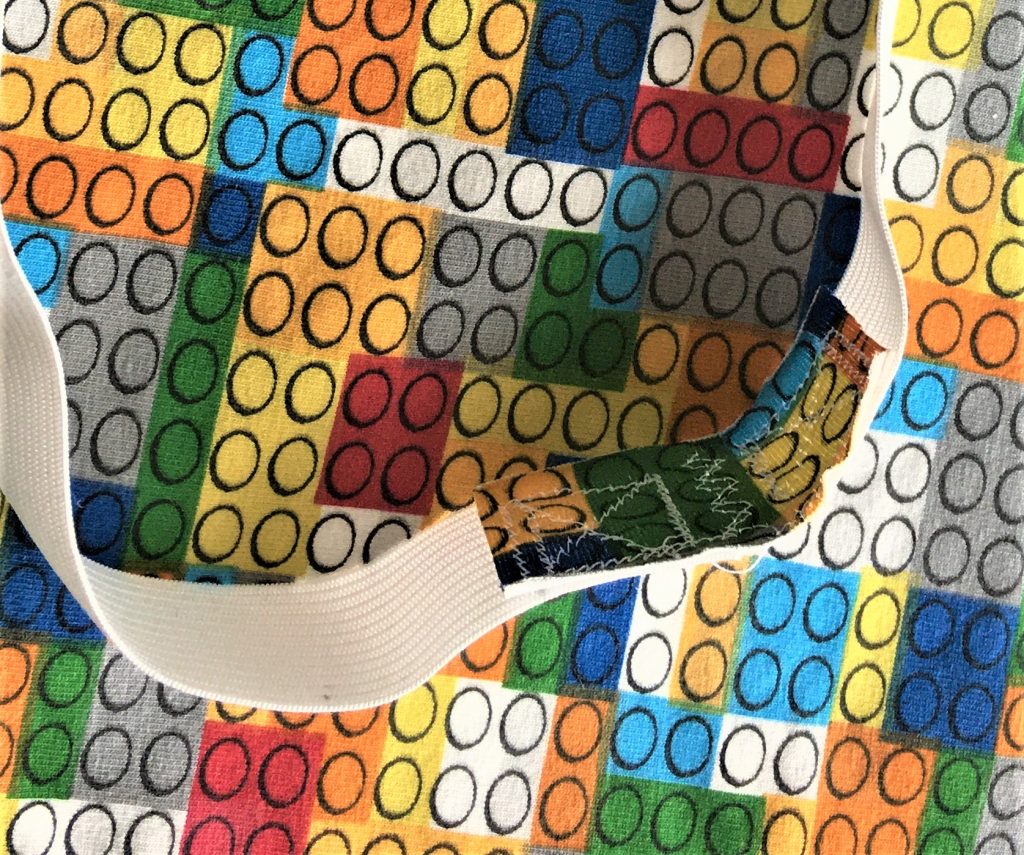
a close up of the jersey on the back of the elastic join
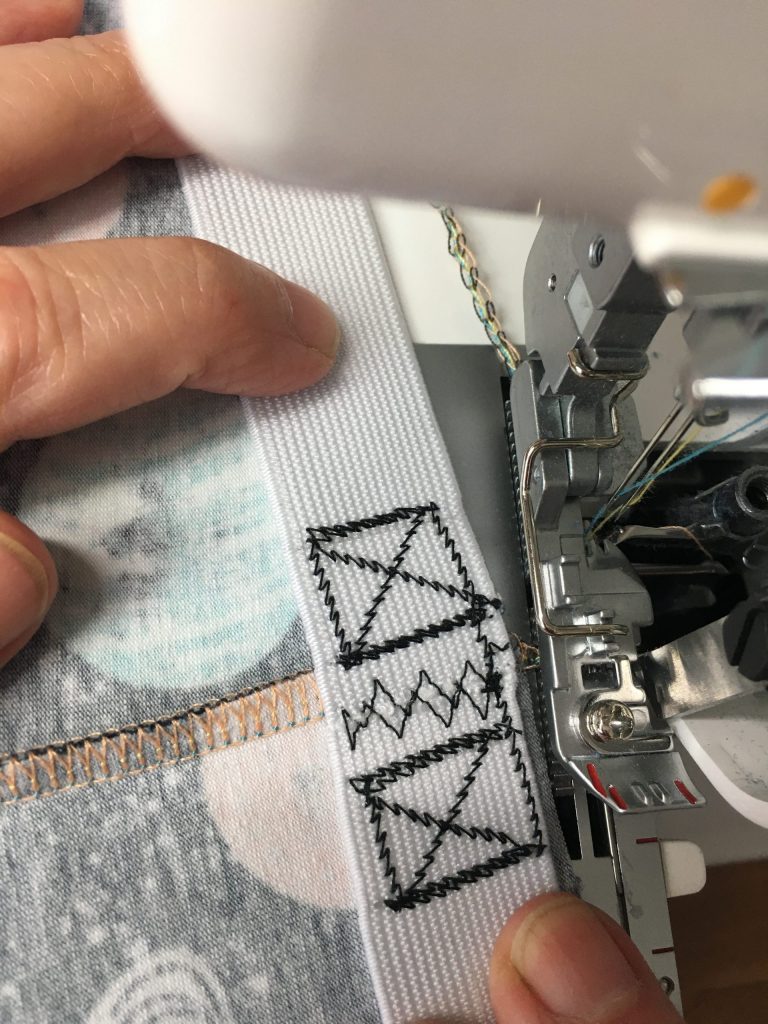
Instead of overlapping the elastic, join it with a piece of jersey. I use a little piece of the same jersey I’m using for the garment. This gives you a stretchy seam and reduces bulk. I butt the edges of the elastic together over the jersey, zigzag the join with a wide stitch to keep it flat, and secure each side of the elastic to the jersey with a box and cross in a small zigzag.
Mark the quarter points of the elastic. You can do this with pencil or chalk, so there’s no prospect of leaving a pin in place. The quarter points of the boxers are the 4 seams at front, back and sides.
Stitching the elastic to the boxers
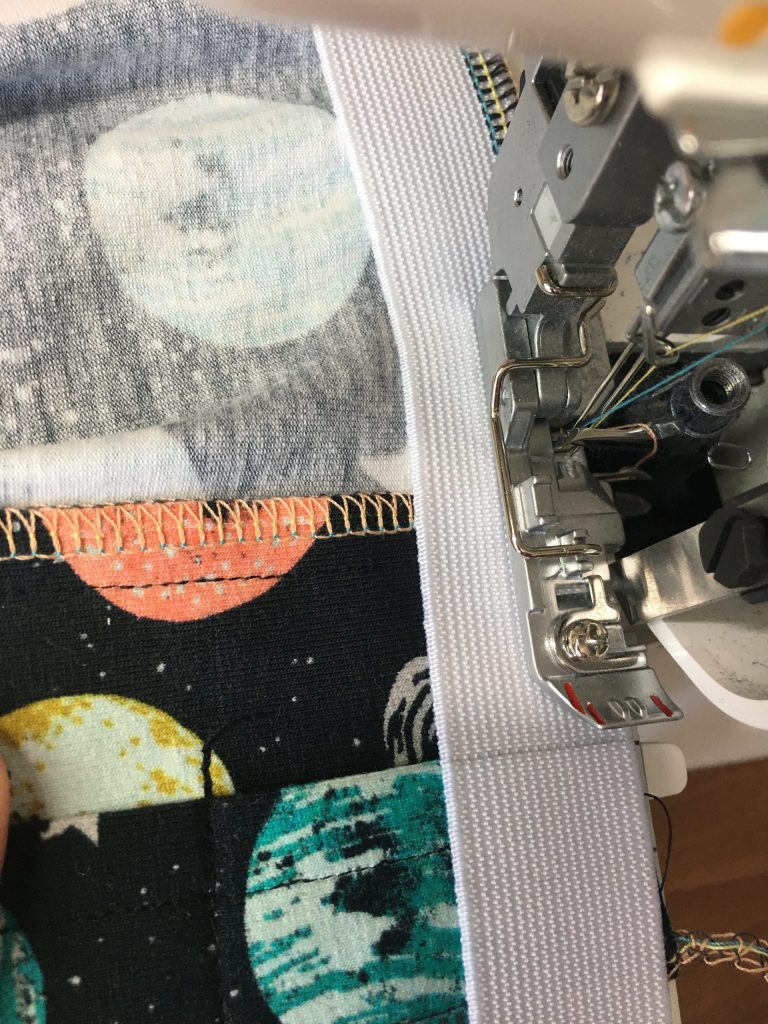
Position the seam of the elastic at the back seam of the garment, wrong side facing. Place the back seam under the presser foot of your overlocker, and put the needle down. Now pull the fabric from both sides to gently stretch the elastic for the first few stitches, to avoid a “flat” spot where the elastic isn’t stretched.
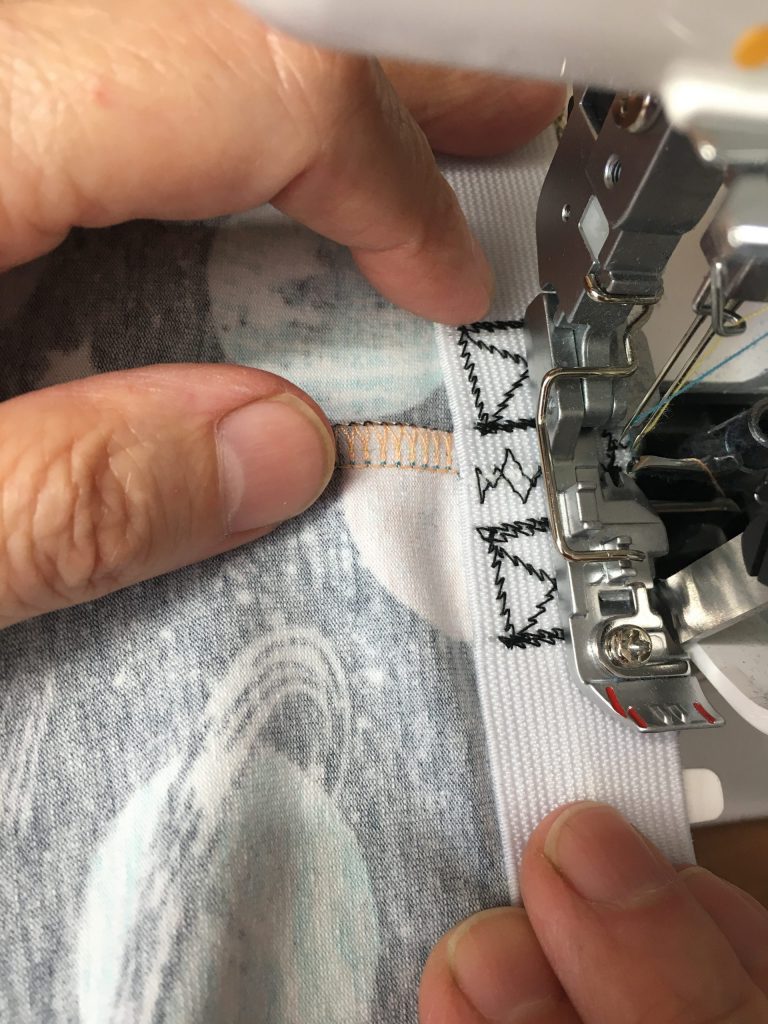
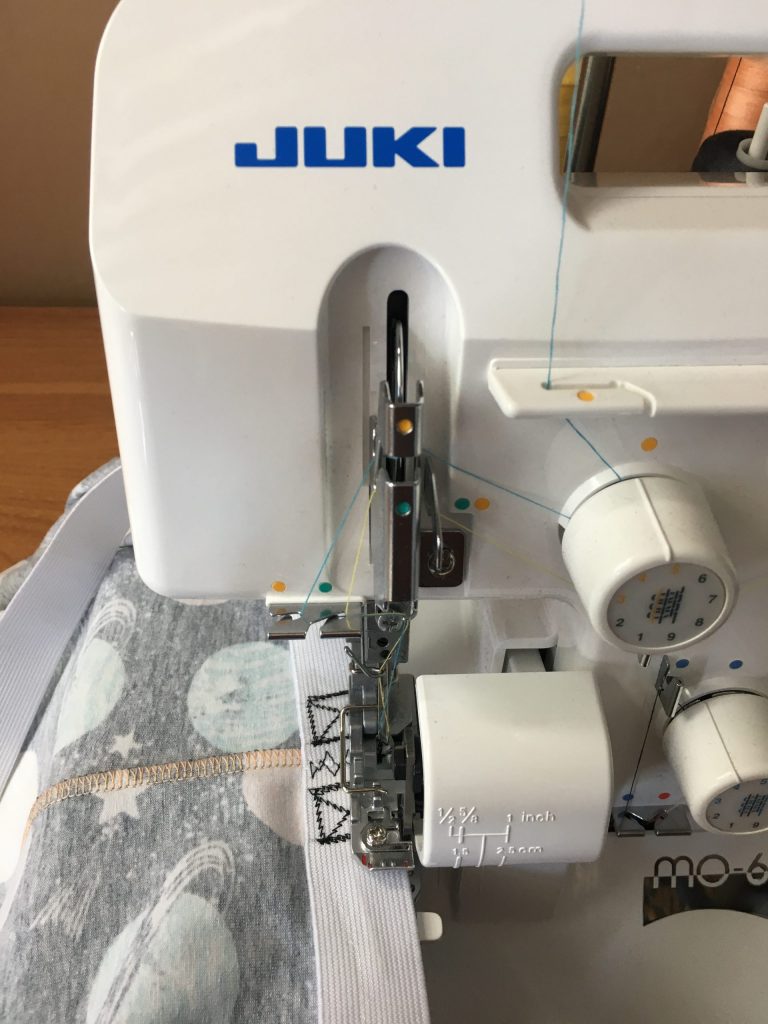
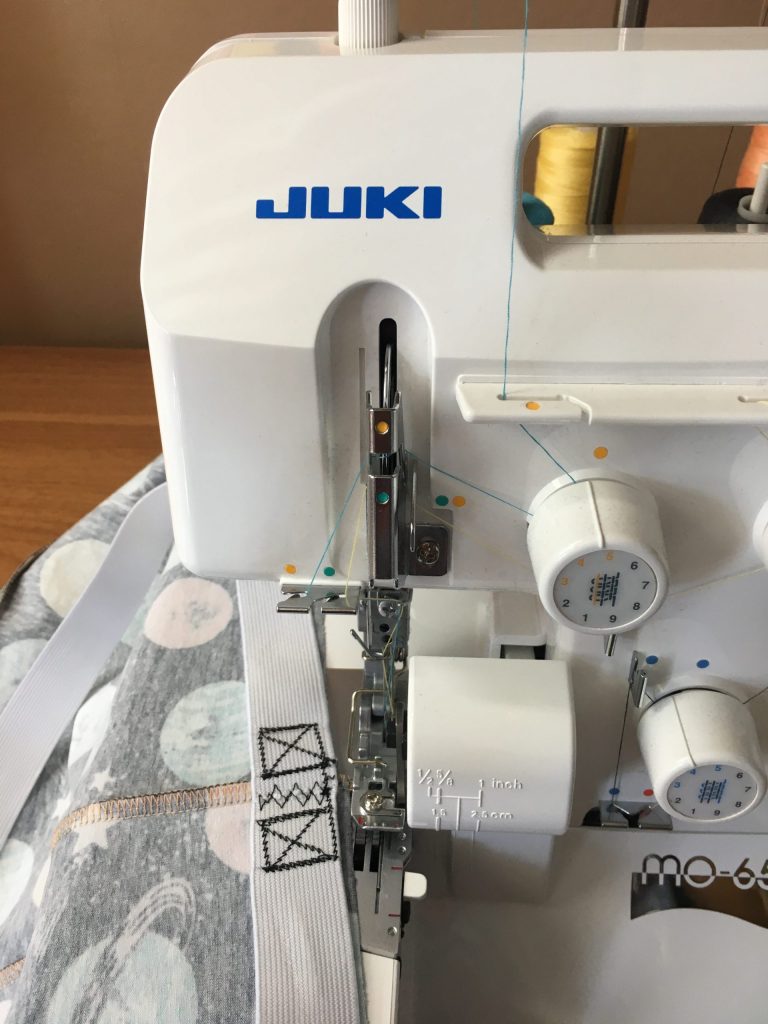
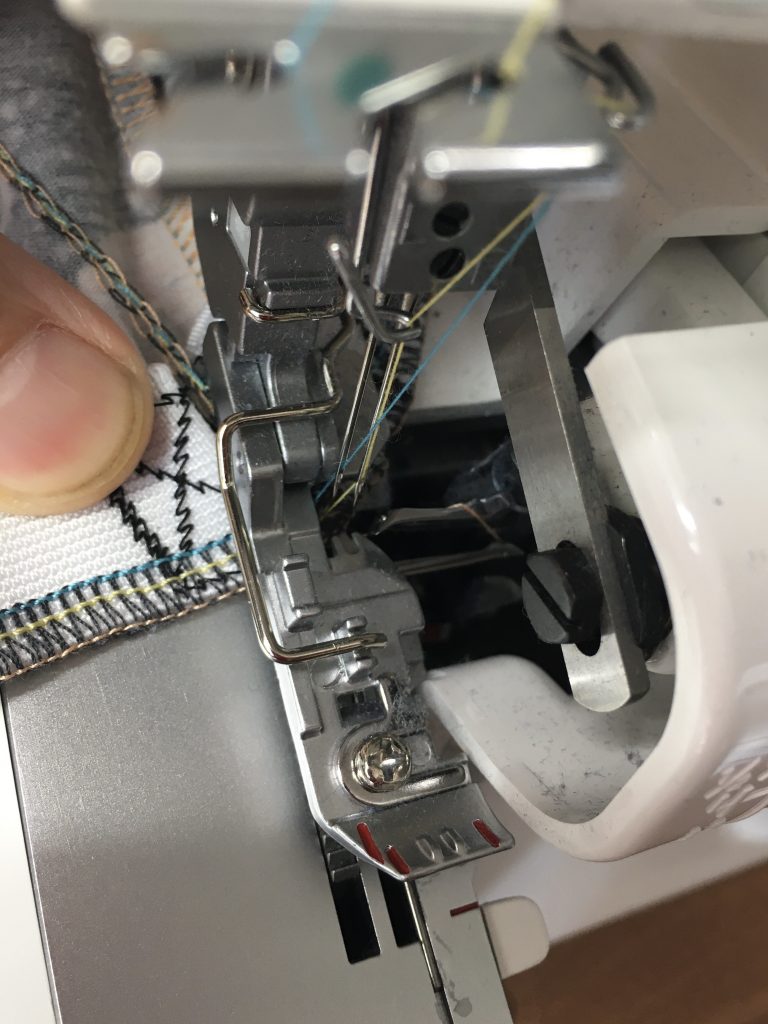
Once the elastic is anchored by those first few stitches, you can align on the first quarter mark on both elastic and garment. Take it slowly so you can keep the top edges of the elastic and garment together as well, making sure you don’t cut the edge of the elastic. The Juki MO-654DE has markings on the plate to show you the position of the cutting blade which helps enormously.
Using the markings on the overlocker
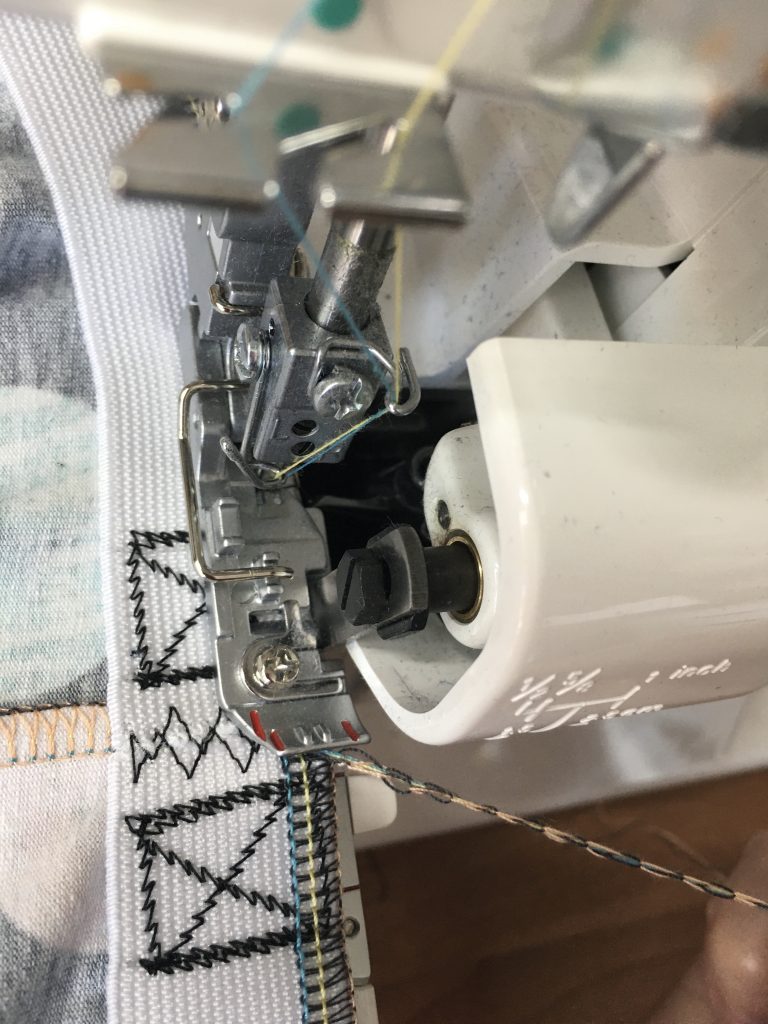
I have tried this without using the blade but any excess fabric beyond the elastic gets folded over adding bulk to the top edge. But if you do cut the edge of the elastic by mistake it’s no biggy because the overlocking stitches will keep everything in place anyway.
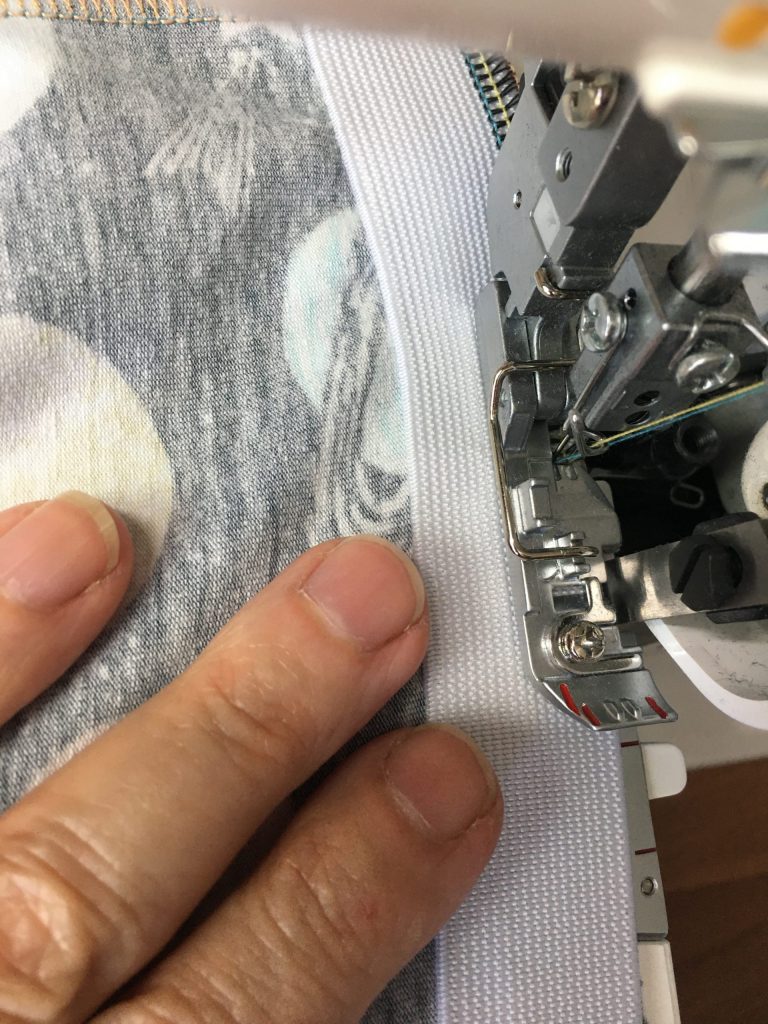
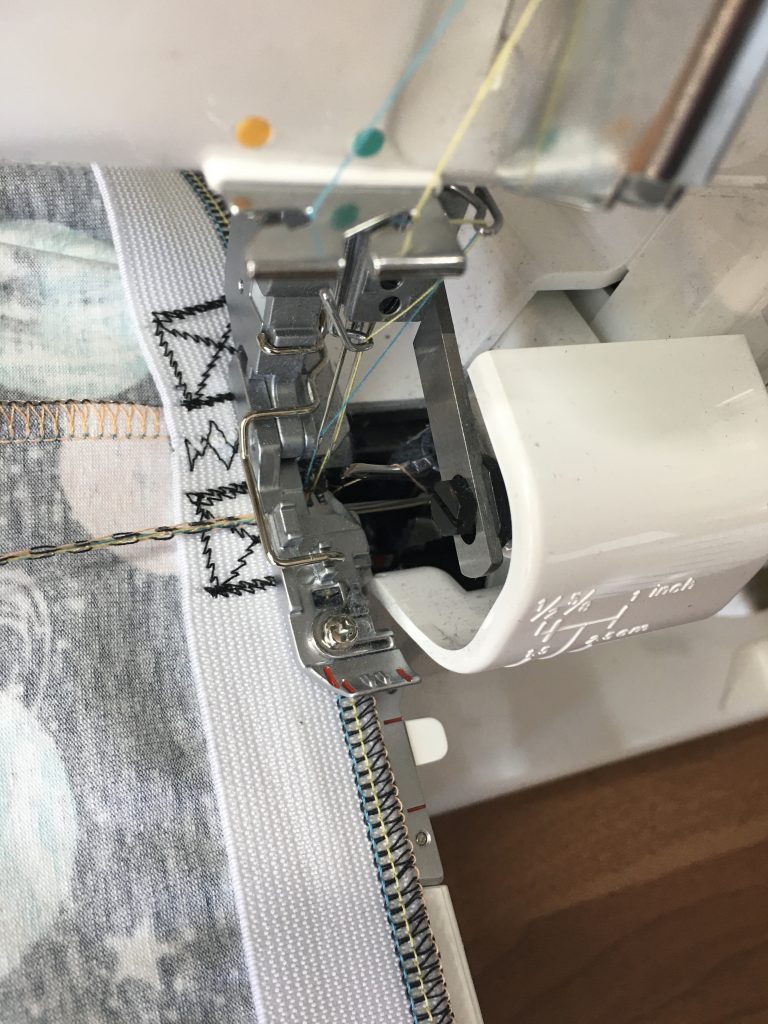
Carry on stitching, matching the quarter points, until you reach the back seam again. At this point I usually hand-crank the machine to meet the starting point, then disengage the blade. Line up the starting tail of your overlocking over the original stitching, then go over your original stitches for about 2cm. This hides the starting tail.
The finish
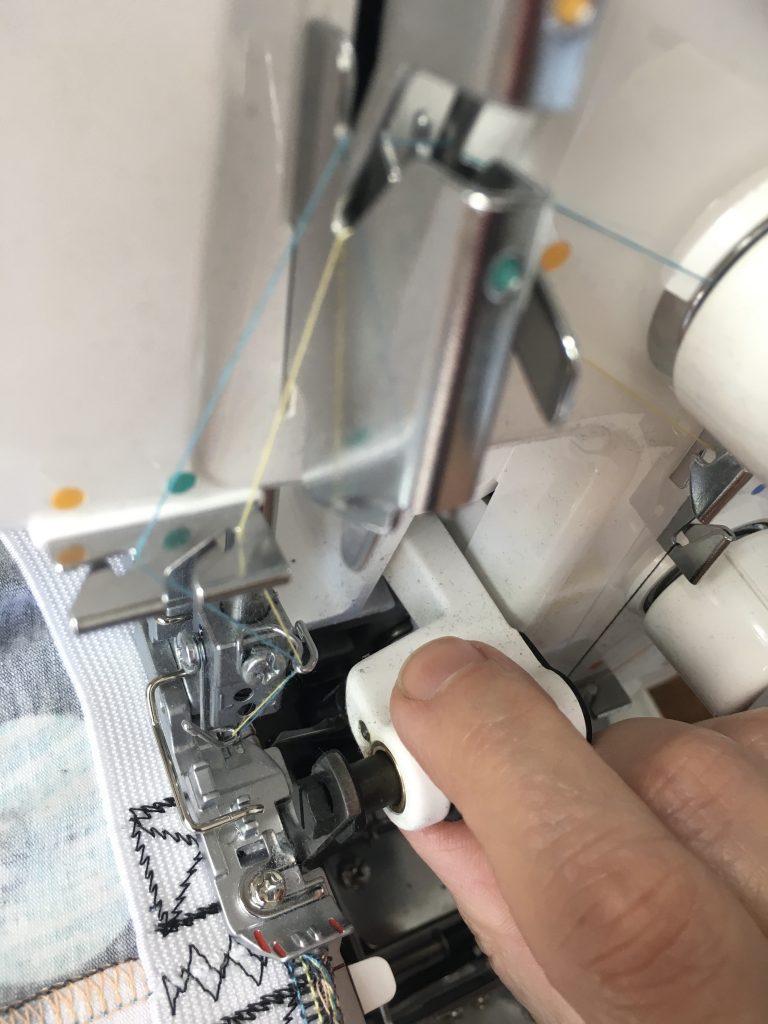
On the Juki MO-654DE, you only need to open the right hand door to disengage the blade, so you can do this easily with the garment in place on the machine.
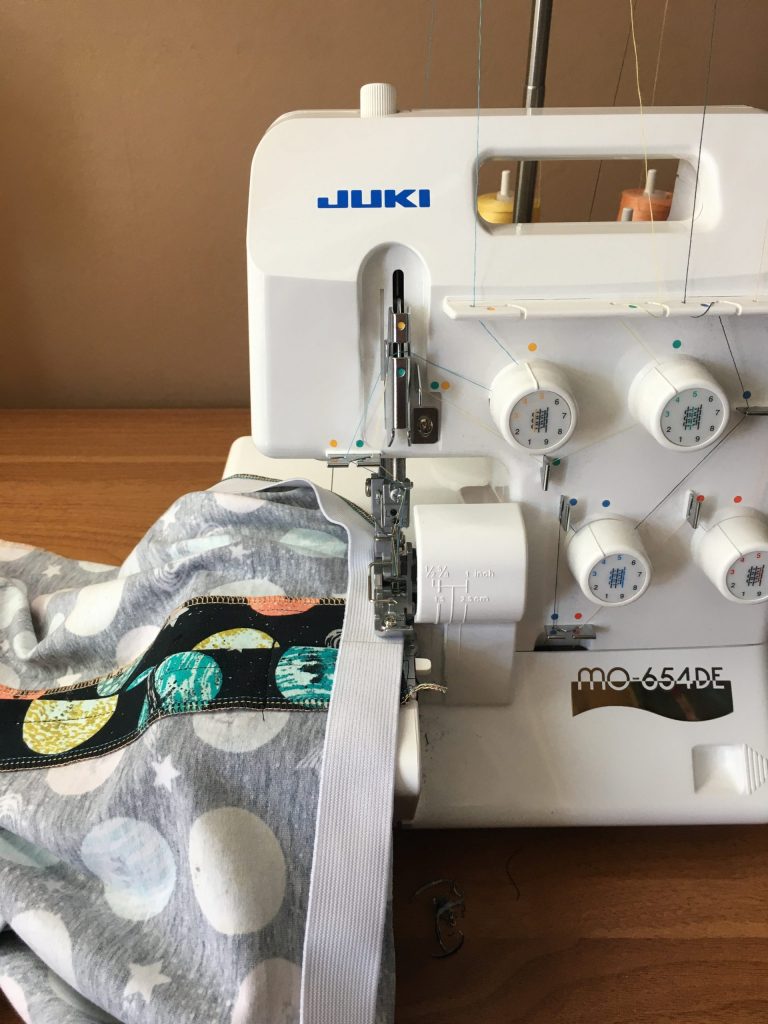
sewing boxer shorts on the Juki 654 overlocker
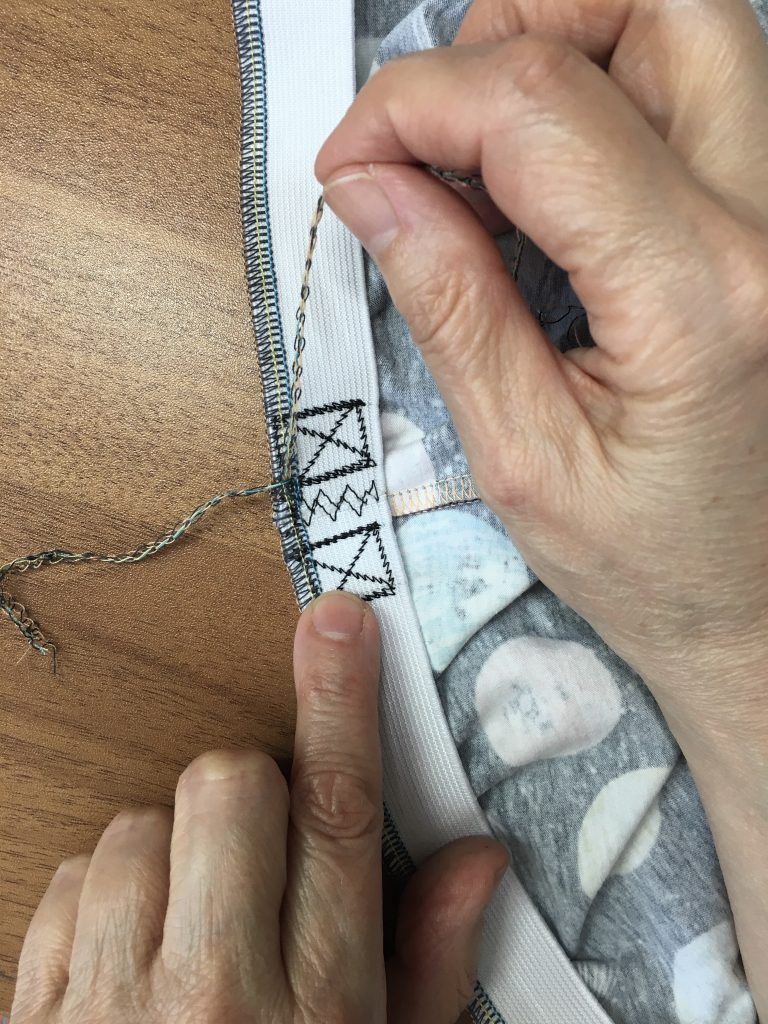
To finish the overlocking, I loosen the garment from the overlocker by lifting the presser foot and gently pulling the garment to the back of the machine, which allows me to turn it out of the way of the needles. Then I put the presser foot back down and overlock off to create my finishing tail. I thread that through the stitching later for neatness.
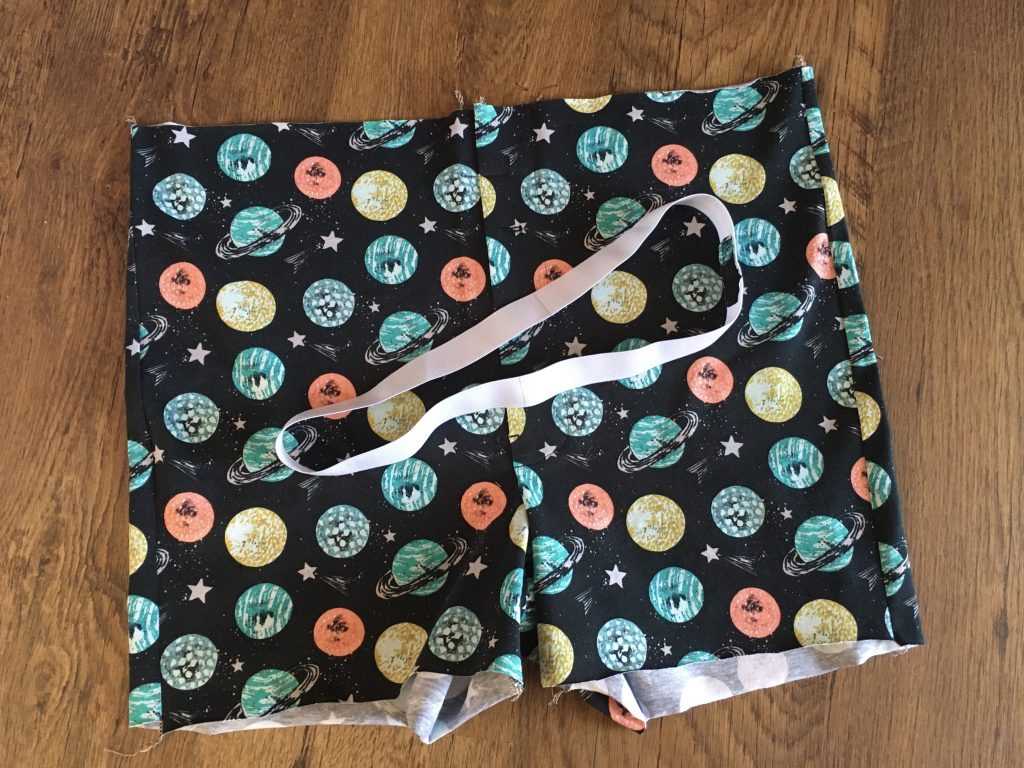
Now the garment is ready for the next step, to turn the elastic to the inside and stitching the casing down with your regular machine to hide it.
Love these pretty threads in the overlocker
The boxers turned out great! Thanks for these tips on sewing boxer shorts, Mercedes. It’s great to see what an overlocker looks like in the hands of an expert. We’ll certainly be able to put your tips on making an elasticated waistband to good use in lots of our summer sewing projects.
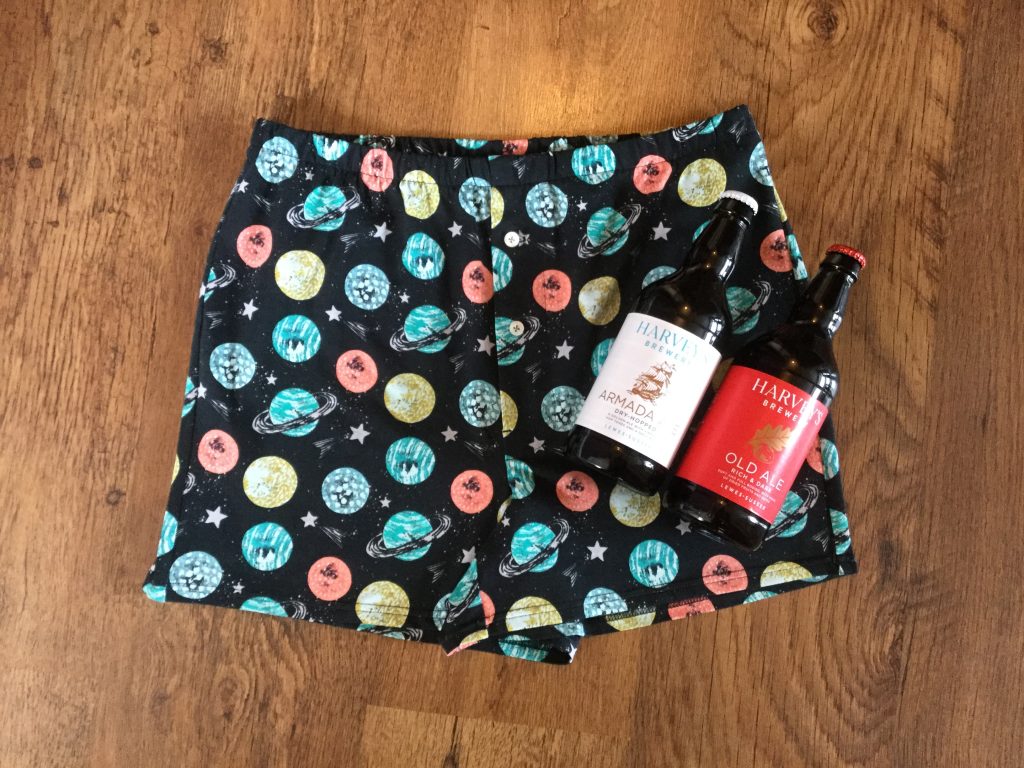
Mercedes’ finished boxer shorts
Boxer Shorts patterns
Fancy giving the boxers shorts a try? Mercedes purchased this pattern from Lekala you can read about the pattern and purchase it here. If you do a bit of googling you can find lots of free downloadable patterns too.