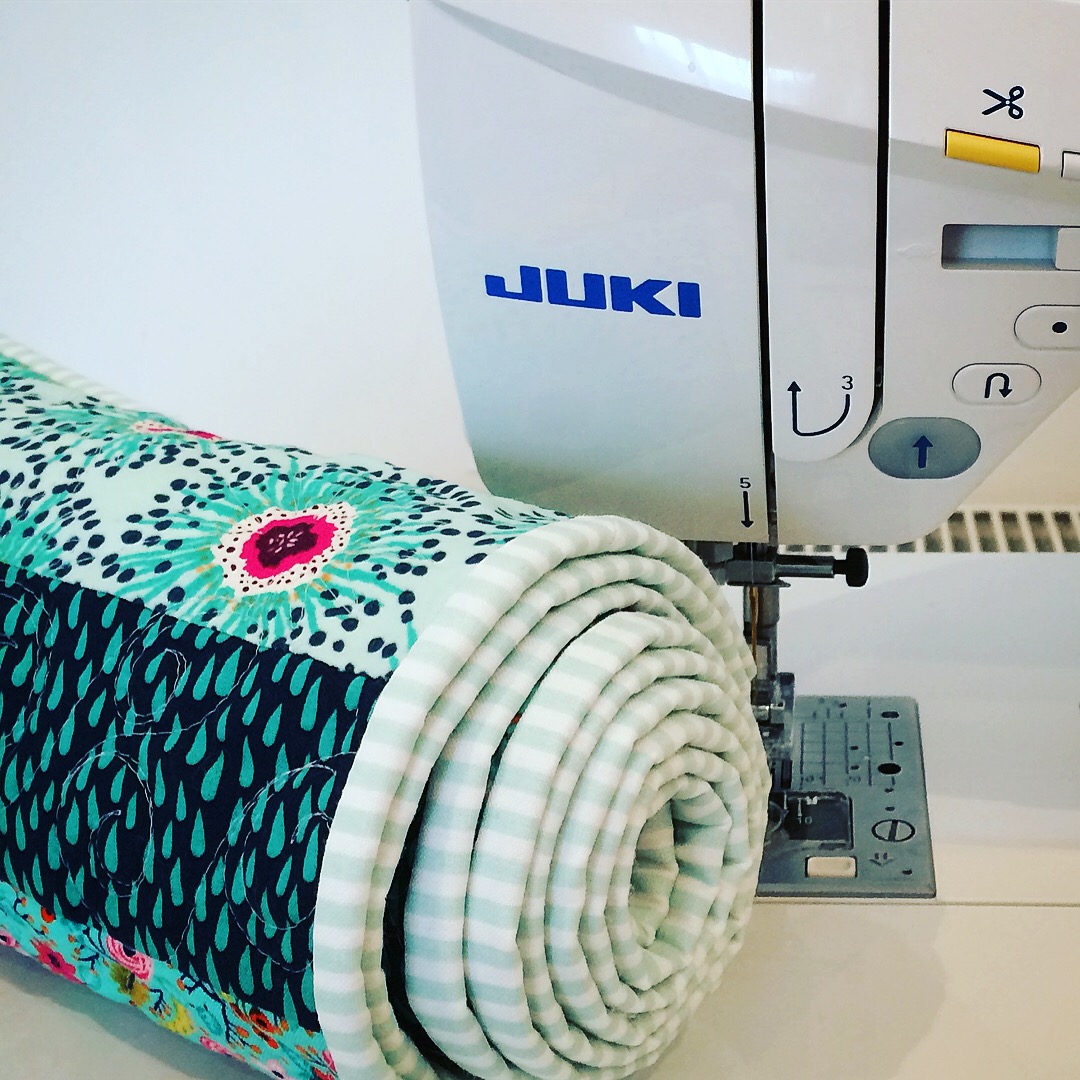
While making this quick ribbon garland, I was really eager to try out a fun feature on the Juki DX7. You can set it to stitch without the foot pedal. WOW! No feet!
If you unplug the foot pedal lead, you can use a button at the front of the machine to start and stop stitching and then control the speed using the tortoise and hare slider. I decided to try out this feature making a simple ribbon garland for my children’s birthday party.
I have a boy and a girl 6 and 4 and we decided to have a joint summer birthday party with their school friends before school broke up for the holidays. We planned to fill the garden with toys and light our pizza oven and make the most of this gorgeous sunny weather.
Having brought some bunting and pinwheel decorations off the internet, I wanted to make a quick ribbon garland of my own to create a little fun on their play tower.


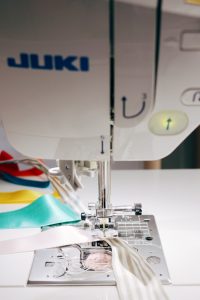
This meant that that I simply pressed the go button on the front of the DX7 which then ran over the one coloured ribbon in between the binding. I stopped it as soon as it went over the ribbon end, before inserting the next. It was very stop-and-go but having the setting on the turtle meaning the slowest setting it made it really easy. Happily, it only too me 15 minutes to sew it all together.
For my part, I enjoyed putting a new feature on my Juki DX7 to good use. As you can see, the visual result is fantastic and as a party decoration, it fit in perfectly. This quick ribbon garland turned out just like I wanted. And yes, the kids loved it! Find out more on Emily’s lifestyle blog: Brick Dust and Glitter

Ribbon Garland created on the Juki DX7 without the foot pedal!