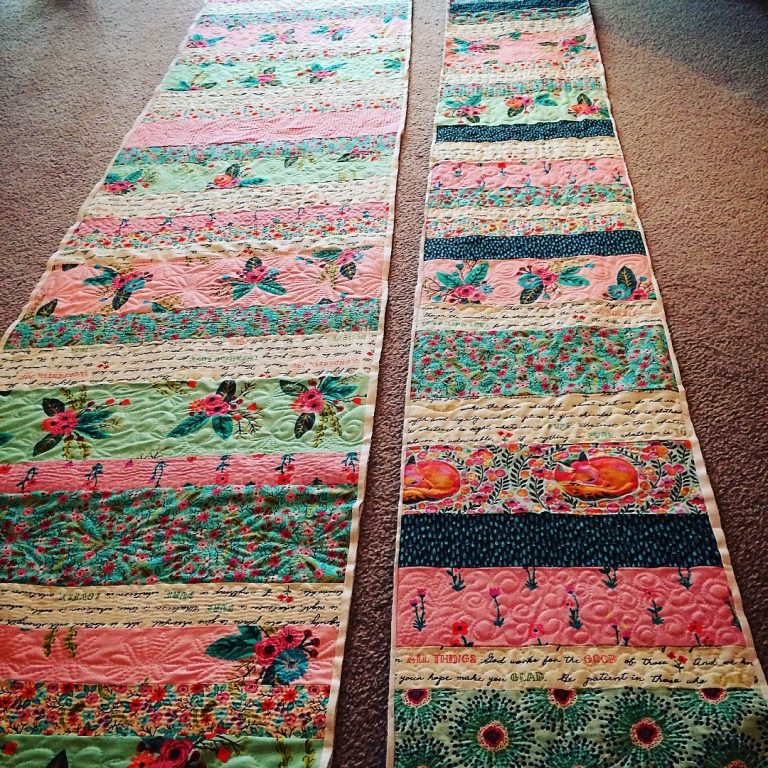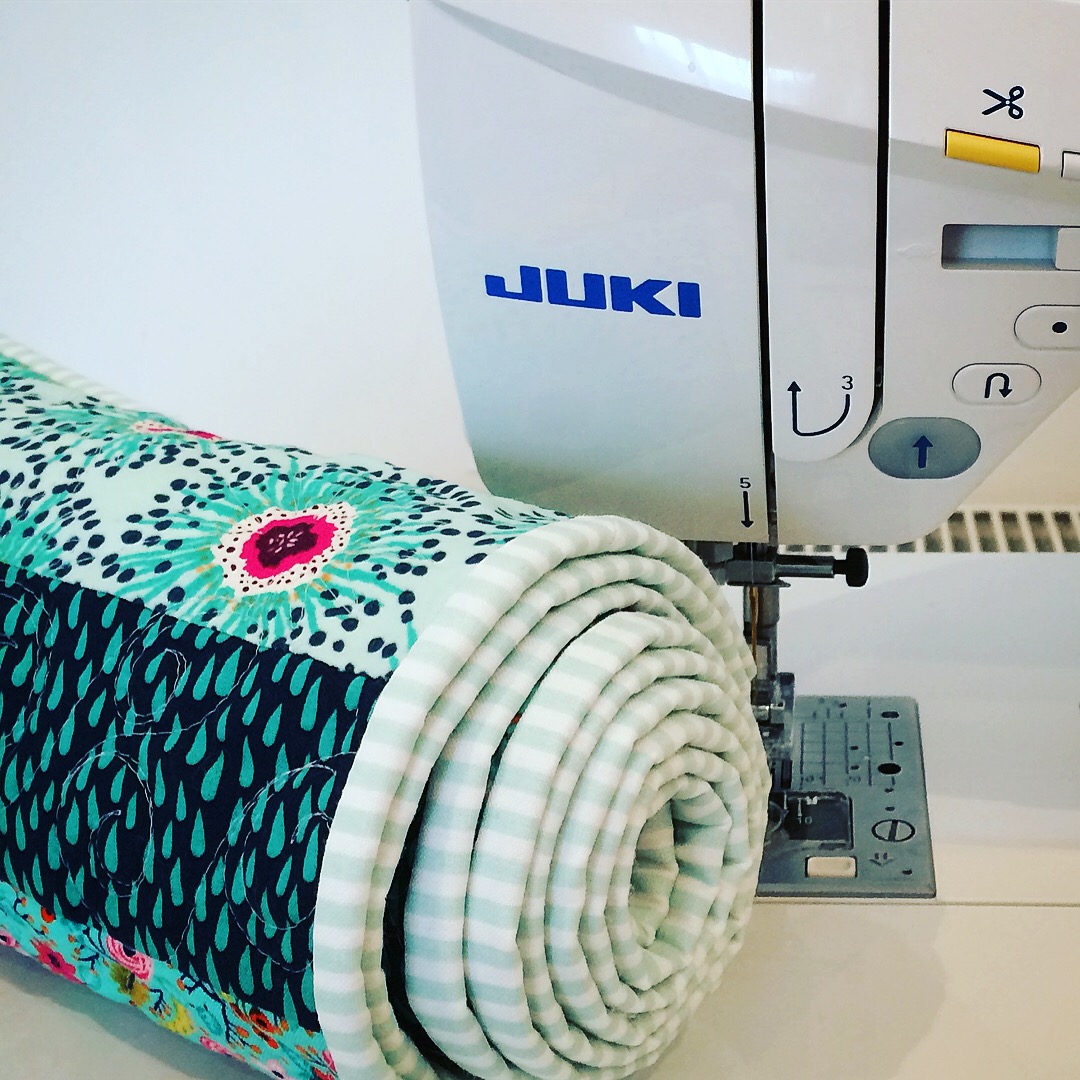

Practice new line designs on a stripy table runner! When you’re learning something new, start small and simple. This easy-to-piece stripy table runner creates an ideal canvas to practice new line designs. The easier something is to piece, the more adventurous you’ll be when it comes to the quilting. The strips are simple to cut and piece. Best of all, when it comes to the quilting, the strips give a designated space to work in.
Strippy Table Runner Recipe:
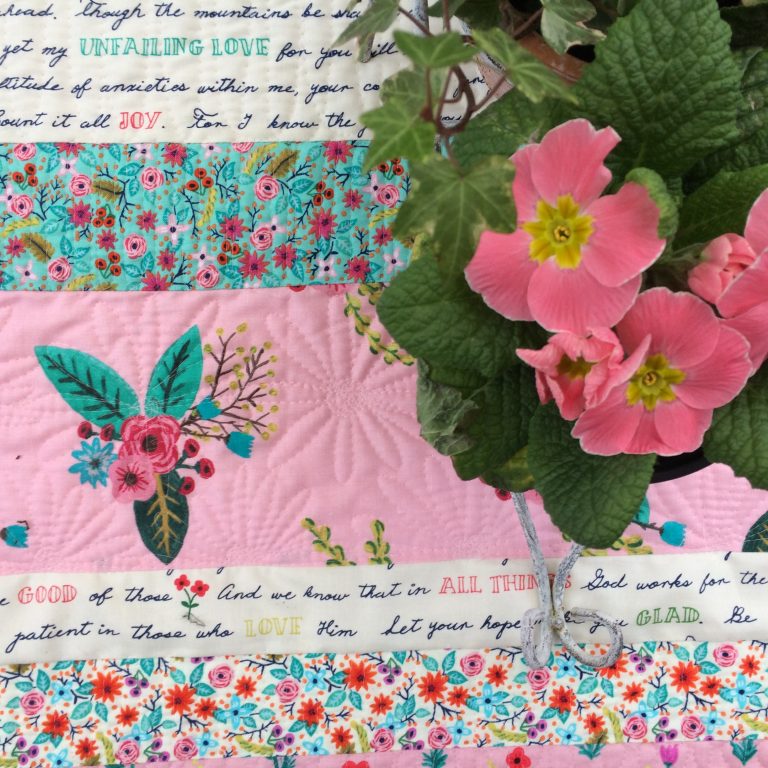
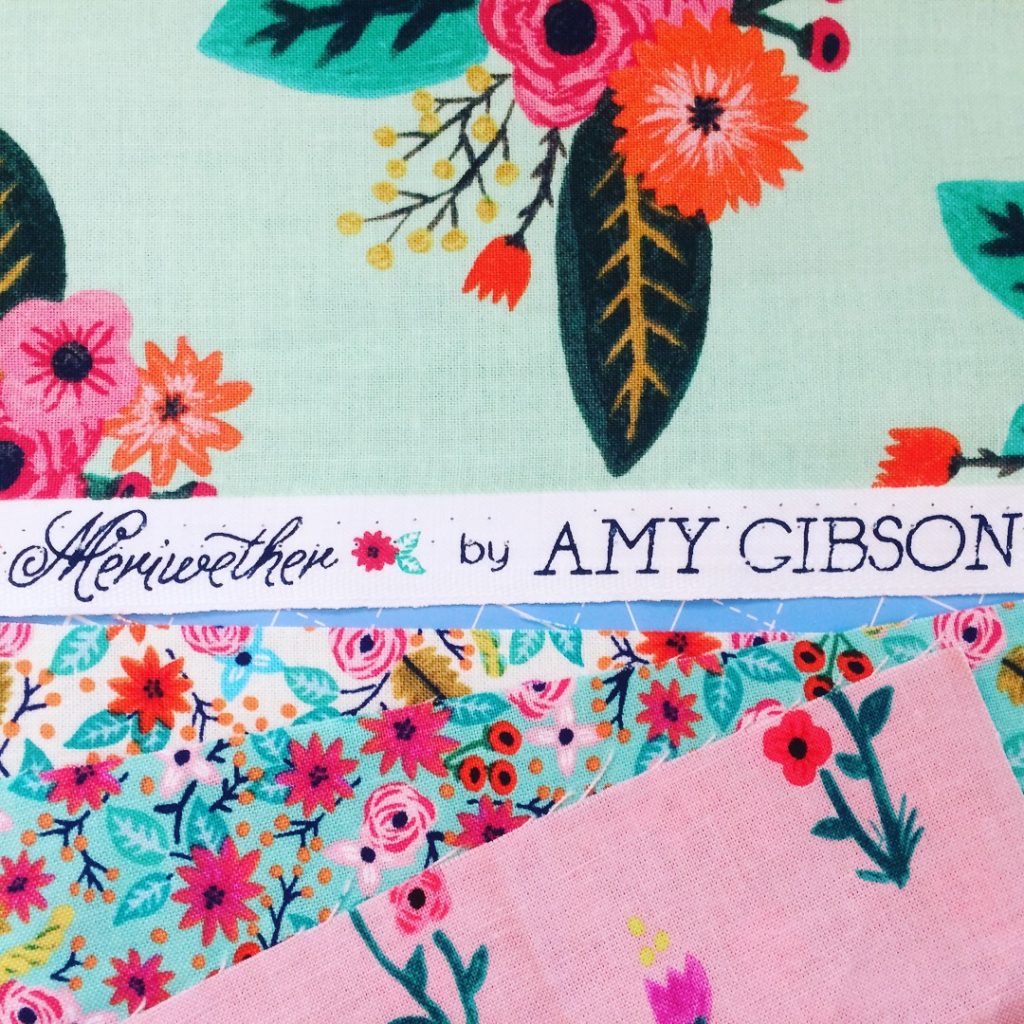 Choose some fun fabric. I’ve gone for these pretty florals from Meriwether by Amy Gibson for Windham Fabrics. Then added some complimentary fabrics from my stash.
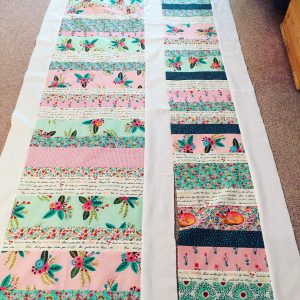
Cut them into strips of varied widths and sew together. I think that the varied widths add some interest to the project. When it comes to the quilting, you’ll get to play with different sized line designs.
Make two (or more). It’s just as easy to make multiple runners and quilt them side by side at the same time.

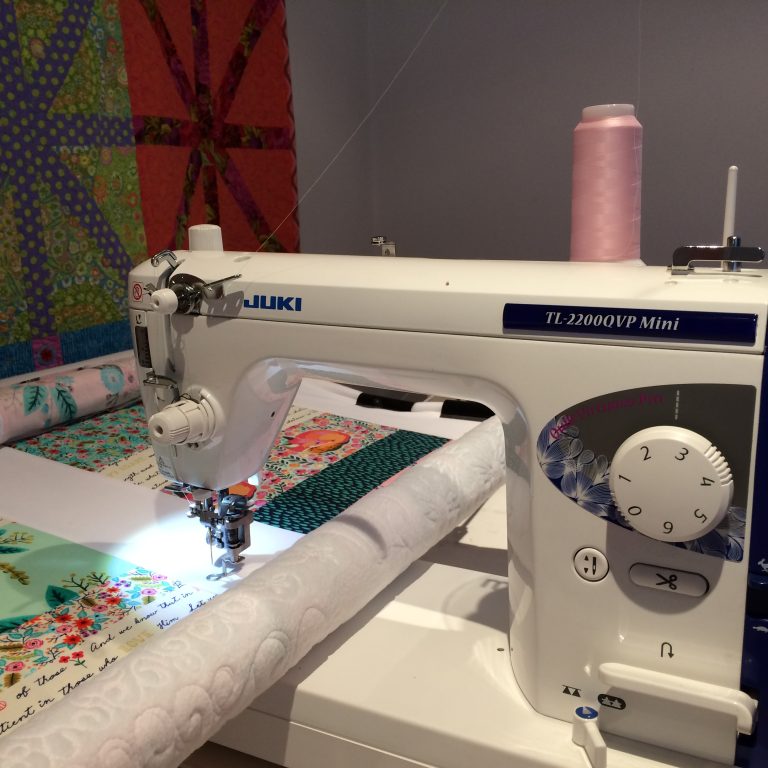
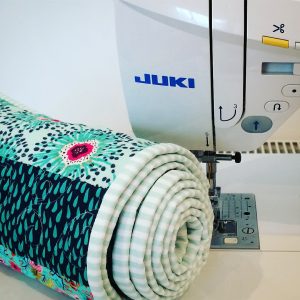
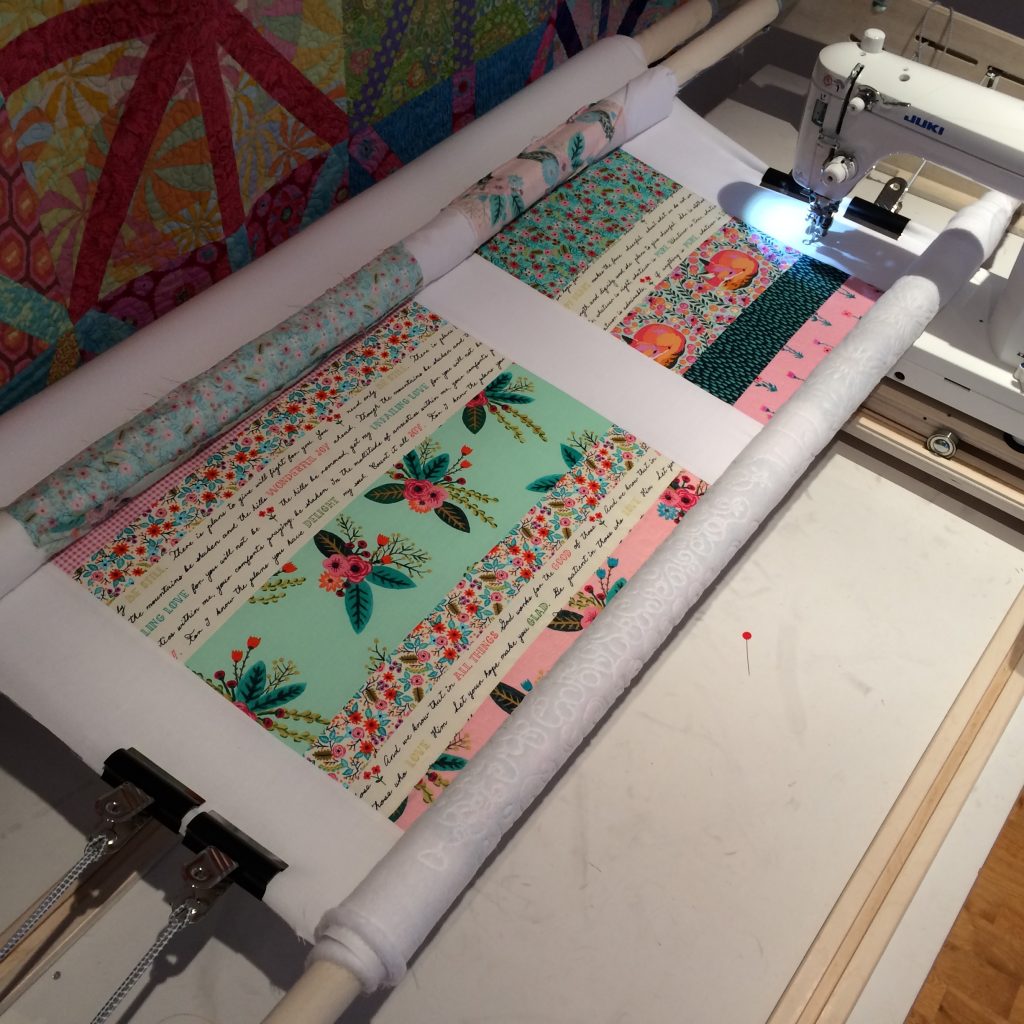
 Choose your backing and load the layers on your frame. I love fleece for this kind of project. Fleece serves as backing and wadding. Two layers are easier to load. Fleece is less expensive than backing & wadding and it creates a great texture.You can see the post on how to load fleece (TWO layers) here.
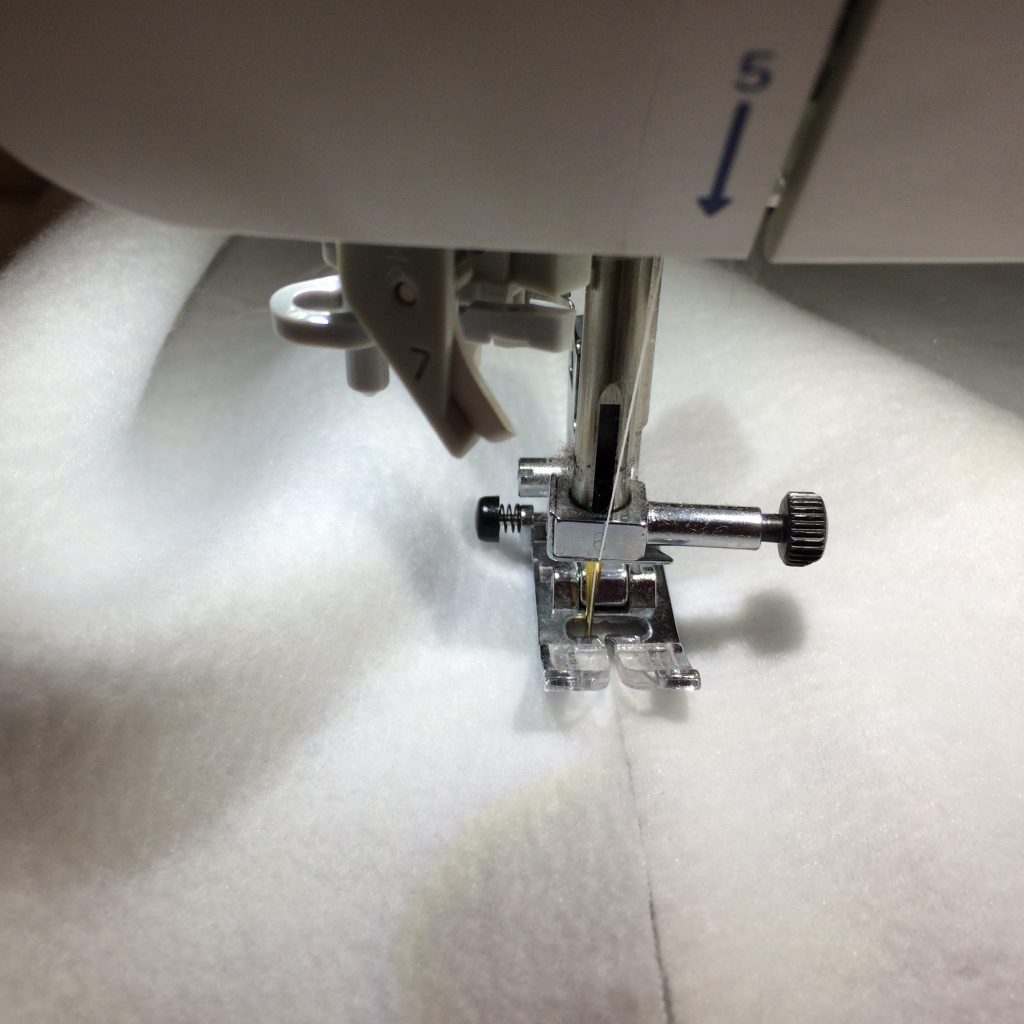
Here, I’m joining 2 pieces of fleece together by butting the two edges together and using a zig zag stitch. This kind of join won’t add any extra thickness so it’s just right for the backing. If you use a matching thread colour you won’t notice the join, especially after it’s been quilted.
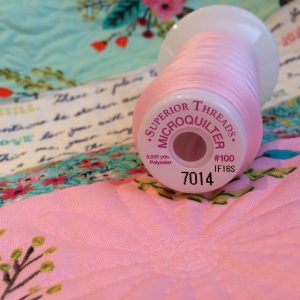
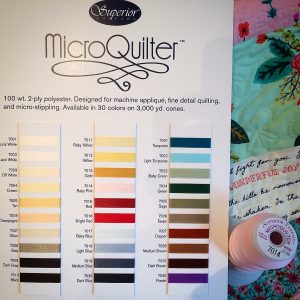

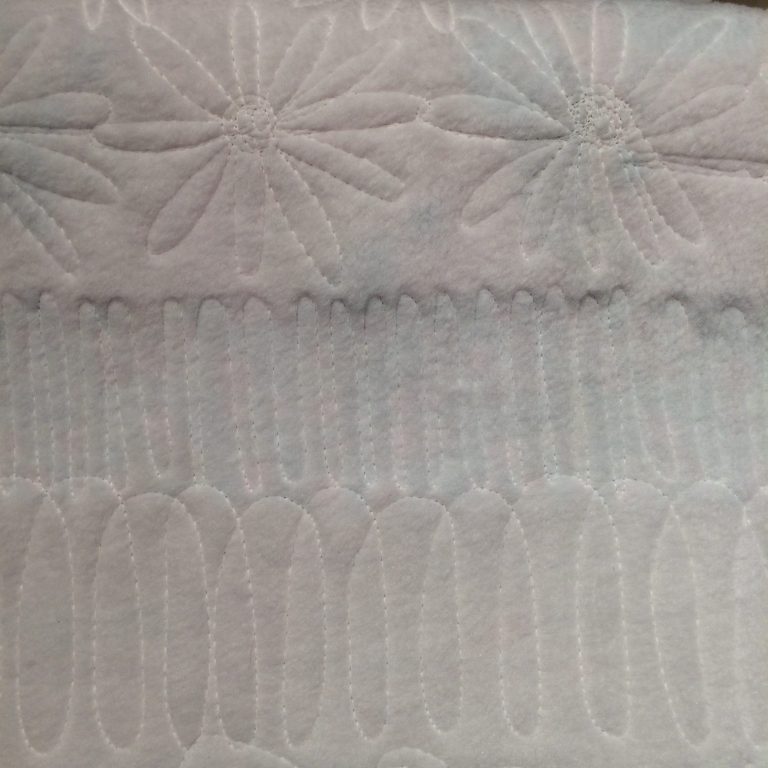
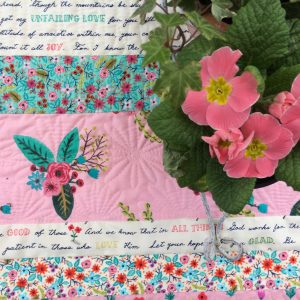
I’ve chosen this very fine MicroQuilter thread to blend in so any mistakes won’t be too noticeable. I’m just creating some fun texture here. The line designs started out really simple, like wavy lines, circles and loops. Then as I got bolder I tried swirls, wishbones, hearts and flowers. The texture shows up best on the fleecy back. By choosing a bobbin thread that matches the fleece, the thread disappears and all you see are the fun line designs.