Using fleece
Fleece is the perfect material for this project because fleece doesn’t unravel. It comes is so many gorgeous colours and it’s washable. Always a great feature. To make these cute bunnies, first find a simple bunny pattern, I just Googled it. Cut out the bunny shape and trace it onto fleece scraps. I’ve been doing this for years and the bunnies have evolved! I’ve played with the sizes, used special stitches for the eyes and nose, added a pocket and stuffing. Let’s break it down into steps.
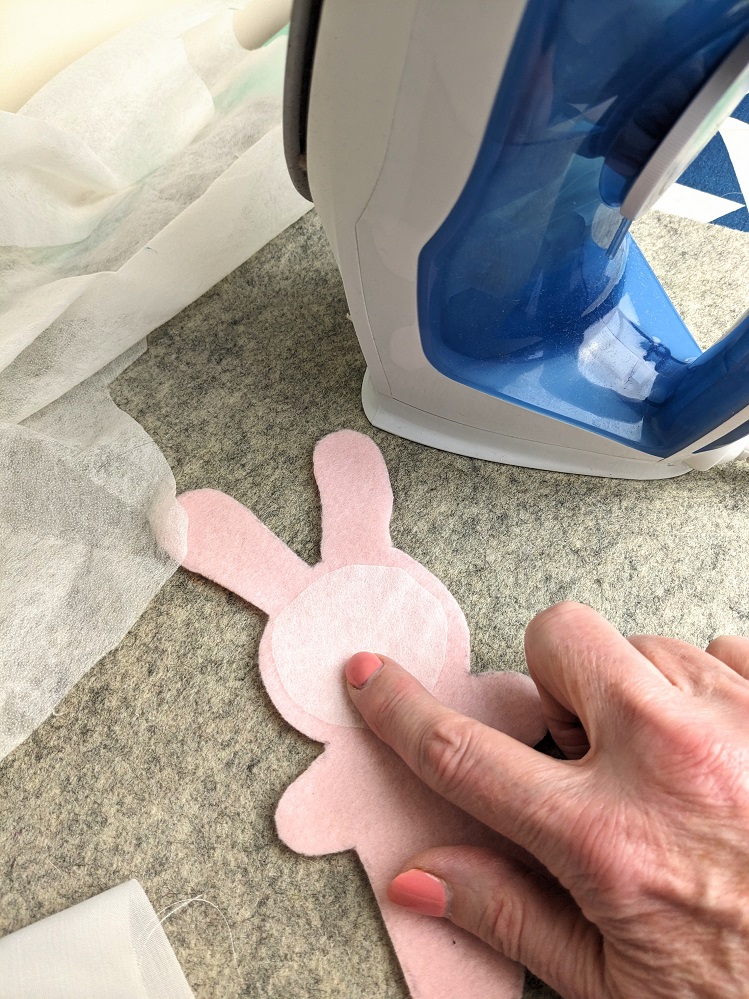
First trace the template on the wrong side of the fleece and cut it out. This will be the front side of your bunny. The bunnies are assembled in layers, with a front and back and with stuffing in the middle.

Making faces
Next, iron some Vilene interfacing on the wrong side, the less fuzzy side, of your fleece. You only need to cover the back of the head. The Vilene interfacing adds stability to the fleece so the special stitches for the eyes and nose stitch better. Now for the special stitches.
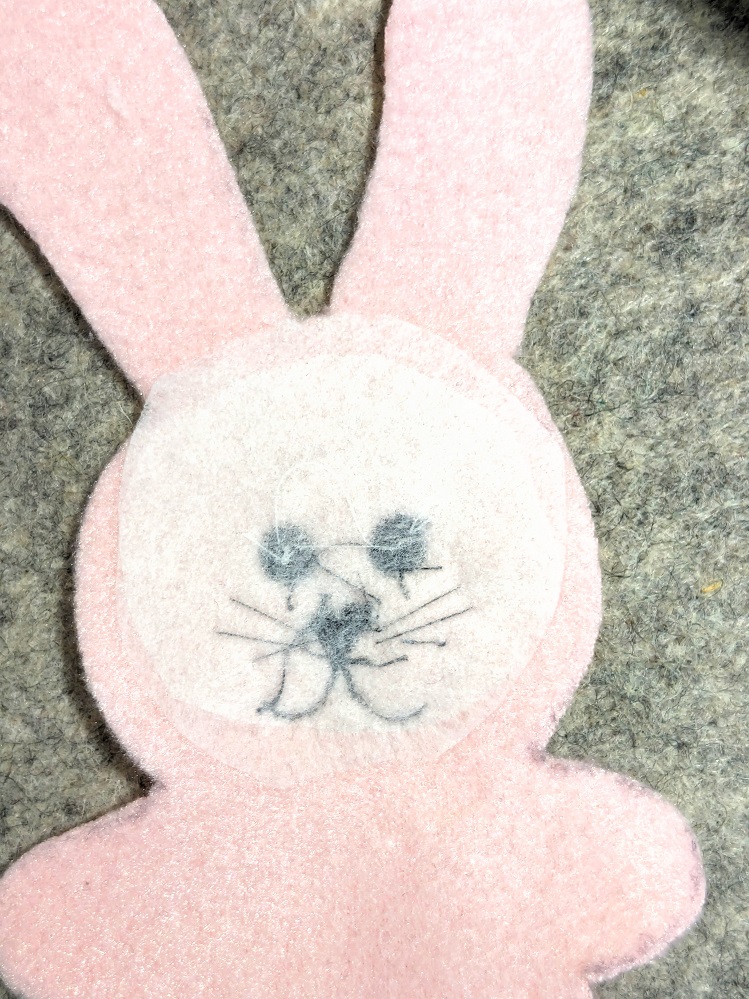
Making the eyes
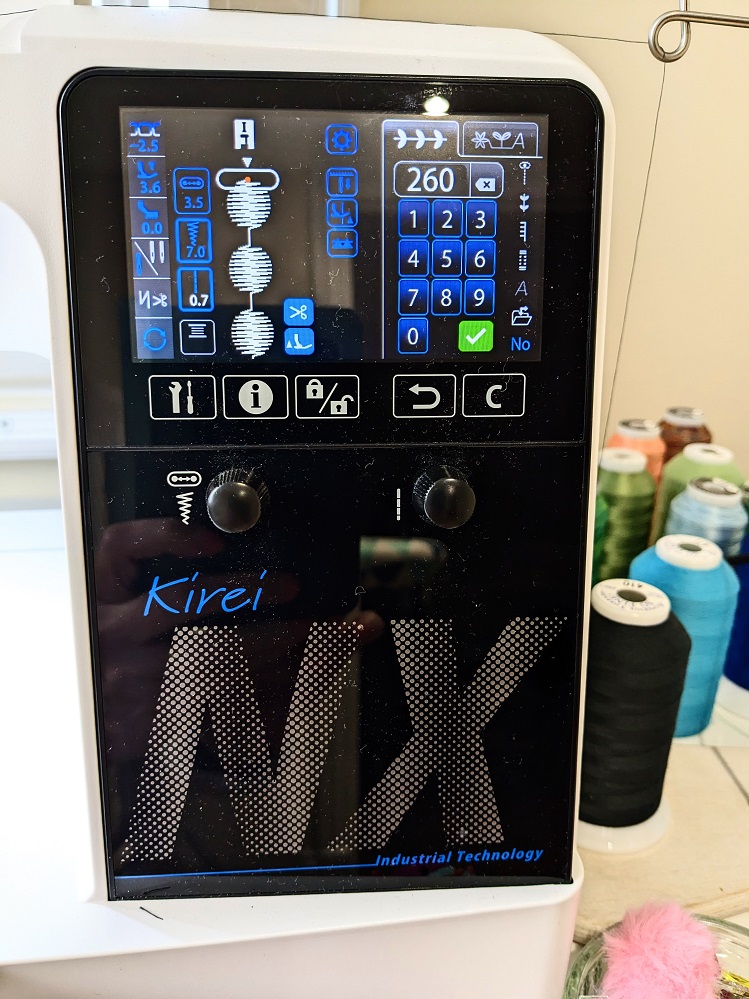
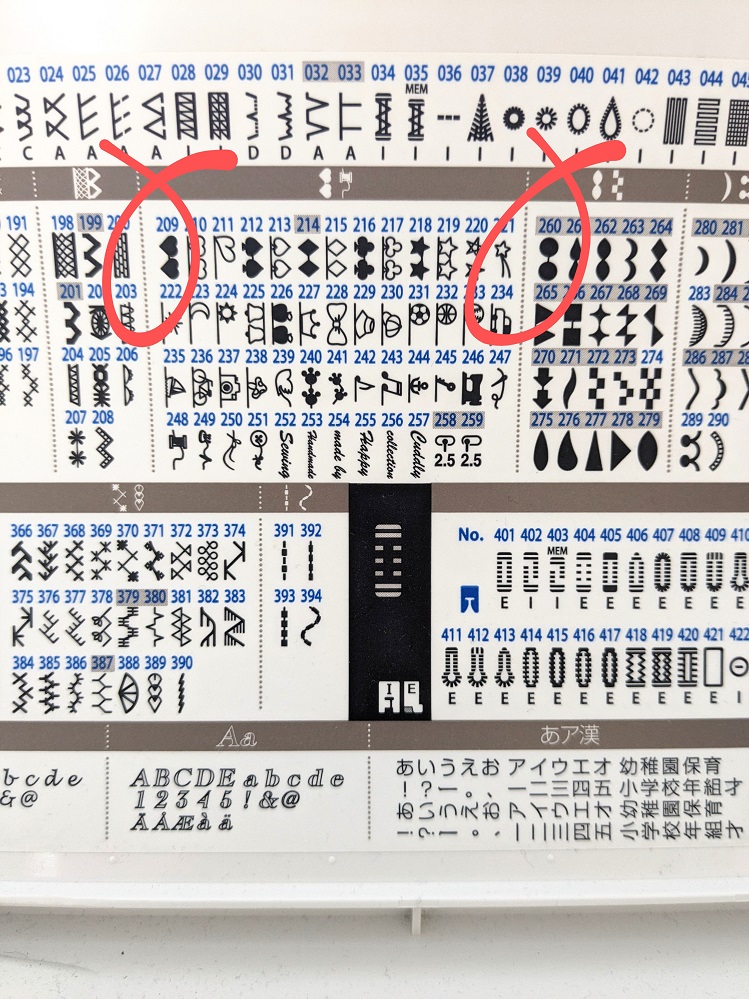
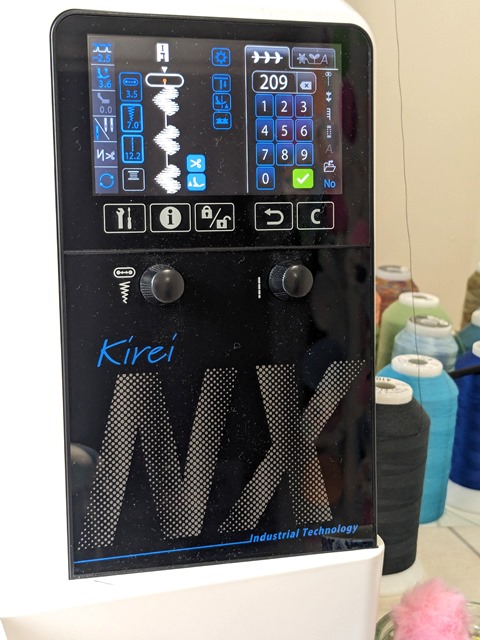
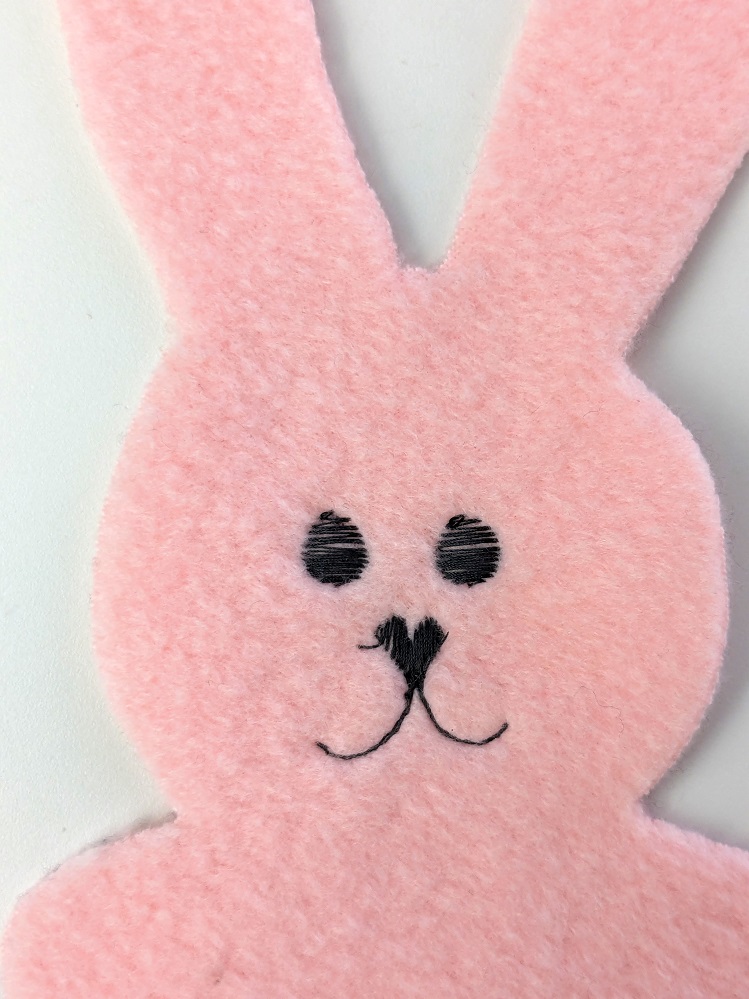
I used stitch number 260 for the eyes. First play with sizing and placement on a scrap piece of fleece. You can play with the size by adjusting the stitch length and width dials. Find a size that works for you. Bear in mind that the stitch is repeating so figure out when it should stop. To give more definition to the eyes you can go back and stitch a smaller pupil or add a star shape.
Making the nose and mouth
I used a heart stitch for the nose, stitch number 209. Again, play with sizing and placement on a piece of scrap fleece. It’s fun to see how different sizes play out. I’ve stitched the mouth with the regular straight stitch going out from the point of the heart. Sometimes it comes out a bit wonky. But I think it adds to the charm. Every face ends up being just a little bit different.
Adding whiskers and eye specks
Now we’re ready to add some hand stitched details like whiskers and little white flecks that make the eyes come to life.
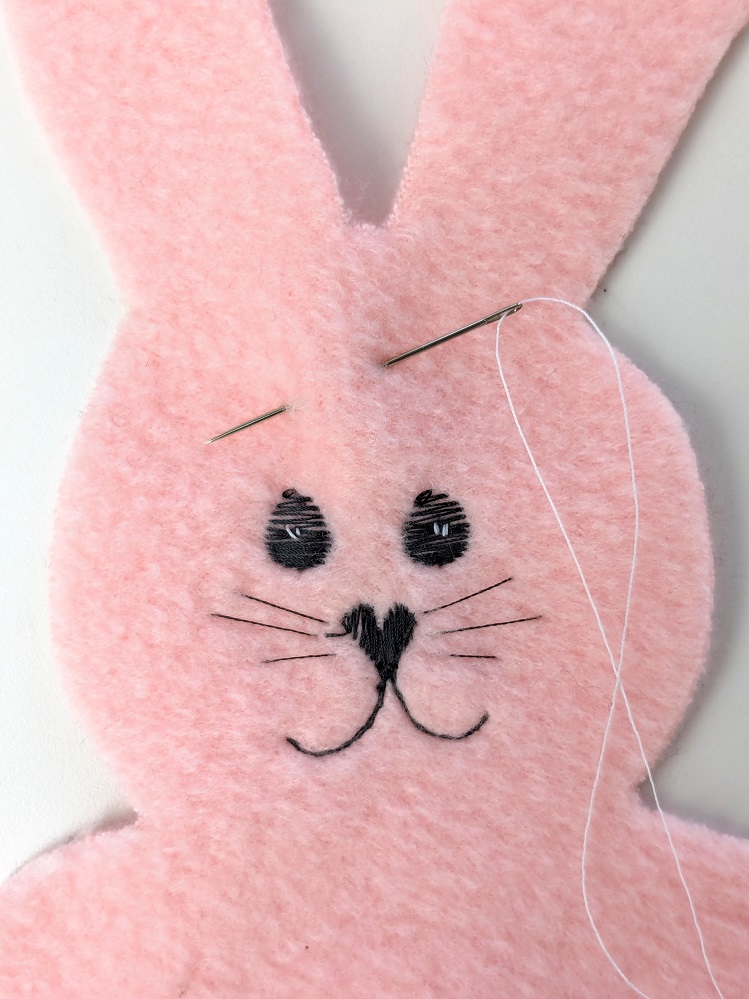
When you are happy with your face, iron another circle of Vilene interfacing over the stitching on the back. This will help to secure all the hand and machine stitching.
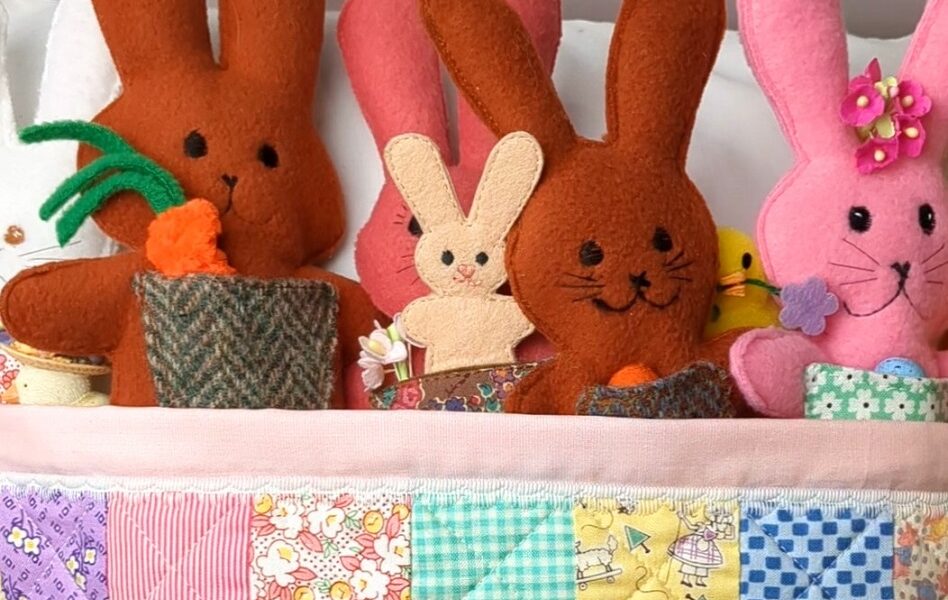
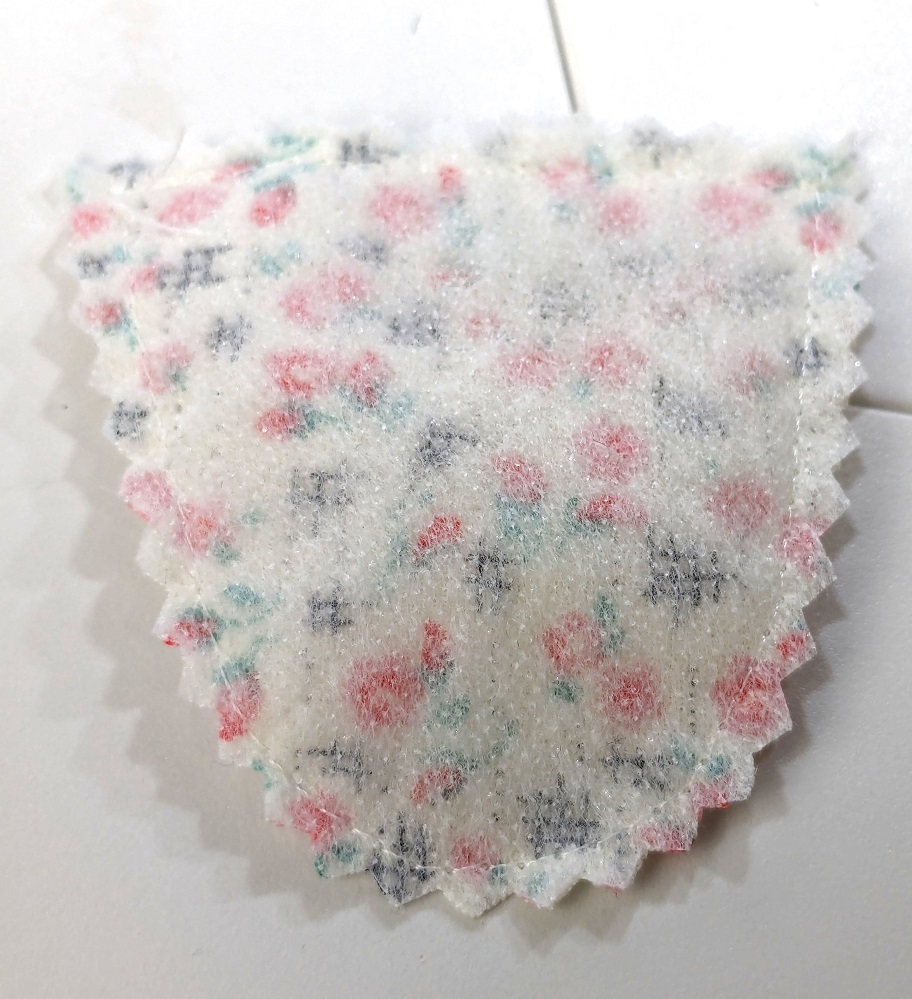
Adding a basket shaped pocket
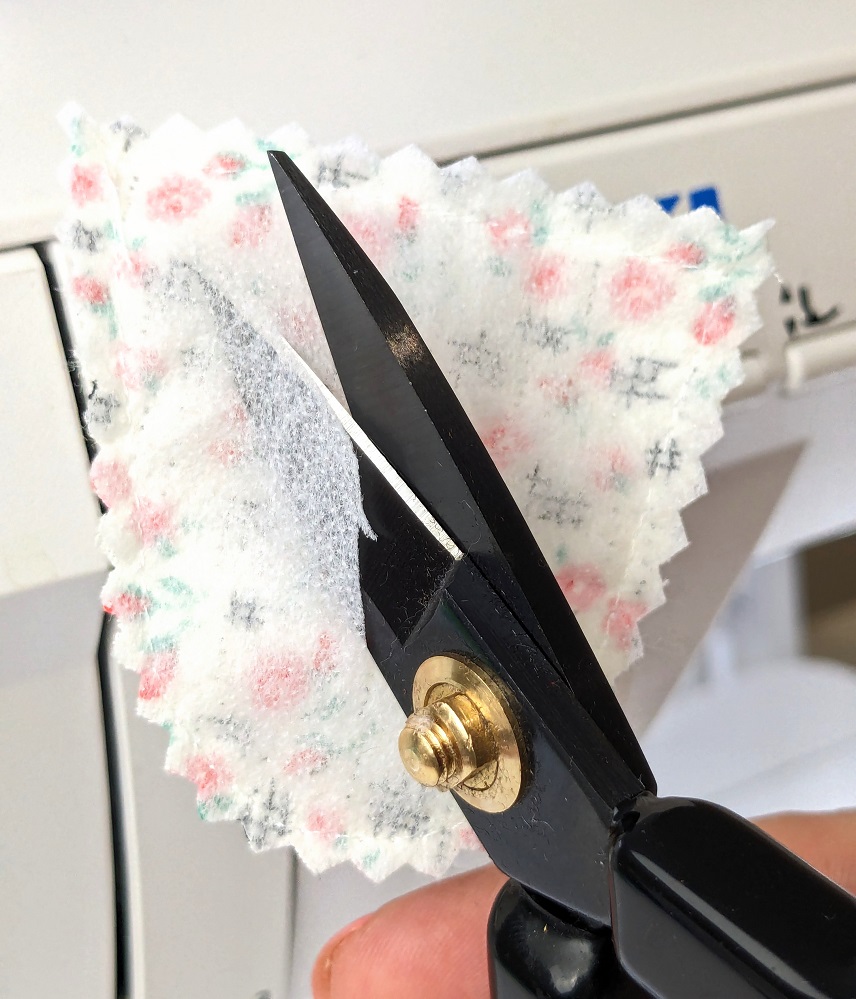
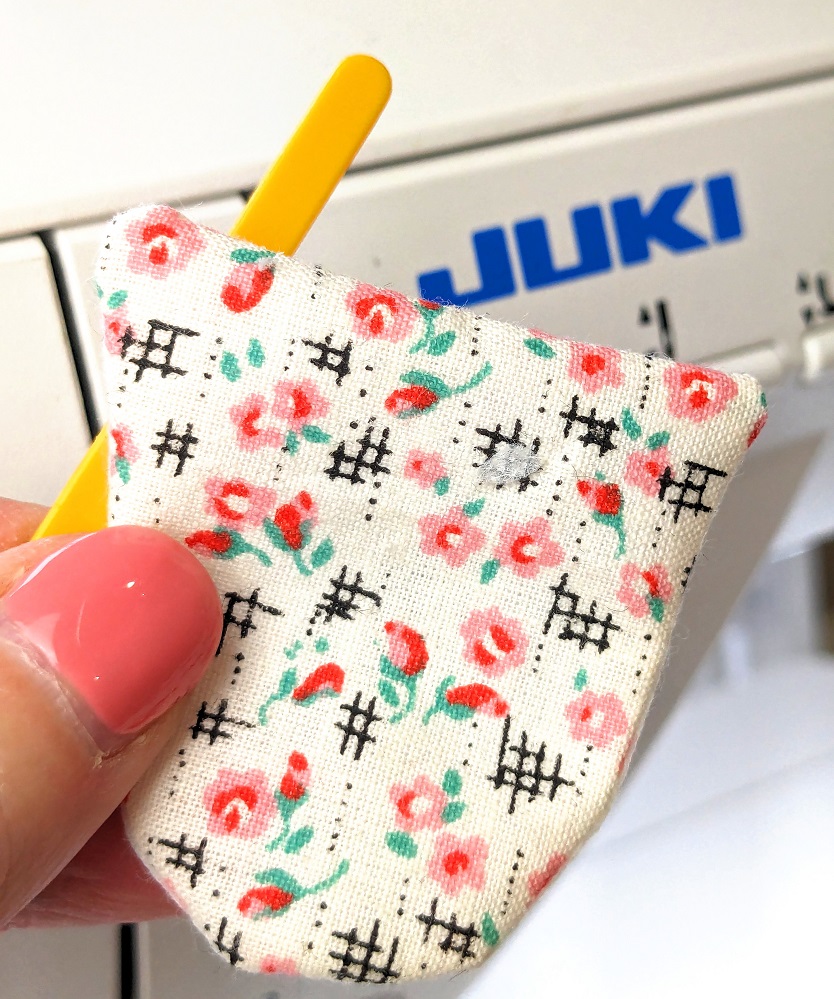
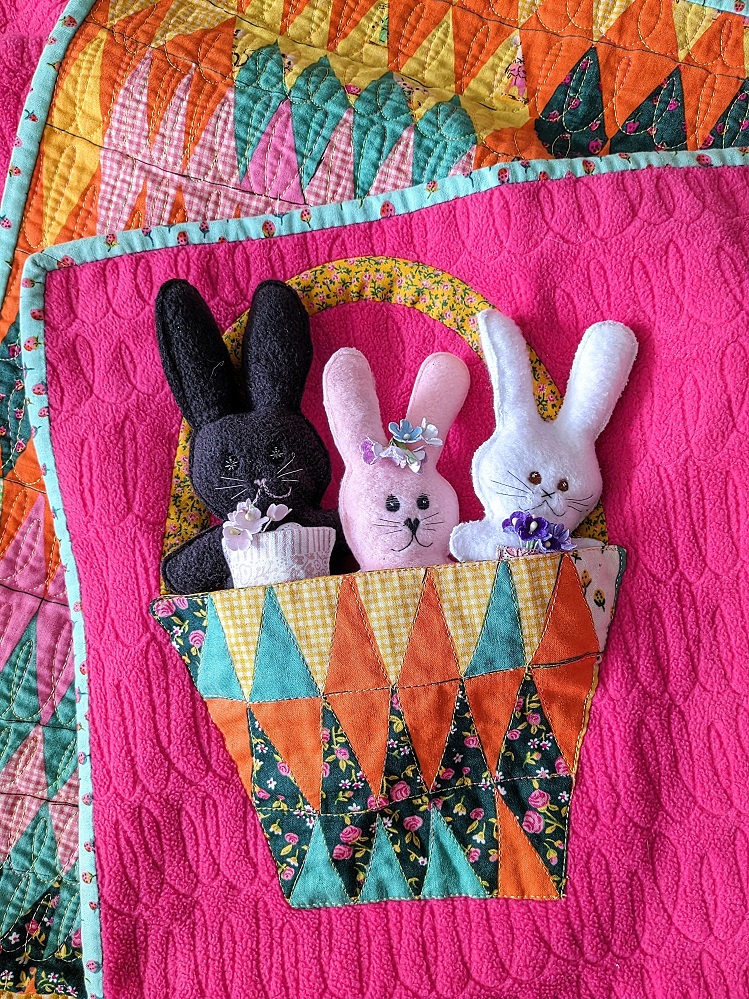
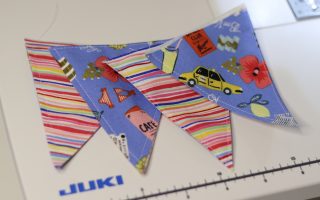
I think most things are better with POCKETS! These bunny pockets are basket shaped and just right to hold tiny flowers or little eggs. There’s a method I like for constructing small shapes. Cut out the shape. Stitch it front sides together to some thinish Vilene. Use pinking shears to cut round the shape. Snip a small hole in the middle of the Vilene, taking care not to cut the fabric underneath.
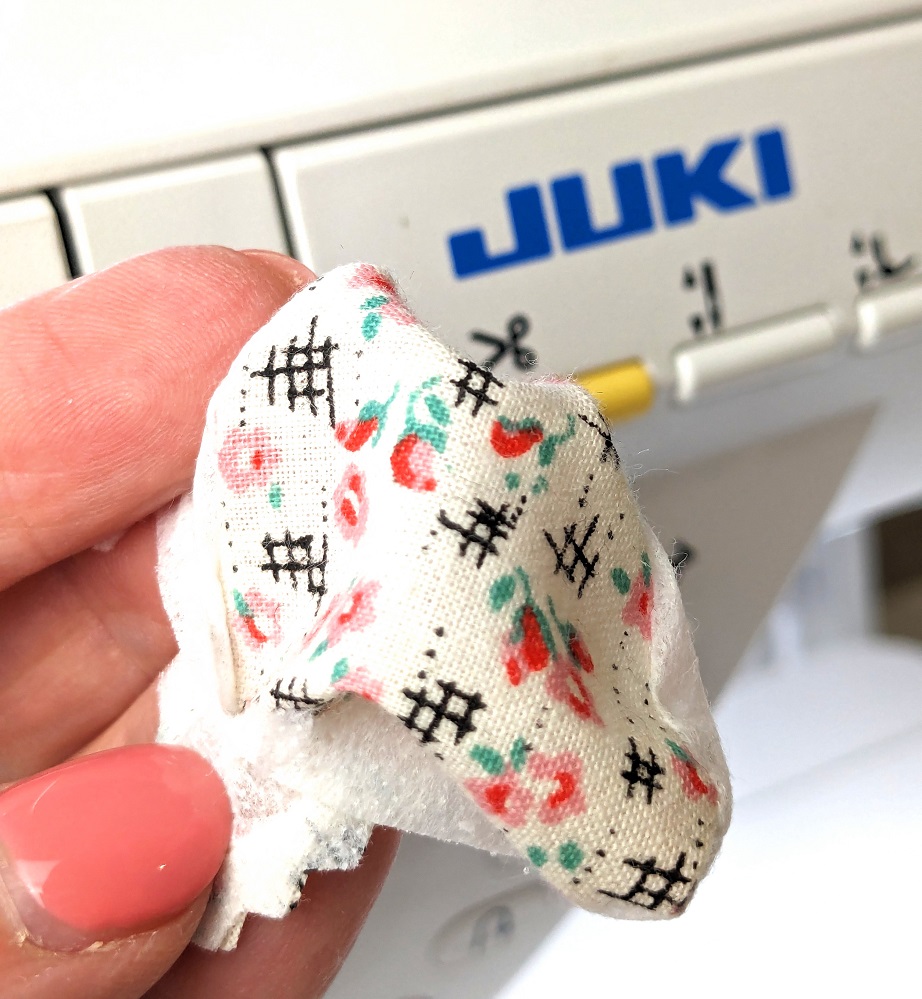
Now turn the shape inside out, gently poke the corners through. Finally topstitch it all the way around to some felt. This will help your pocket to keep it’s shape and withstand little fingers putting things in and out.
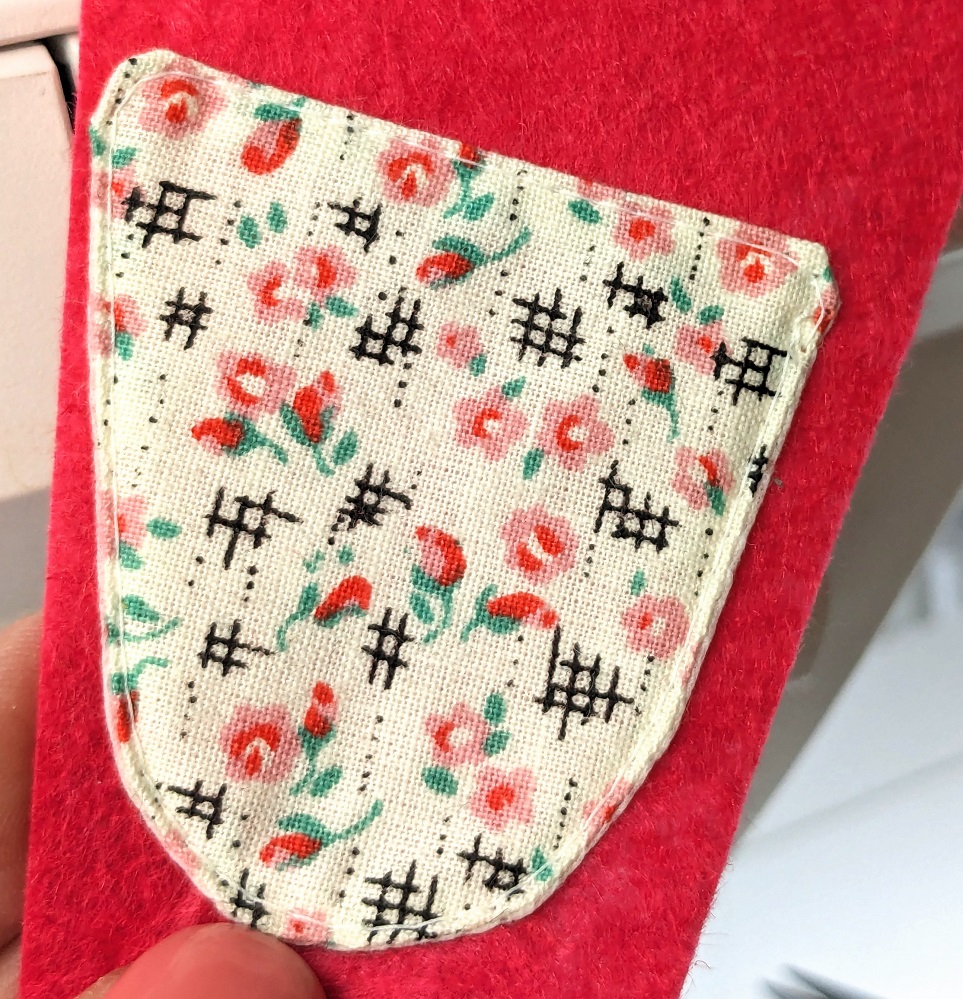
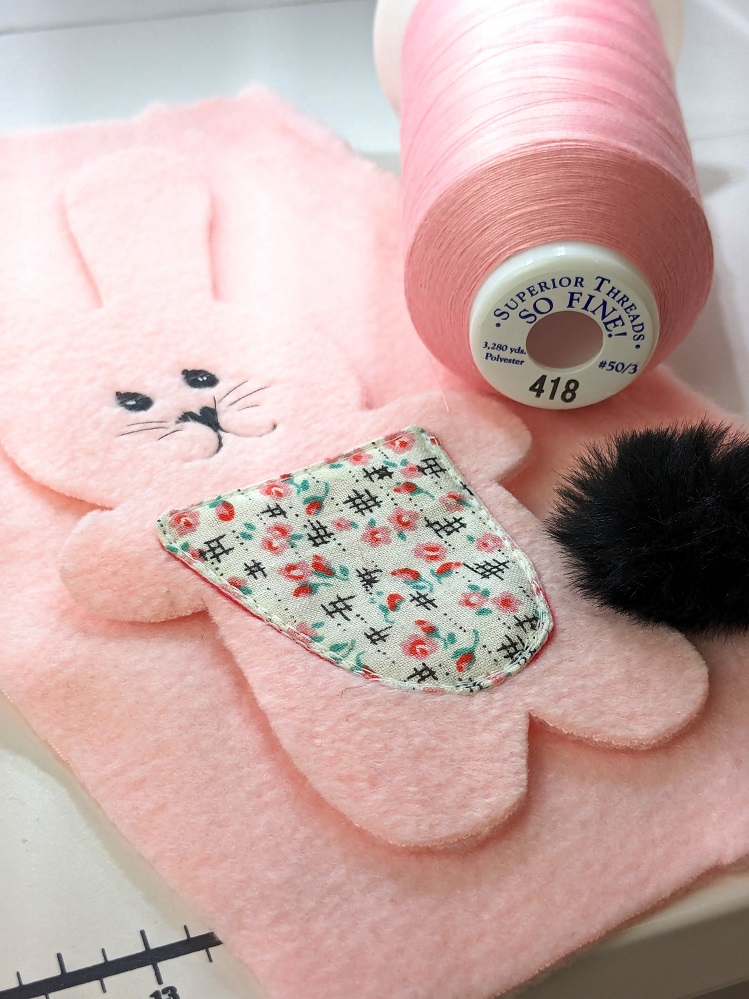
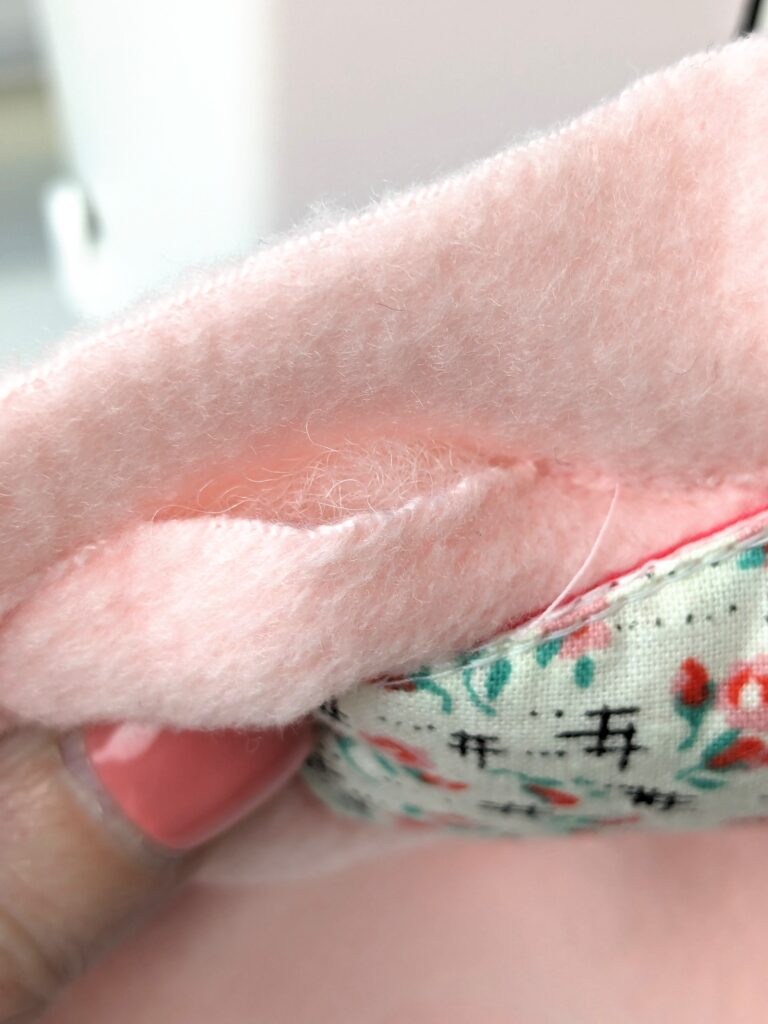
Lastly topstitch around the pocket to the bunny, leaving the top opening unstitched. Pockets are so cute!
Stitching the layers together
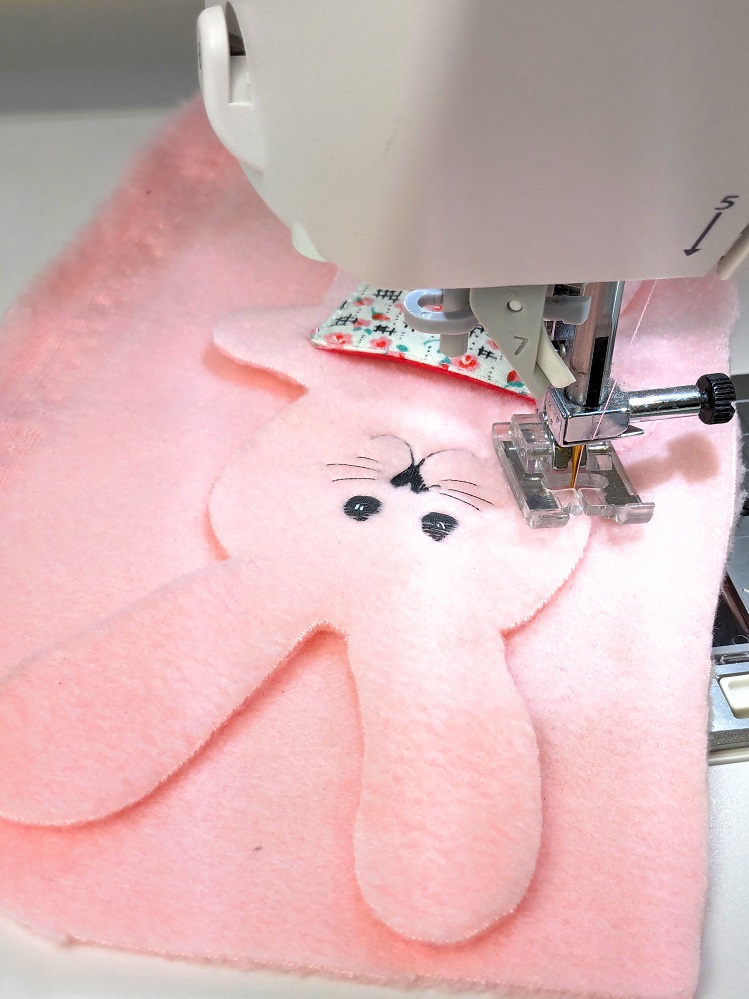
Now we are ready to stitch the layers together. Place this top bunny on a piece of fleece big enough to accomodate the top bunny shape. Choose thread that matches the fleece.
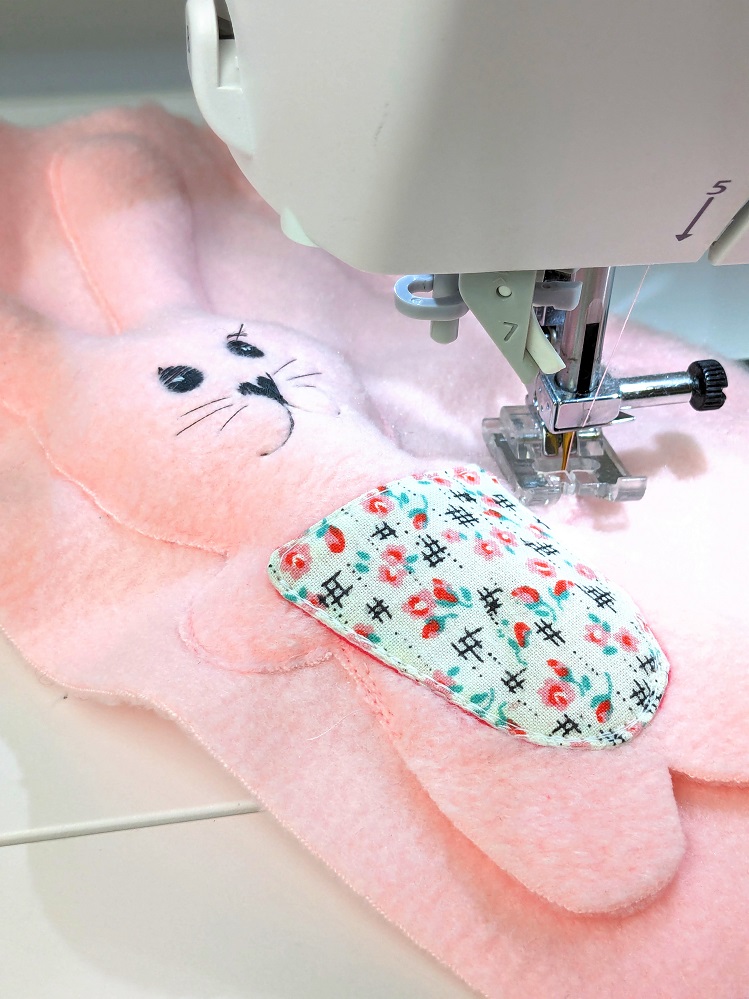
The Juki NX7 pressure foot can be adjusted to lift higher to accommodate the layers of fleece. It can also be set to a float or pivot function. This is perfect for stitching, especially around fiddley bits like bunny ears. Each time I stop stitching, the presser foot lifts automatically leaving both my hands free to pivot the fabric.
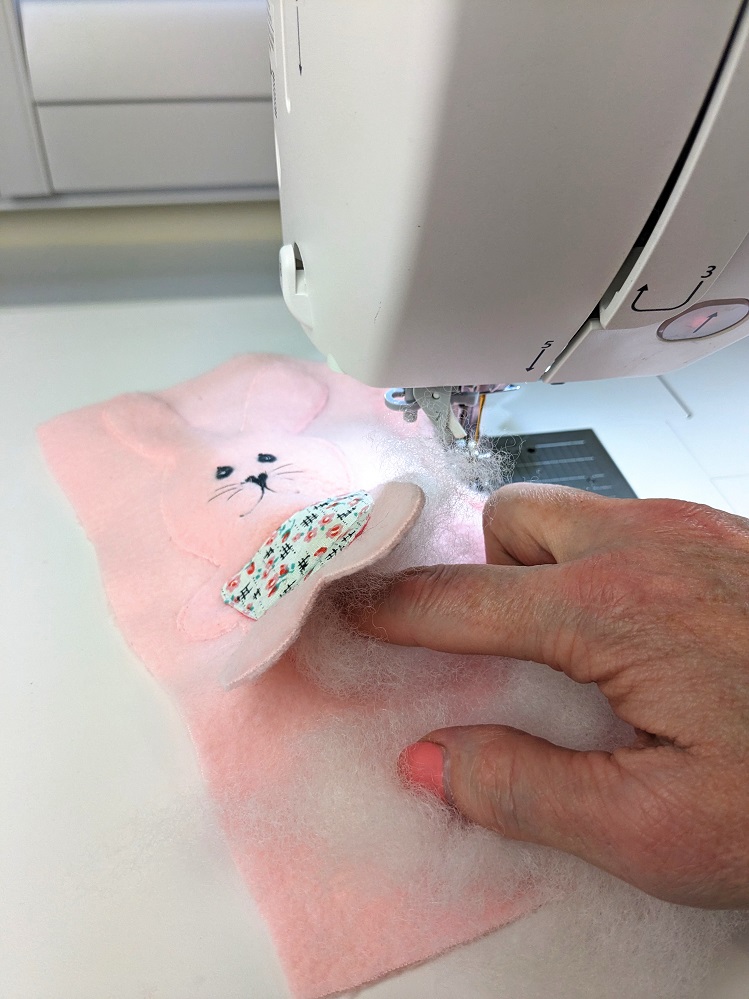
Stitch very close to the edge. Begin stitching under one arm, and go up around the head, around the ears and down the other side of the head. Stop and back stitch. Now grab some stuffing and poke it gently up into the ears, head and arm.
The bunny ears are the trickiest part. Once the top part of the bunny is stuffed, stitch around the remaining arm and legs. Leave a gap for the final stuffing. Then stitch the gap closed.
Once you’ve stitched all the way around, check your stitching. Pay special attention to the corners. Stitch over the original line of stitching if needed.
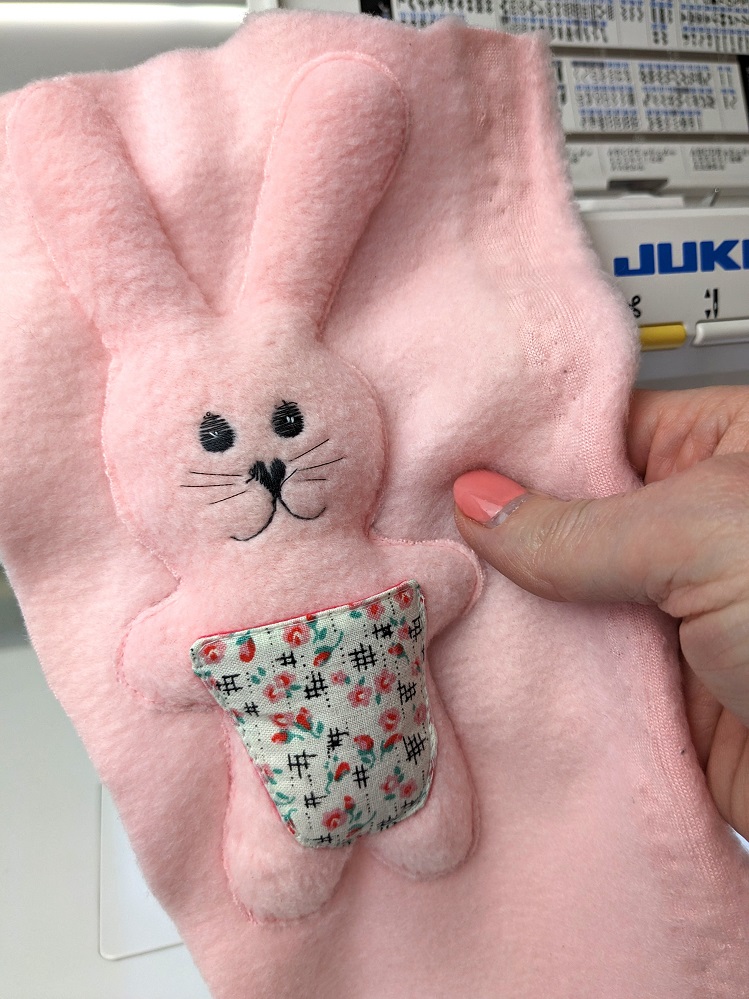
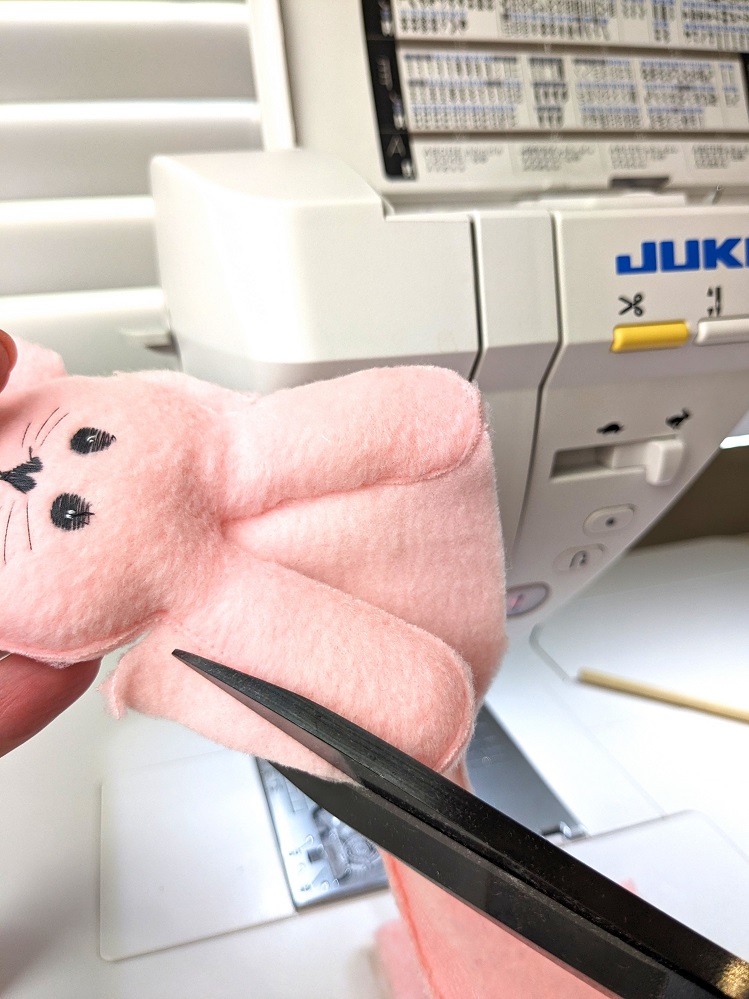
Once you’re happy with your stitching it’s time to cut just outside the stitching. Simply use the top layer of the bunny as a template and cut the bottom layer to fit.

Final touches
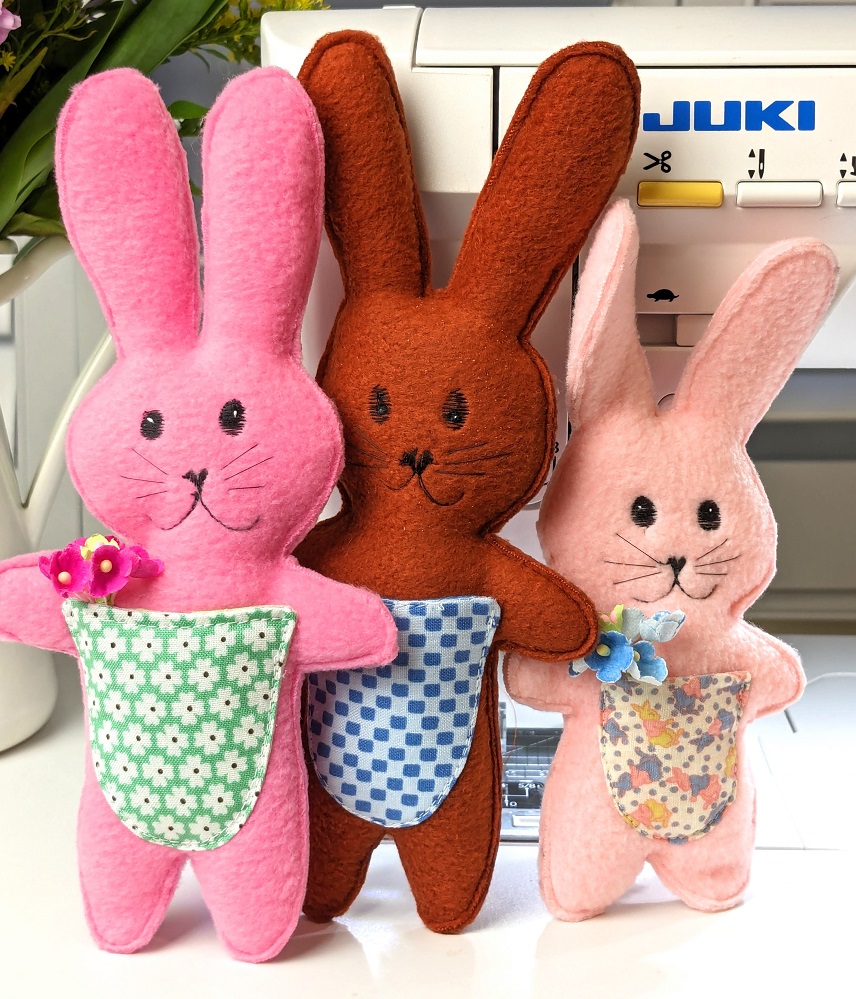
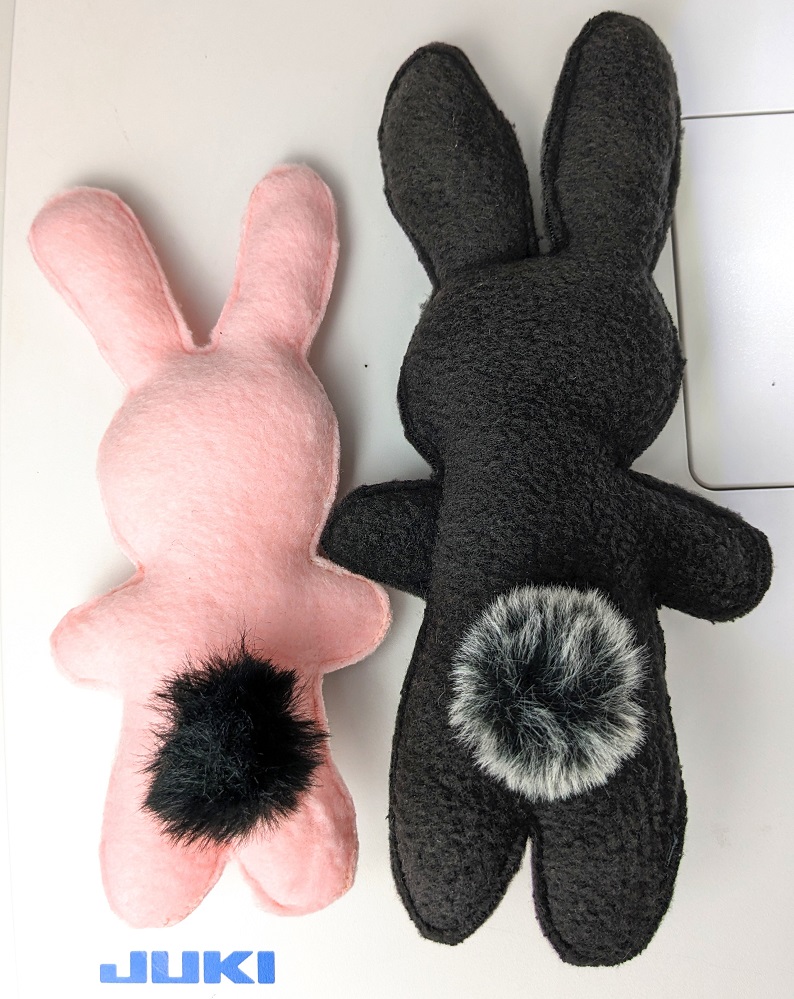
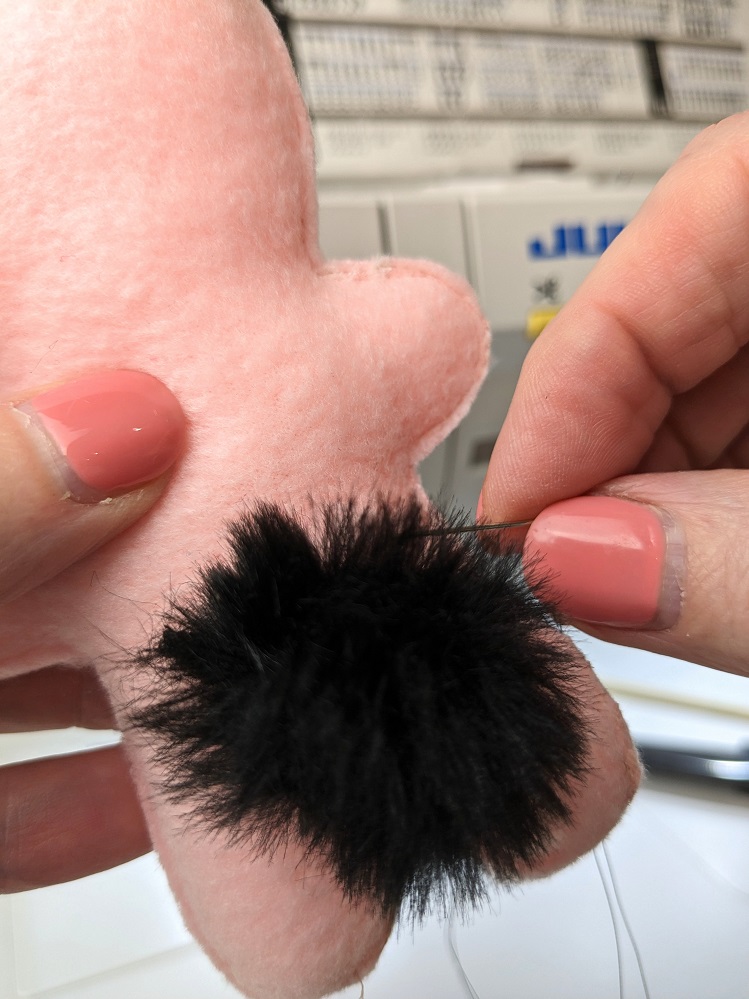
I ended up with a nice sturdy little bunny, all it needed was the cotton tail. Pompoms work great and so do these fluffy tails from a craft shop.
Once I made one, my husband suggested that I make families of bunnies for the grandchildren. So I did.

These are my grandchildren Lizzy, Jasper and Juliette.
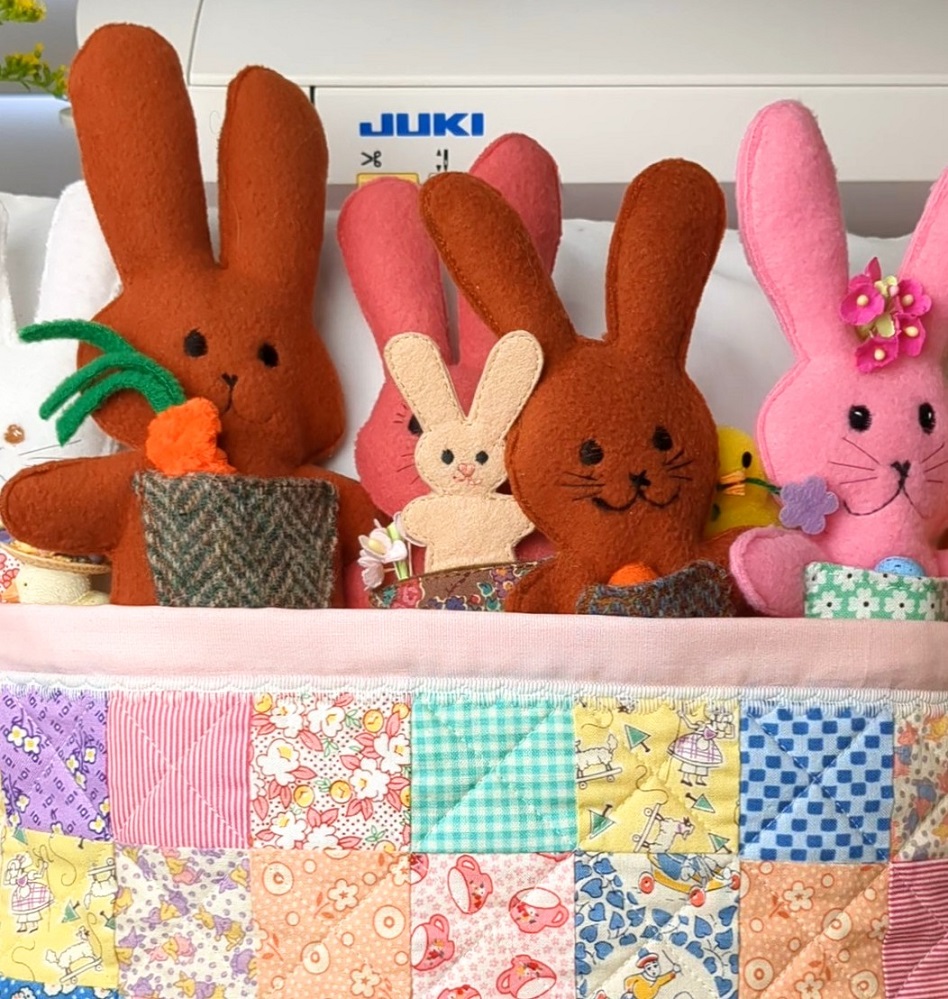
My grandson Johnny is about to get a new baby brother! The pockets are fun! Johnny has a ball, Daddy has a carrot and mommy has a baby. The pockets are also just the right size for jelly beans and little chocolate eggs.
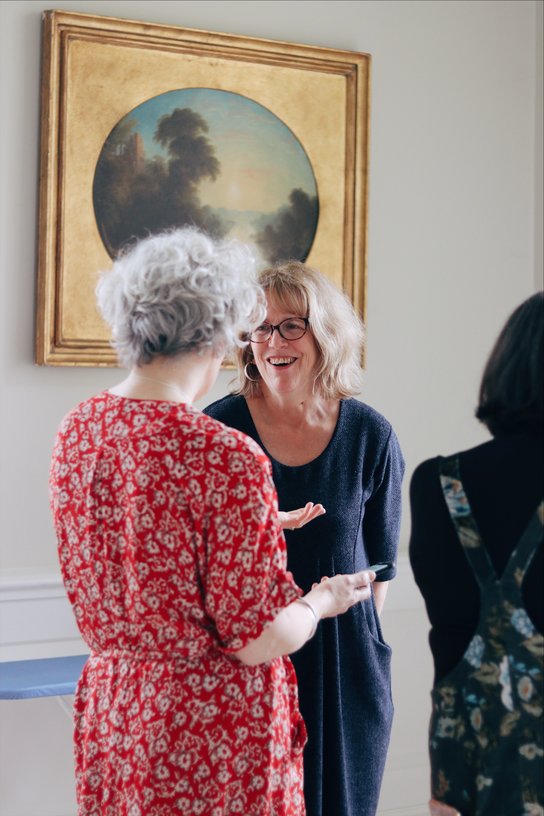
This Bunnies for little people post has been a collaboration between Jen and Martha. Jen Hogg lives in Glasgow with her husband and dog, and when she’s not making bunnies she’s sewing amazing things and making clever sewing gadgets. Check her out at the Shows! A former solicitor, Jen reached the semi-final of The Great British Sewing Bee Series 5 (2019). You can follow her on Instagram and Facebook @jenerates, and at www.jenhogg.co.uk, and you can read our Juki Club introduction here. Martha lives in the Scottish Highlands and works for Juki Club. This week she’s taken time off making quilts to make bunnies, lots of bunnies.
[…] all started with Jen’s super cute bunnies for mini stitchers. I made a bunch of bunnies and thought that they needed a little basket to keep them safe. Then I […]
What an adorable and heartwarming post from Juki Club! These bunnies for little people are absolutely precious and sure to bring joy to any child’s face. The detailed instructions and accompanying photos make it seem achievable for even novice crafters like myself. Thank you for sharing such a delightful DIY project that fosters creativity and imagination.
Thank you so much! This is exactly the response that I was hoping for. I am delighted that you enjoyed the post and grateful for your comment! Martha from Juki Club.