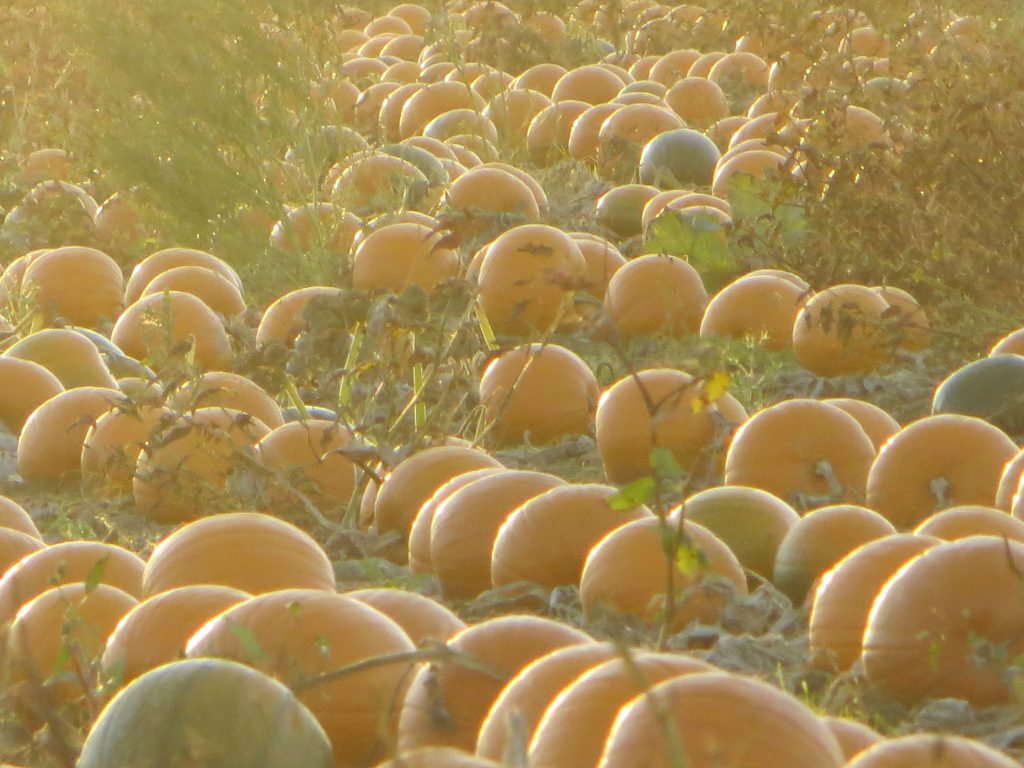


Pumpkin fields
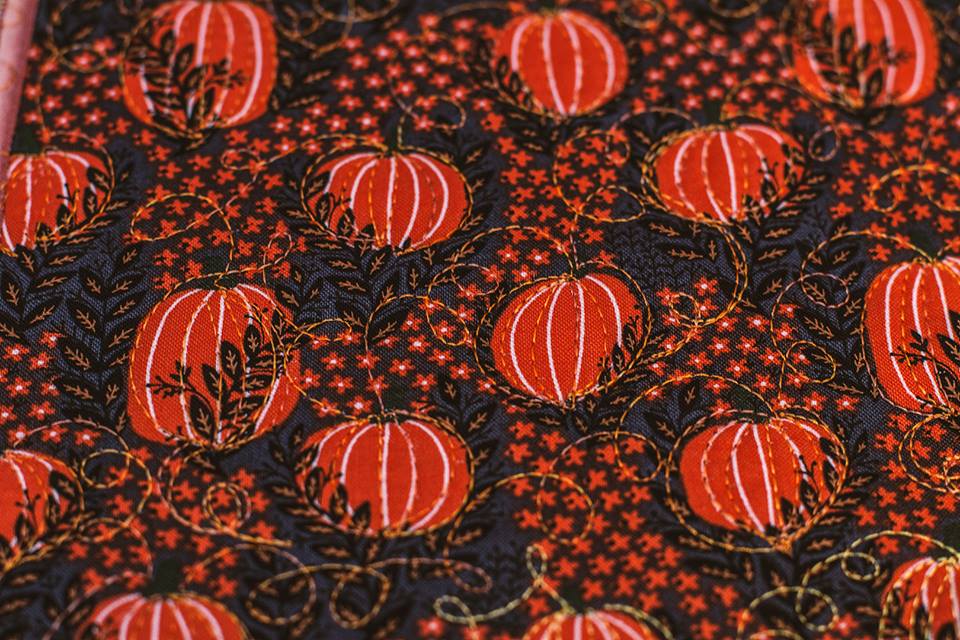
As you can see, the fabric reminded me of the pumpkin fields. I loved the wildflower and weedy background and the repeated yet varied shapes of the pumpkins in all different sizes were just begging to be stitched over!
Piecing the quilt
I decided to use the Mischief Night fabric as a wide border, then to play with the scale creating something similar but larger for the centre using raw edge applique. For the background I chose some grey/black fabrics from my stash and cut them up into 6 inch squares. I stitched them together, four by four to create the ‘field’.
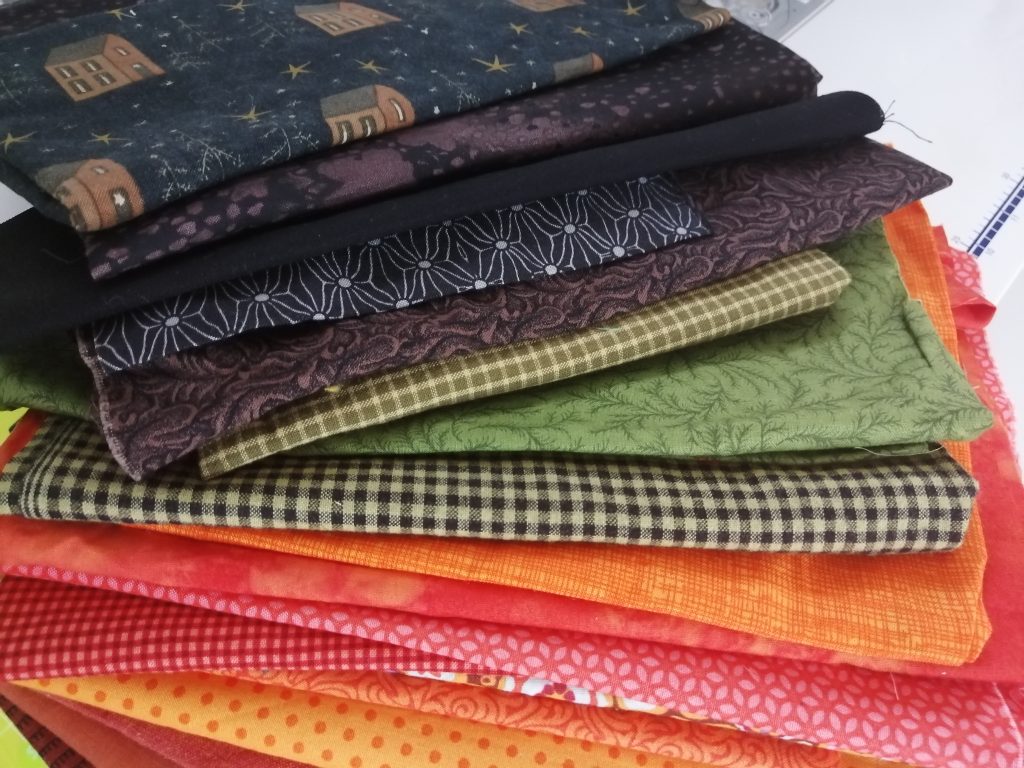
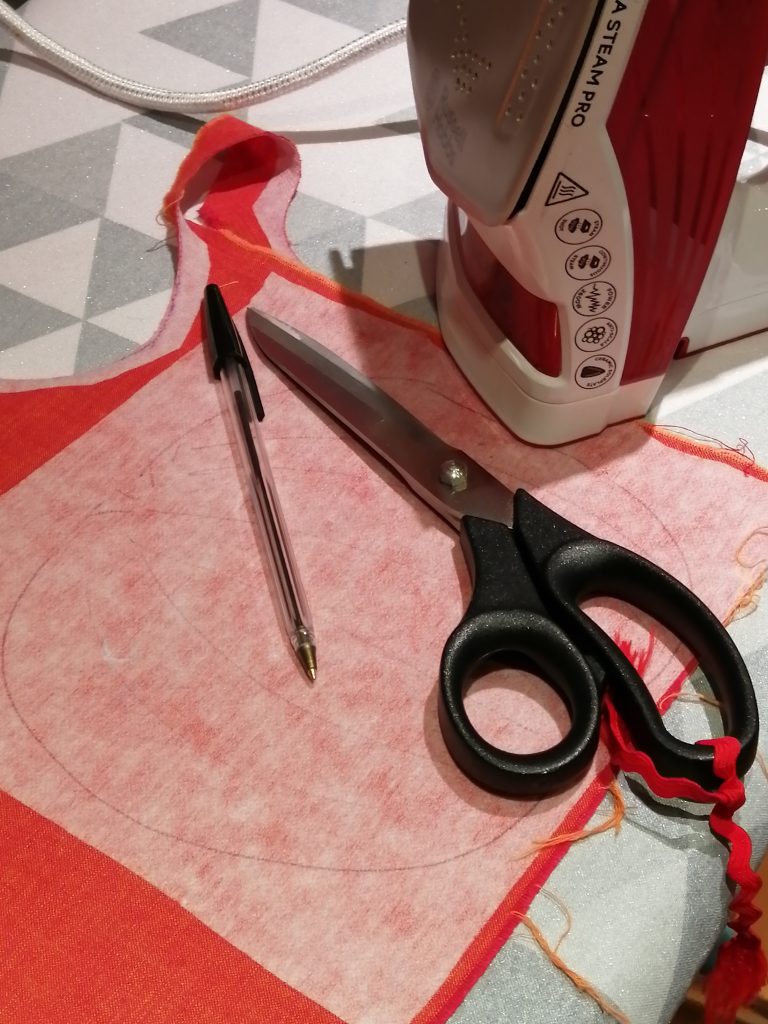
For the pumpkins, I rummaged through my autumn coloured stash to find suitable orange and yellow fabrics. These I backed with a thin Vilene to give a bit of substance to the fabric. Vilene is an iron-on interfacing. Once the Vilene was ironed on the fabrics, I drew the pumpkin shapes on the Vilene- backed side. I did this by hand, simply making a variety of shapes. I took inspiration from the real pumpkins that I picked from the field.
When I cut them out, the Vilene gave me a crisper edge and kept the edges of the fabric from fraying. Then I did the same thing for the leaves, using real leaves from the pumpkin patch for a model. If you don’t have a pumpkin patch nearby, you could get the pumpkin leaf shapes from Google.
Raw edge applique
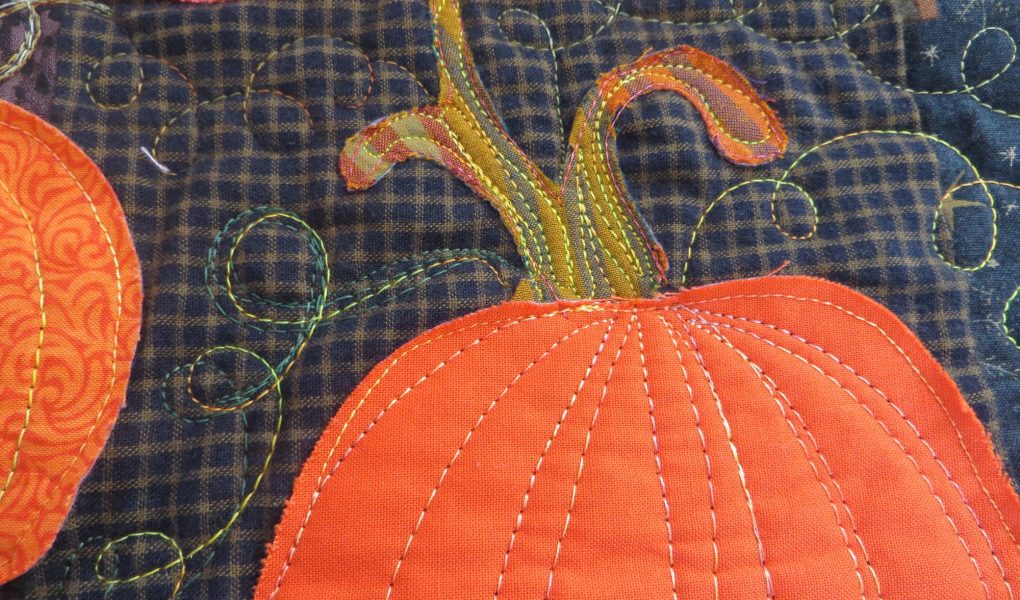
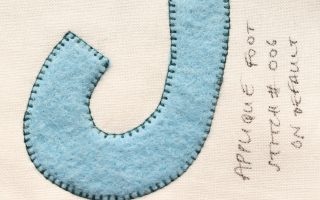
Once I had the pumpkins and leaves all cut out, I was ready to applique them to my patchwork field of four by four black squares. One of the things that I love about raw edge applique is how fast it is. There is no careful needle turning to cover the edges. They simply get stitched down. I just love the rustic primitive look. I take care to choose threads that blend in with the fabric.
The float function on my Juki DX7 makes applique a total joy. Because the presser foot raises slightly each time that I stop stitching, I am easily able to manipulate the curved shapes of the pumpkins and the pointy shapes of the leaves.


On to the quilting
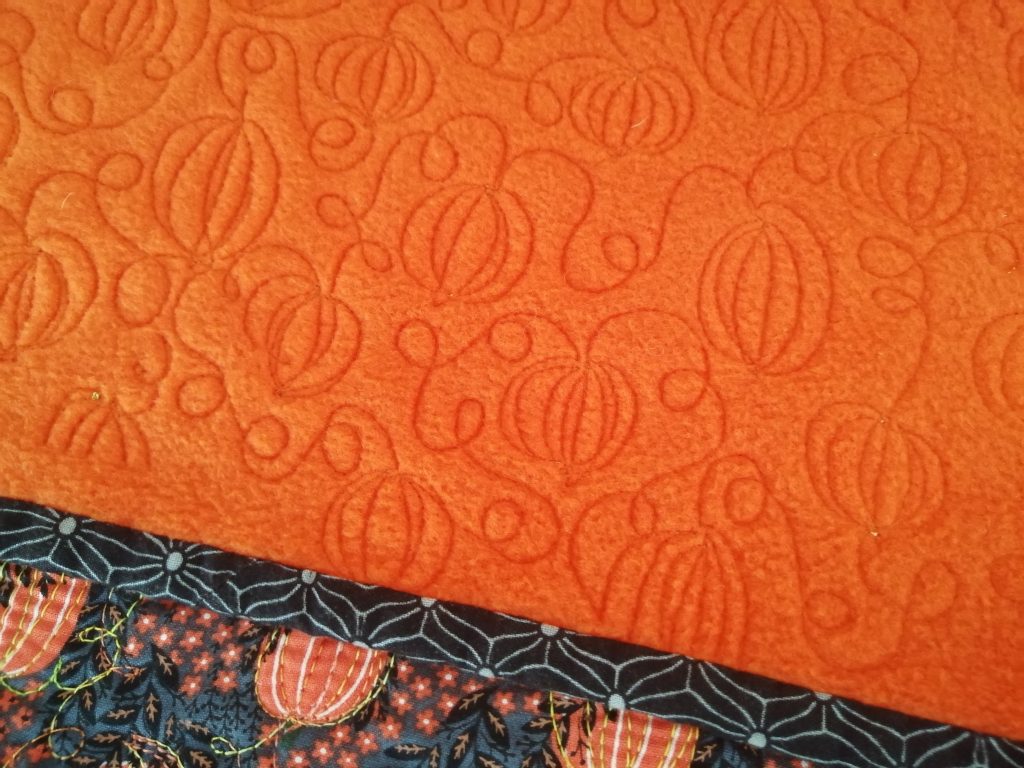
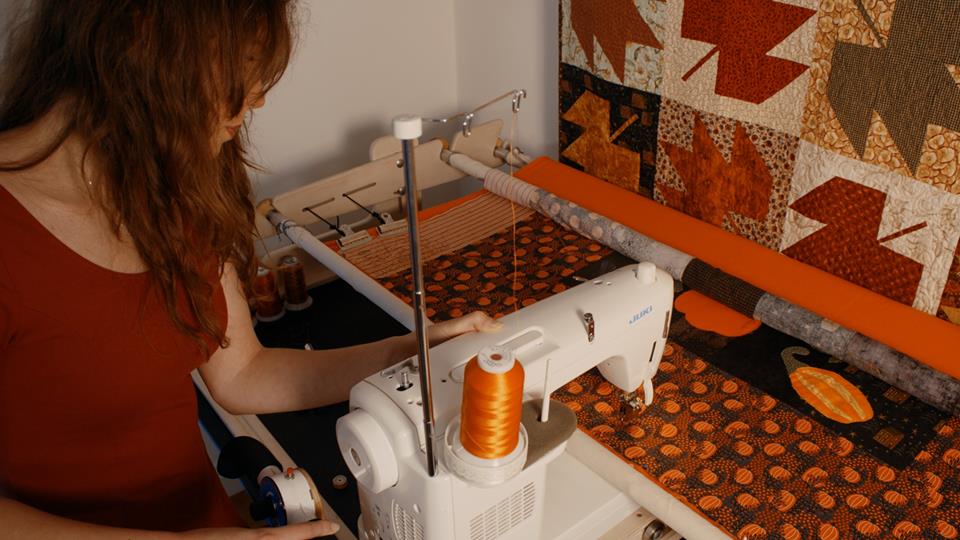
I have to admit that the most fun part of making this quilt was the quilting. I backed the quilt top in orange fleece and loaded it on the quilting frame. We’re using the JUKI straight stitch. The Juki TL QVP Mini has 4 features that make it the IDEAL quilting machine. Put it on a frame and together they behave like a little long arm, allowing you to simply doodle with your needle.
Quilting the borders
My plan for the border was to stitch over the pumpkin shapes already in the fabric. And then to loop to get to the next little pumpkin. I aimed for a whimsical style in keeping with the rustic raw edge applique. I wasn’t slavishly trying to follow the lines, just having some fun embellishing the pumpkins.
Quilting the centre
While I was quilting the centre, I used the same movements as quilting the borders, just larger. I still stitched up and down the pumpkins, accenting the segments and looping on to the next pumpkin. I was simply making larger movements with lots of different threads and sometimes echoing the lines to create a bolder effect. I also stitched tendrils, veins on the leaves and even spider webs with metallic threads.


There you have it, my raw edge applique pumpkin patch quilt. It was a fast and fun make. Best of all it shows that whimsy can be wonderful. Even the back looks great!
