free motion quilting
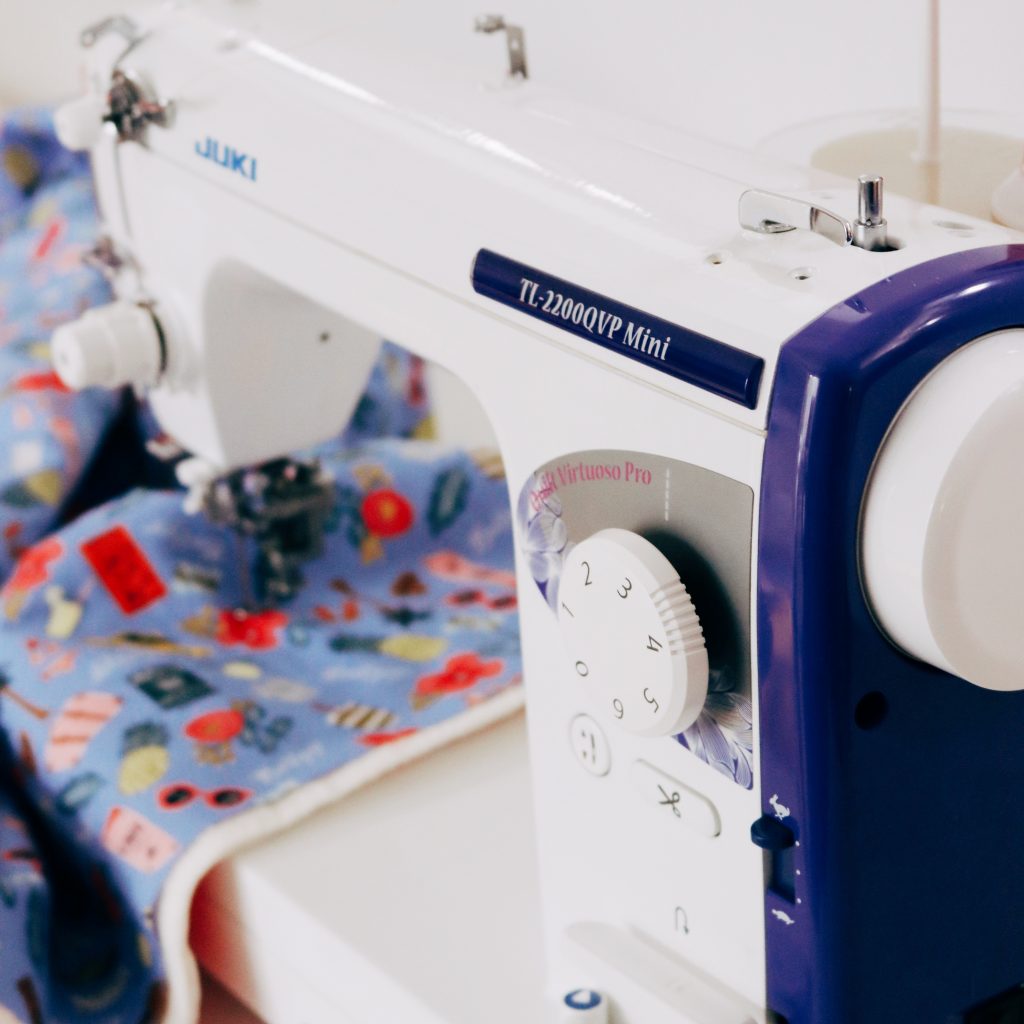
We’re going to show how to get your Juki TL QVP Mini straight stitch sewing machine ready for free motion quilting. This Juki straight stitch machine has 4 features that make it the perfect quilting machine: space, speed simplicity and strength. The simplicity of the Juki straight stitch machine makes it easy to tension. So getting your Juki TL QVP Mini ready for free motion quilting is easy. It only takes a few simple adjustments. So read through the post and we’ll guide you step by step.
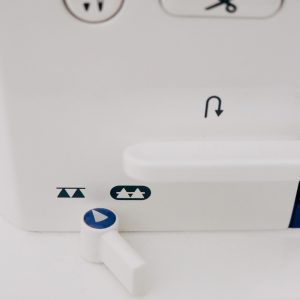
First drop the feed dogs.
Lowering the feed dogs allows you to freely guide the fabric every-which-way under the needle. As a result, YOU are determining the stitch length by how you coordinate the needle speed with the speed that you move the fabric under the needle. The free motion darning foot, sometimes called a spring loaded hopping foot, allows your Juki straight stitch machine to move like a long arm, every-which-way across the surface of your quilt.
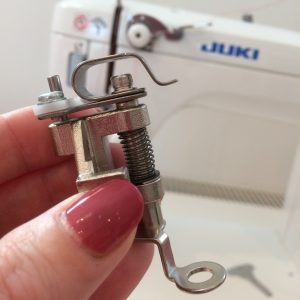
Then put on one of the free motion darning feet.
The Juki TL QVP Mini comes with 3 darning feet and they all work great. People sitting down at the machine often prefer the open toe foot because it’s easier to see what you’re stitching. People using the machine on a frame will find that the closed toe feet work best because you’re moving more quickly and looking ahead of your stitching. Also, the open toe will sometimes catch the loose threads. Whatever kind of stitching you’re doing, one of the free motion feet will be ideal. Choose one and put it on your machine.
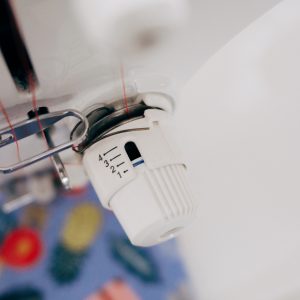
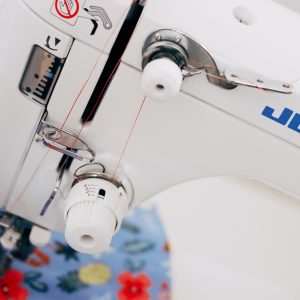
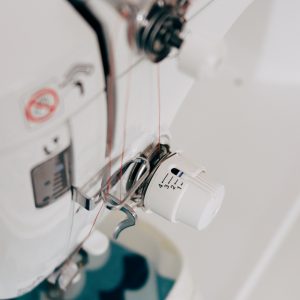
Next loosen the top tension.
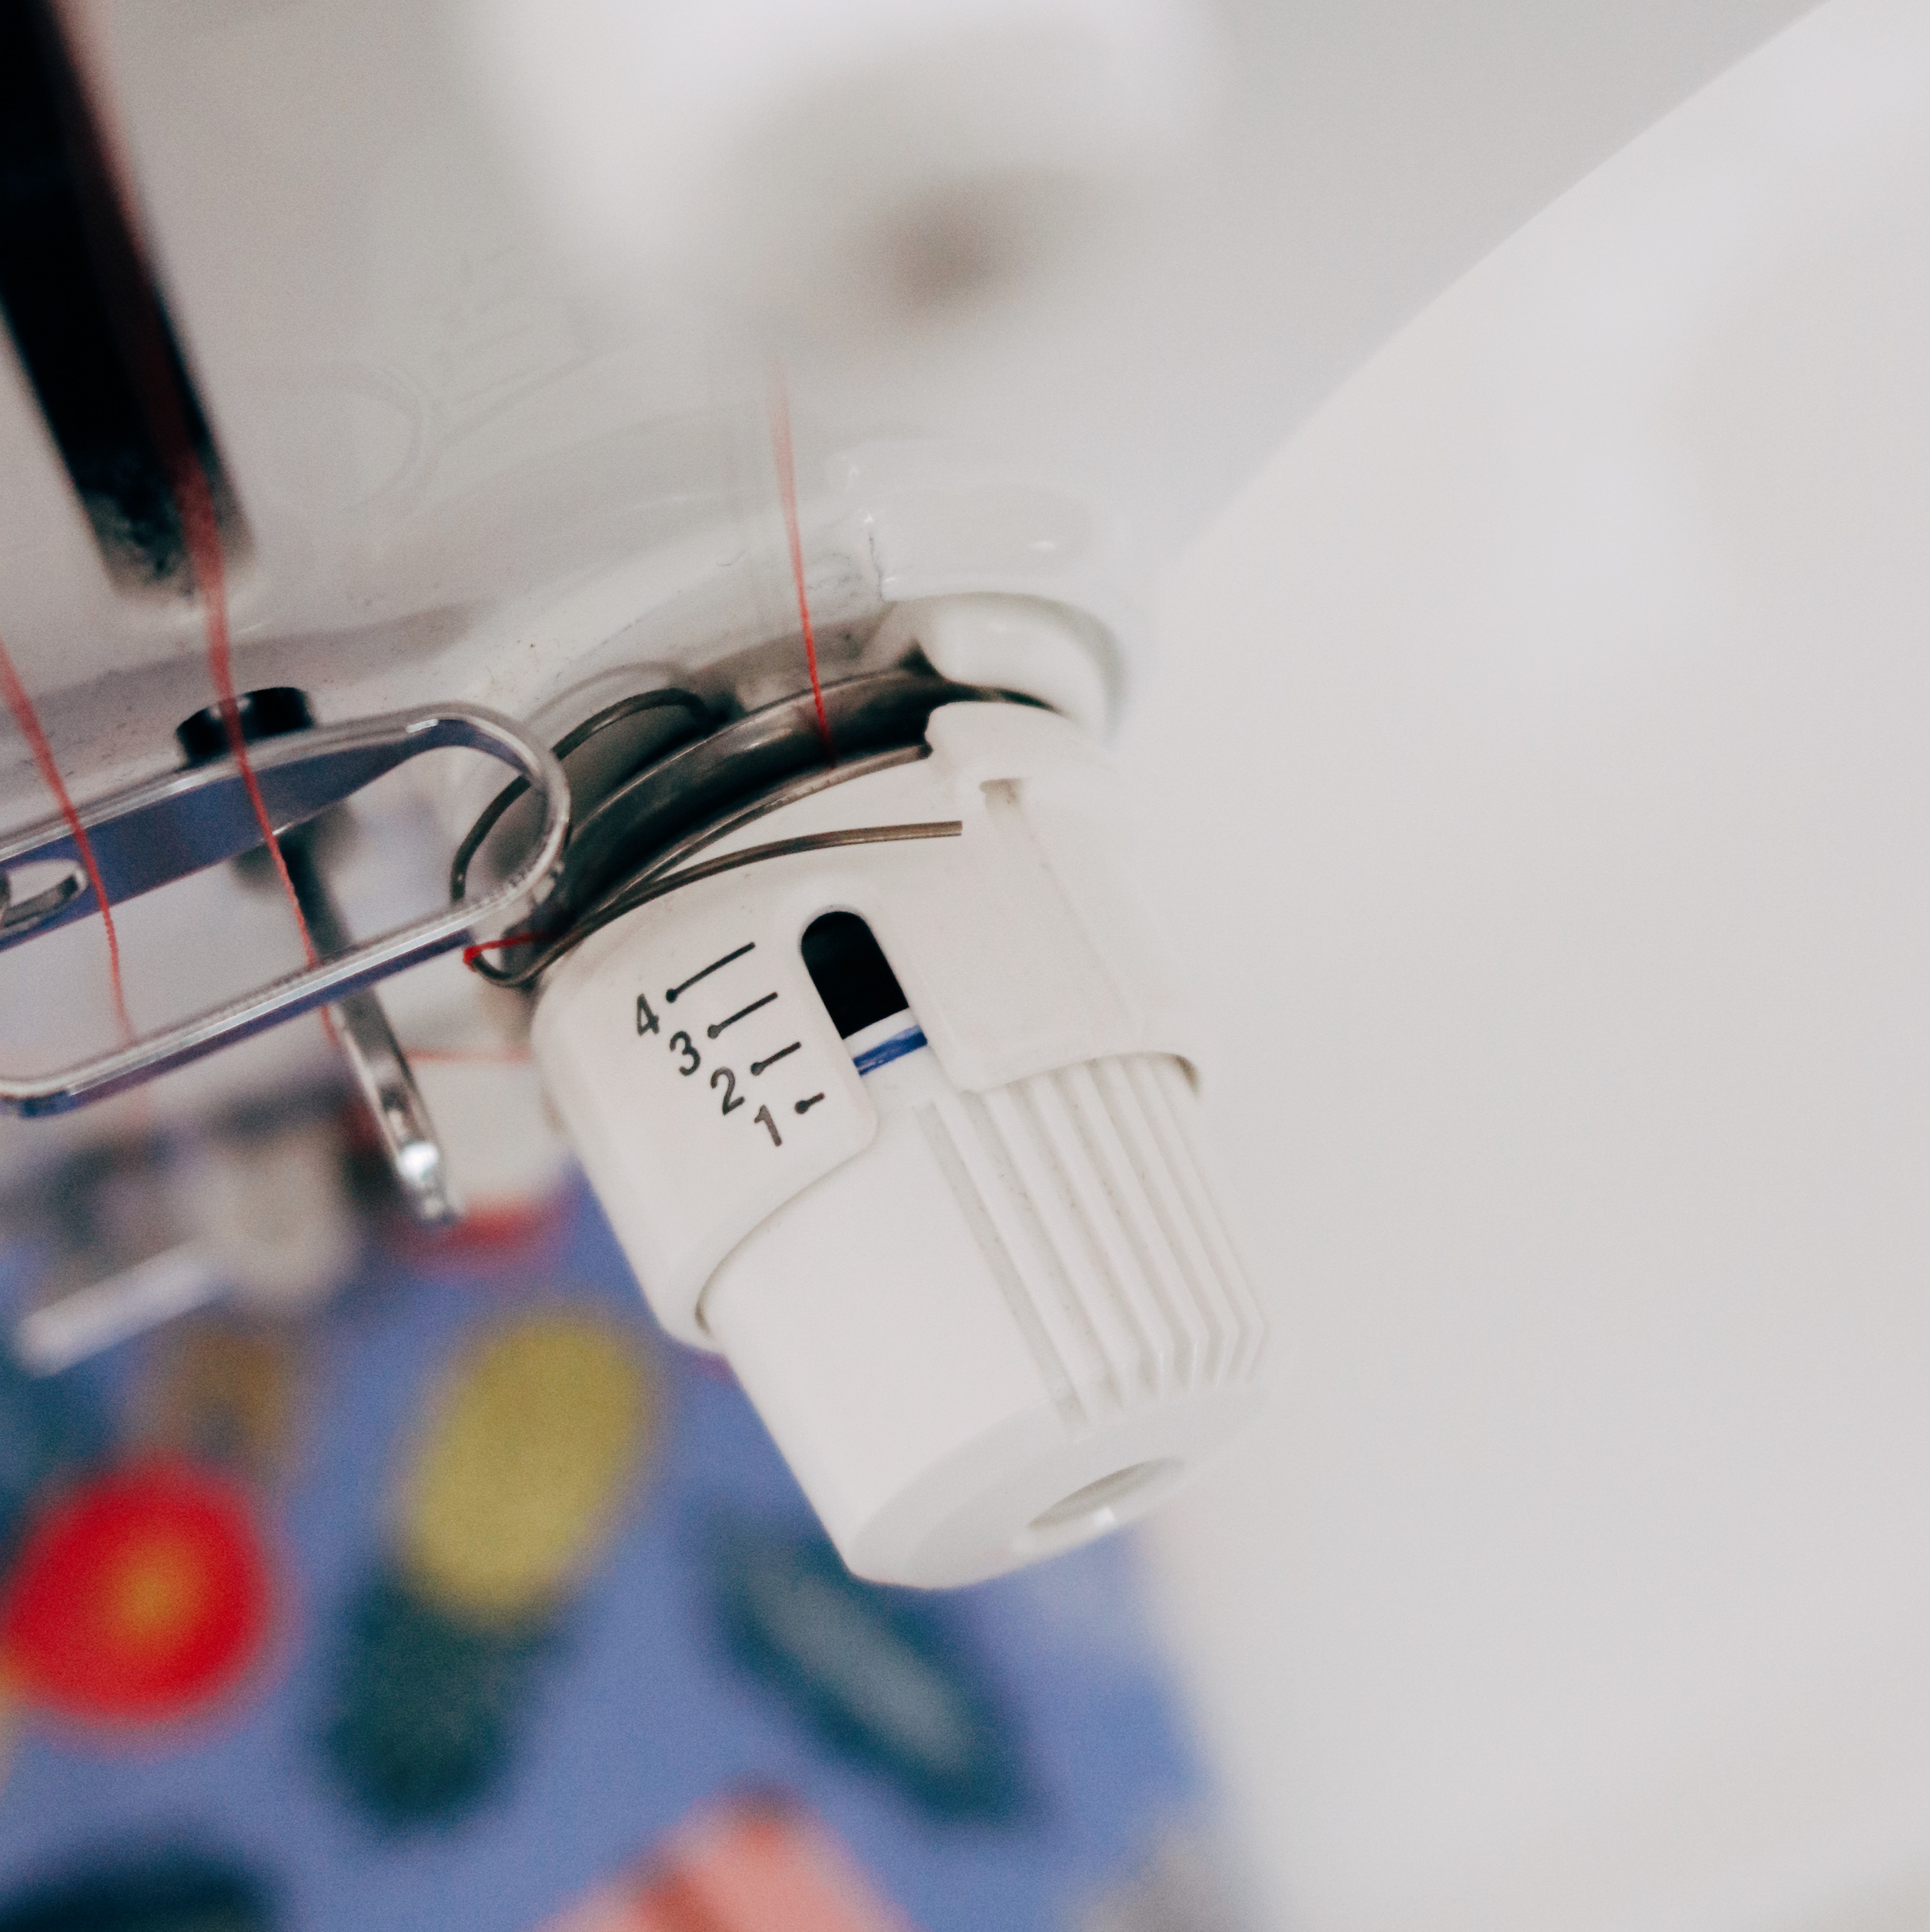
Adjusting the top tension dial is easy. The top tension dial goes from 1 to 4. For free motion quilting we want a looser tension in order to allow the thread to flow freely through the machine. Consequently, turn the tension dial to the left, lefty-loosey, so that the blue indicator line is between 1 and 2 on the dial. It takes quite a few turns of the dial to move between the numbers. Usually you’re going to want to be closer to 1 on the dial.
Now move onto the bobbin tension.
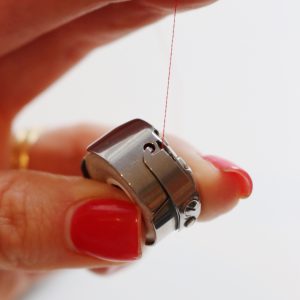
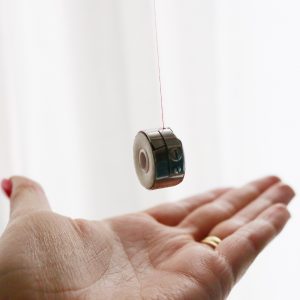
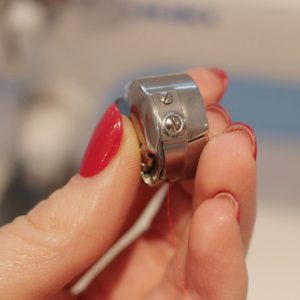
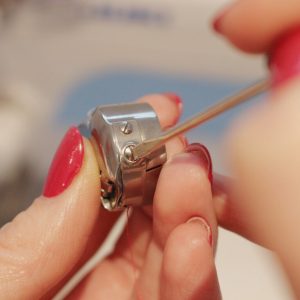
Good tension is like a love affair between the top and bobbin threads. So we want the tension, or the pull between the threads, to be evenly balanced. We’ve just loosened the top tension so now we are going to loosen the bobbin tension. Don’t panic. We’ll walk you through it, first with photos and then with a short video clip. You’ll see that adjusting the bobbin tension is easier than you think.
How to Loosen the bobbin tension.
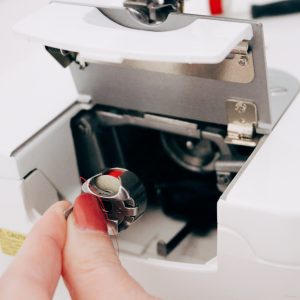
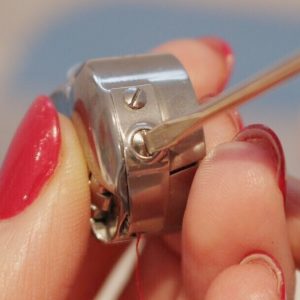
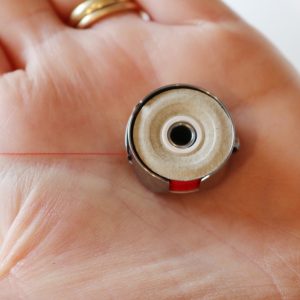
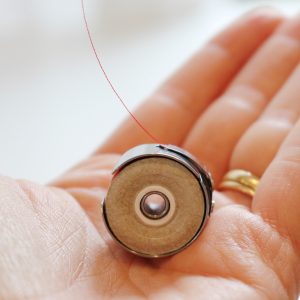

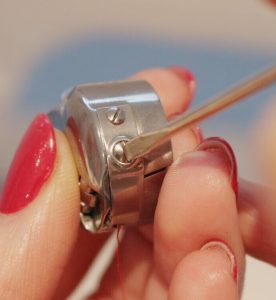


Take a look at the same process on this short video clip. The moving image shows just how easy it is.
Finally stitch it out.
Put your bobbin case back in your Juki TL QVP Mini and do some free motion stitching on a practice piece. You want to see how your adjustments play out. Your stitching should feel smooth with no puckers on top and no loops underneath. If you find that you’ve gone too far and the bobbin tension is now too loose, just turn the larger screw 5 minutes in the other direction. Righty-tighty. You may need to adjust back and forth a bit until you find the perfect balance.
Thread Tension at a Glance
Remember that the perfect stitch is like a love affair between the top and bobbin threads. Good relationships require a bit of tweaking. This kind of balancing act is normal. When the thread tension is evenly balanced, they meet in the middle. Sometimes it helps to put different coloured threads in the top and bobbin so you can easily see the difference.
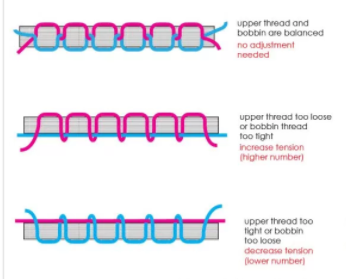 Thread tension is like a game of tug of war between the top and bottom threads. We are aiming for an even balance between the top and bottom threads. Lots of things can upset the balance between the top and bobbin threads. For example using threads with differing fibres or weights, the type of wadding or batting as well as the type of fabrics in your quilt sandwich. All these variables can affect the balance of your thread tension. Being able to make small adjustments as you go along will keep your tension balanced.
To sum it all up.
Free motion quilting requires a looser tension so that the thread can flow smoothly through your sewing machine. To prepare your Juki TL QVP Mini for free motion quilting:
- First, drop the feed dogs and change to a free motion darning foot.
- Next, loosen the top tension to between 1 and 2 on the dial.
- Then, loosen the bobbin tension.
- Check, the bobbin case in the palm of your hand to see if the thread is flowing smoothly.
- Finally, do some free motion quilting on your machine and see how the adjustments stitch out.
- Check. Adjust. And repeat if necessary.
- One last piece of advice is to use a 100/16 Topstitch needle for free motion quilting. The larger eye of the topstitch needle allows the thread to flow smoothly.
Stitching happily ever after
The Juki TL QVP Mini is a fantastic tool, especially for free motion quilting! Being a simple straight stitch machine, the Juki TL QVP Mini is easy to tension. The key is to make small systematic adjustments and then to stitch on a practice piece to see how the adjustments play out. The more you do it, the more confident you’ll be. Being able to balance your thread tension will enable you to enjoy using a variety of different threads, fabrics and wadding in your free motion quilting projects. Getting to know your Juki straight stitch machine and learning how to make simple tension adjustments will make your free motion quilting fabulous and fun and keep you stitching happily ever after.





I have this machine. What kind of bobbin are you using??