Here’s a fast and fun Easter Egg Garland project that let’s you showcase your favourite fabrics. The great thing about fabric garland or bunting is that you get to use it year after year. Even better, you can rearrange this kind of garland or add more to it later. The challenge was figuring out how to sew these with what I had available at home. Of course, fabric wasn’t going to be a problem!
Gathering the materials
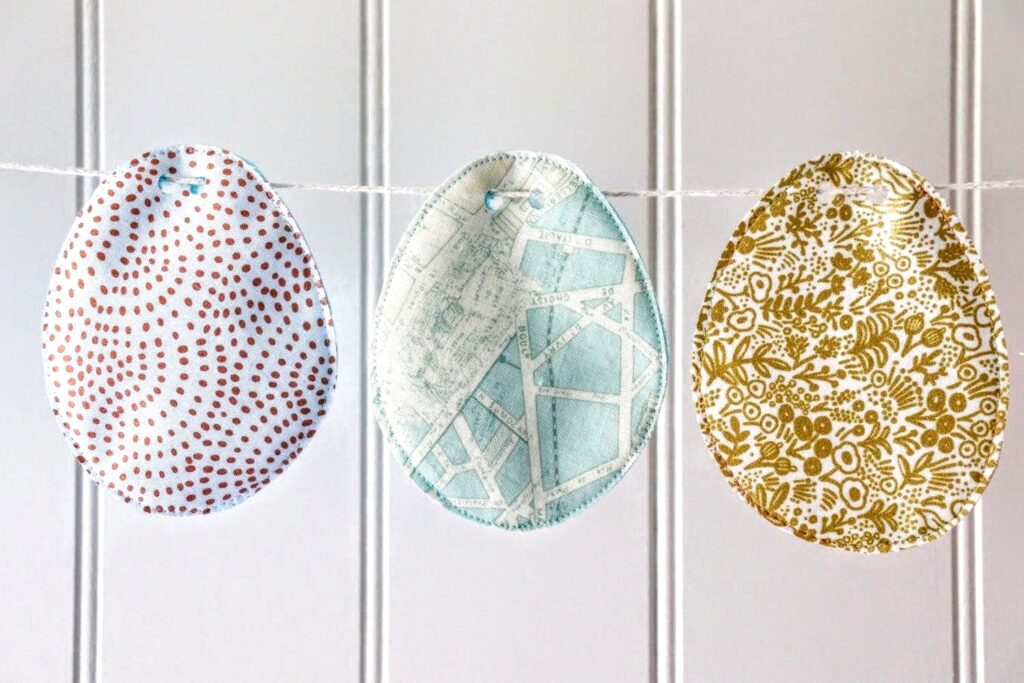
- favourite fabrics – the egg template is roughly 3 X 4 inches. I used mainly quilting fabric from my favourite designers but you could use whatever you have.
- Vilene interfacing – to give a bit of stiffness to the fabric and keep it from unraveling too much. This is nice but non essential. Don’t worry if you don’t have it.
- cardboard egg template – I got a nice egg template here from First Palette a kid’s craft website. I thought that these eggs were a nice size. Big enough to show off the fabric but small enough so I didn’t use too much.
- backing material – I used felt, fleece and greeting cards
- pretty thread – I used a variegated Fantastico thread called Flower Power #5043
- string to thread through the eggs – I couldn’t find any string or yarn so I used a thin bungee cord. It worked great.
- hole puncher – for punching holes in the eggs
Preparing the fabrics
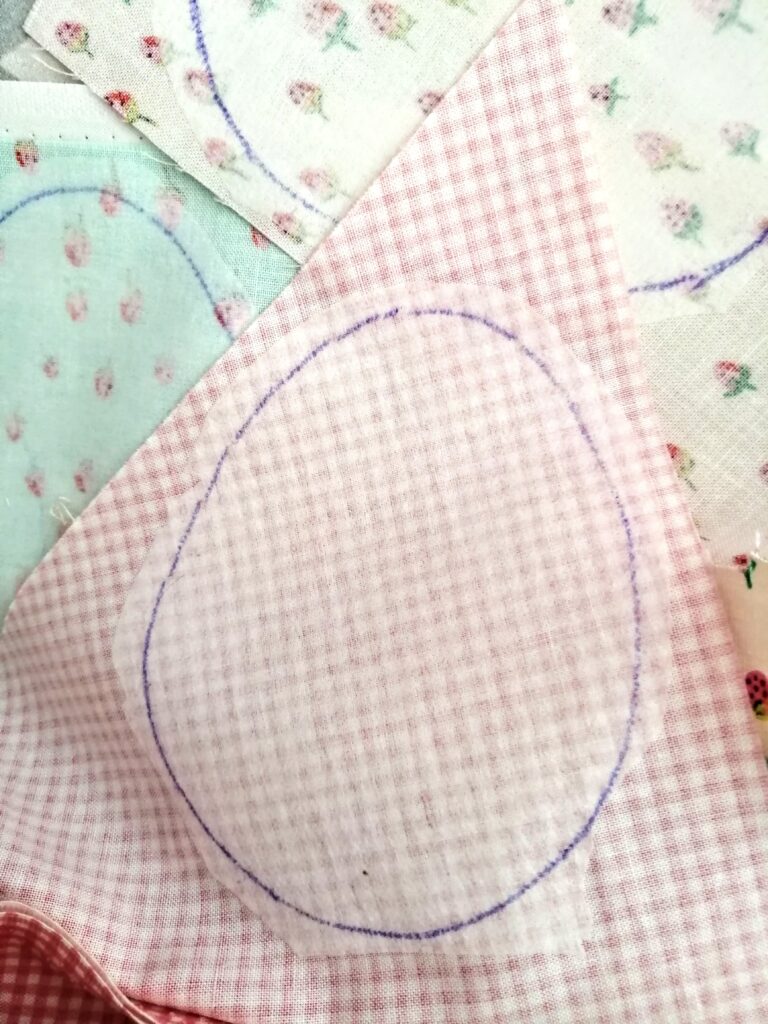
First print the egg template on card and cut it out. Get your Vilene interfacing and use the cardboard template to trace egg shapes on the soft side of the vilene. I have lots of Vilene because I use it often for my raw edge applique projects. Vilene has a soft side and a bumpy side. Lay the bumpy side down on a surface, I use my ironing board and trace lots of egg shapes. Leave a bit of space between the shapes. You’re going to cut the vilene shapes about a centimeter OUTSIDE the drawn line.

Now I’m going to cut out the vilene about a centimeter OUTSIDE the drawn line and then iron it onto the back of my chosen fabrics. I use a piece of fabric over the vilene to keep from melting it.

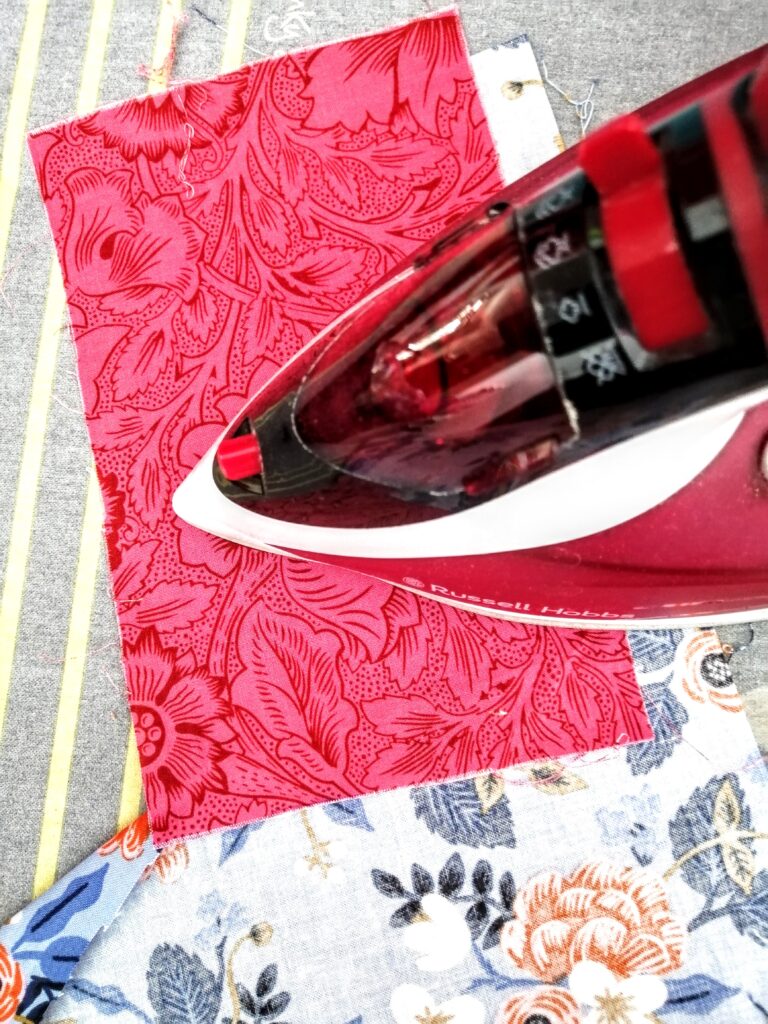
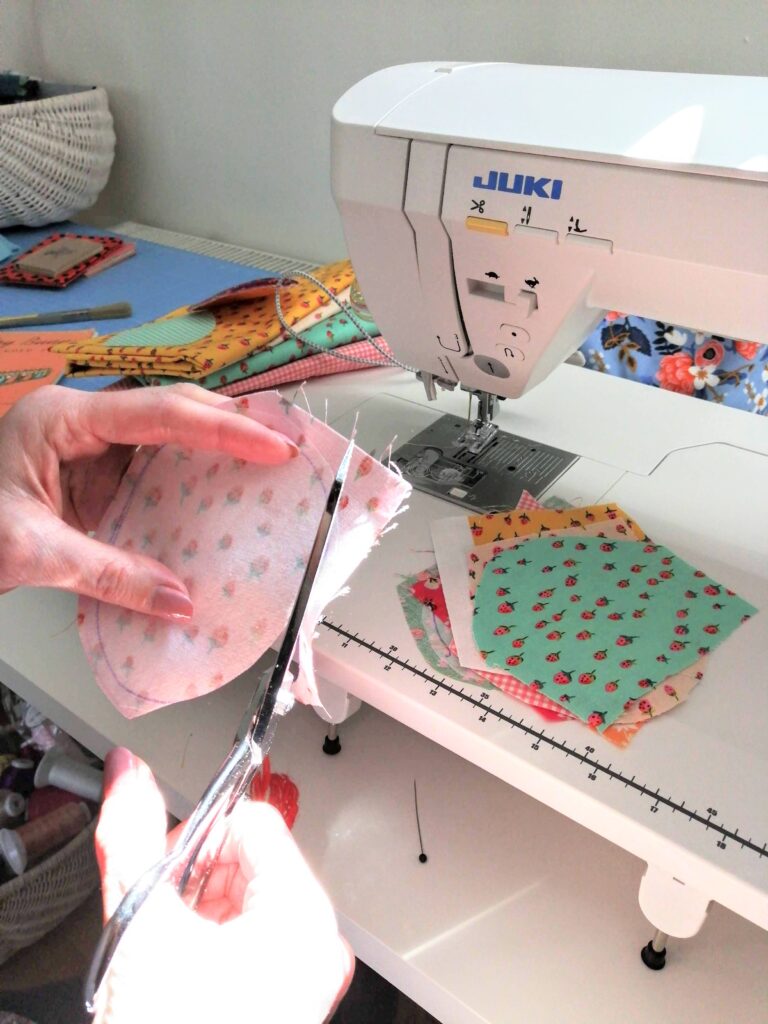
The vilene adds a bit of structure or stiffness to the fabrics. I also find that I get a cleaner cut when I cut through both layers and of course, it doesn’t ravel as much. Cut out all the Easter egg shapes with a good pair of sharp scissors.
Stitching the Easter egg shapes to the backing
Once the vilene backed Easter egg shapes are cut out, they need to be stitched to a backing to give them a bit more stiffness so that they will hang nicely from the bunting string. I tried several different backing.
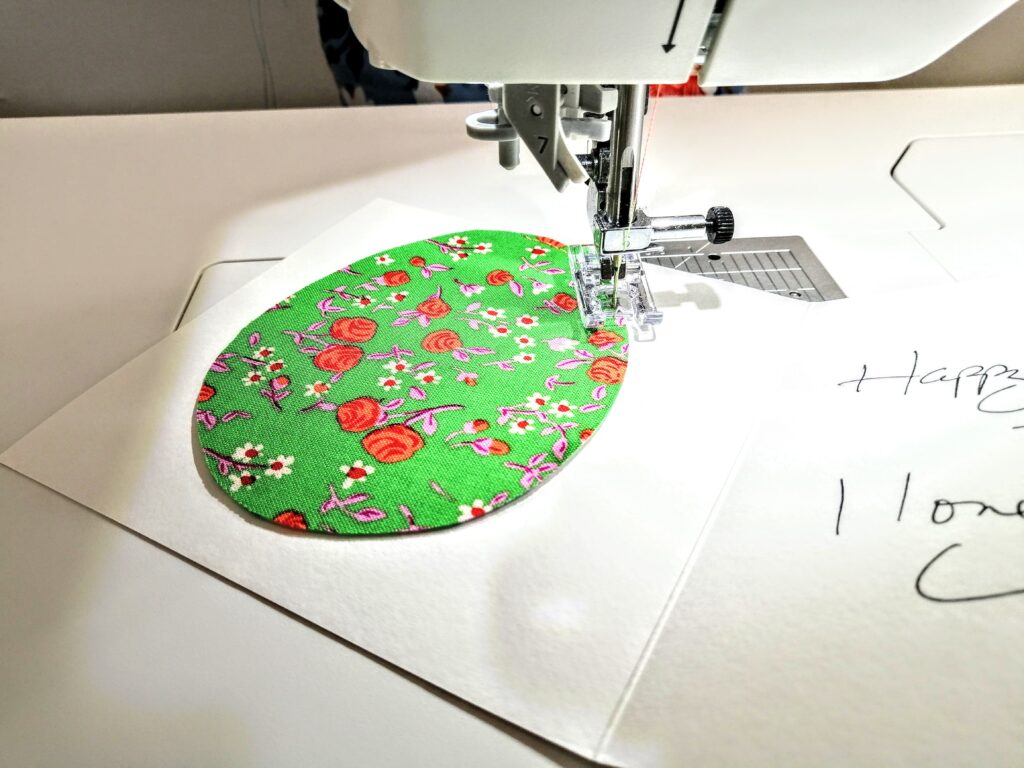
Using greeting cards for backing
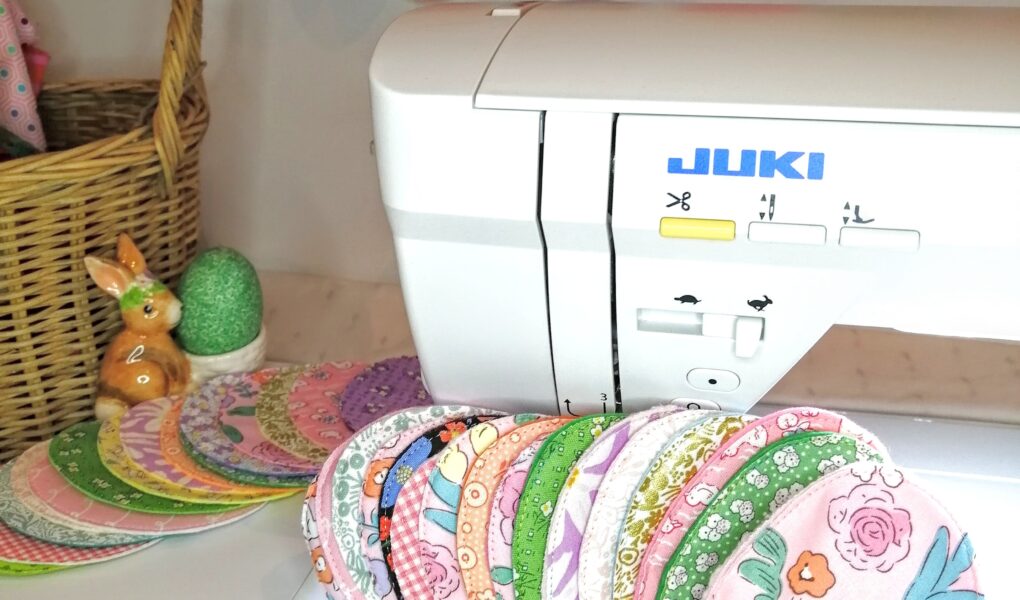
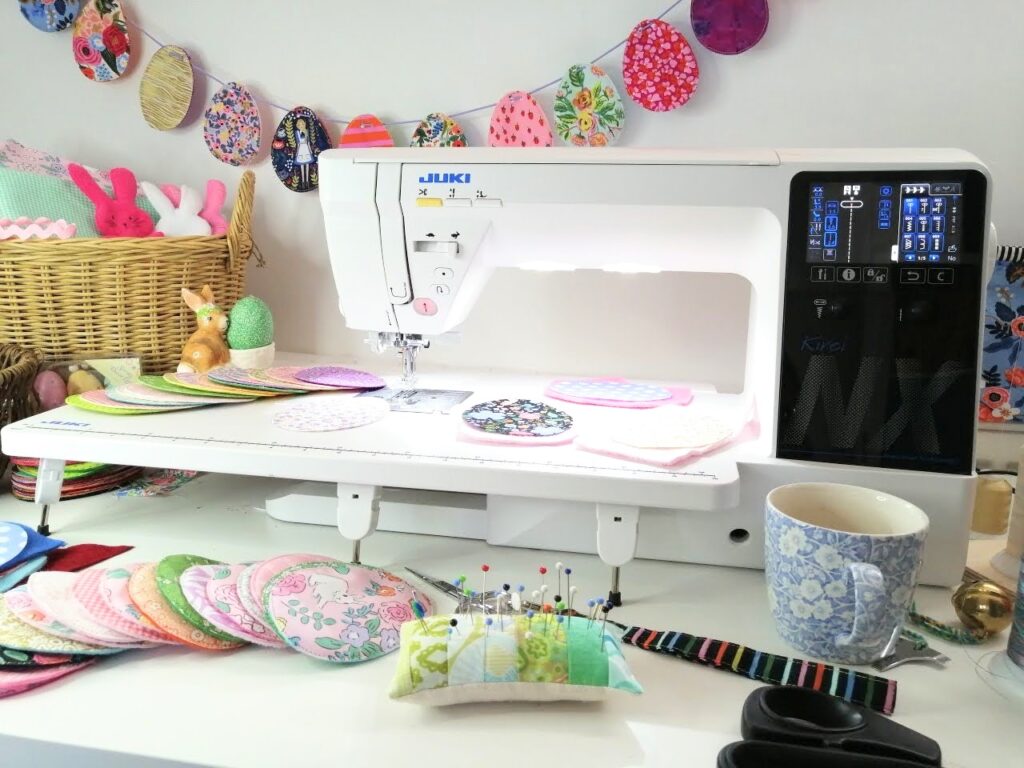
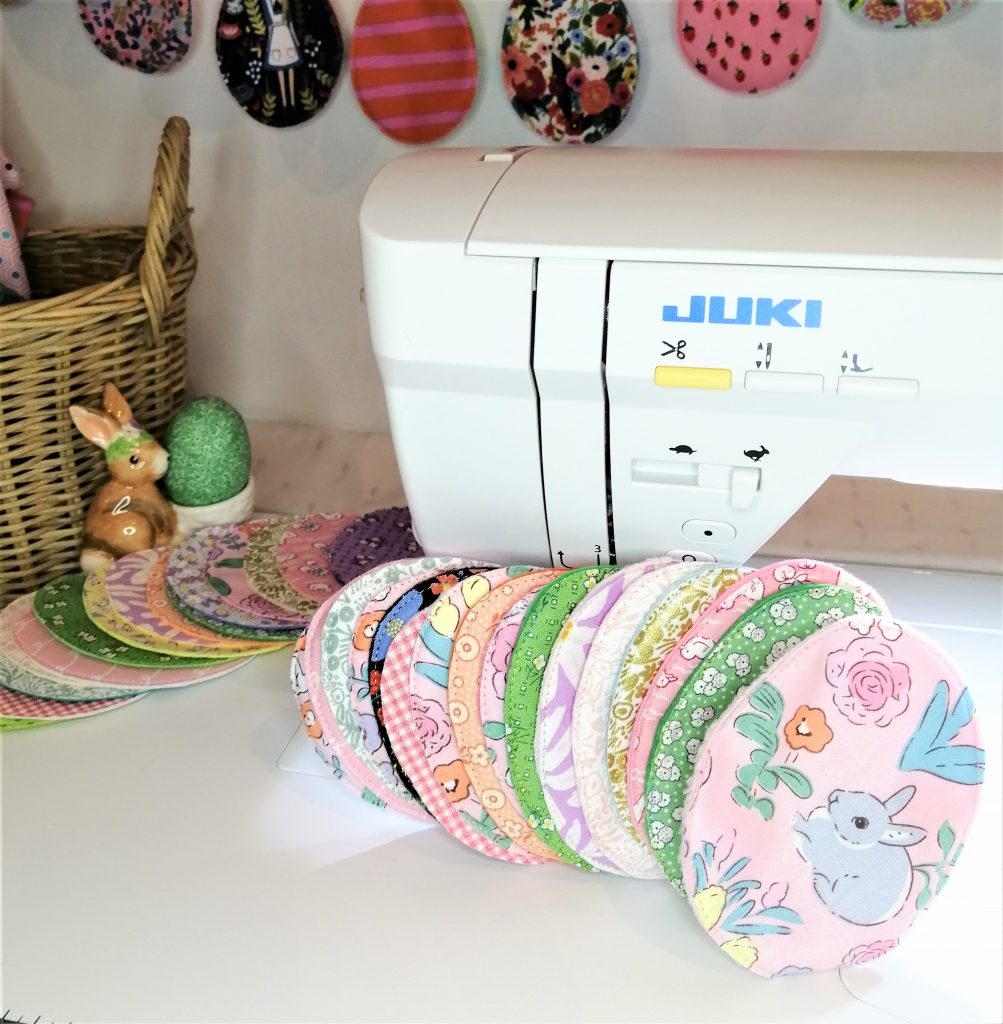
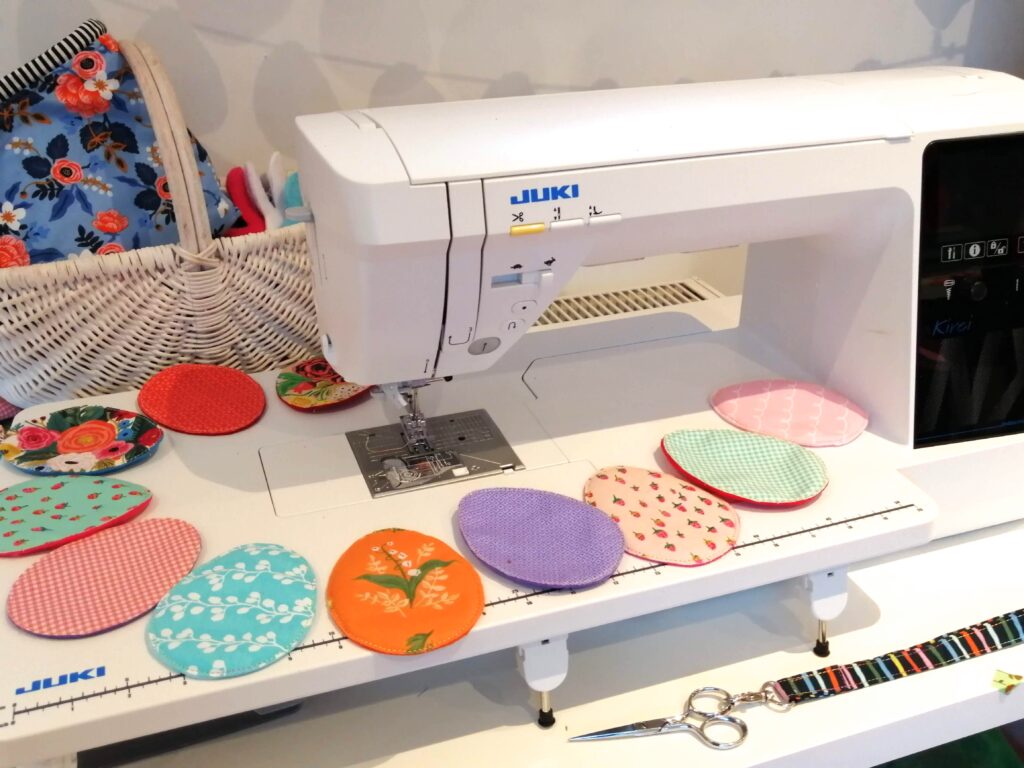
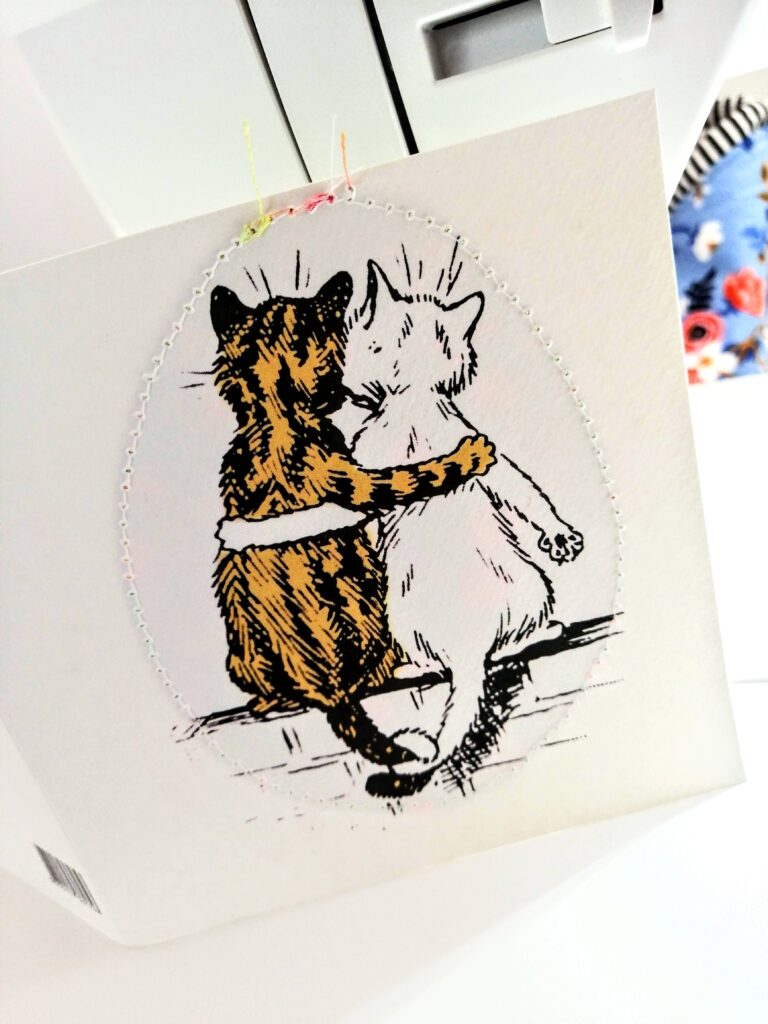
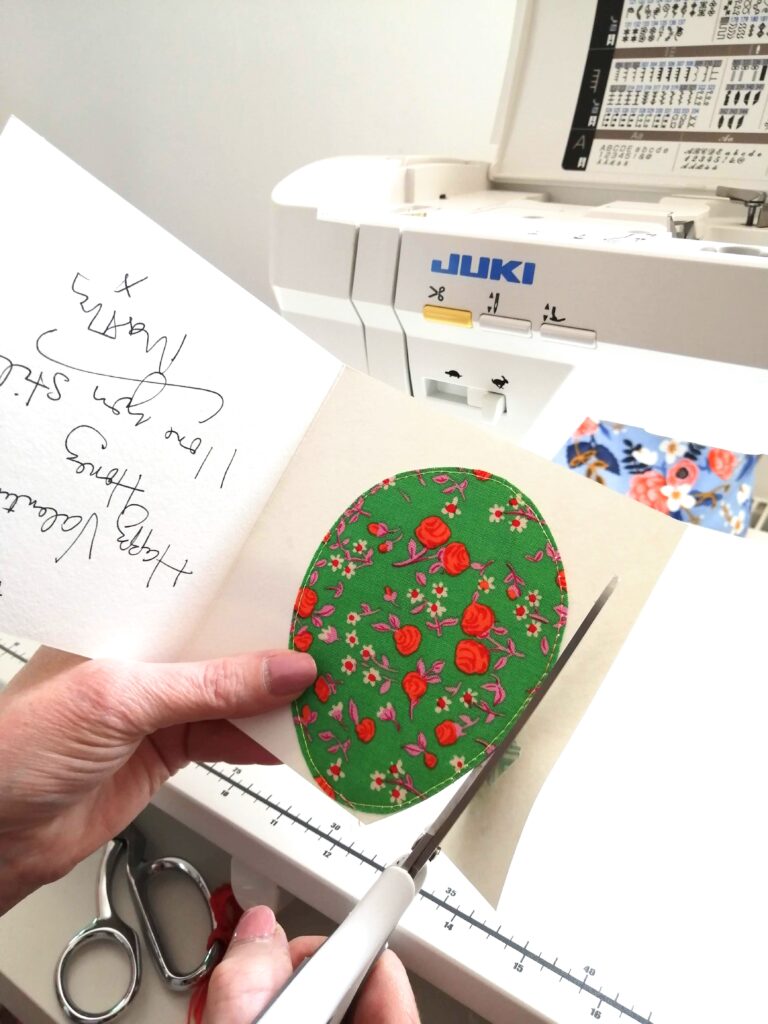
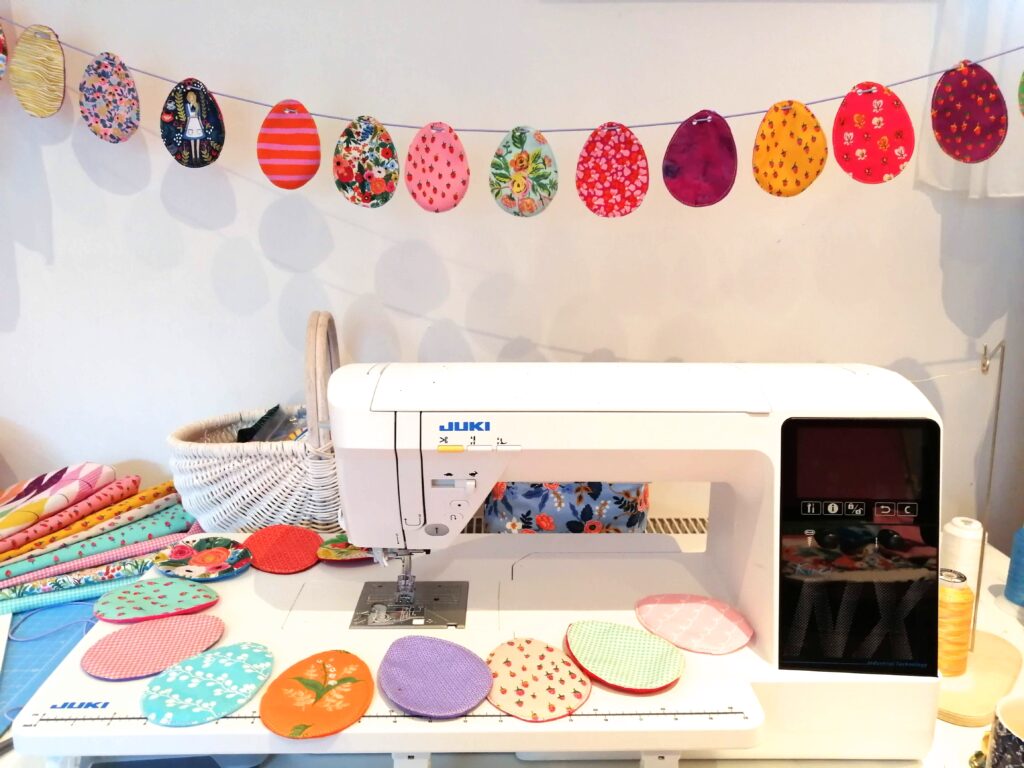
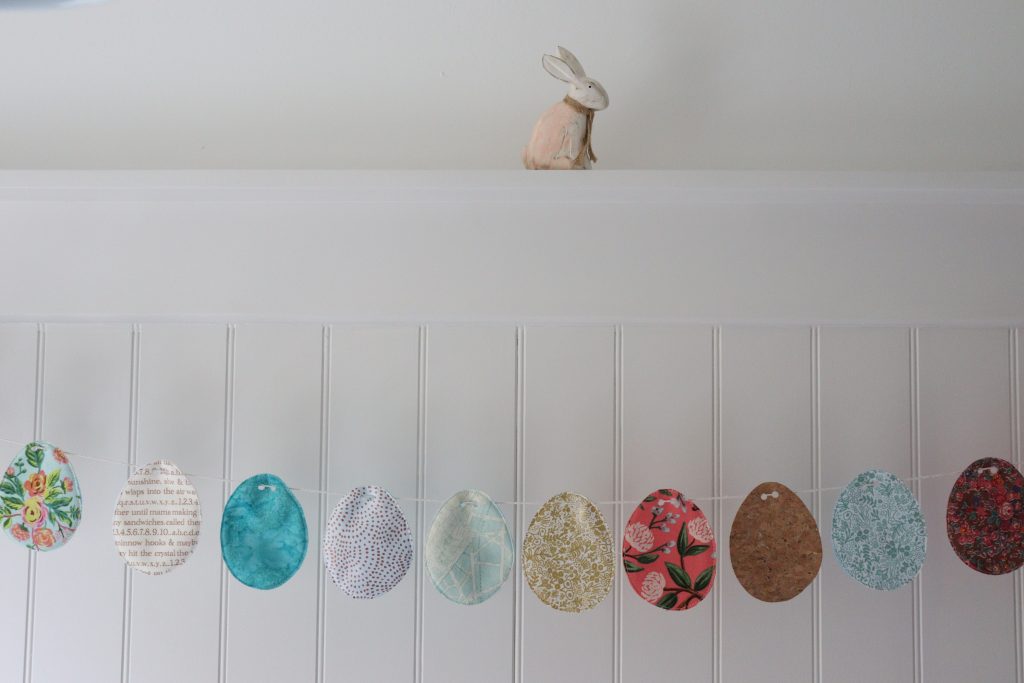
First I tried using greeting cards as backing. If you’re like me you have a whole drawer full of pretty cards from previous years. They were too pretty to throw away. This project gives them a second lease on life. I took an egg and placed it on the back of the greeting card image and stitched round the egg shape. Then I used a pretty variegated thread on top and in the bobbin. I adjusted my stitch length on the Juki NX7 to 3. Then I stitched all the way around the egg shape. Finally, I cut around the fabric shape with some good paper scissors. Using card worked surprisingly well. And it was fun to see the pretty illustrations on the back of the eggs.
Using fleece for backing
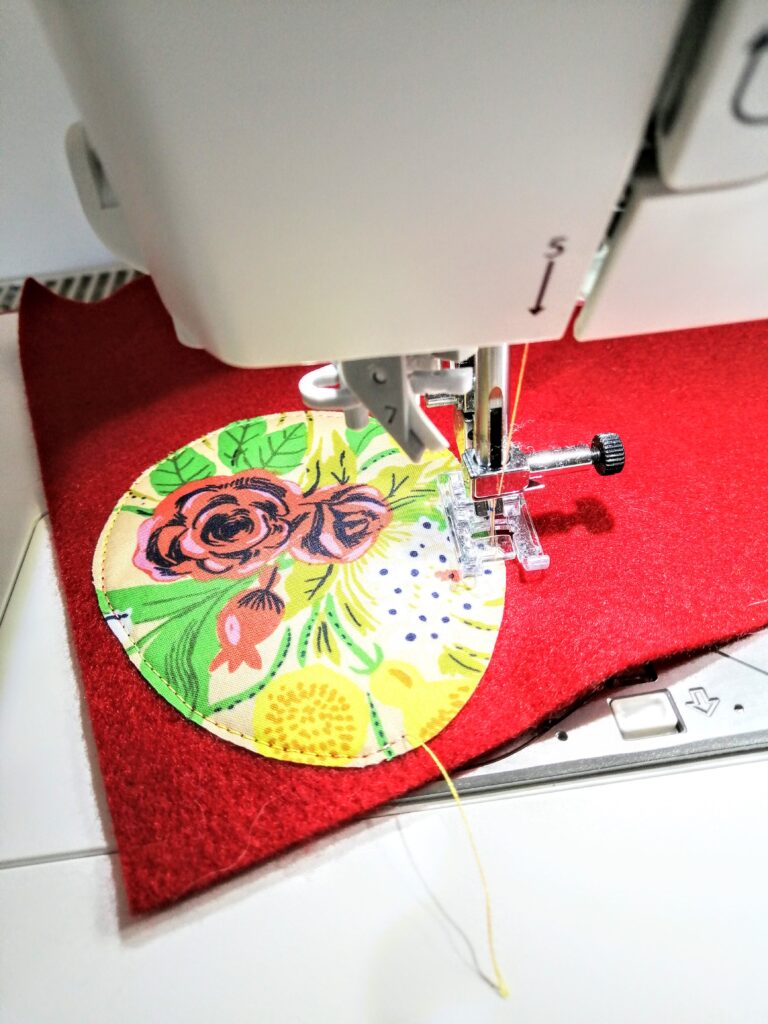
Next I tried using fleece. I often use fleece as a backing for my quilts so I have fleece in lots of colours. This time I stitched the vilene backed egg shape to the fleece. I have to say that the float function on the Juki NX7 is perfect for this kind of stitching.
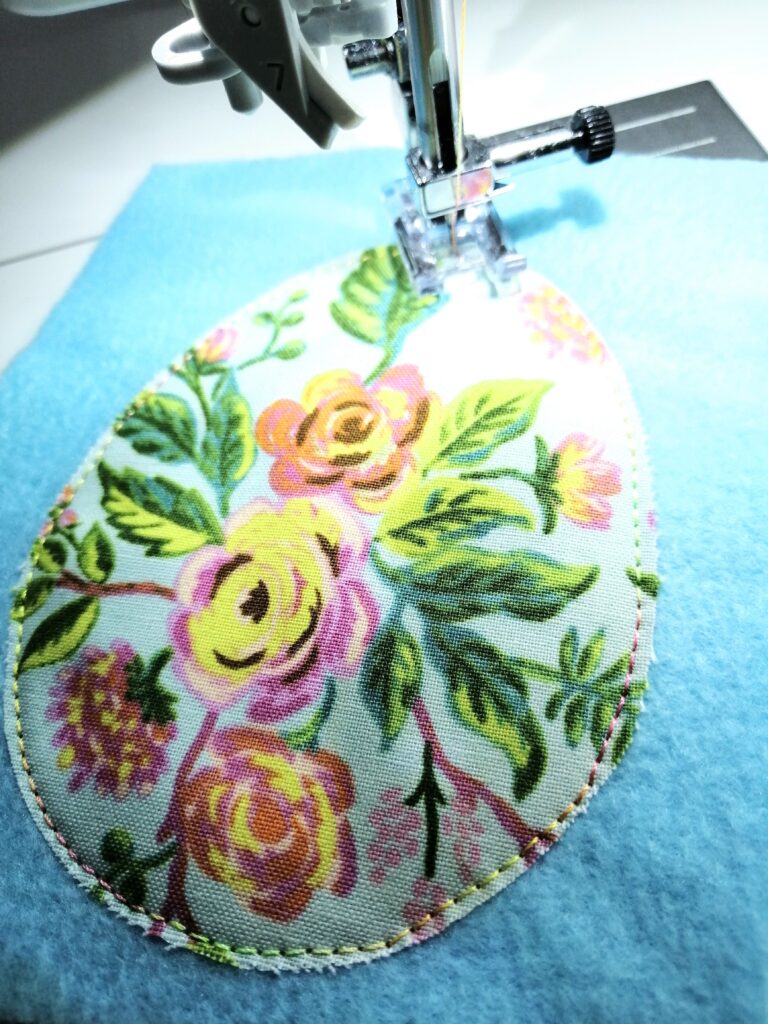
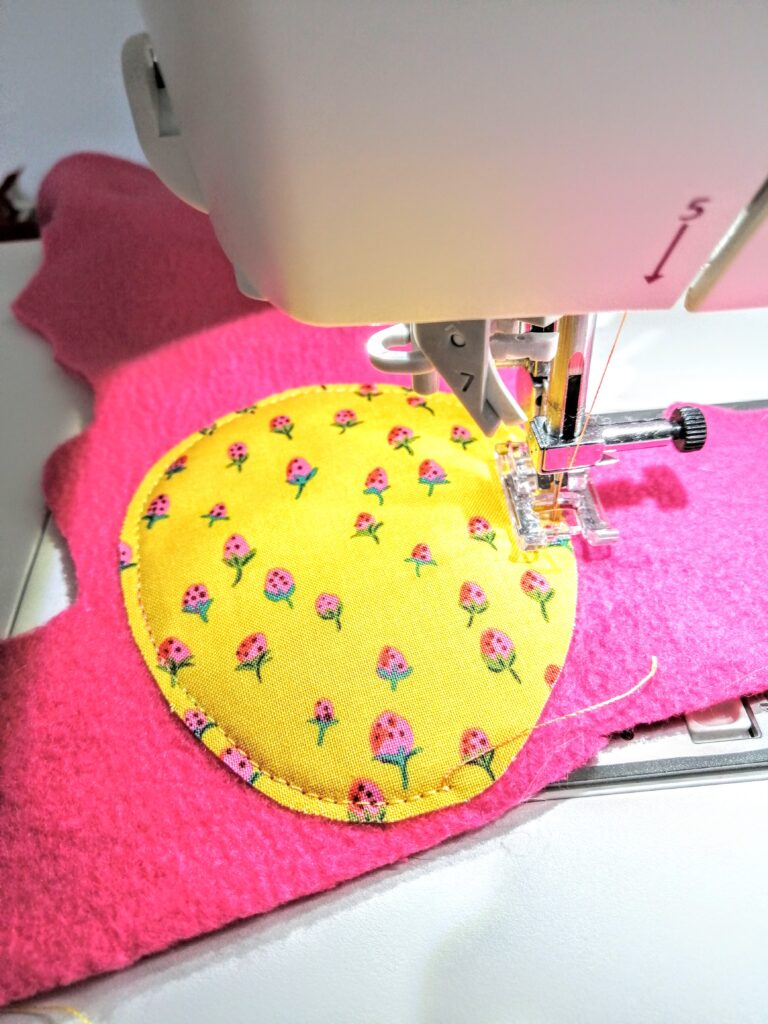
The float function makes the presser foot rise slightly each time I stop stitching. This leaves my hands free to guide the fabric under the needle. This variegated Fantastico thread looked so pretty on EVERY fabric! The fleece worked well too. It gave the egg some fullness and was still heavy enough to hang well.
Using felt for backing
I managed to find a few pieces of coloured felt. These worked great. Felt combines the stiffness of the card and the body of the fleece. The felt was ideal but the other options worked well too. The main goal here was to add some weight to the fabric egg shapes so that they would hang nicely on the bunting string. .
Assembling the Easter Egg Garland
Once all the fabric was stitched to the backing, I was ready to assemble the garland. I was hoping to use some string or yarn but I couldn’t find any. What I did find was some thin bungee cord. So that’s what I used.
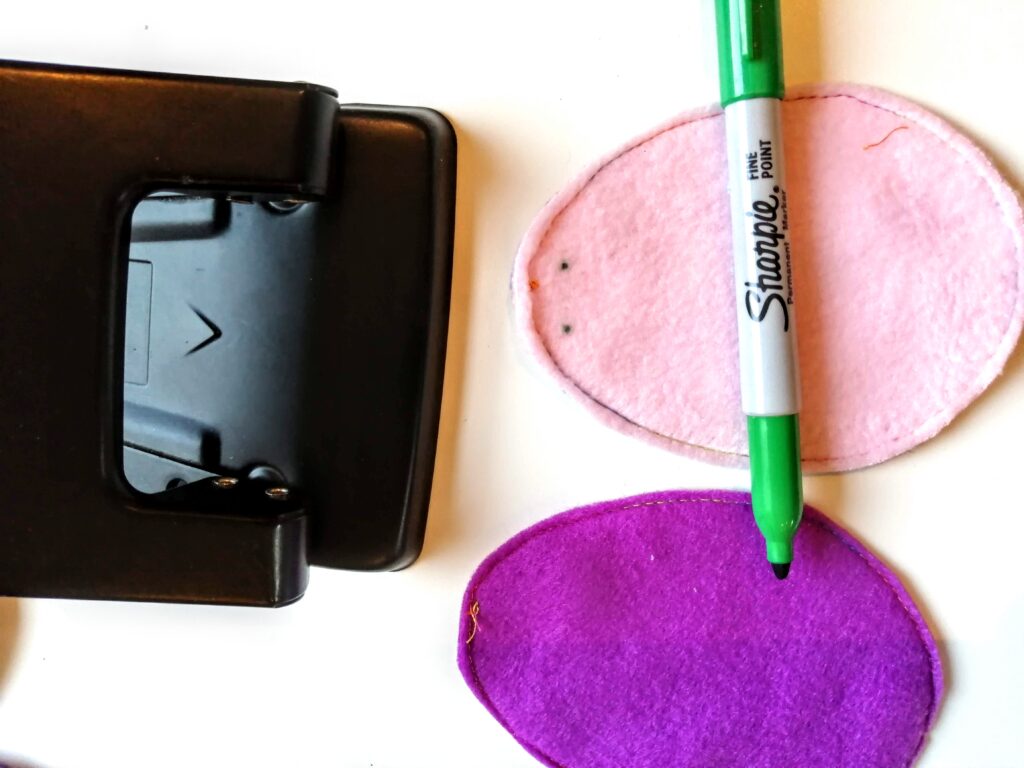
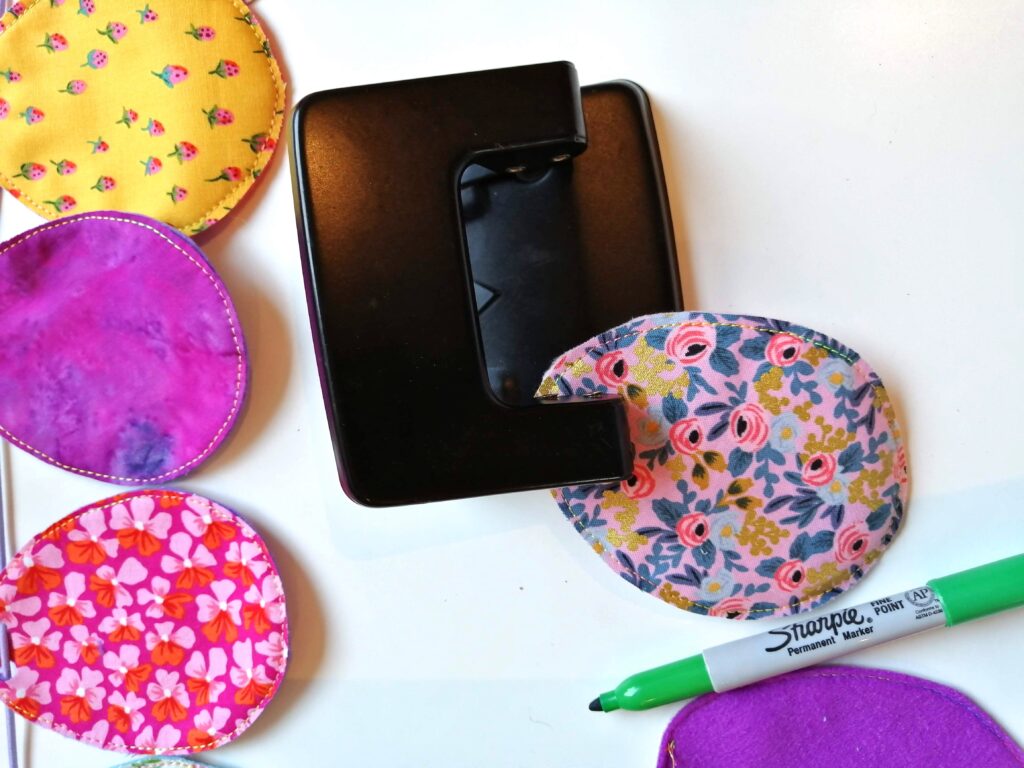
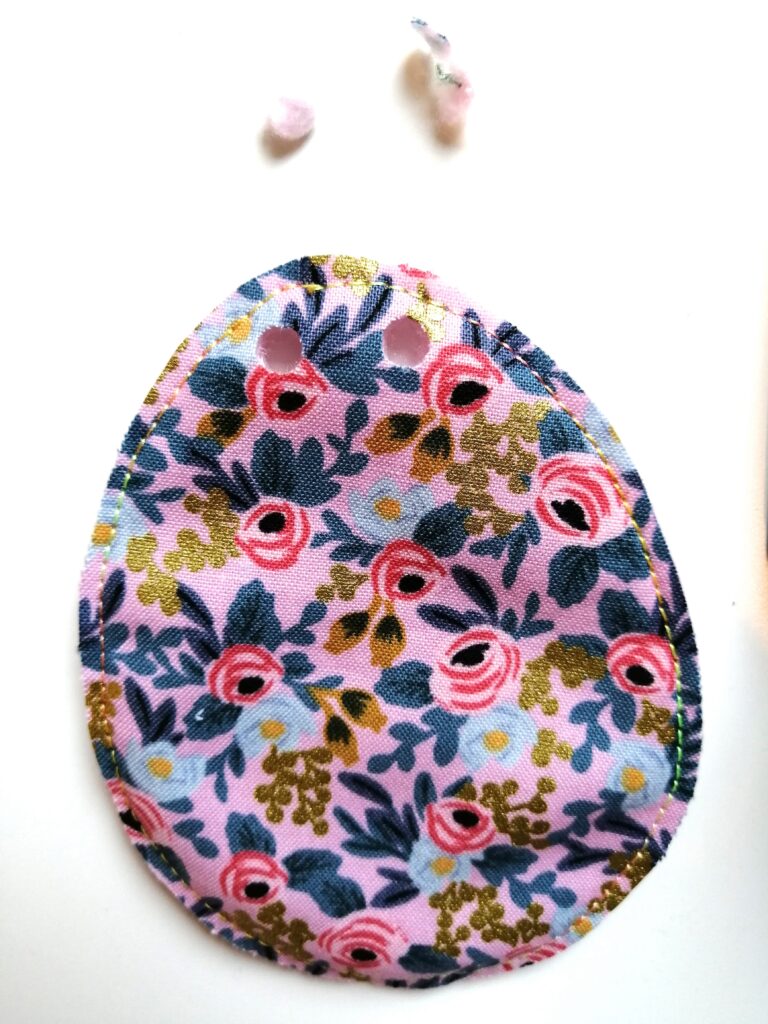
Now I needed to figure out how to get the eggs to hang from the cord. I tried threading it through, but the bungee cord was too thick. Then I tried poking a hole with little scissors, but it was a bit messy. Then I tried using a hole puncher. Much to my surprise, it worked great! The hole puncher managed to cut through both the layers; the fabric and the backing. It cut through the card, felt or fleece. Amazing! Problem solved.
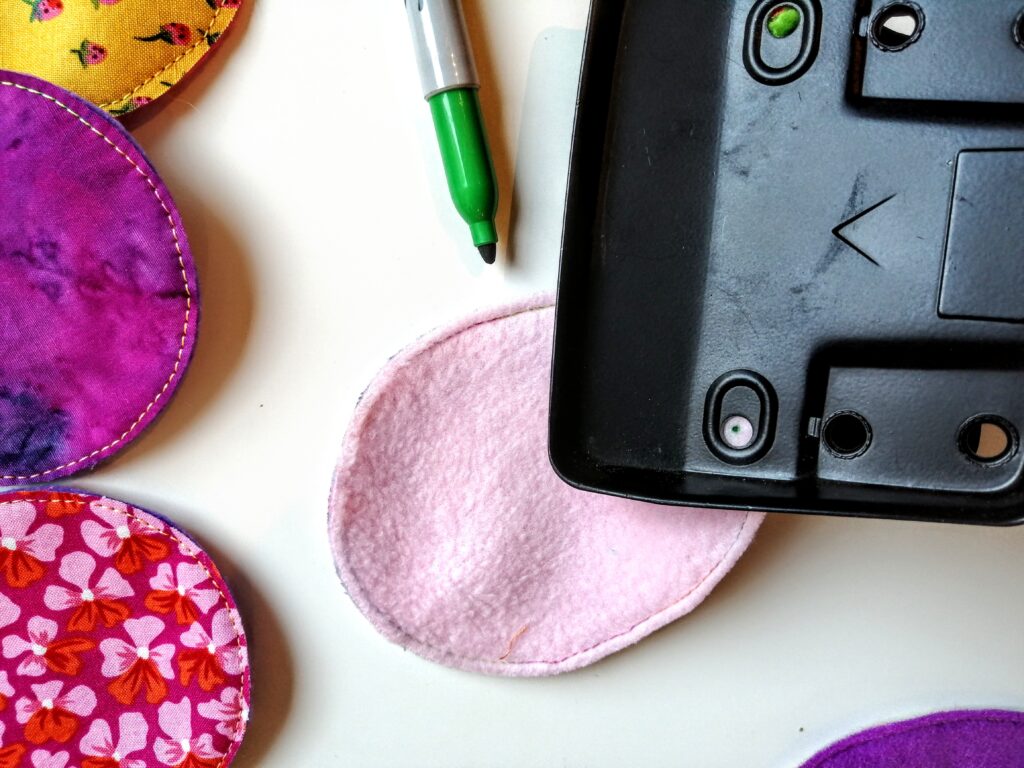
The next challenge was to get the holes in the right place. With a bit of trial and error, I found that by putting a dot on the backing where I wanted the hole to be and looking through the little window on the back of the hole punch, I could get a good placement.
Now all I had to do was to thread the bungee cord through the holes in the fabric eggs.
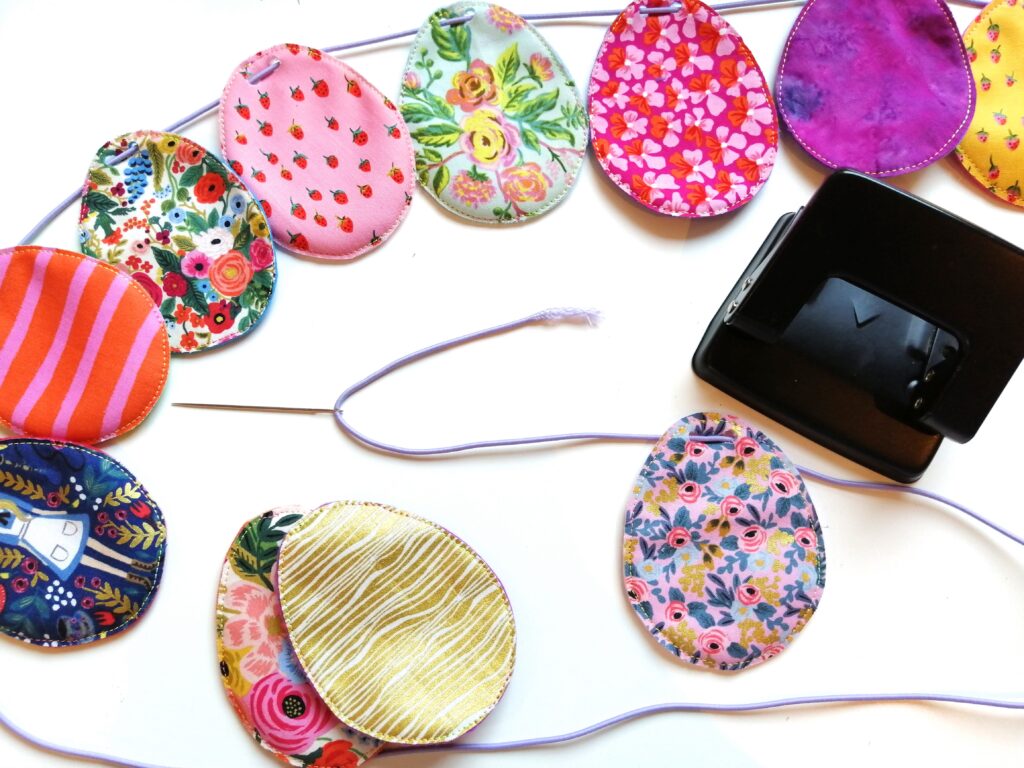
Any kind of fine rope, twine or yarn would work well for the garland.
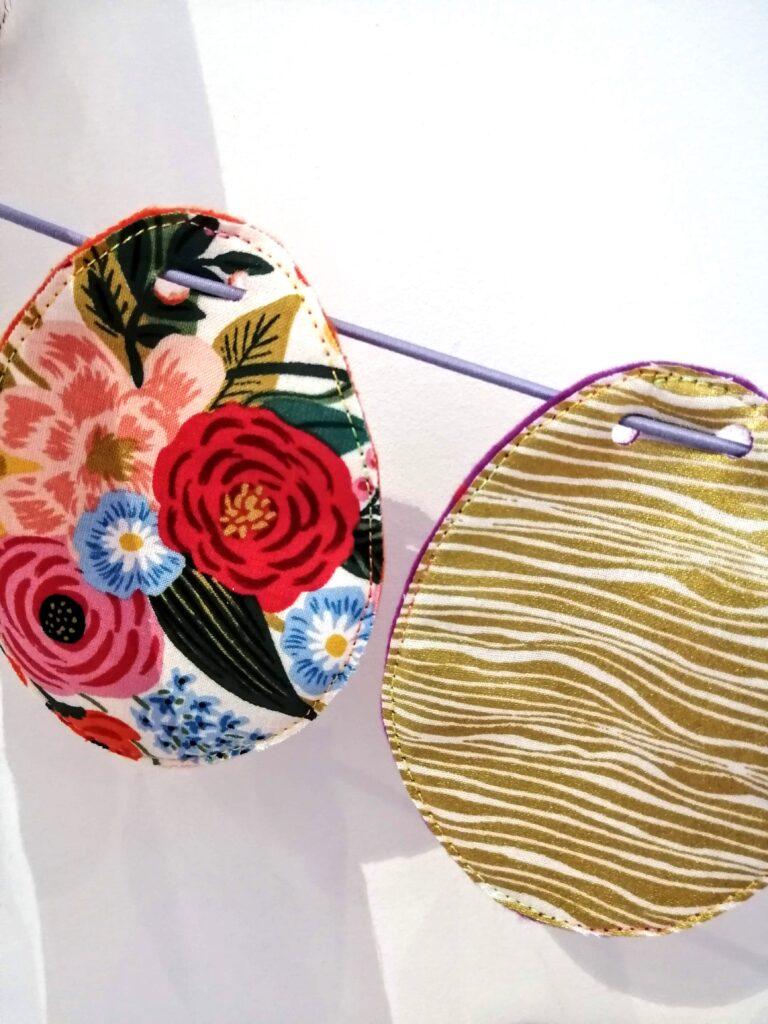
Well, it turned out lovely! I’m going to make more and maybe play with the arrangements. I’m so happy to be able to add this to my collection of Easter decorations. Right now it’s looking egg-stremely festive over my sewing space.
Update
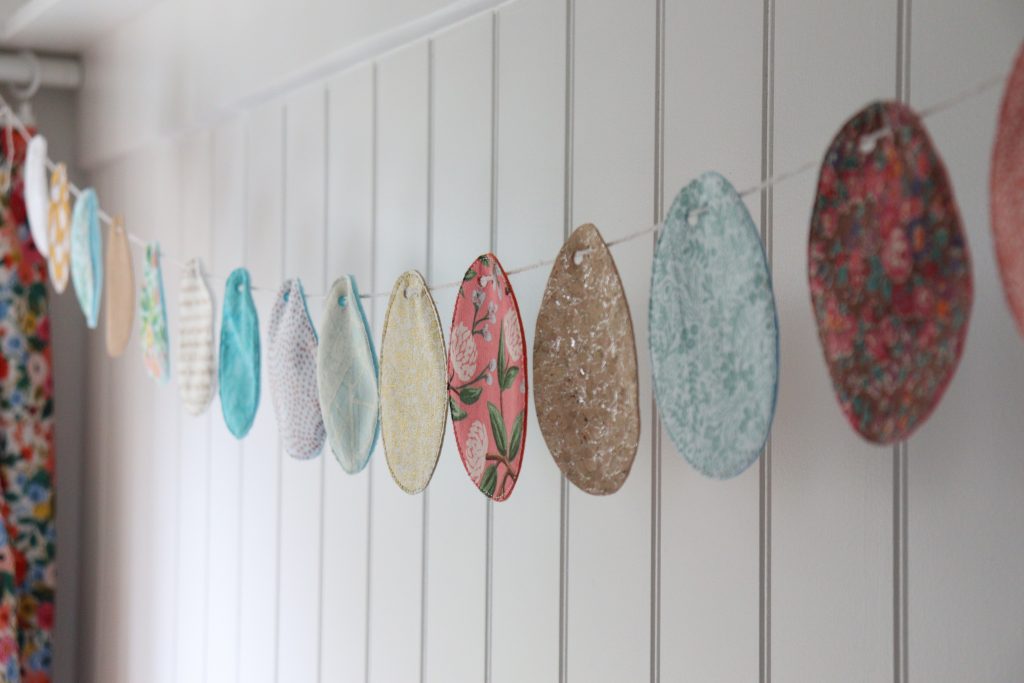
This year, while I was making Easter egg garland, I went for a more sophisticated soft teal and terracotta palette. I also chose a natural ball of string to string the eggs. It gave a slightly different look. I’m enjoying getting to add my new favourite fabrics to the garlands.
I also tried decorating the eggs with the special stitches on the Juki NX7.
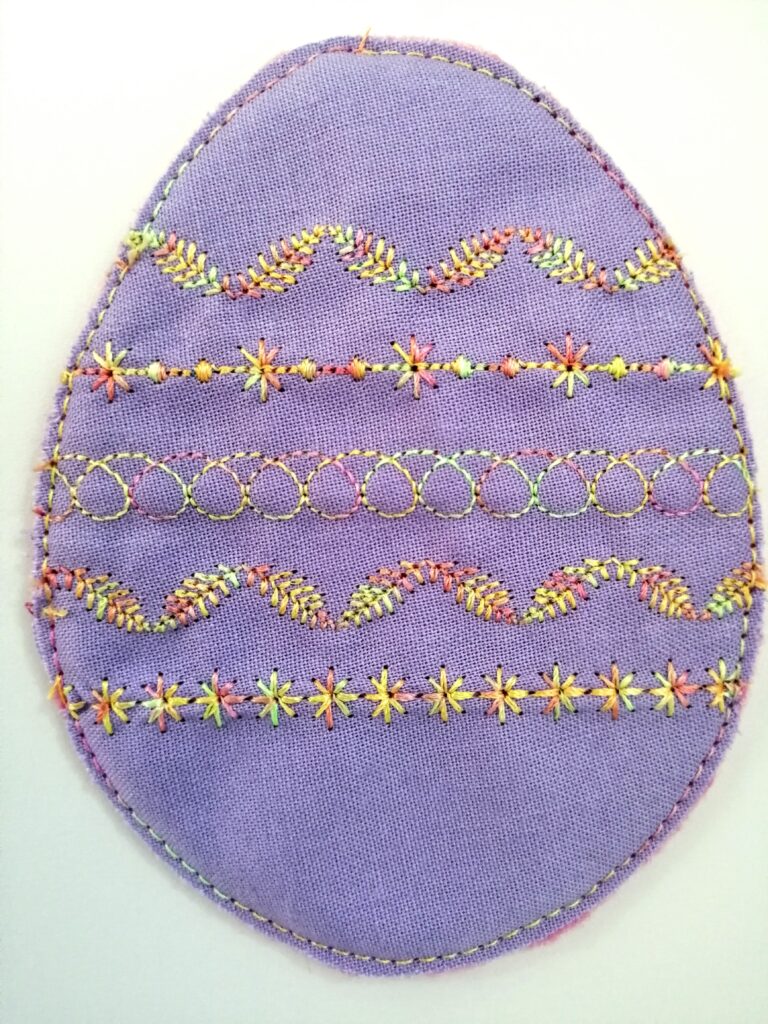
The variegated Fantastico thread really shows off the special stitches.
Making Easter Egg Garland was a fun and looked so pretty around the house. It was also a sweet gift to send family and friends.
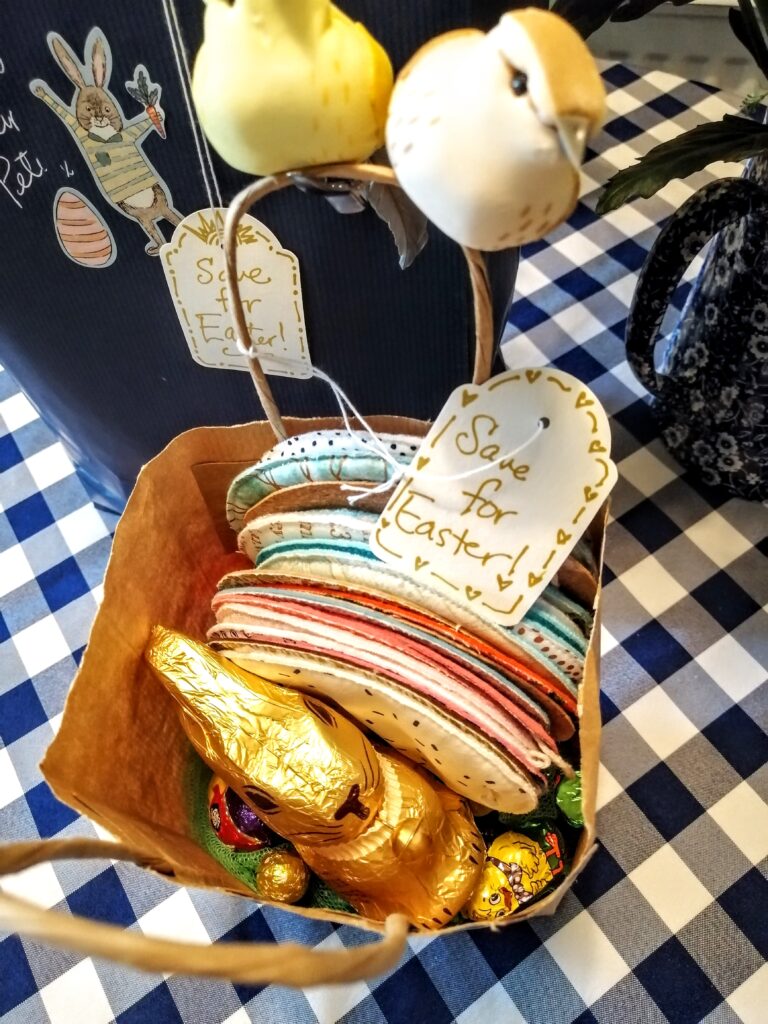
My kids loved getting these Easter Egg Garlands along with the chocolate treats.