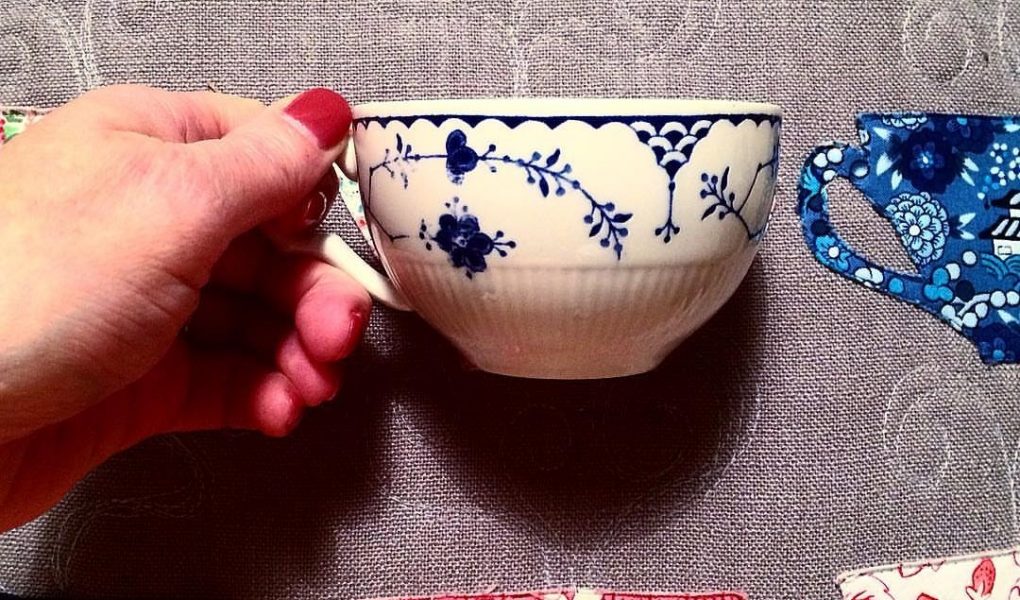
We’ve been drinking lots of tea in our house. It’s a good cure for pandemonium. Like many of us, my husband and I are now working from home. When the universities closed, two of our children came back home to ride out the storm. Being together in this strange time has made me grateful for the little things, like hot cups of steaming tea.
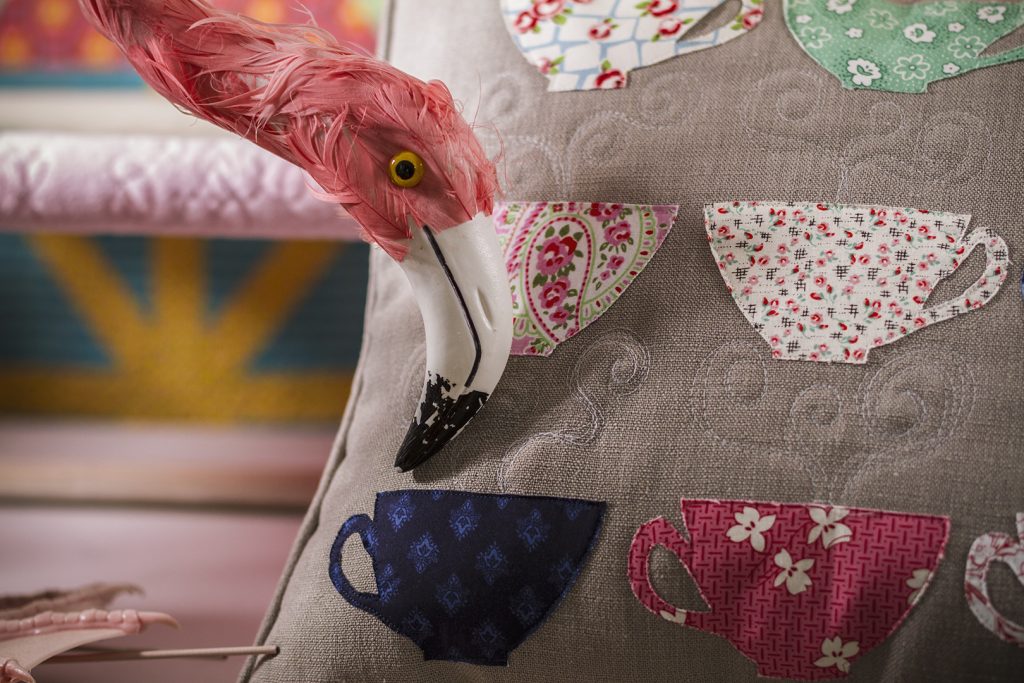
We all have our favourite cups and mugs. This raw edge applique project is a tribute to tea and all the wonderful cups it comes in. First, I’ll explain a bit about raw edge applique.
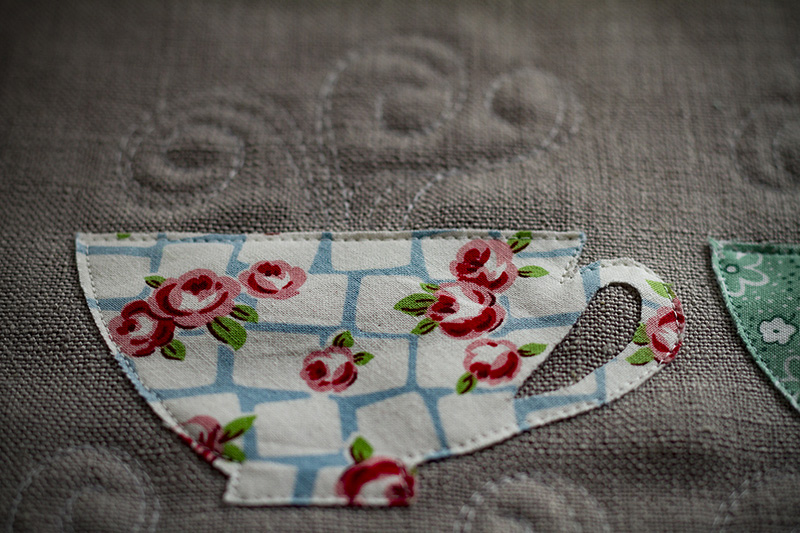
Raw edge applique teacups
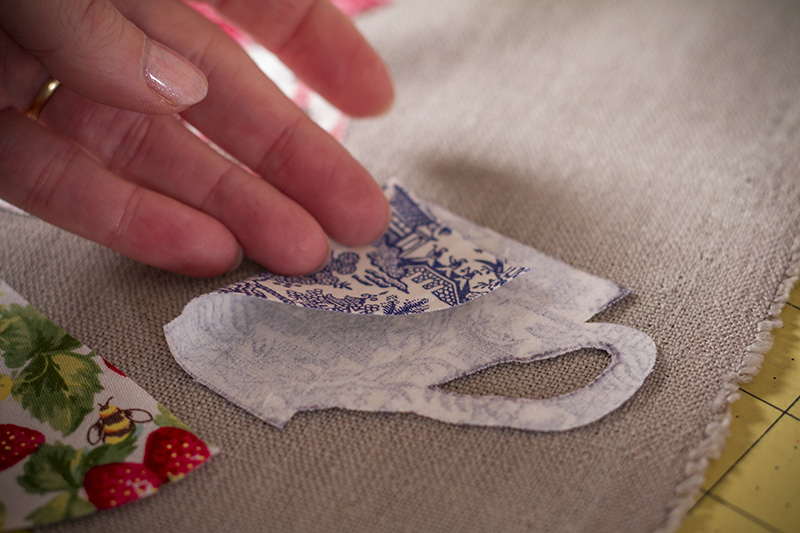
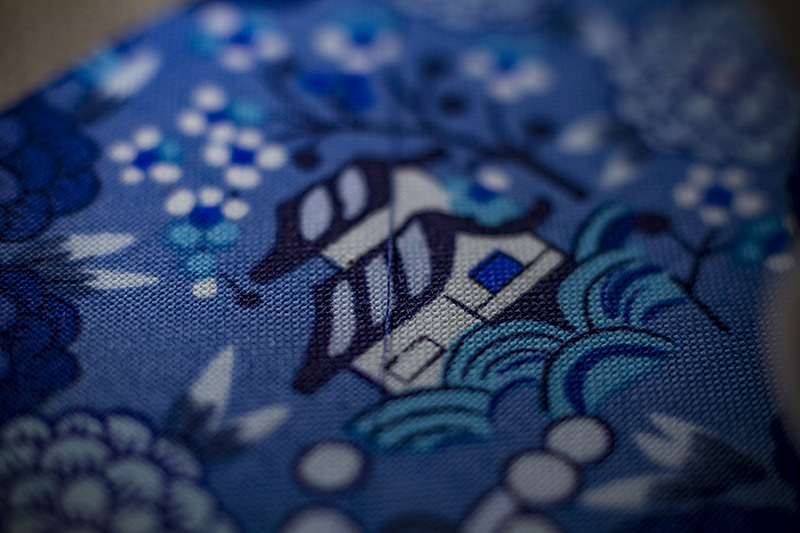
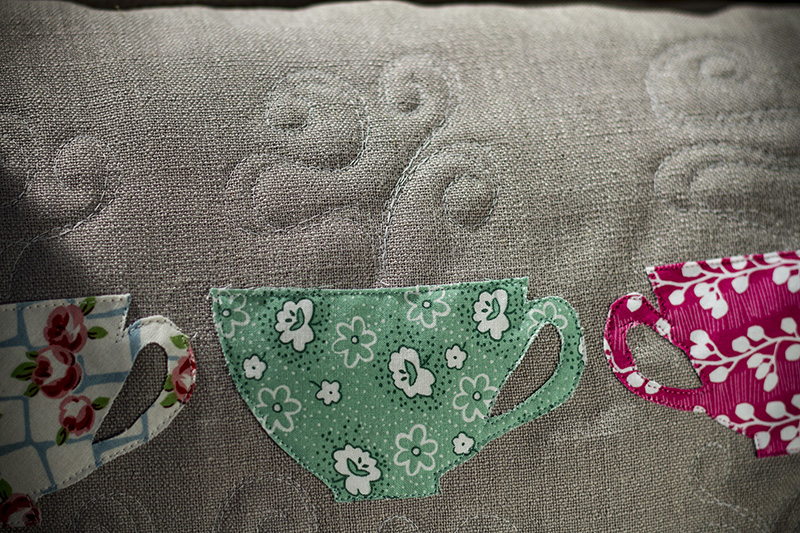
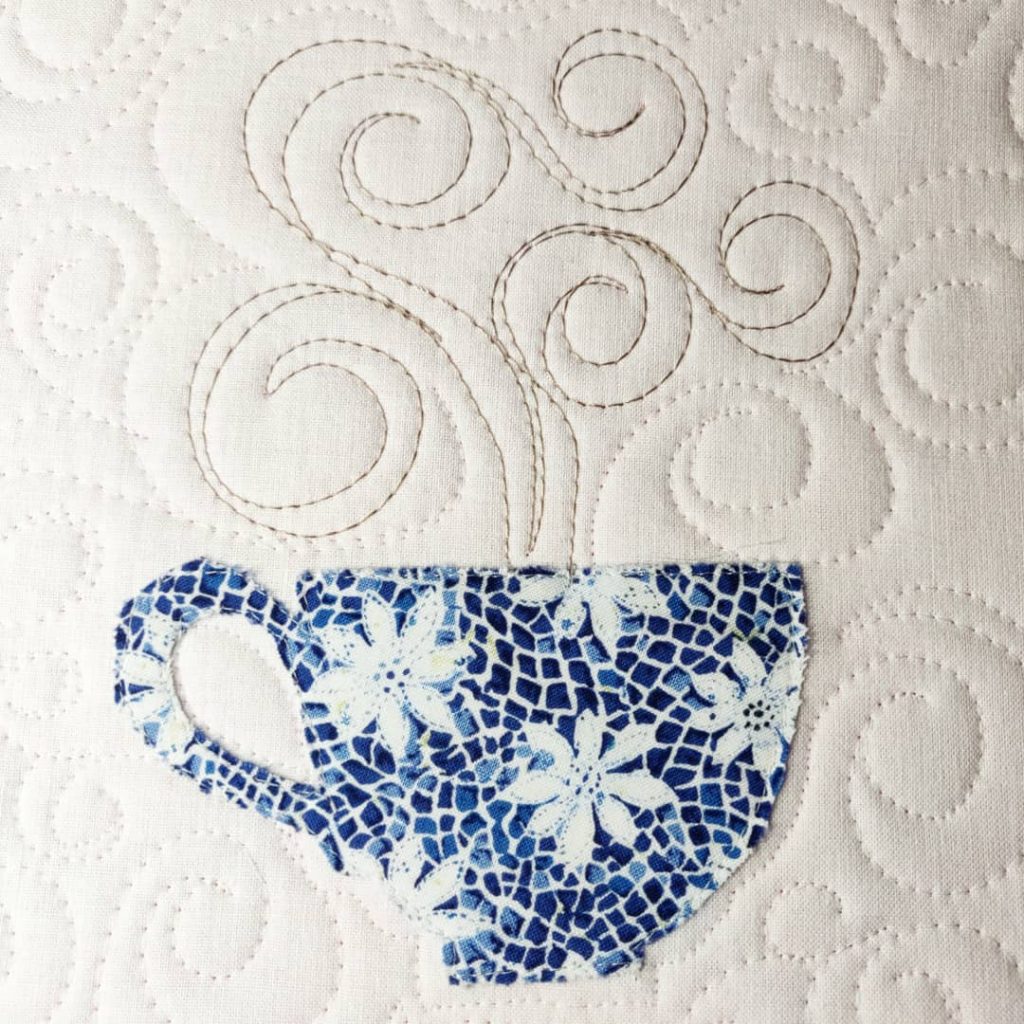
I love raw edge applique because it’s so easy and quick. Unlike needle turning, which requires a certain level of skill, anybody can do it! You can see the raw edge of the fabric in the teacup photo above. I iron a very thin Vilene interfacing to the back of the fabric. The Vilene is only sticky on one side. Then I cut out the shape. I’ll use a simple straight stitch to attach or applique the teacup shape to the background fabric.
Tools and Materials
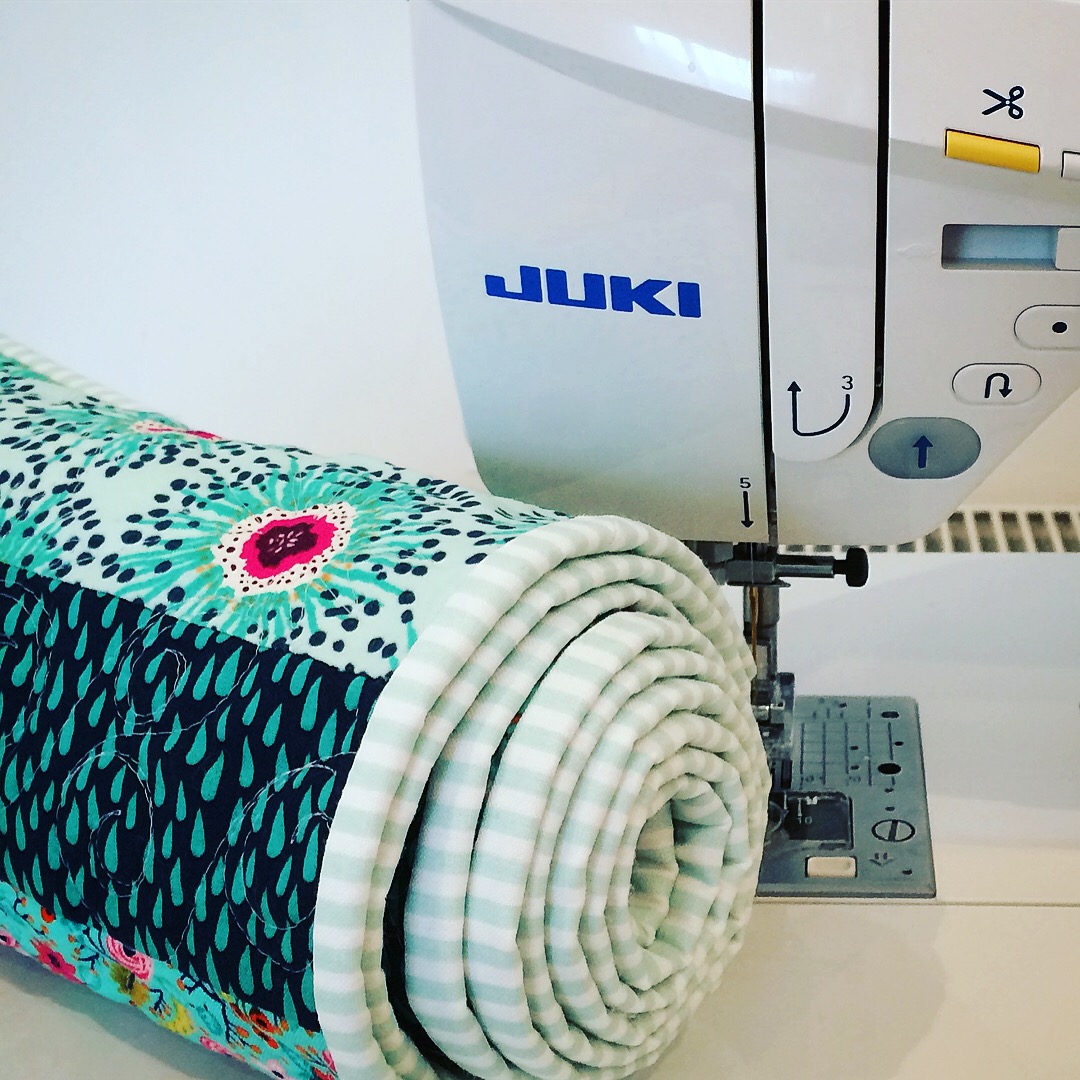
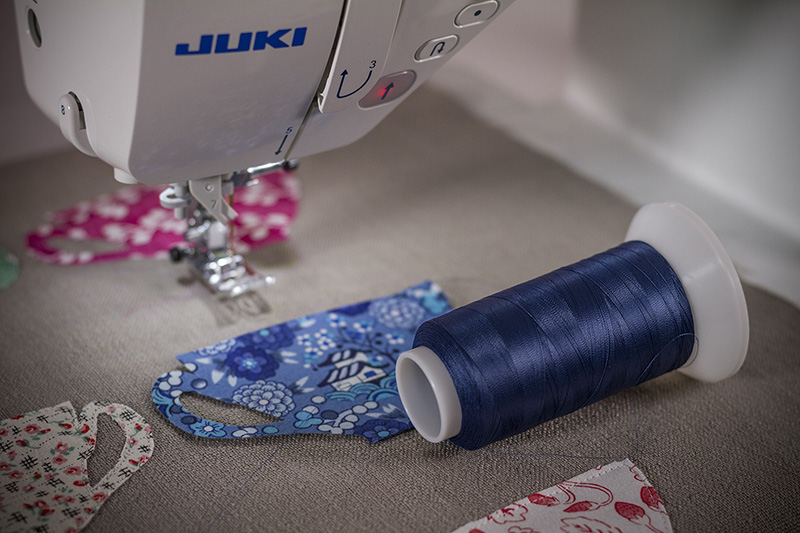
- JUKI DX7 sewing machine
- Tea cup shape in the right size for your project
- Plain template plastic – easily available online
- permanent marker & ball point pen
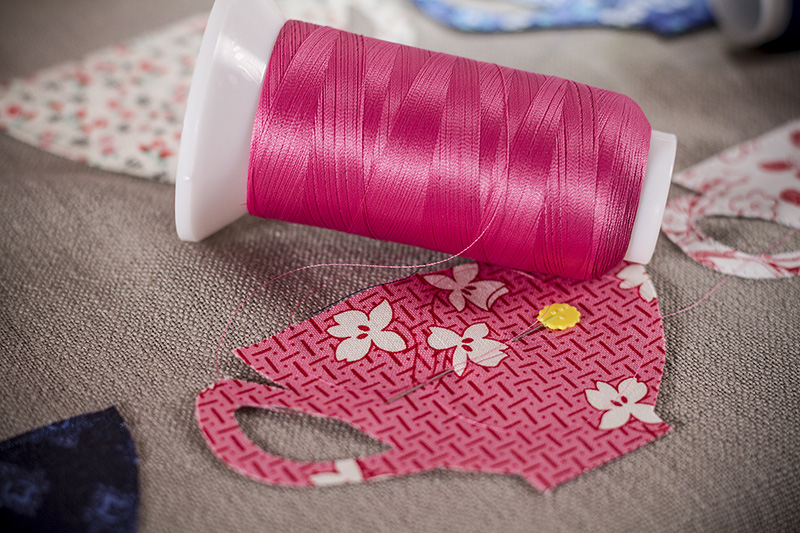
- fabrics for tea cups
- Very fine Vilene – Easy Fuse Ultra Soft Light H180
- Thread for machine applique
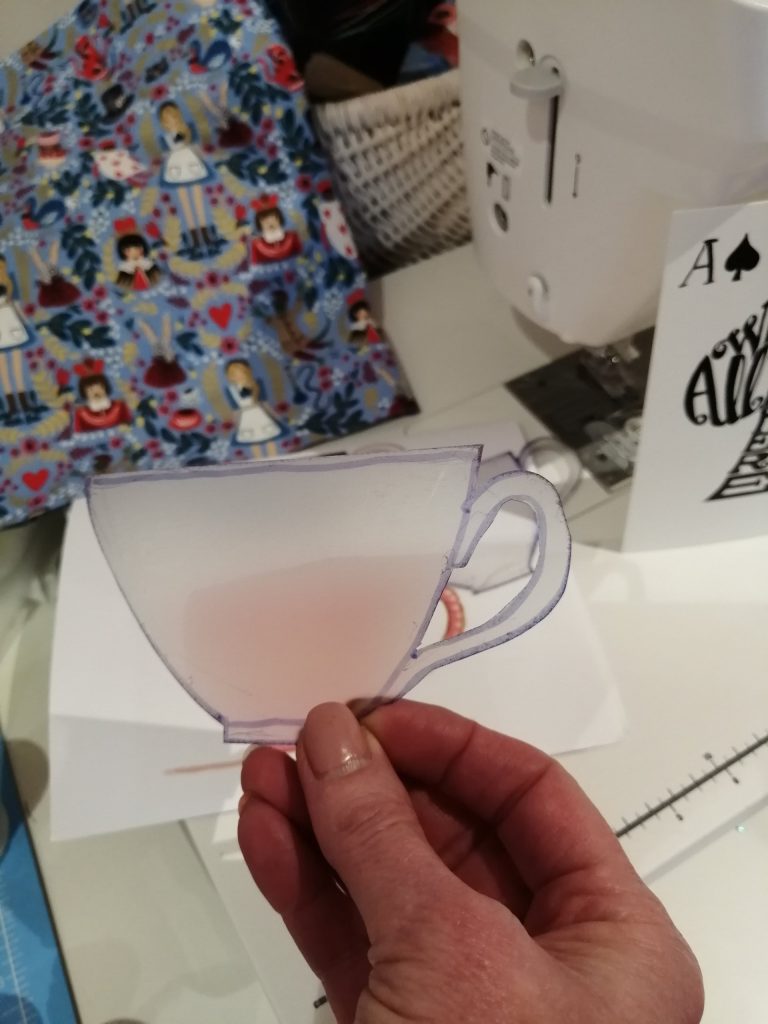
Tracing teacups onto template plastic
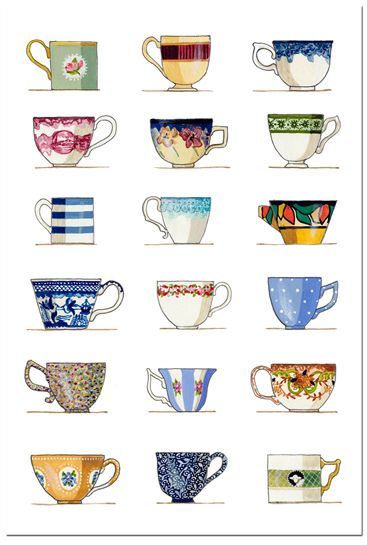
First I needed some good shapes to use for my teacups. I’ve been collecting ideas on my Pinterest board called Tea and Cakes I picked a few shapes that I thought would work well, copied them to a word document and played with the sizing. Then I traced them onto clear plastic with a permanent marker and cut them out.
Tracing Teacups onto Vilene
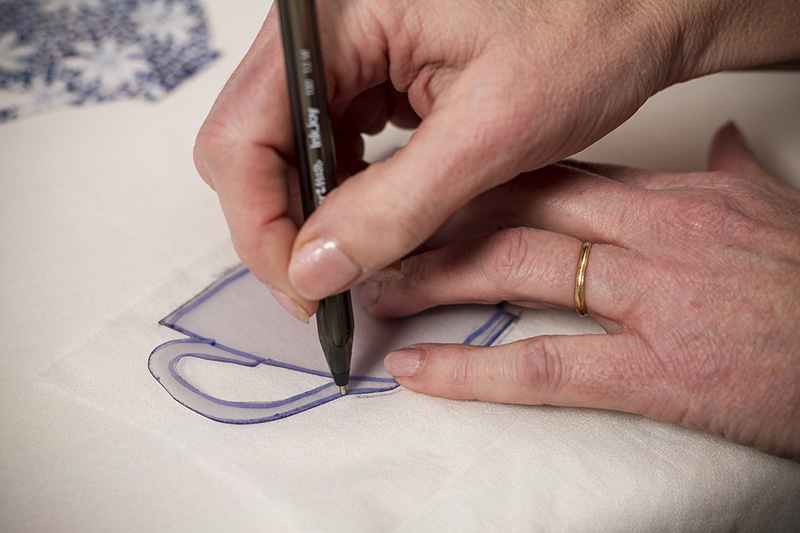
Now I’m going to use a ball point pen to trace the shape on Vilene. Vilene is an iron on interfacing. Dressmakers use Vilene to add an extra layer of structure and support. Vilene works great with raw edge applique for the same reason. The Vilene interfacing will help the fabric to keep its shape and keep it from unraveling too much.
I’m using Easy Fuse Ultra Soft Light H180 Vilene. I’m going to trace the teacut shapes onto the soft side of the vilene BEFORE I iron it to the fabric.
Use the template to draw the tea cup shape on the Vilene. One side of the Vilene will feel soft. The other side will feel hard and bubbly. Put the hard-bubbly side down on your surface, I used my ironing board and trace the template on the soft side of the Vilene. Cut out the Vilene but NOT on the line. Go a half an inch or a couple of centimetres outside the line and cut there. Draw and cut one Vilene template for each tea cup shape.
Ironing the Vilene to the fabrics
Now comes the fun part. Choose some fabrics that will translate well into tea cups. The clear plastic template lets you see the fabric, so that you can fussy cut your fabric if you like. I’ve chosen a pretty mix of retro colours. Follow the directions on the Vilene and iron the vilene teacup shapes to the WRONG side of the fabrics.
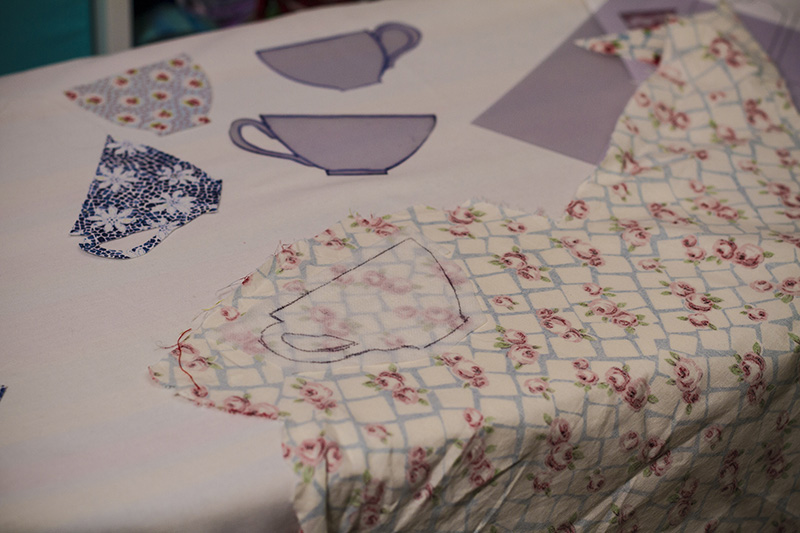

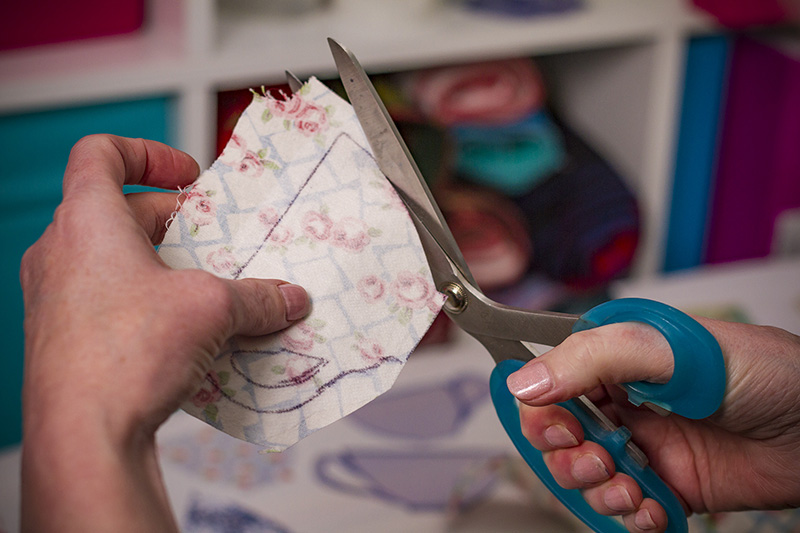
Cutting out the teacups
Once the Vilene was ironed to my fabrics, I carefully cut along the traced lines. The Vilene interfacing that I’m using for this project only sticks to one side; the tea cup fabric. It gives the fabric a bit of extra structure and keeps the edges from fraying too much. I also found it was easier to cut a nice straight line when I was cutting through the Vilene backed fabric. Later I’ll be using a simple straight stitch to machine applique the tea cups to the backing fabric.
Raw Edge Applique
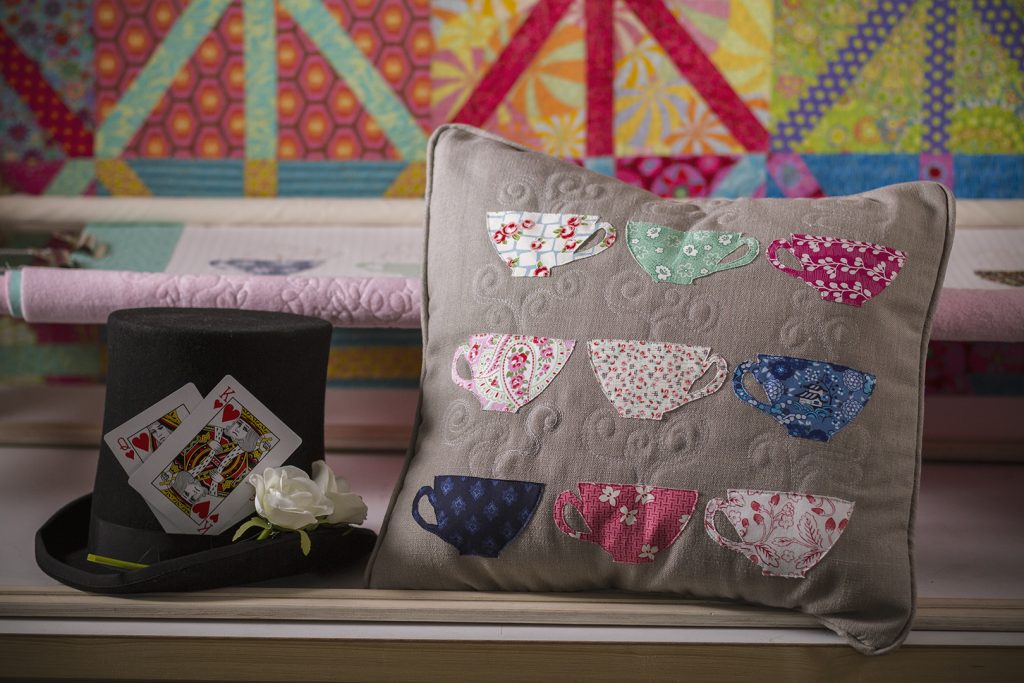
Once you’ve cut out all your teacups, you’re ready to raw edge applique them to your background fabric. The first time I did this, I made a cushion cover. I used a linen fabric in a soft pewter colour. I arranged the teacups in a pleasing pattern. Then I was ready to start stitching.
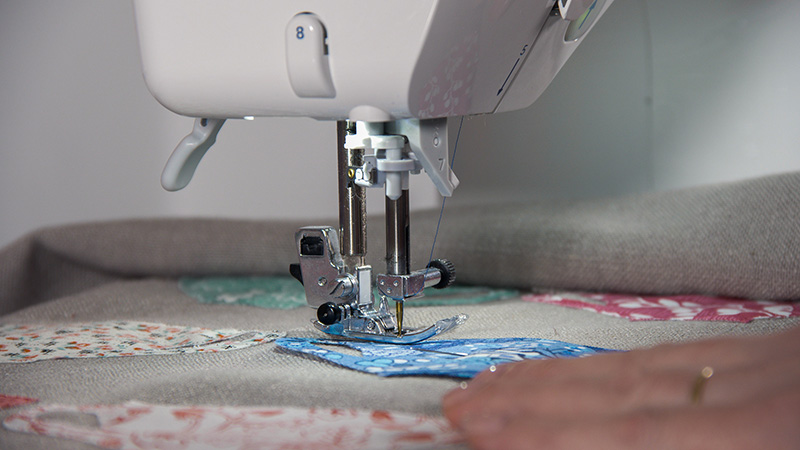
The float function on the JUKI DX7 sewing machine makes it a joy to machine applique. After each stitch the float function raises the pressure foot ever so slightly. This allows me to move or pivot the fabric so that I can follow the line of the teacup. I was even able to get a smooth line of stitching on the twiddly handles. It was just brilliant being able to use my hands to guide the fabric instead of having to stop all the time to raise the pressure foot manually.
Quilting to finish
Finally, I backed the applique top in fleece, attached it to my machine quilting frame and free-motion stitched some ‘steam’ rising from the tea cups using the Juki TL 2200 QVP Mini straight stitch sewing machine. I added piping and made it into a cushion.
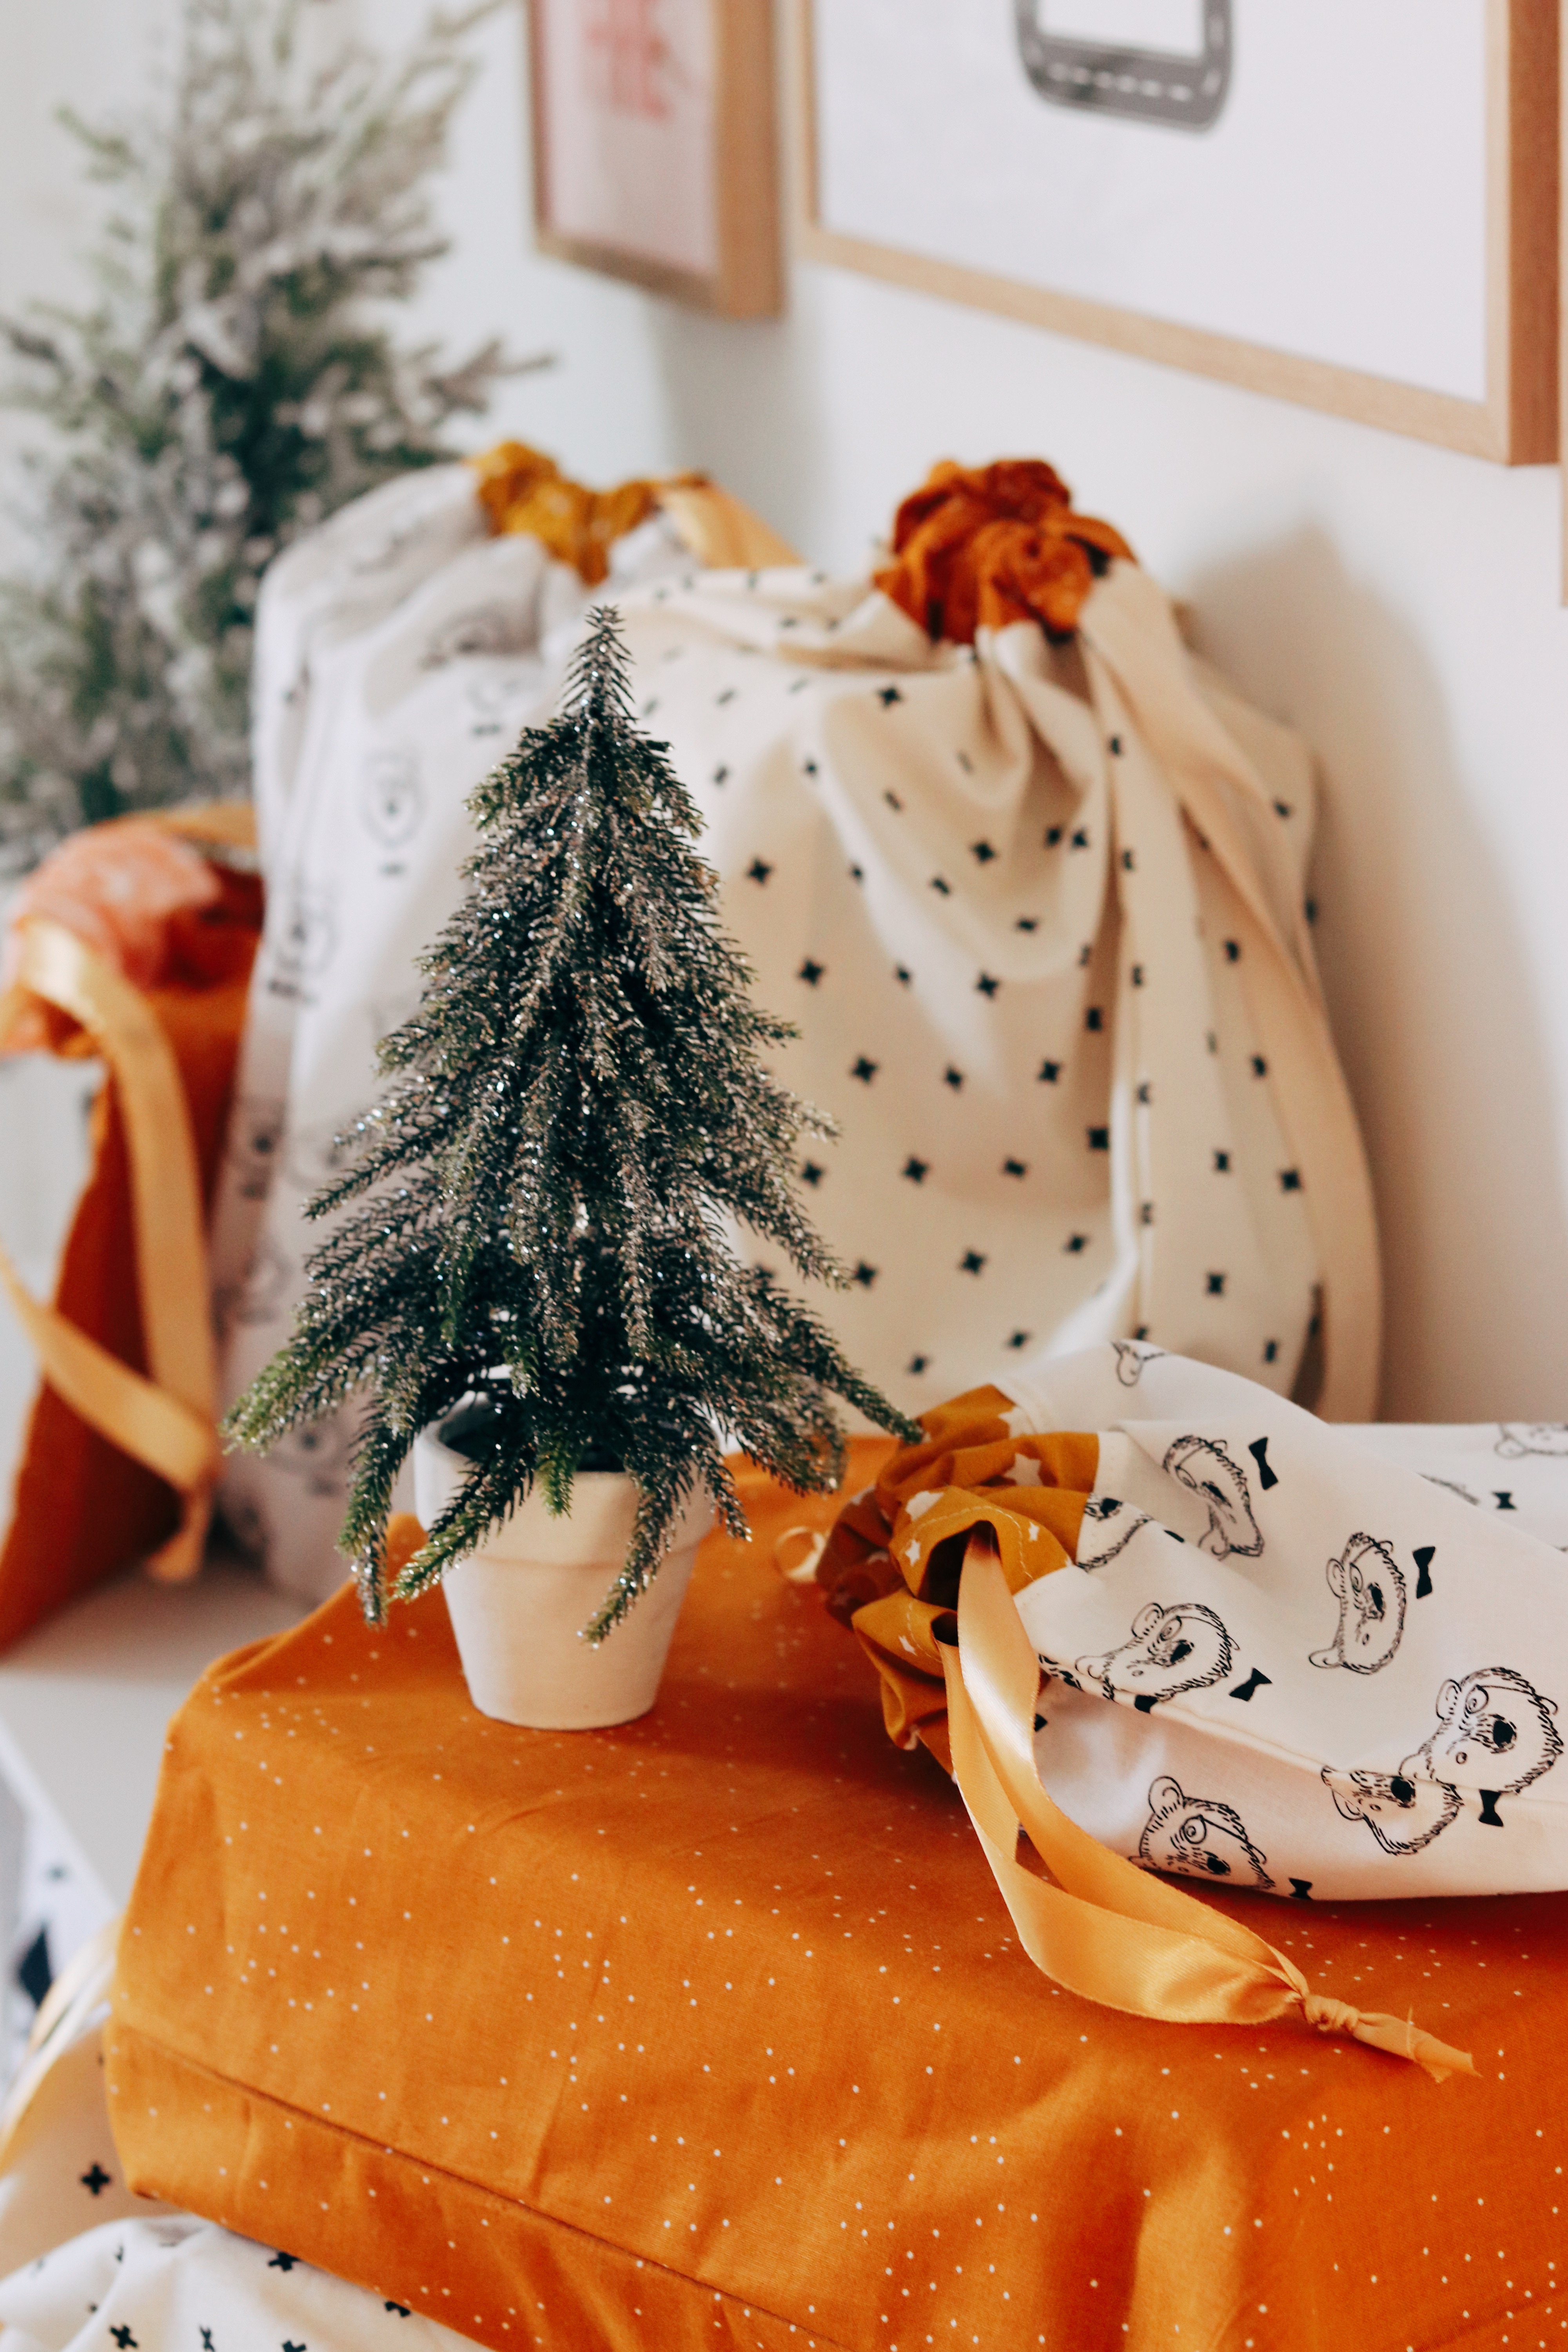
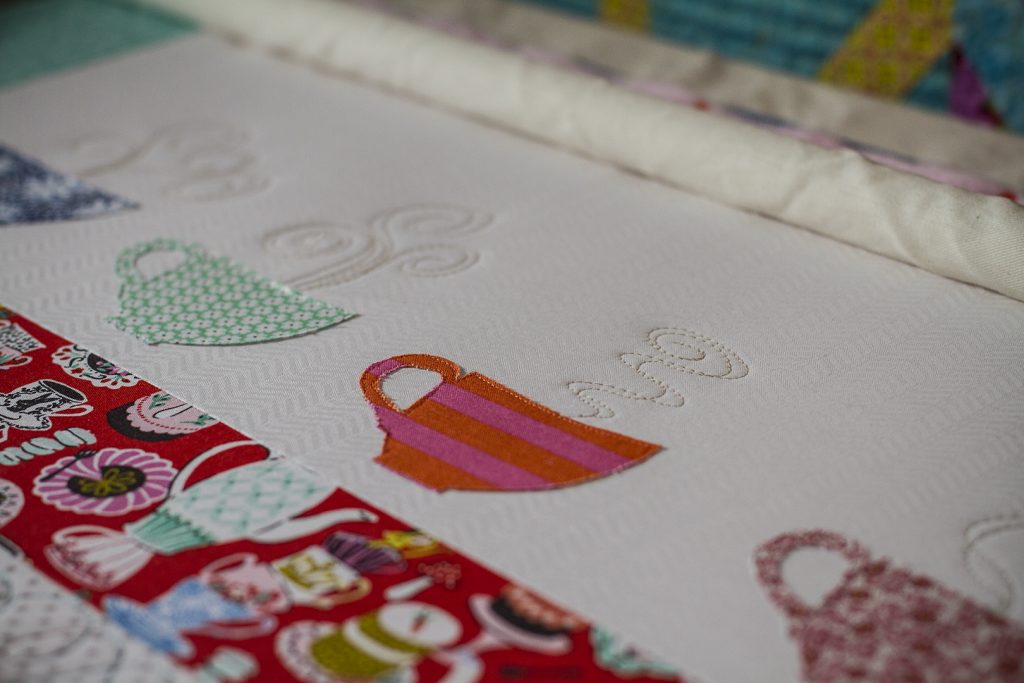
Later, I used the same technique to make quilts and postcards.
We wish you all safe and well as you stay home during the pandemic. Keep calm. Drink tea. And sew.