Drawstring bags
Juki DX7 Main Blog

DIY Christmas Gift Bags

DIY Gift Bags

These DIY Gift Bags are fun to make and you get to use them again and again.

Emily posted about these Gift Bags on her Brick Dust and Glitter Blog. She's keen to reduce, reuse and recycle.  These Christmas Sacks are a great way to cut down on wasted paper. They're one of Emily's alternative ways to wrap presents.   Emily's a new stitcher so she had a look online and bought fabric from Higgs & Higgs but many of us could find fabric in our stash that would be perfect for the project.

Emily chose fabrics that worked well with her Christmas colour scheme. But they were also fabrics that would work well through out the year for birthdays, anniversaries and other special occasions. These DIY Gift Bags or present sacks were stitched on Emily's Juki DX7. They came together beautifully and Emily has photographed the process for us.

We found a brilliant tutorial for this drawstring bag by Lisa Comfort at Sew Over It. But these photos that Emily took of her fabrics are so gorgeous we're going to share them too.


We're going to let the pictures do most of the talking. Hover over the photo to see the simple instructions.

You will need:

fabric
thread
a sewing machine
ribbon or cord for the pull ties
pins
scissors or fabric cutter

Begin by cutting 2 identical pieces of fabric to make the body of your bag. It can be any size you want. It's fun to play with different colour combinations too. Once you've made one, you'll want to make more.

Choose your fabrics
drawspring bag materials
The contrasting topper fabric
Place the right sides (patterned sides) together

Sew a straight stitch 1/4 inch in from the edge around the 3 edges of the bag. Leave one open which will be the top of your bag.

Juki DX7

You can use an overlocker or zigzag around the raw edges to finish the seam and keep the edges from fraying. Iron to set the seams and turn the right way around. Now we're going to attach the topper/drawstring part of the bag.

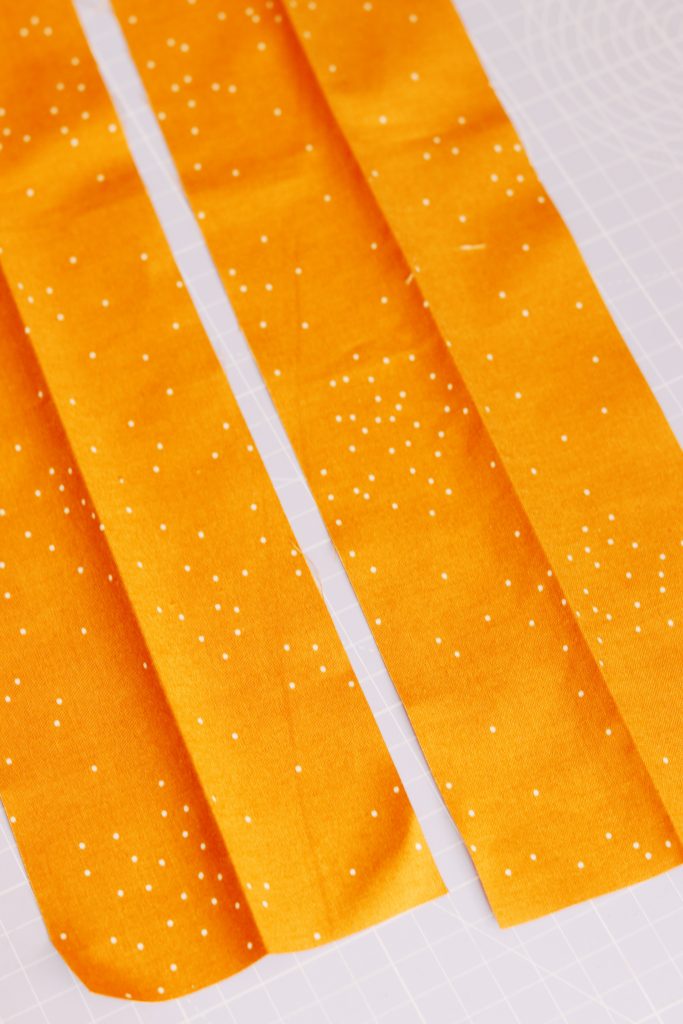
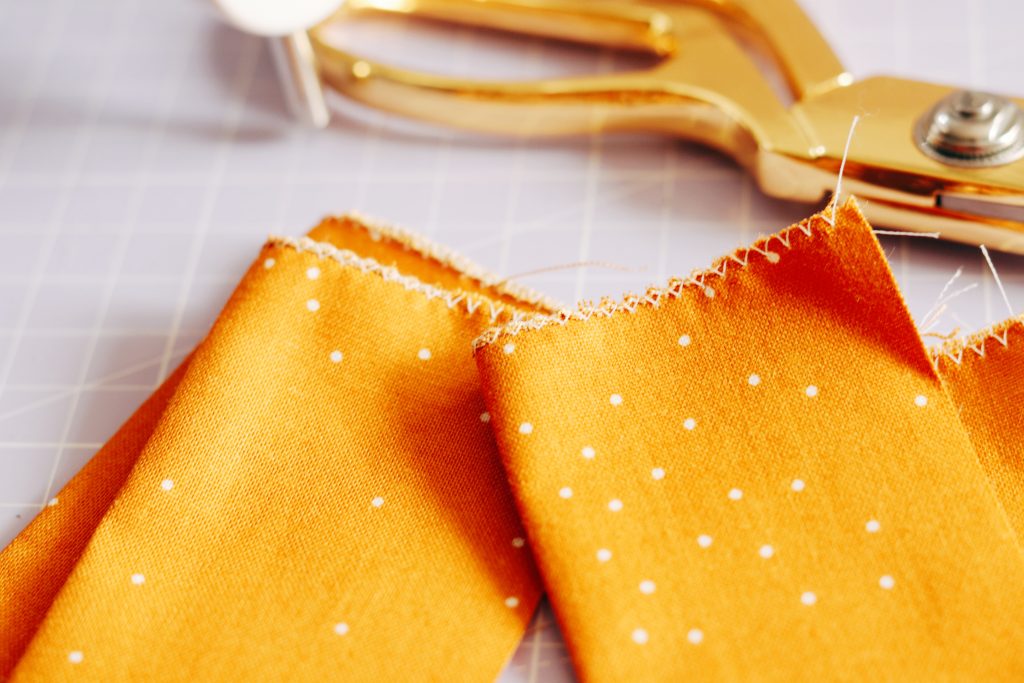
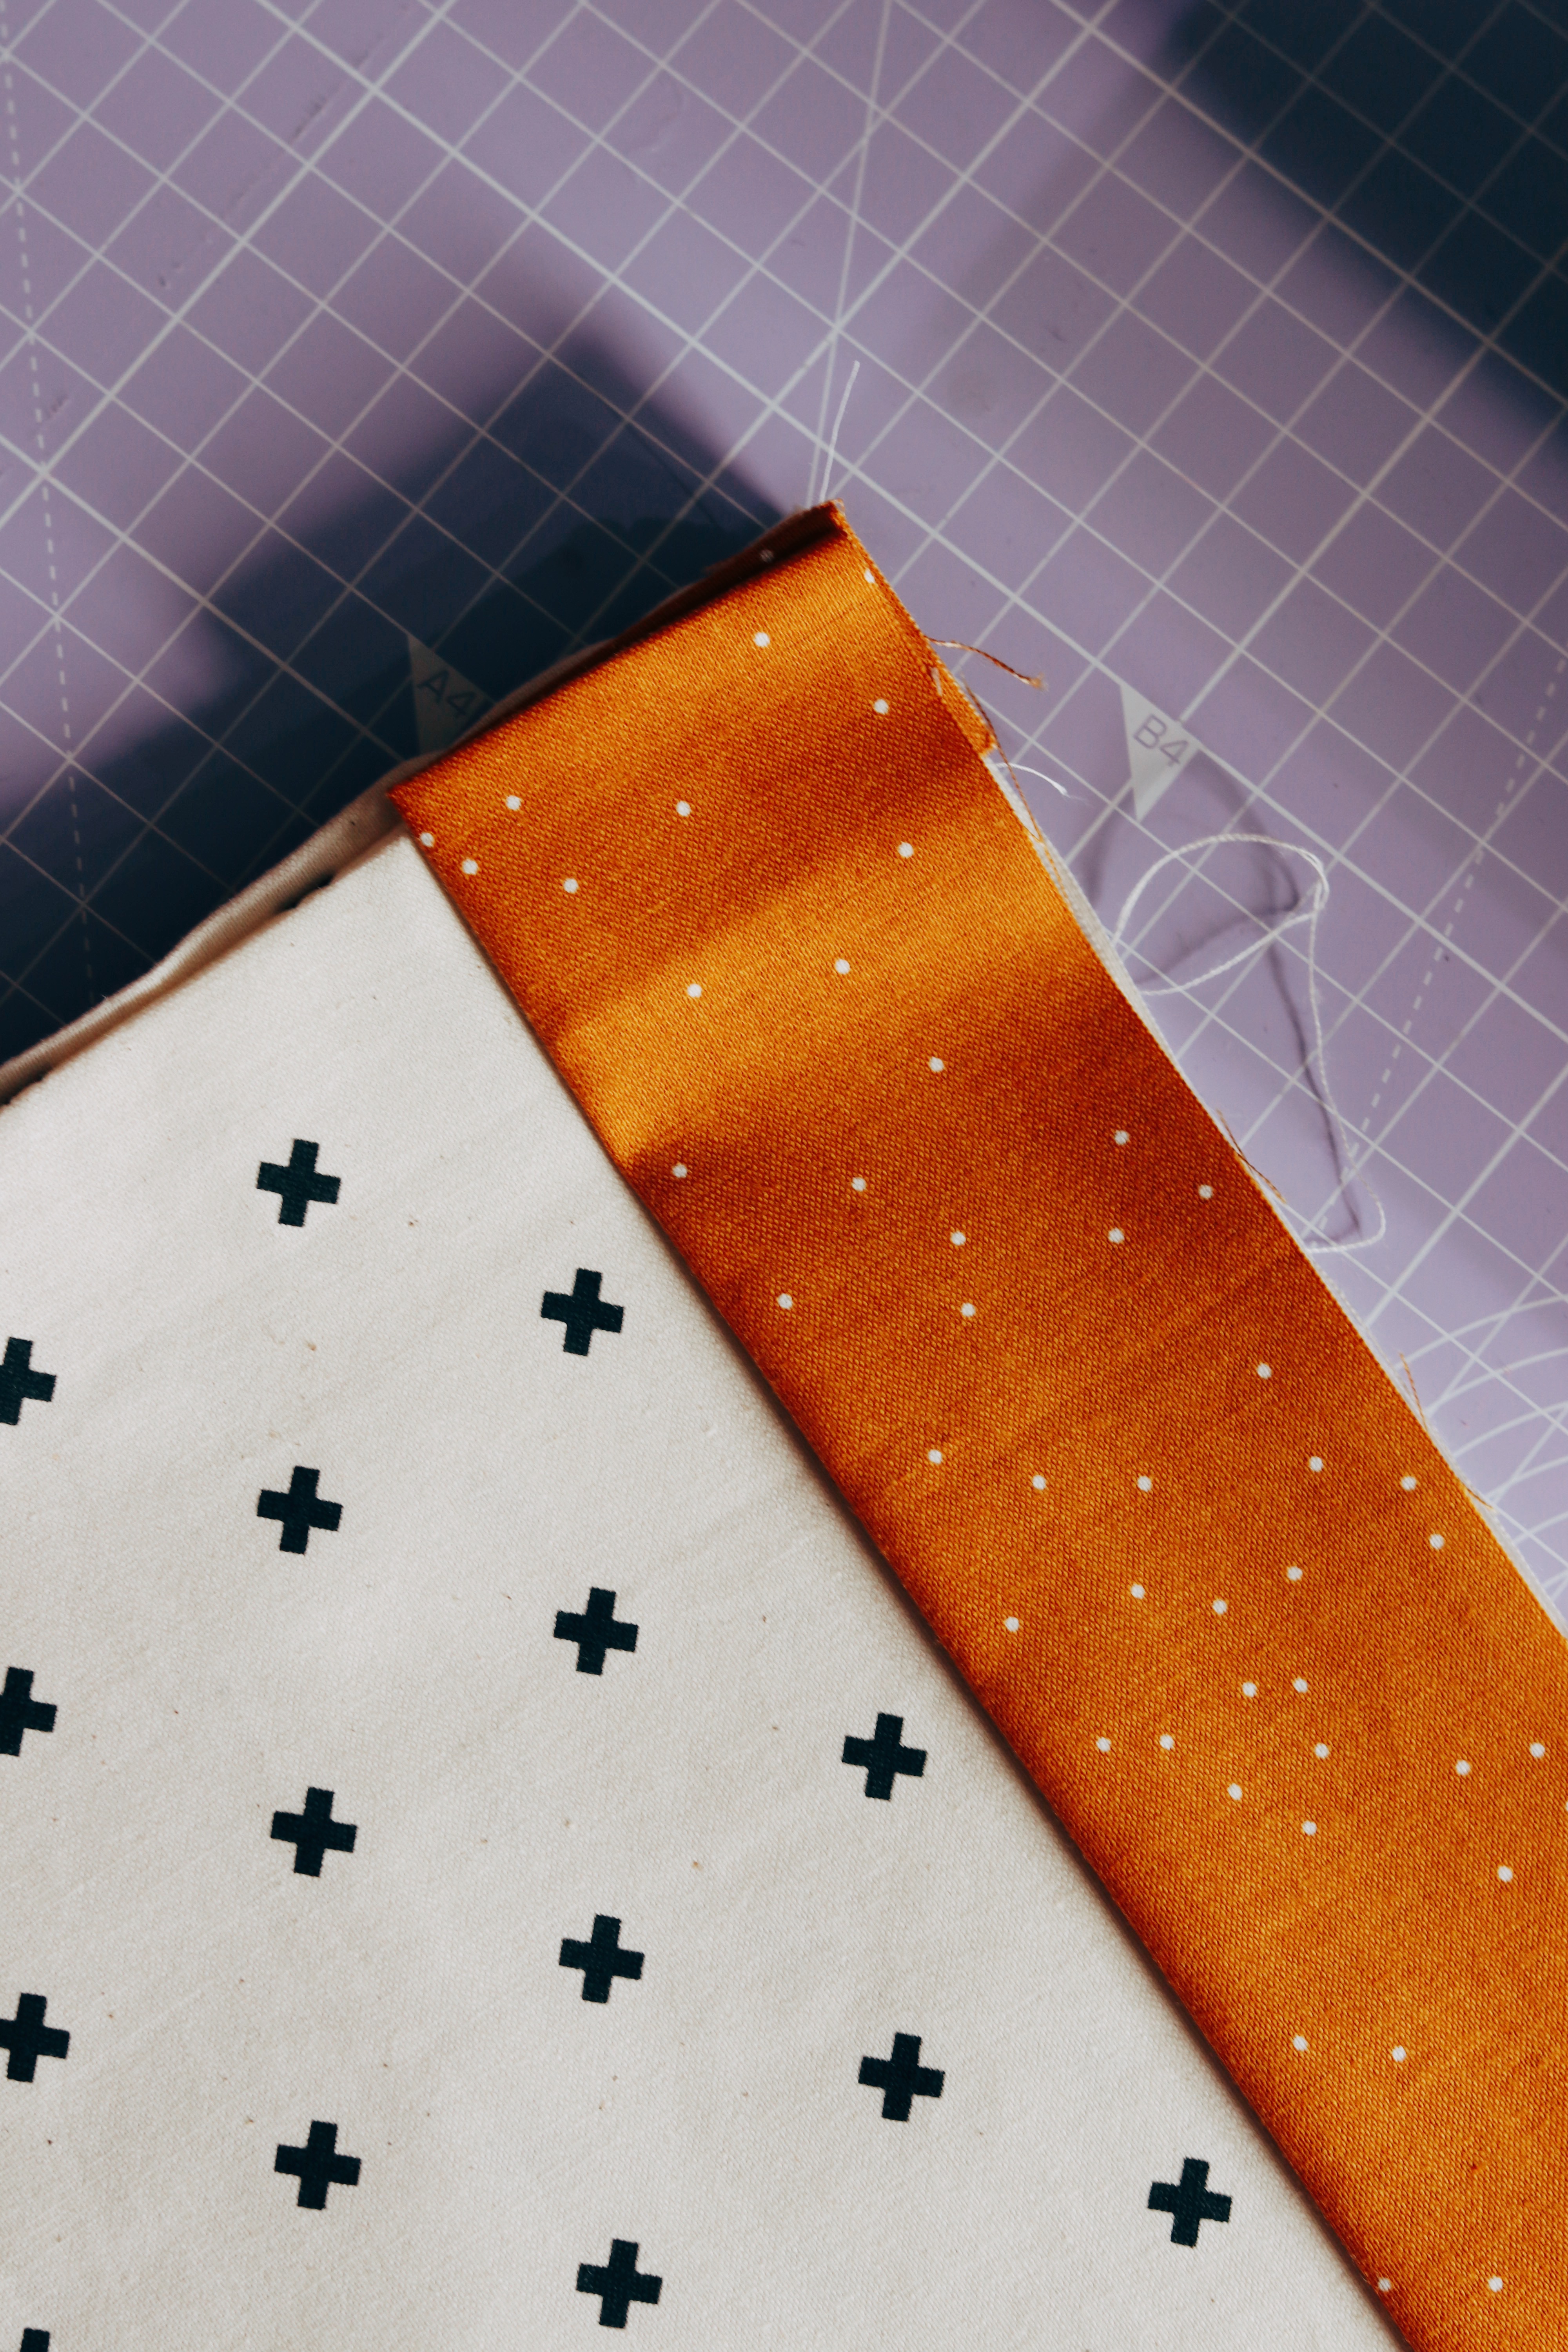
Take your 2 strips that will be the header to your bag. To stop the two end pieces fraying zigzag stitch across the ends. These will be folded inside so you will not see them.

take to 2 topper strips

zigzag the short edges of the topper strip

preparing the drawstring topper fabric pieces

Now sew the ends down. Open the fabric strip back out and keep the inch ends in. Sew them down so they stay in place. Then fold the fabric back in half.

Press the fabric in half, long ways, and press the ends in an inch, or until they are as long as the top of the bag. This is slightly more guess work but don't worry, you won't notice.

The DX7 is ideal for making bags

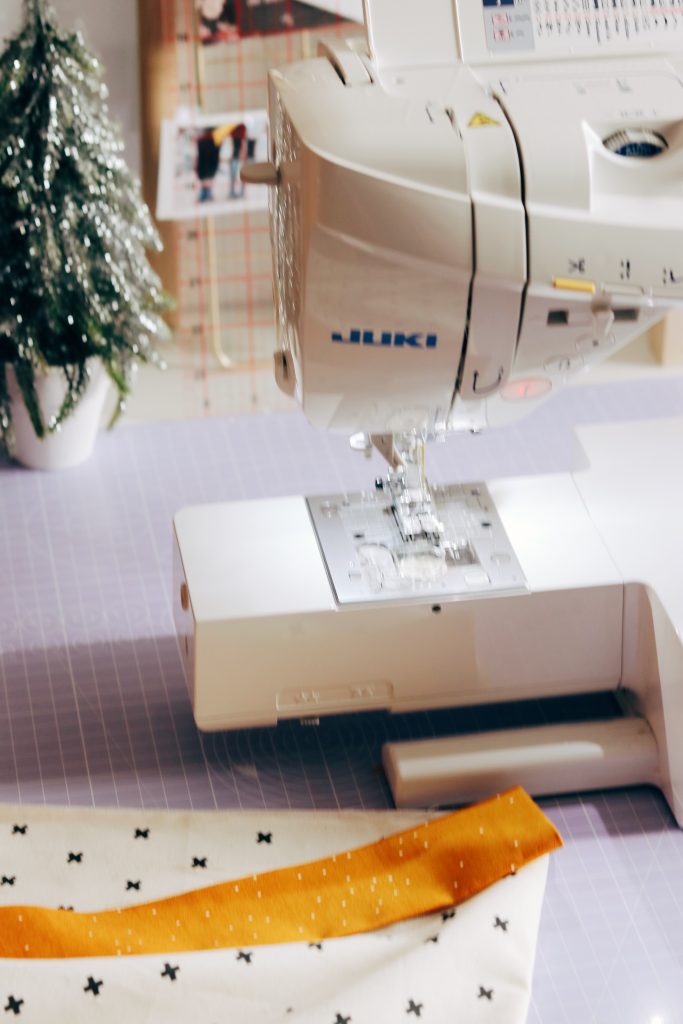
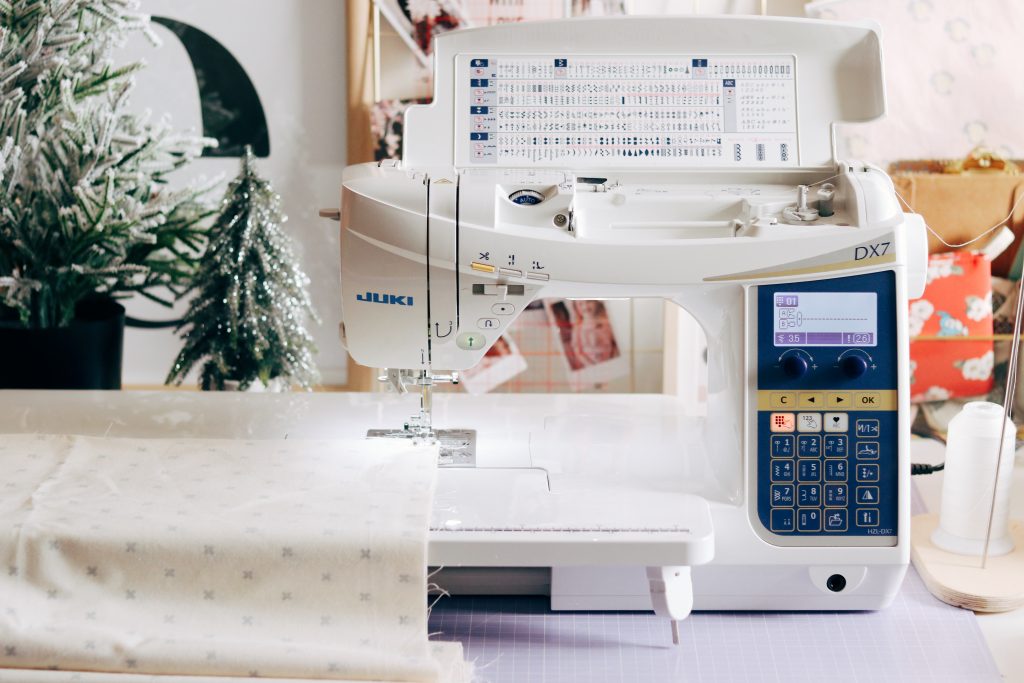
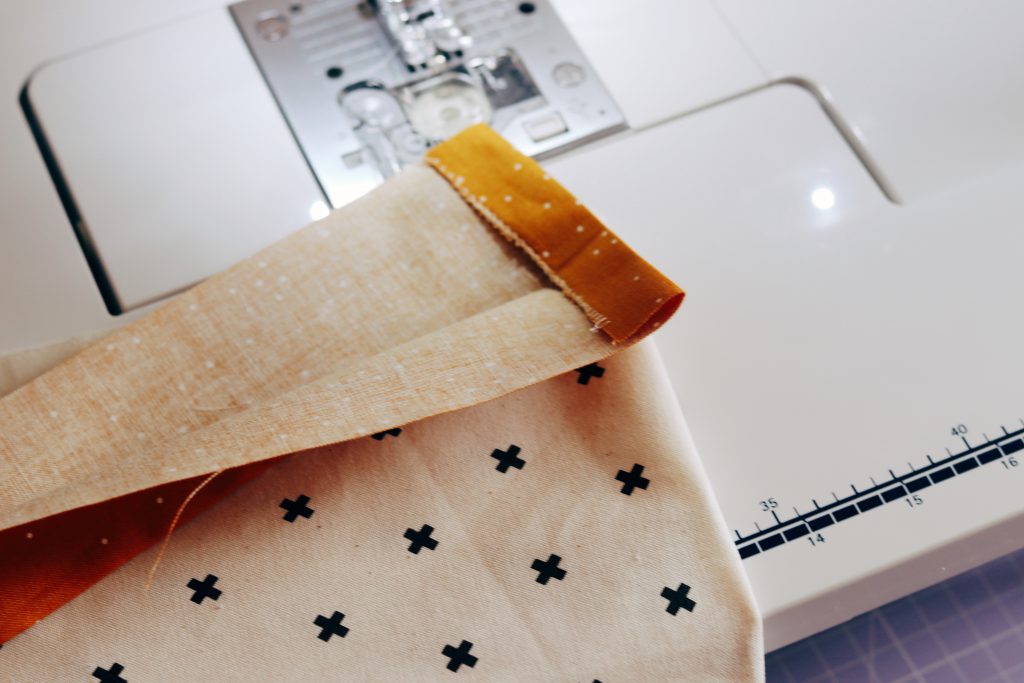
The Juki DX7 has a auxiliary bed that can be removed, making it an ideal sewing machine for making bags! You'll want to remove this auxiliary bed so that you can easily stitch around the top edge of the bag. Place the raw open edge of the strip along the raw open edge of the bag. Make sure the start and end of the strip run from seam to seam of the bag.

line up the raw edges
flip the topper fabric to the top of the bag

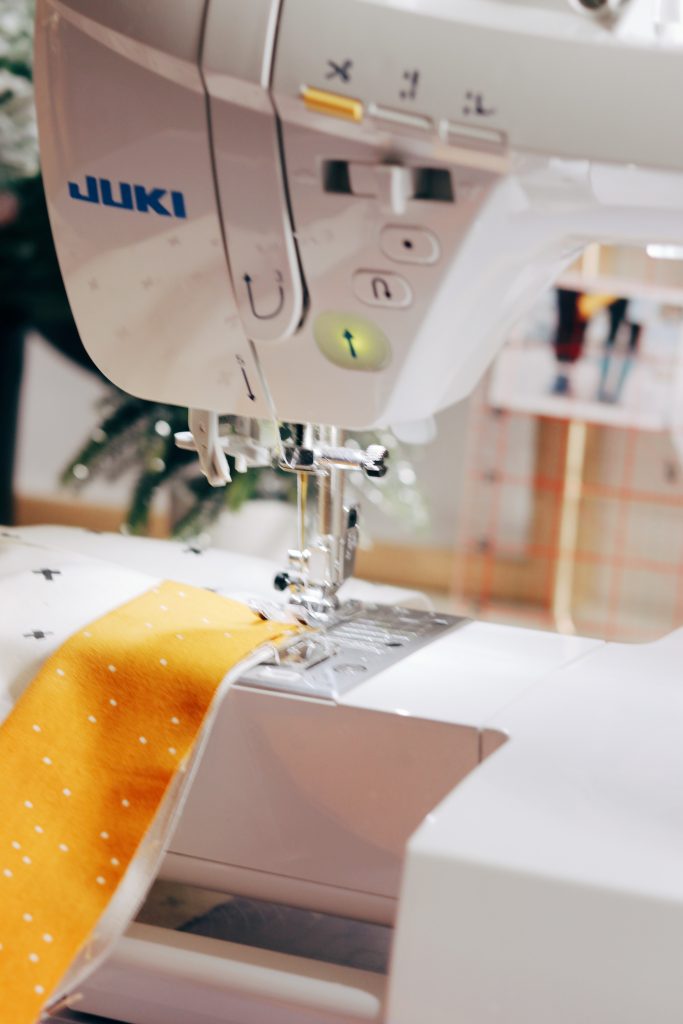
Flip the header fabric on top of the bag. Now sew the two pieces together using a straight stitch 1/4 of an inch from the edge. Working on the modified machine arm allows you to turn your bag easily around as you stitch the topper to the main body of the bag.

stitching the top

Now, sew both strips on to their respective sides.

zigzag to stop any fraying

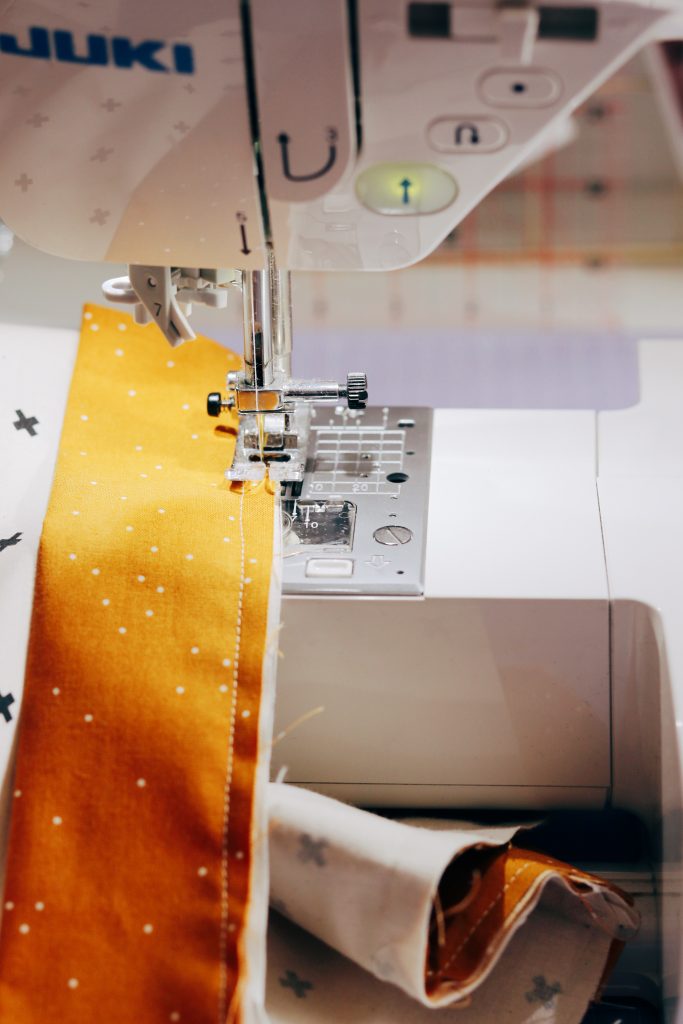
Sew a zigzag stitch along the very edge around the whole top to prevent fraying.

Zigzag

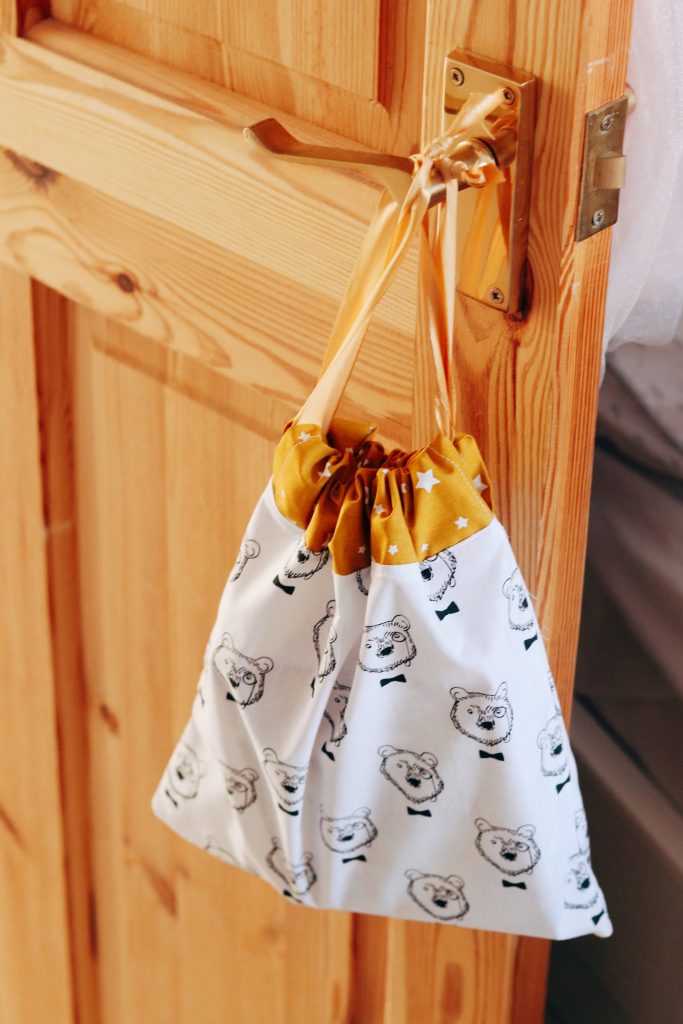
Lift the header up and the seam inside should naturally position downwards. Give it a press to encourage in. Now with the header up and in inside seam, join down, sew a straight stitch just under the seam join to secure it in place.

all sewn together
topstitching

That's your bag made.

To create the two pull closure get two pieces of ribbon or cord that are just longer than the whole circumference of the bag. Then thread one length through both headers but make sure you end with the two ends out, and tie.

Adding the drawstring ribbon
tying the knot
sorting the drawstring

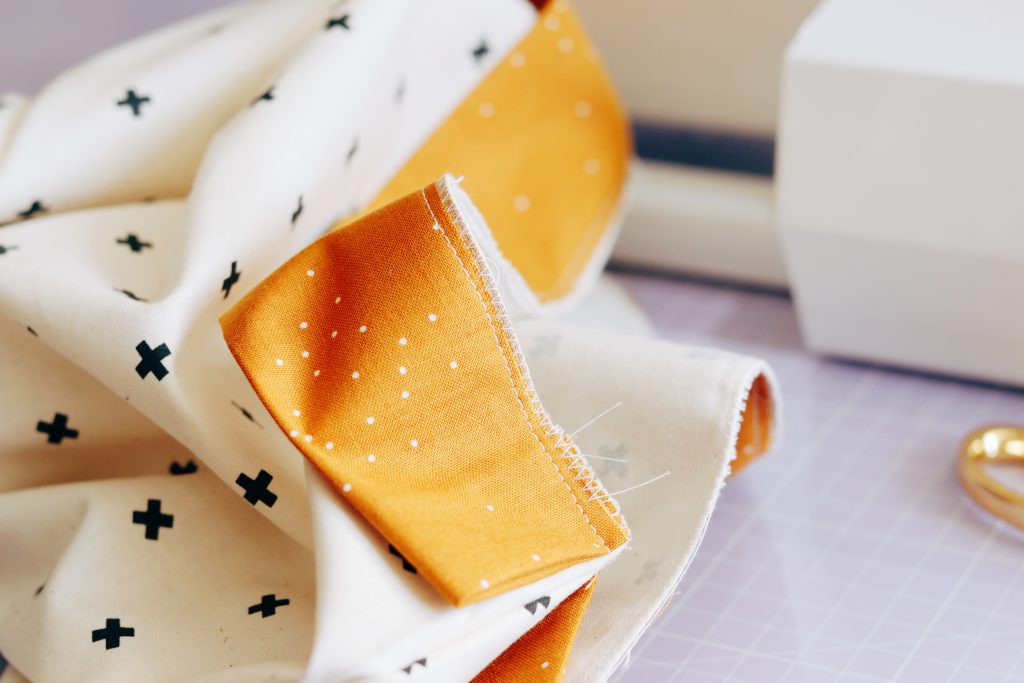
When you pull each side you will gather the top of the bag. That is it!

All finished
All finished


Once you get your head around it you will find they just whip up so easily. Top tip, if you are making lots, do all your cutting, then all the sewing of the three edges, then all the headers. I found bulk making them is much easier as the three edges take no time at all once you have a pile!

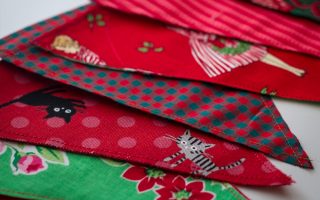
For Emily, this project was to help cut waste, but she loves how nice it is to create something hand made that can be pulled out at special points in the year. These bags are going to look great under the tree and she loves how the colour combination turned out!


Drawstring bags
all shapes and sizes

You may also like...

1 Comment

  1. […] have another post about stitching DIY bags. It’s another way to wrap presents that can also be used again and […]

Leave a Reply

Your email address will not be published. Required fields are marked *