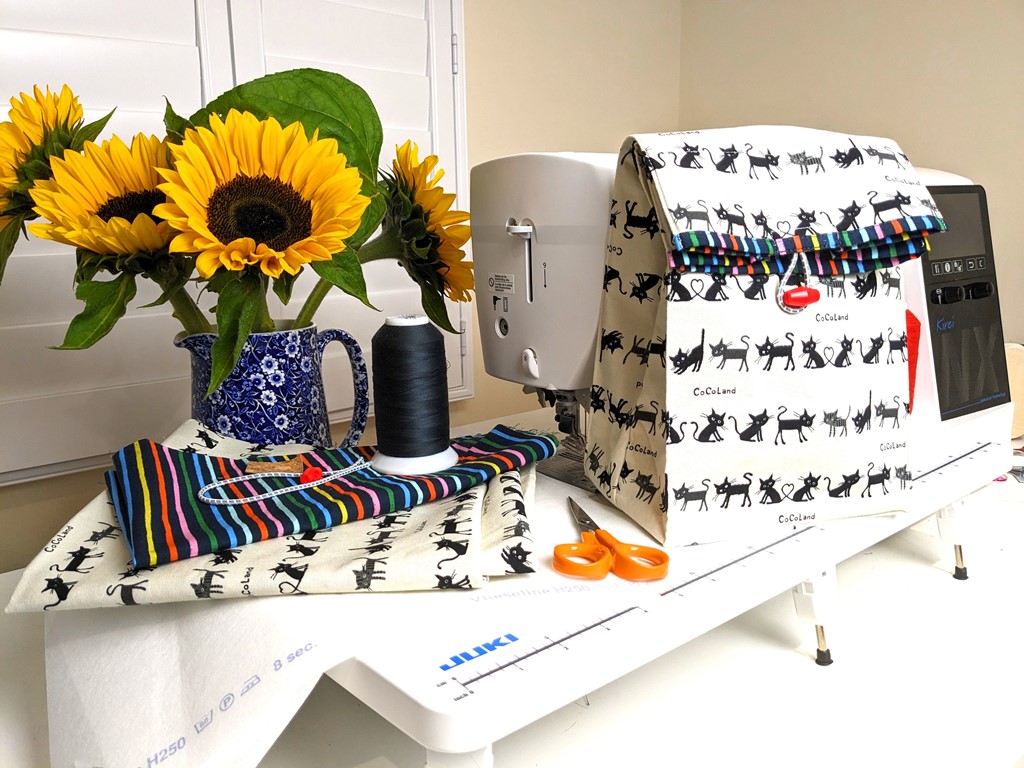
It’s school time again. I get nostalgic when September rolls around and wanted to celebrate with a re-useable back-to-school lunch bag. So here’s a back-to-school Lunch Bag tutorial. The fun thing about this lunch bag is that it’s upcycled from a Tesco shopping bag. You know, those bags by the check out for when you forget the bags you should have brought from home! More about that in a minute.
The Pattern
When we were little, we brought our lunches to school in brown paper bags. I decided to make a re-useable version. Purl Soho has a brilliant Button Lunch Bag tutorial and her denim lunch bags were just the same shape! I didn’t have denim so I tried some heavier curtain fabric and canvas from my stash. They were OK but still a bit floppy. So I added some medium weight fusible interfacing to the canvas and that was much better.
I tweaked the pattern a bit, adding a wider cuff and using some elastic bungee cord for the button closure. I also assembled the bag using French Seams to keep the inside tidy. The heavier French Seams also added a bit more structure. Finally, I slipped a piece of card cut from an Amazon envelope into to the bottom of the bag. Just another way to add yet more structure. I ended up with, what I thought was, quite an elegant bag.
Eureka Moment
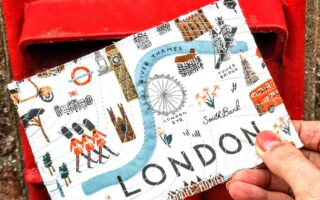
About this time I was standing in line at the Tesco check out and I noticed a new batch of cute kiddie themed shopping bags. They were made of recycled materials and were wipe-clean inside and out. I thought that the shopping bag fabric might be ideal for my lunch bags. The shopping bags cost £1.30. I couldn’t purchase fabric for that price! They were perfect.
Deconstructing the Tesco Bag
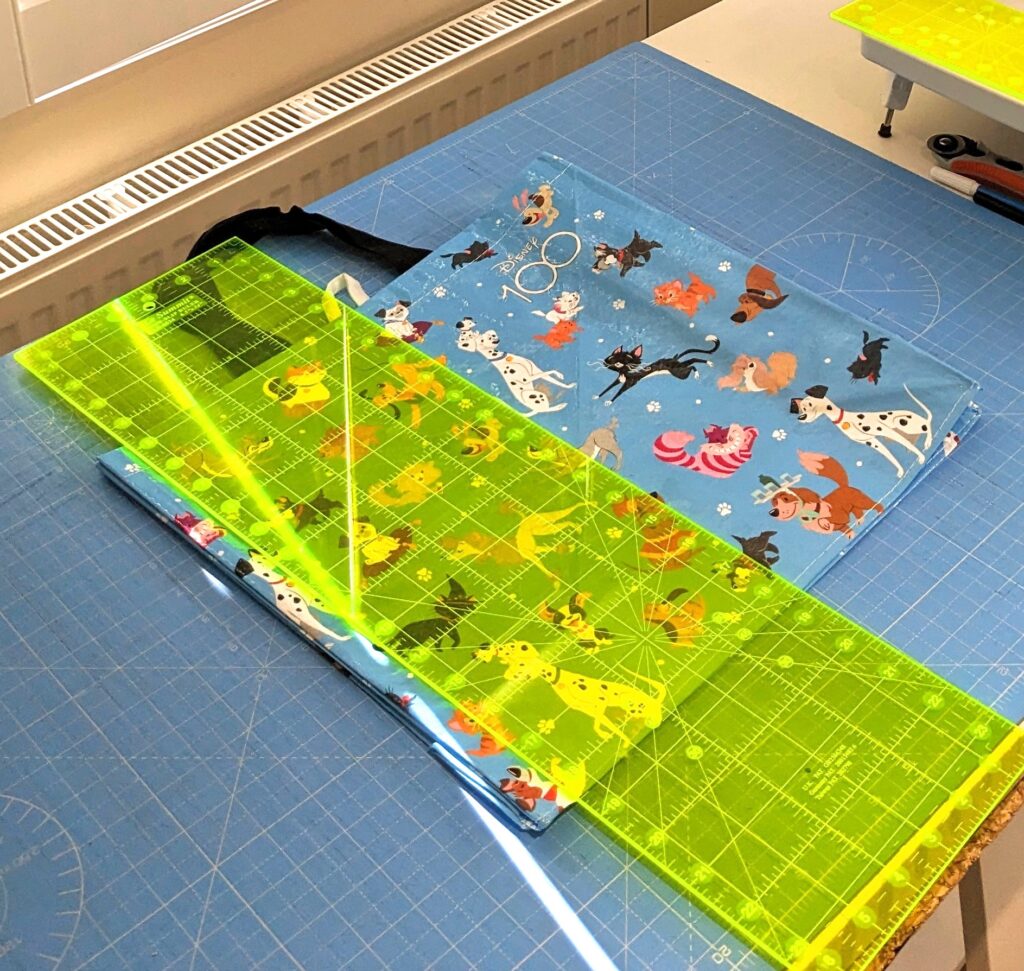
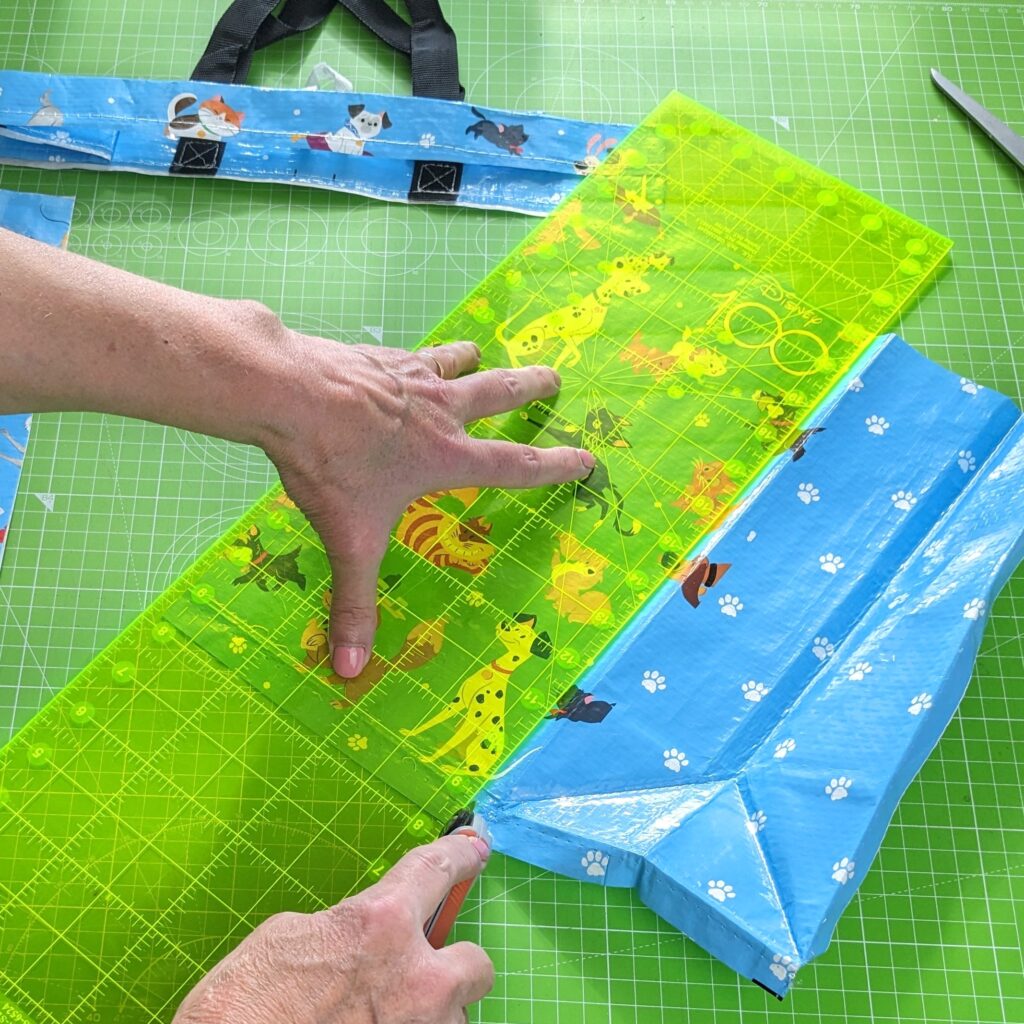
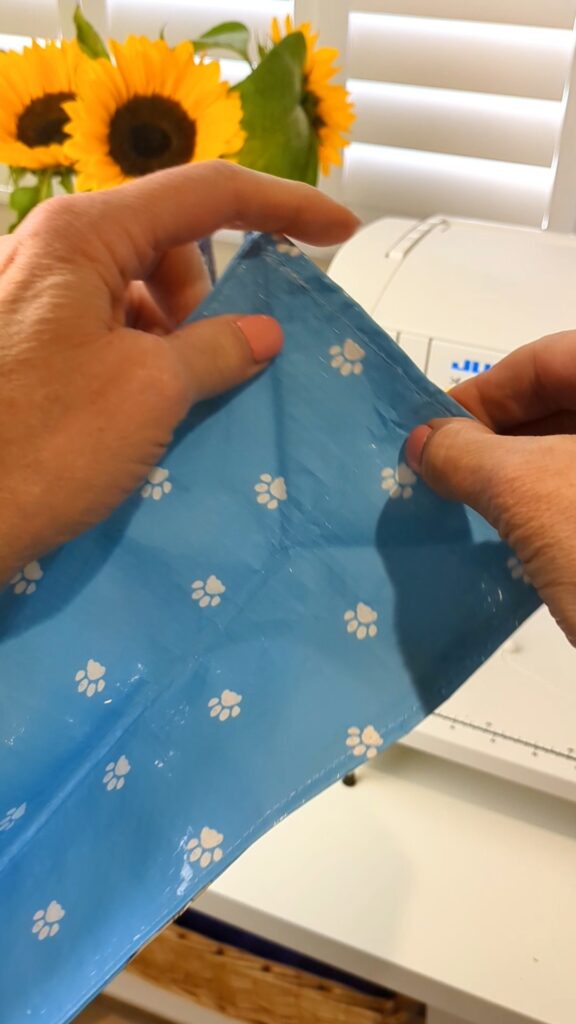
Making the Tesco shopping bag version was going to be a different process. First the Tesco bag needed to be de-constructed. Laying the folded bag on my cutting mat, I sliced a 7 inch wide vertical section from the bag. This was going to give me 3 sides and the bottom of my lunch bag.
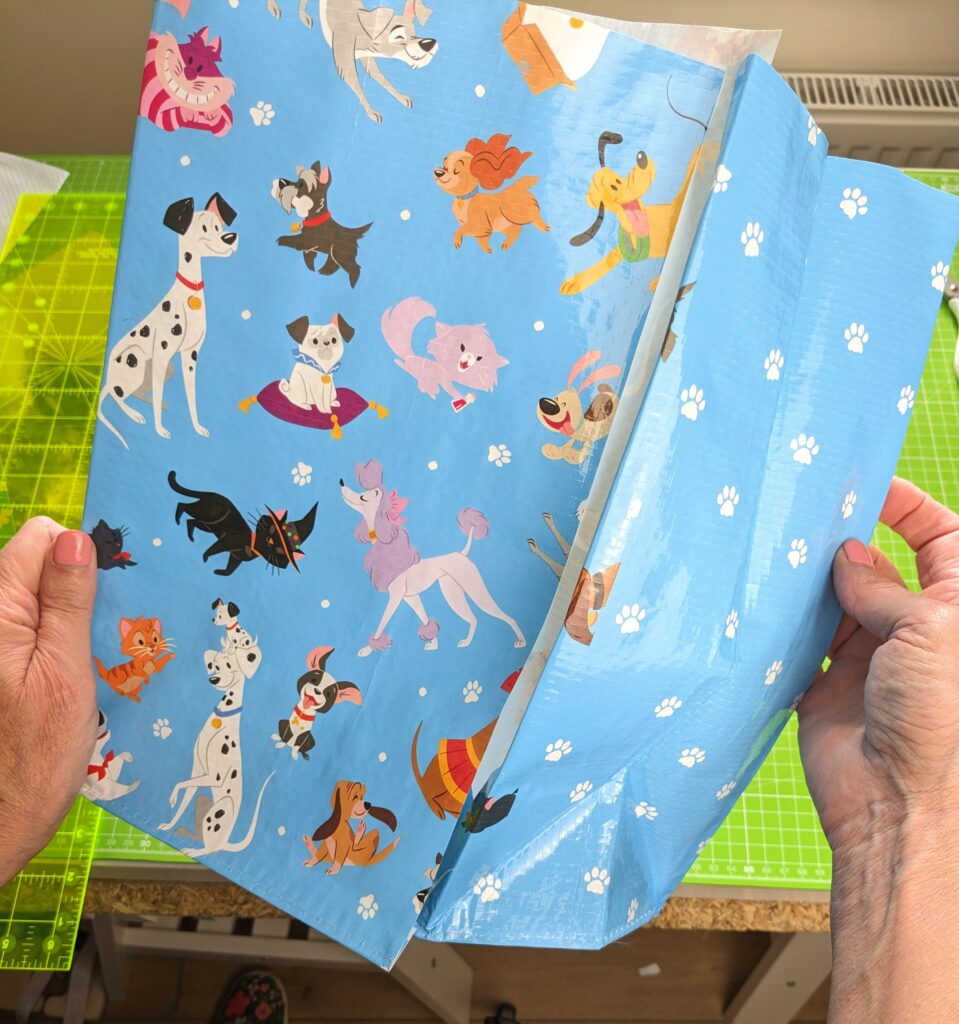
Use a seam ripper to unpick the top of the bag. Cut off the top inch. Finger fold it down then topstitch it down using a long 3.2 stitch. By the way, do NOT try to iron this fabric, even a wee bit, it will melt!
Before stitching on the final side we are going to add the loop and button closure. The missing side will give us the access we need for this.
Adding the Loop
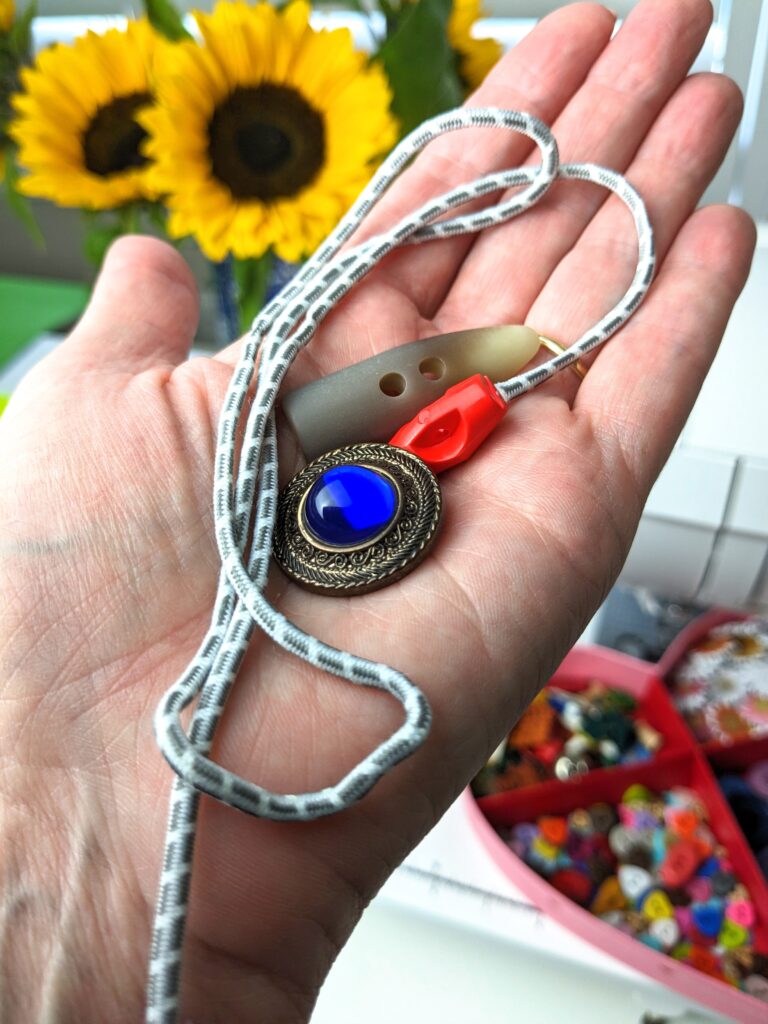
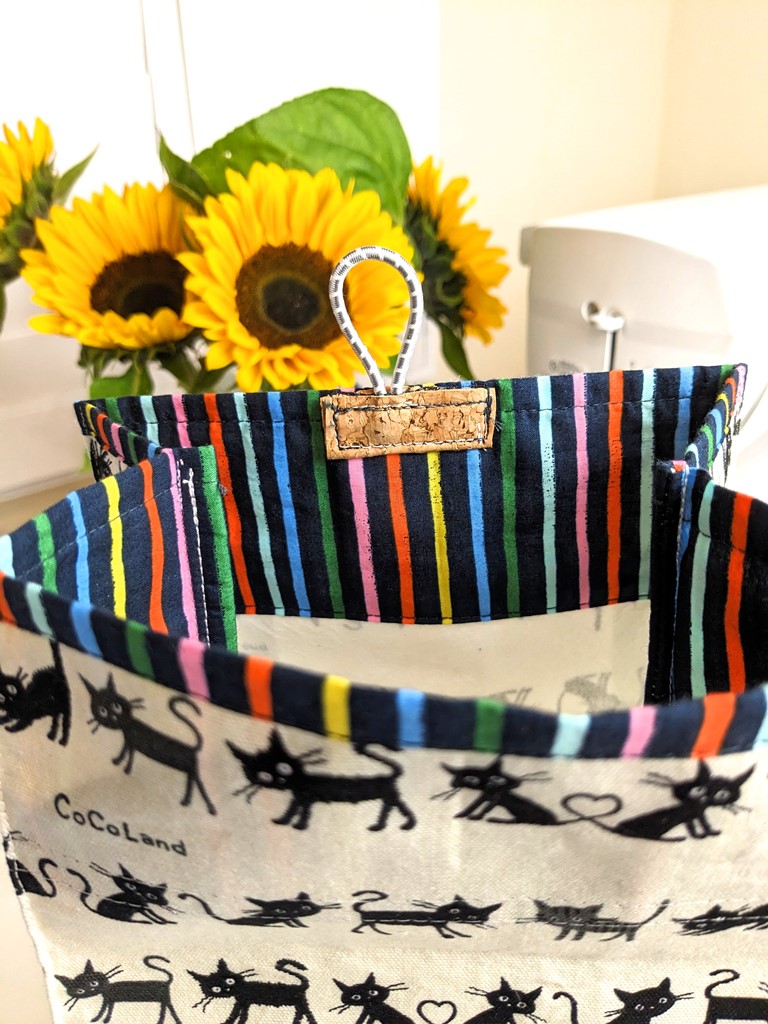
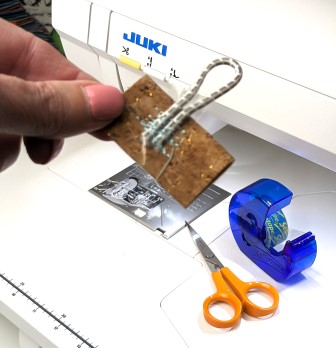
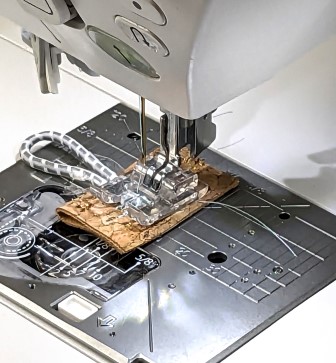
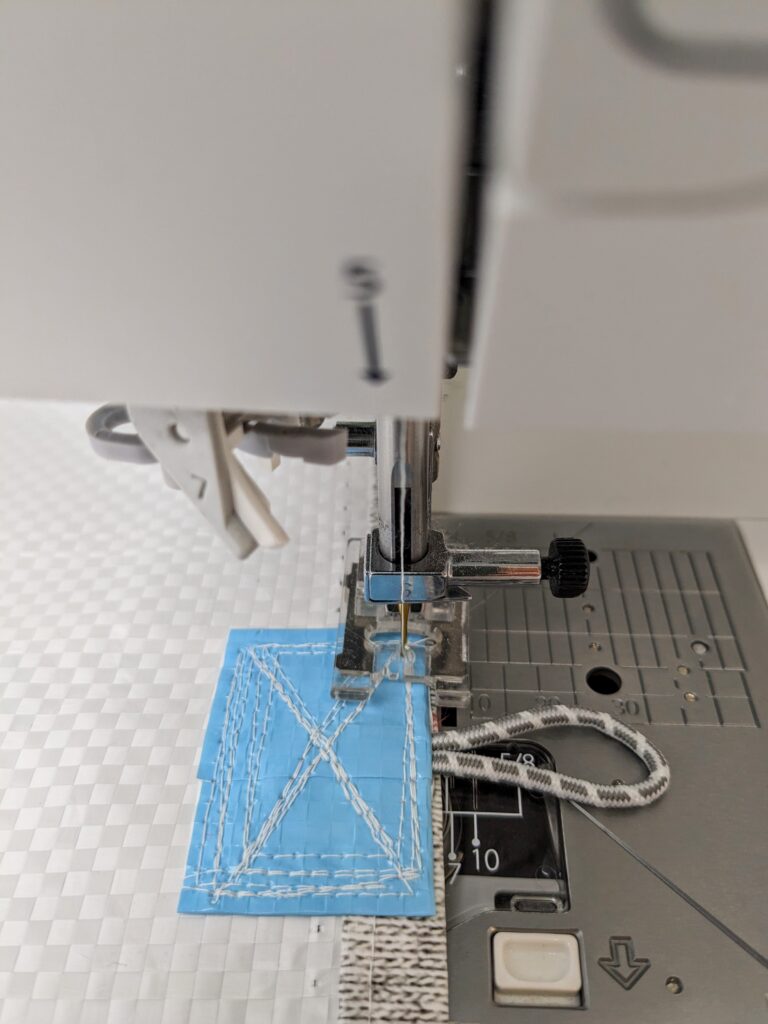
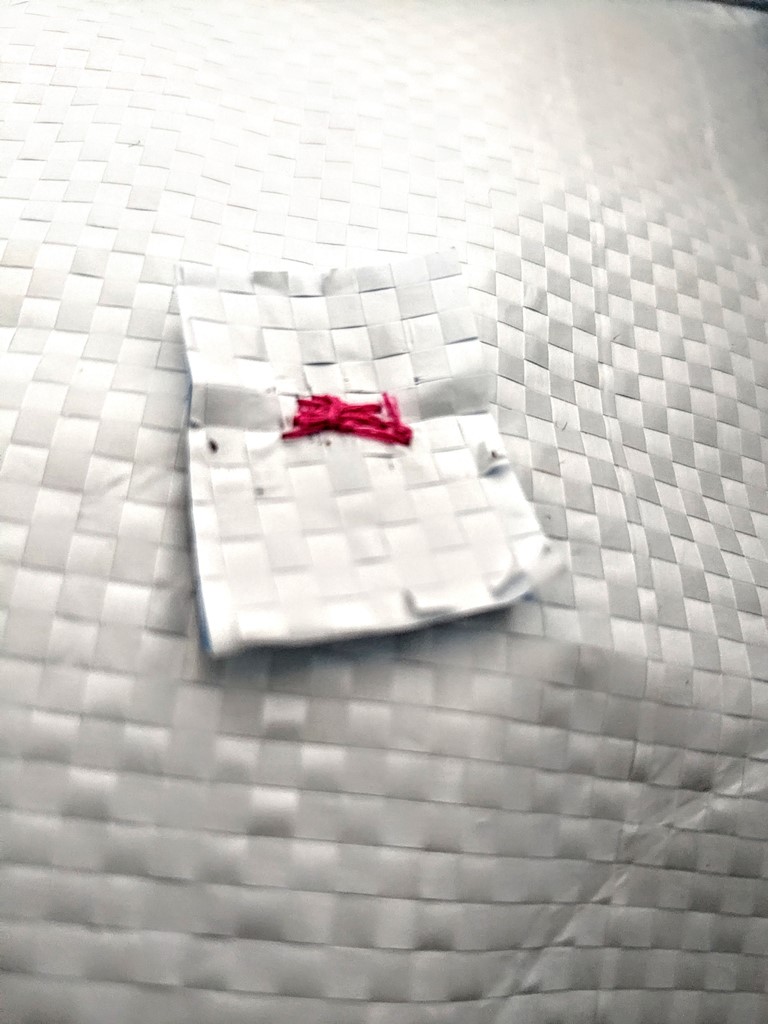
I chose to use a thin elasticated bungee cord to loop around the button. First tape the loop to something stiff and sturdy . I used a folded square of cork here and a bit of tape to hold it in place, then took it to the machine and stitched back and forth to secure it. Next I stitched the tab with the loop to the middle of the inside of the back of the bag. Notice that the loop is sticking out the top.
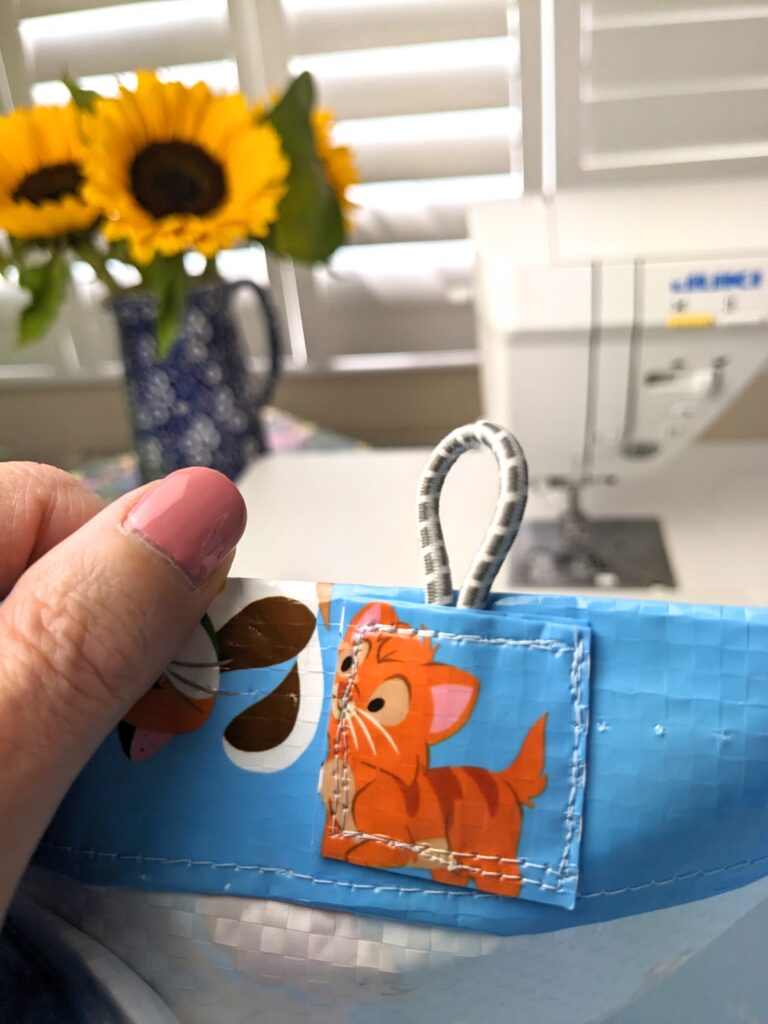
Adding the Button
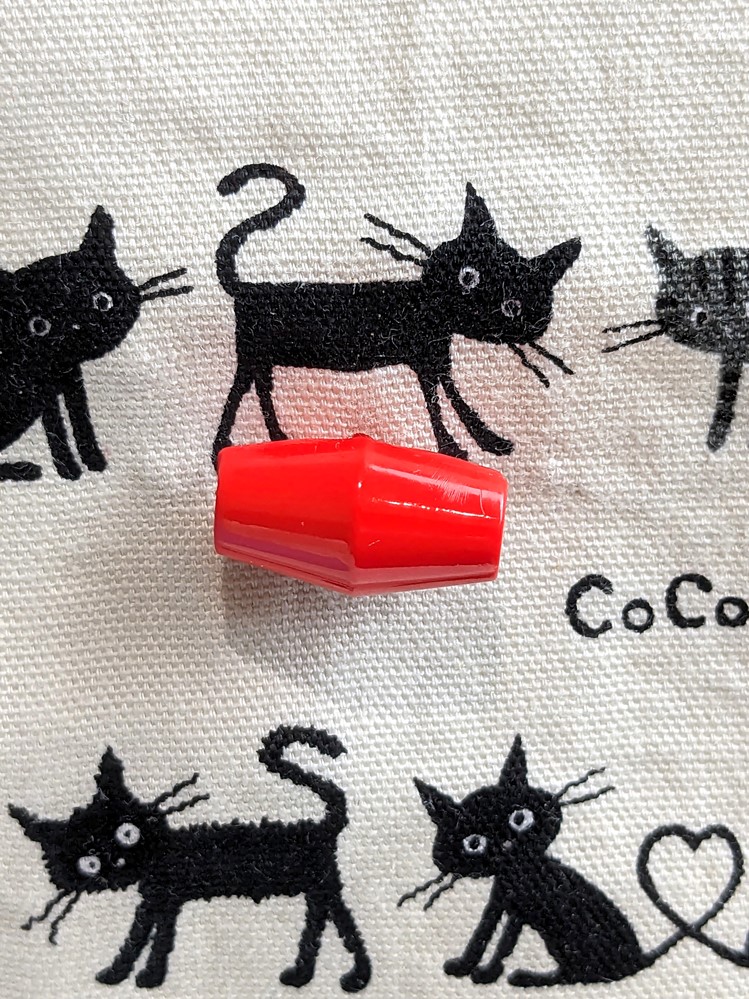
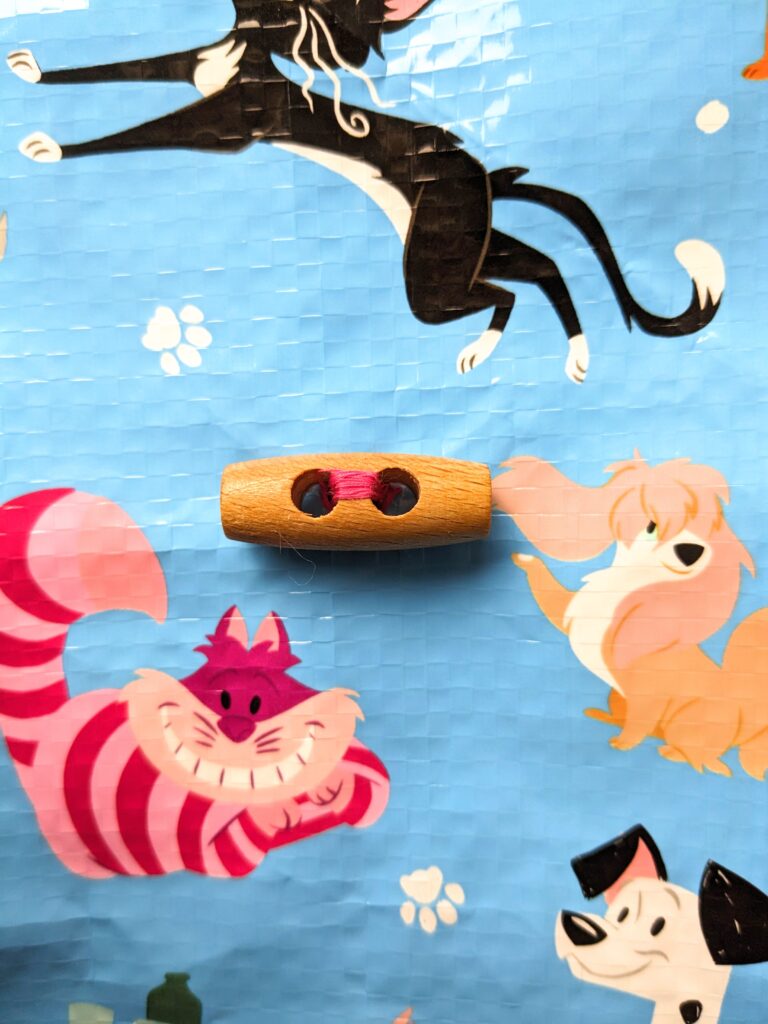
Now fold the top of your bag over, as in the photo above right, so you can figure out the button placement. Mark it. Then place a tab directly behind the mark, on the inside of the bag. The tab will help to keep the button secure. Stitch the button by hand going through the tab on the back to the button holes on the front. These toggle type buttons work well.
Adding the final side piece
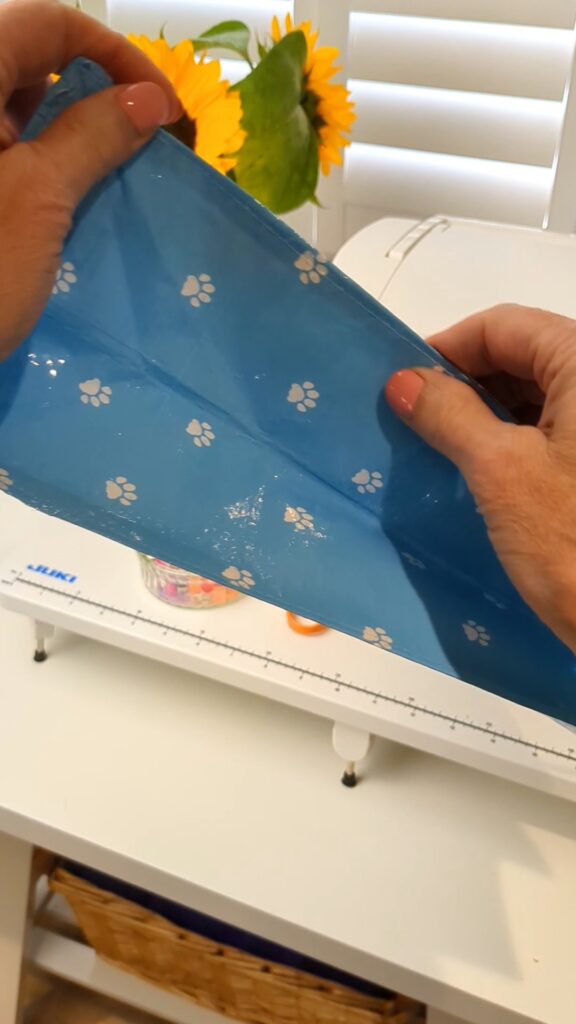
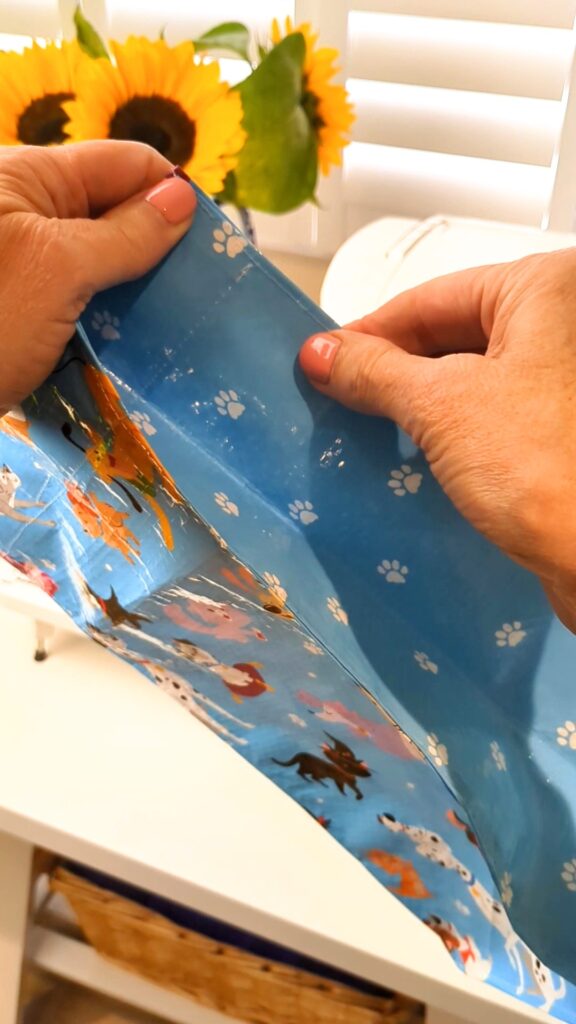
Now that we’re finished the button and loop closure, we’re ready to add the final side piece. Go back to the leftover piece of shopping bag. We only need the actual side piece. So unpick the side piece from the bottom. Next, find the fold and cut a half an inch outside the fold. Finger press it down.

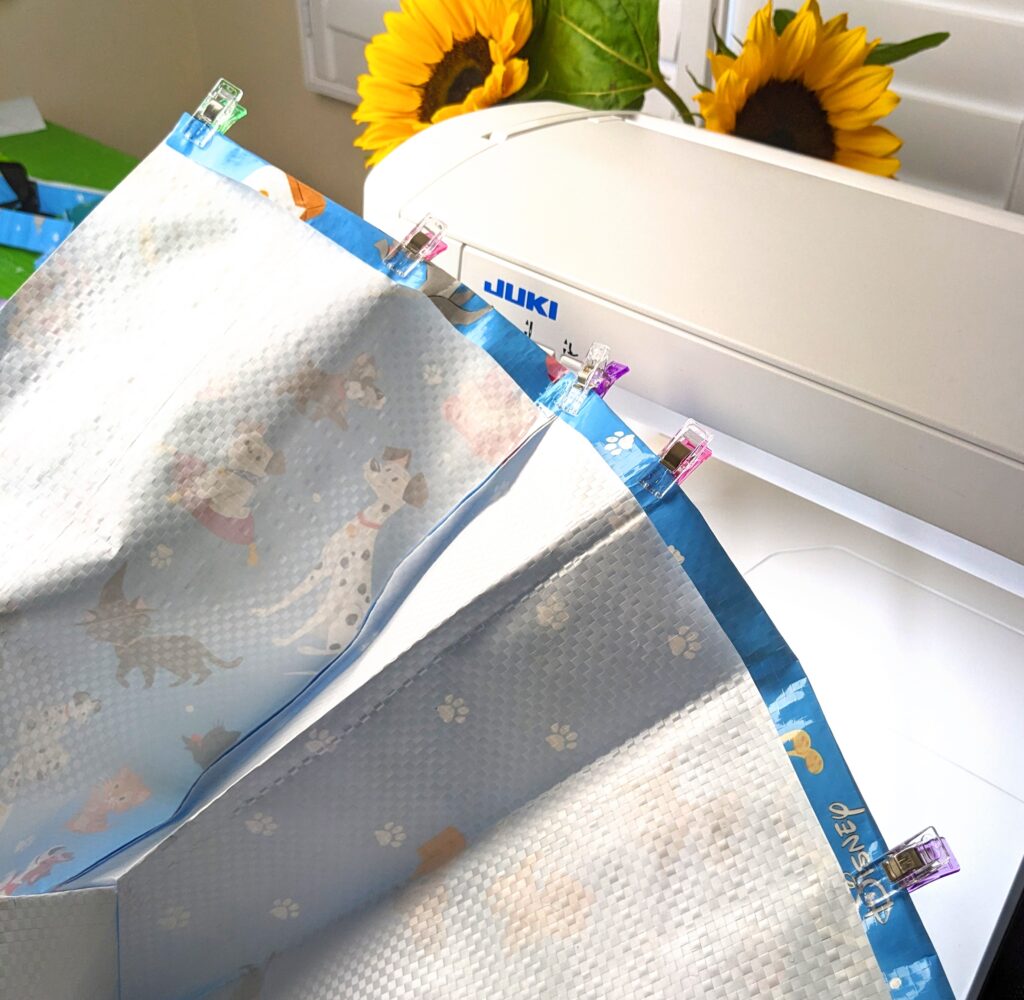
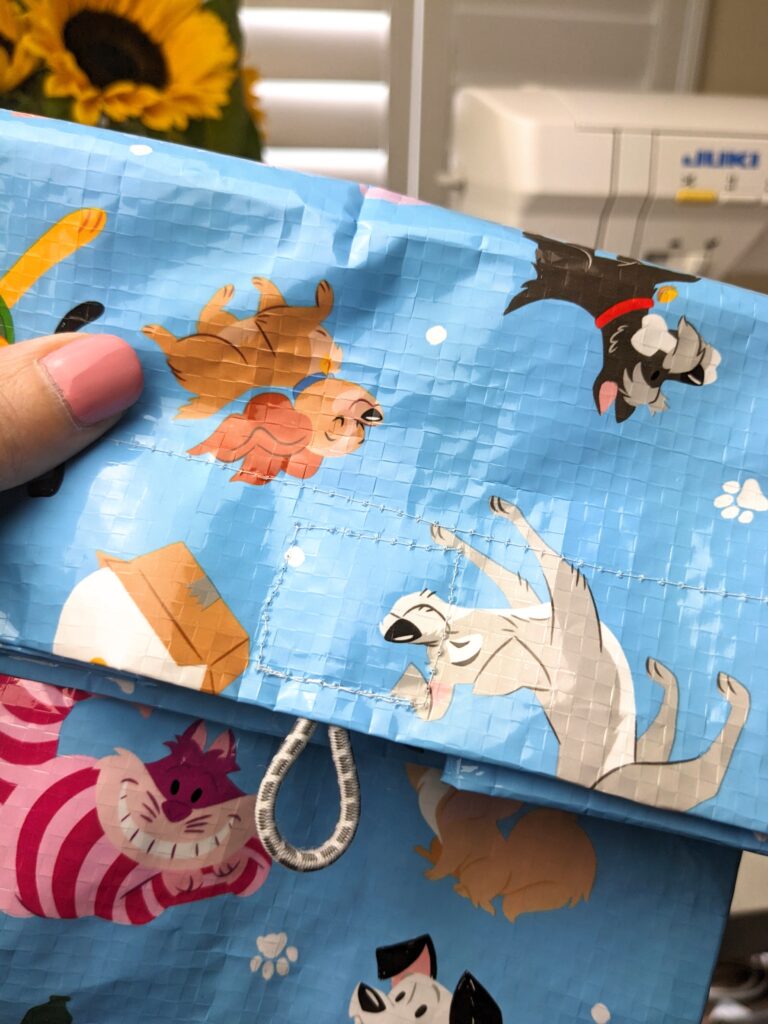
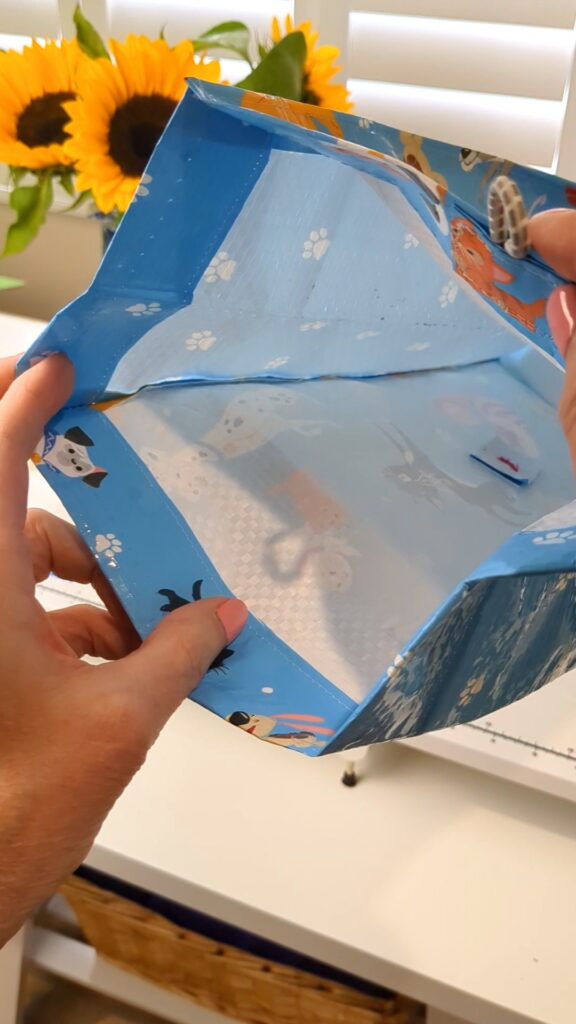
Now treat the top edge just like the other three sides. Remember you cut an inch off the top, finger folded it over and topstitched it down. Do the same thing to this side piece so that it matches up. Then match up the folded piece of the side, to the folded edges of the 3-sided bag. Clip it together all the way around.
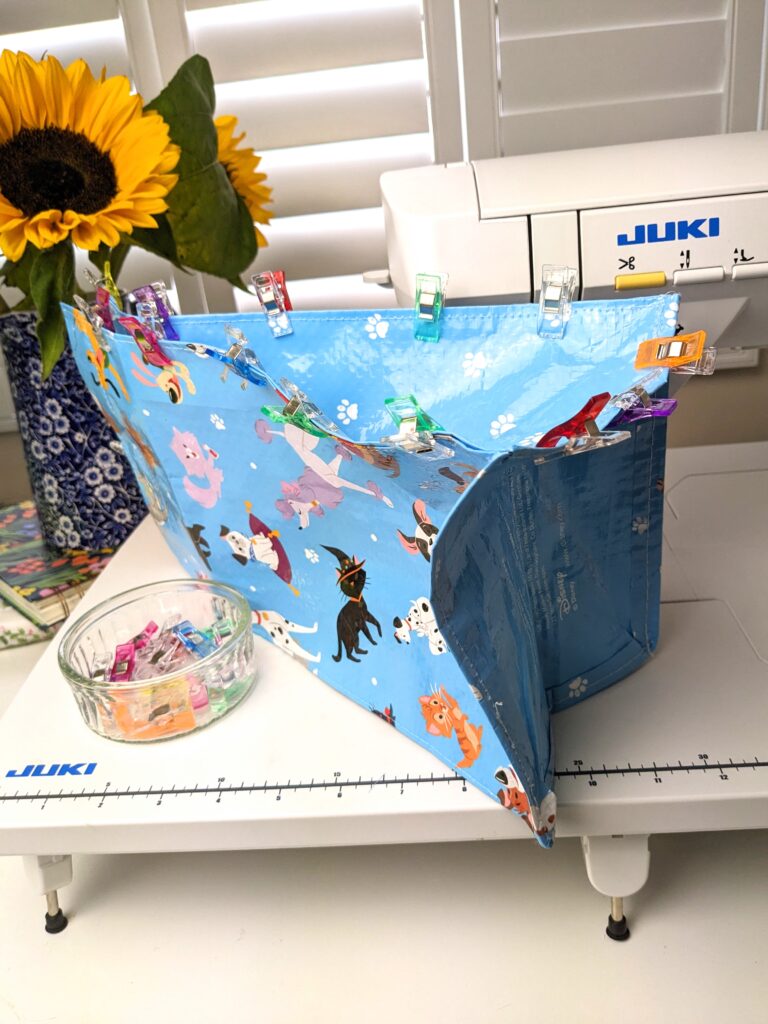
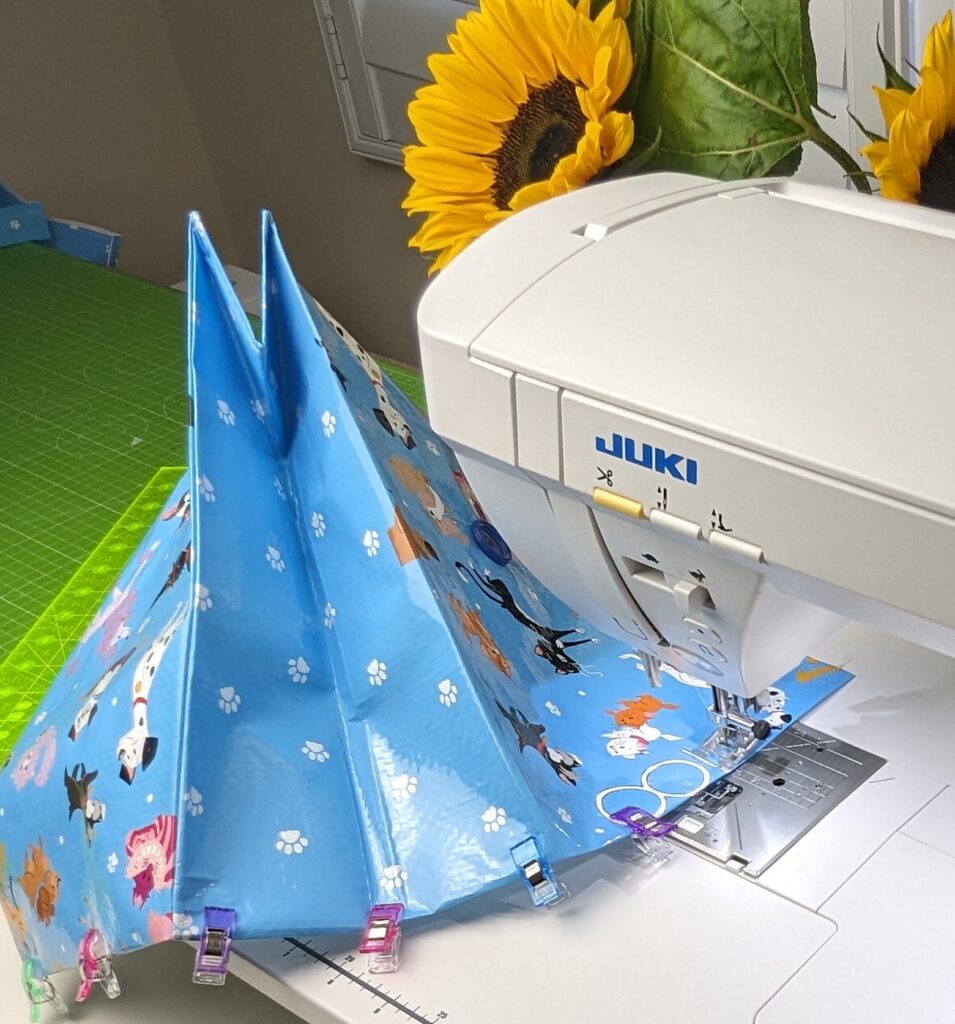
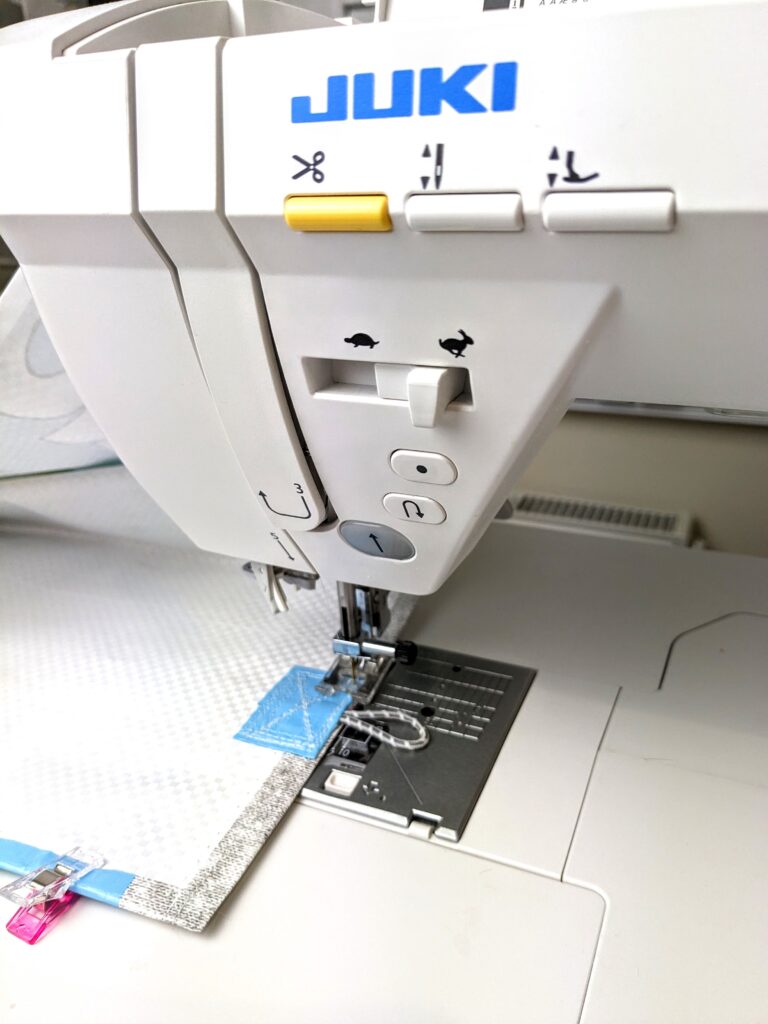
Notice that this is not a regular seam. The folded edges are clipped together. Topstitch just inside the folded edge, through all 4 layers, all the way around, the first side, the bottom, and the other side. Use the folds already in the bag to help you manipulate the fabric. Re-fold and pivot around the corners, stitching all the way around.
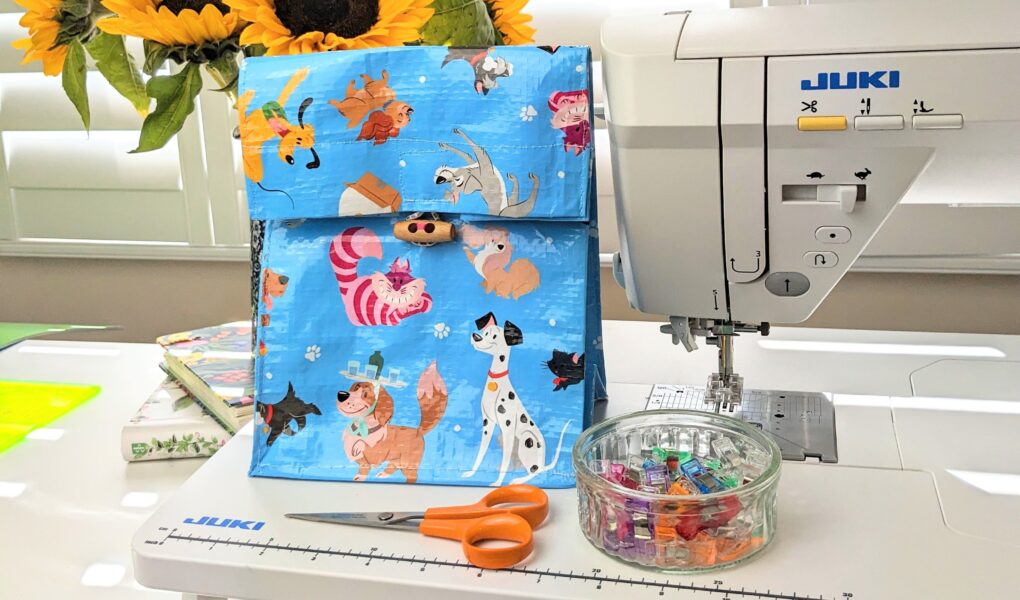
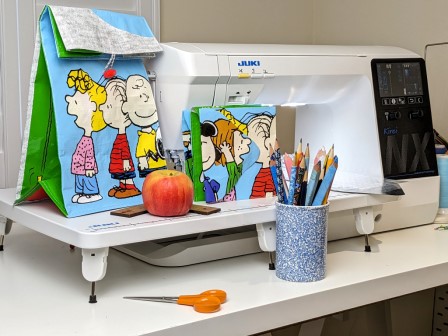
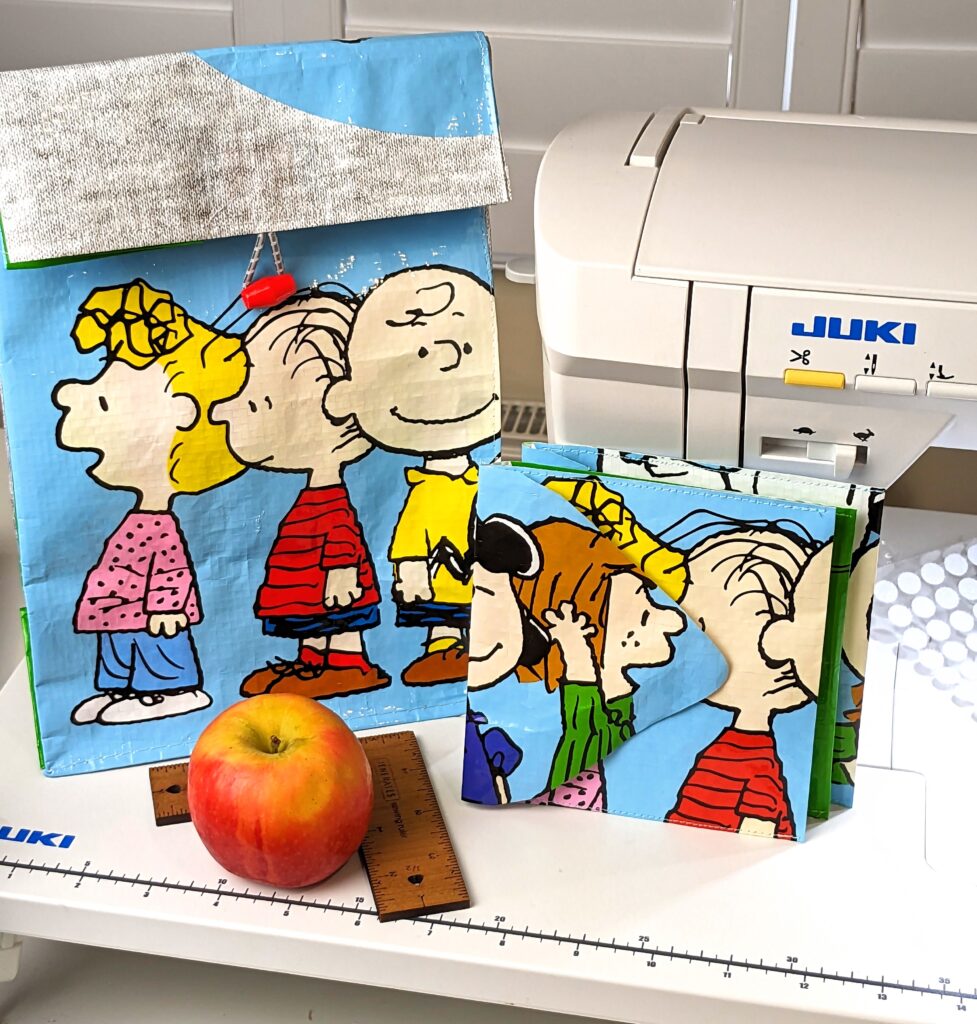
And there you have it. The Tesco shopping bag upcycled into a reusable back-to-school lunch bag that’s wipe clean inside and out.
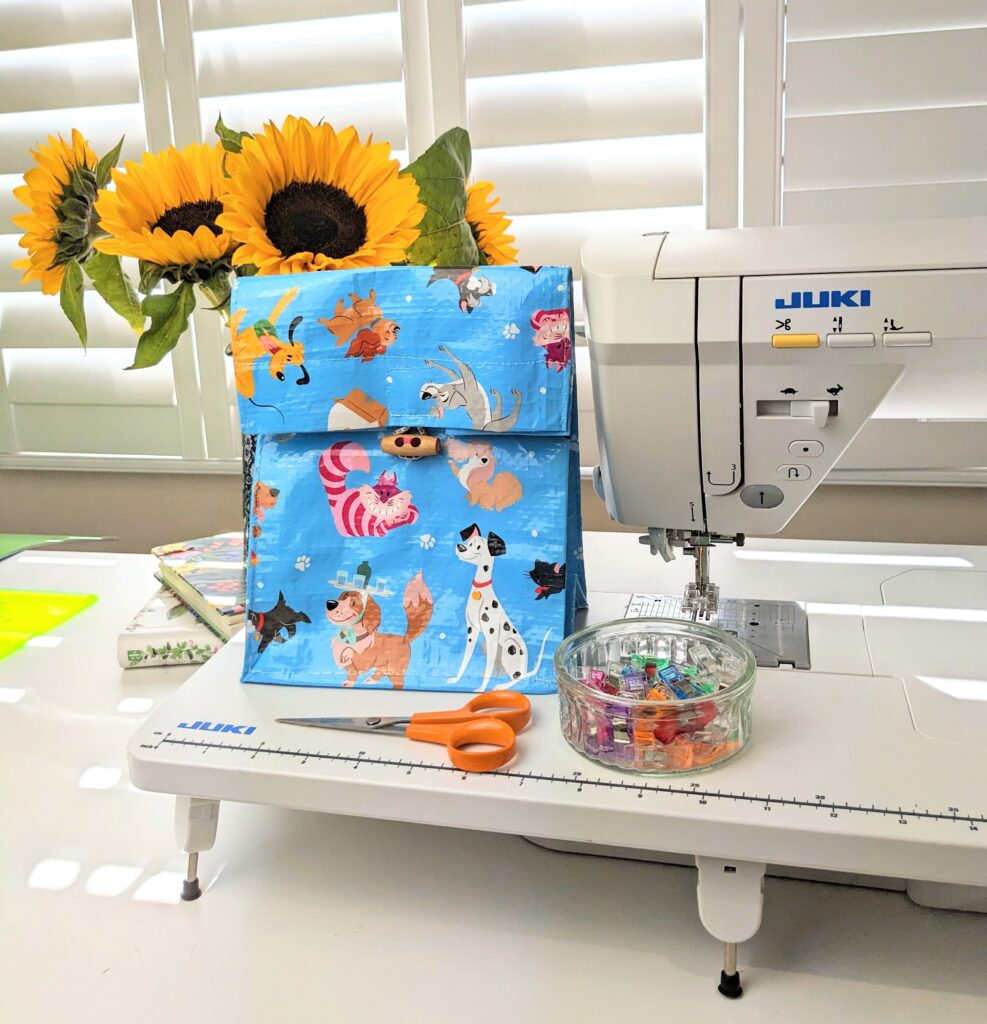
The stiff nature of the recycled Tesco bag material gives the lunch bag just the right amount of structure. It’s not floppy! You don’t need to add structure with French seams or layers of interfacing. It stands up nice and tall all by itself. Tesco is coming out with new shopping bags all the time. You might just be tempted to make more back-to-school lunch bags. I couldn’t resist the Charlie Brown bag!
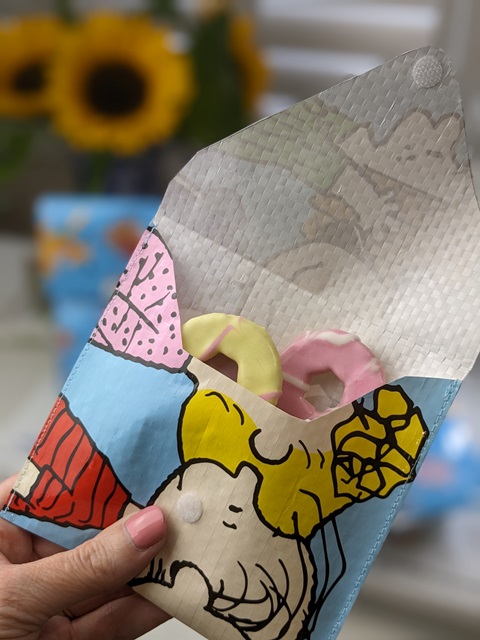
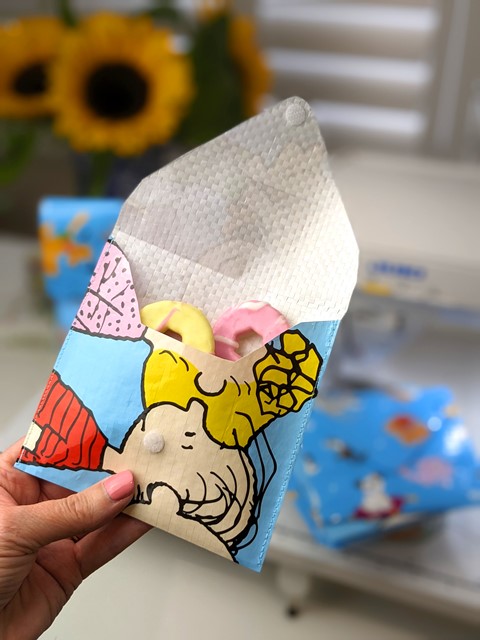
Leftover shopping bag material can be used to make these super fast and easy snack envelops.
Super easy snack envelopes
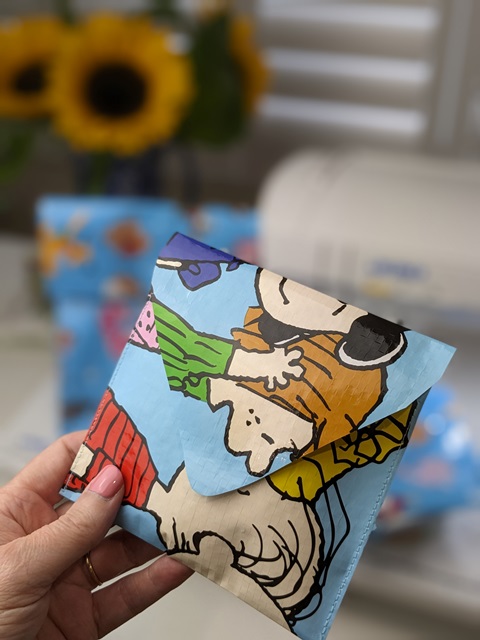
Tesco shopping bag leftovers and Velcro dots are all you need to make these snack envelopes. Just like the lunch bag, they’re wipe clean and reusable.
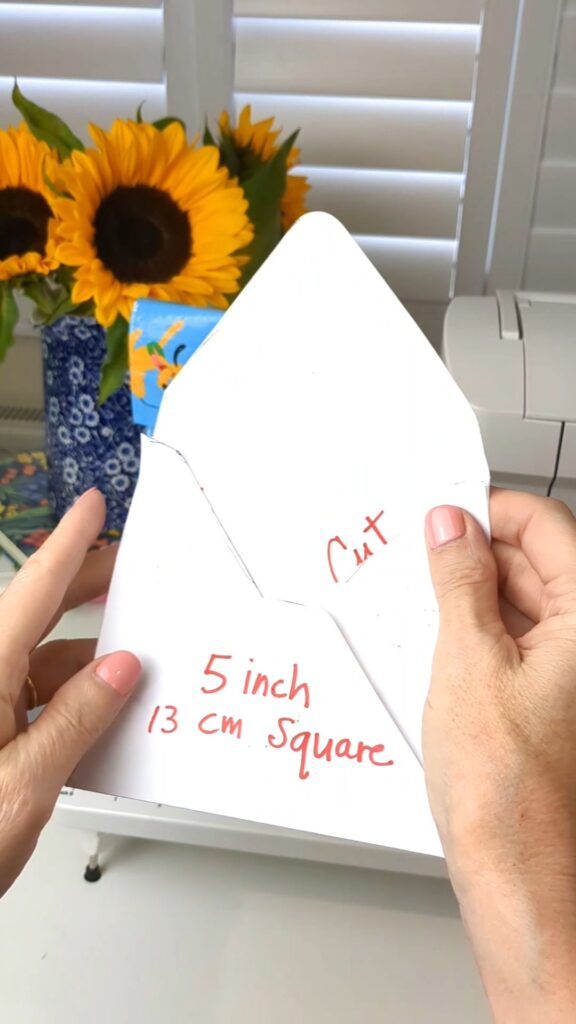
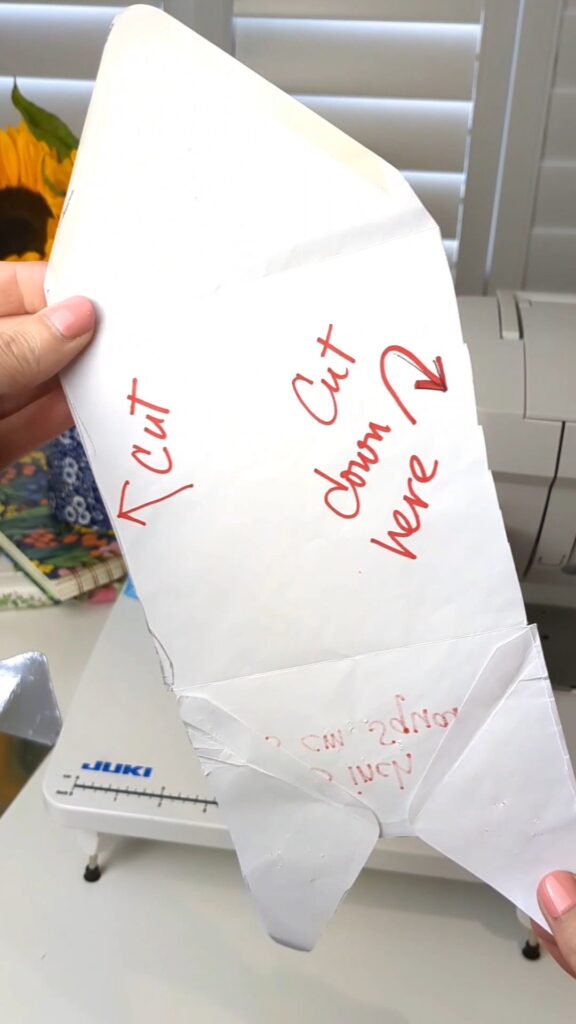
You can make your own template using a small square envelope. I used a 5 inch square envelope. Cut the envelope down the sides. This will give you a long rocket shaped template. Trace it onto card and cut it out and you get a reusable template. I’ve tweaked it by adding a strip of card. It’s to make the envelope taller to hold the goodies better.
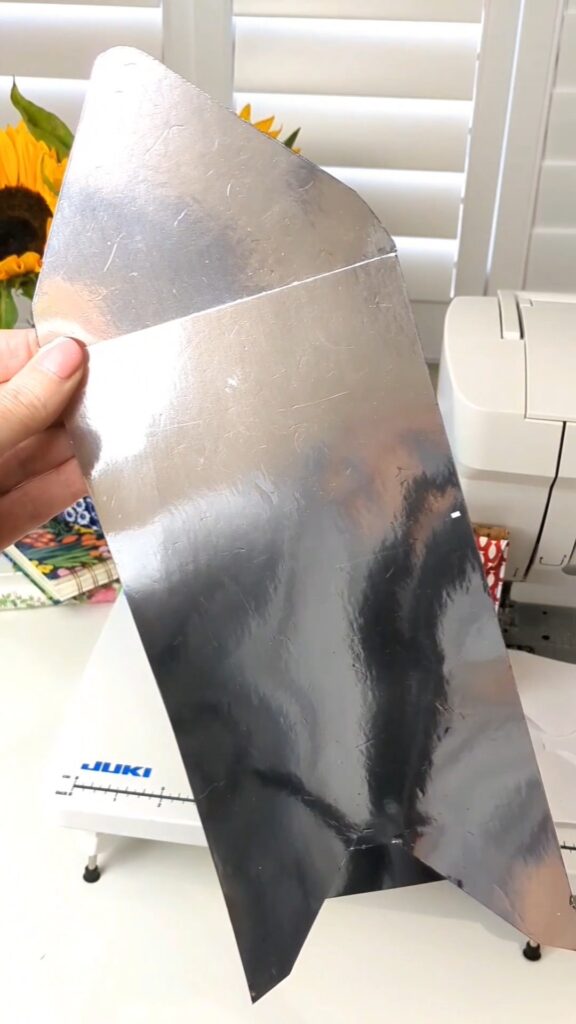
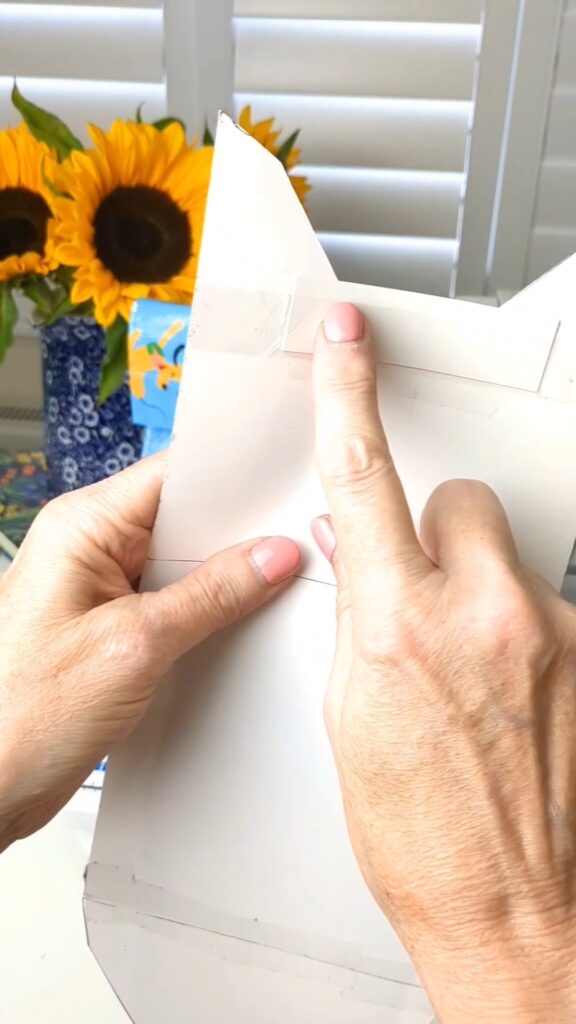
Use the template to trace on the Tesco Shopping bag leftovers. Cut along the lines. Fold the bottom up and stitch down the sides. Lastly add the Velcro dots for the closure. Now you’ve got a little snack envelope that you can use again and again.