Sewing tutorials and tips from the pro’s.

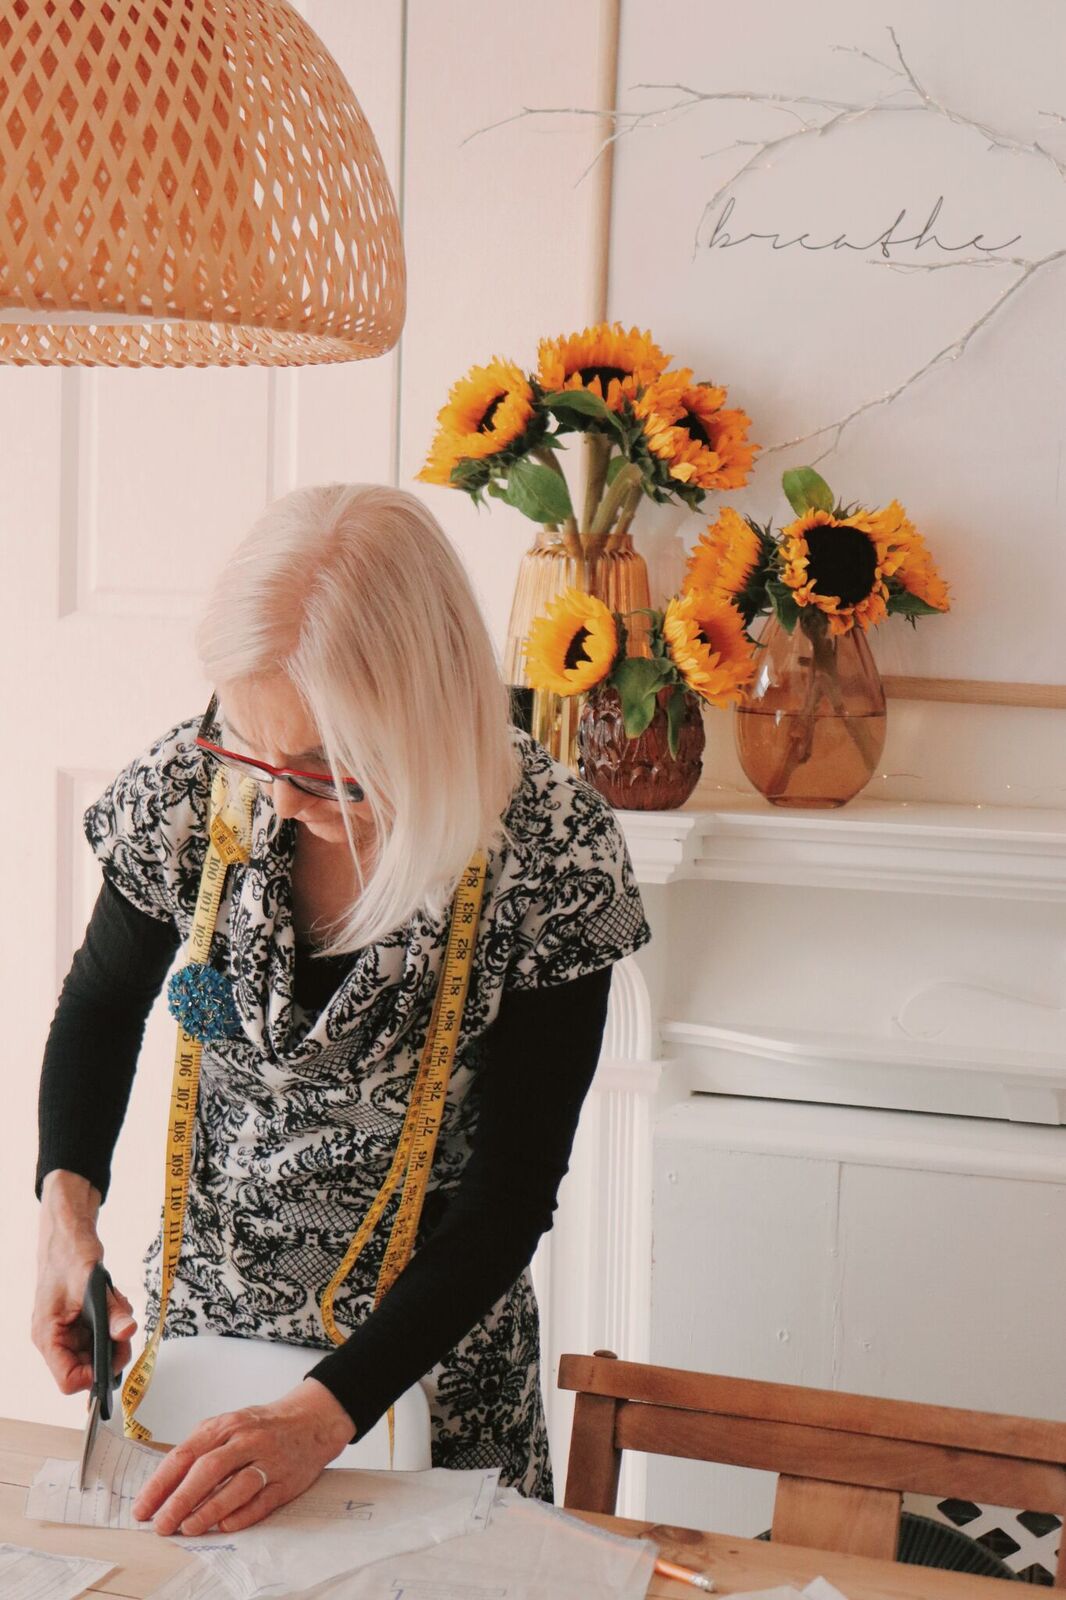
We were luckiy enough to spend some time with a seamstress recently who really helped us develop our knowledge of sewing. Cloths patterns scare me but for no reason. I feel sometimes I just need someone there to give me little push and tell me I am doing the right thing. It is all down to confidence. I have had this skirt pattern sat at home for months, opened it once, got scared and put it back away. how many of you have done that?

Sometimes it’s just the idea of doing it on my own and having no-one to check with that is the proble. Luckily for me though Gwen’s job is to teach a range of sewing skills and having her for a day completely changed my understanding of reading fashion patterns.
It’s the simple tips that make the difference. As we had already learned from Linda when we made the dress, it is all in the preperation and reading and working through the instructions is so important.
Gwen taugt me to use a pencil and physically mark down the pattern you are doing. Tick the bits that you need even if it feels like it is obvious, go methodically through the process as it just solidifies the plan in your mind.

The big fear is about cutting wrong and wasting the fabric, that is what stops so many of us so by putting pencil to paper and slowly going through the process of what needs to be done, we give ourselves that moment to confirm it.
The next important thing to think about pior to even cutting is measurment. wen was really diplomatic in telling me not to breath in. We have to be realsitic, no point being self concious about numbers, use your measurements to get the best fit for you. Within this process it is important to not only look at the size conversion but also the end product sizing. In the decription I was coming up as at 16 but the finished garment sizing put me at a 10-12. a huge difference. what you want to go by the the finished garment size and as thr skirt was a simple wrap around I went for the 12 so that there was pleanty wrap to cover me!!

When it cam to cutting the pattern Gwen showed me how to pin your size rather than cut it. This means the pattern can be used again for someone else and it actually makes a lot of sense. In a way it gives you more time to read the pattern a bit more and understand it’s layout.

The pinning also helped when it came to shortening as it meant that there was no permenant cuts mad ethat would stop the pattern being used again. As the pattern came with 4 options as to what style you wanted, it makes sense to keep it as whole as possible so it can be used multiple times.

Ironing the pattern and fabric is of great importance. to be able to have them ironed means that you find everything fits better. the cutting is easier and it is measured properly againt the size of the paterns.

everything with clothes making is done very much in steps. This helps the whole process come together so it is really important you follow the steps when you come to making clothes.
all I have spoken about already only takes us too the pining on of the pattern, it already seems a lot to remeber but having done it, I feel so much more confident in understanding patterns and preperation being key to a good make.
With the pattern cut and ready to pin onto the fabric, the next key thing to think about is fabric print direction and finding the bias.My leafy fabric wasn’t to patterend in a directional way so that wa just done by preference but making sure we found the bias and then cut the pattern out right was really important.

So to make sure your pattern is cut with the printed fabric straight you have to find the bias. On the paper ther is a straight line which we position on the fabric. It is best to work from a salvedged edge as that is straight and you simply need to measure the distance from the salvedge edge to the line on the paper making sure at the top and the bottom the distance is the same.

If you put a pin at the top of the line and then measure the distance at the bottom you will find you have your pattern perfectly lined with the fabric direction. You can then pin the rest of the pattern down before cutting.

When cutting simply follow the line of the paper but do not cut the paper. Rember the little triangle notches which you must cut in to help you piece all the pieces together when it comes to sewing. the notches and just a sign that indicates which seems to sew as they should line up when correct.

Once all the pieces are cut the easiest bit can happen and that is the sewing. It is the prep work that takes all the time and in a way that is a good thing. It makes you really consider everything before it actually comes to the sewing part. With all the pieces cut and the notches lined and pinned buzzing it through my DX7 doesn’t take much time.

To finish each seam I also ran the skirt through the MO2000 Air thread overlocker which edge it perfectly.

When it’s all done and pressed I was absoltley elated. I had had to finish the skirt without Gwen and had worked out the finishing touches myself. I felt so proud.