 I’ve been loving Raw Edge Applique for the past few years. I enjoy how fast and easy it is to make a pop of colour! Usually, raw edge applique is done sitting down at the sewing machine. But this tutorial is different. We’ll show how to raw edge applique using a free motion quilting technique that can be done directly on a long arm or a quilting frame.
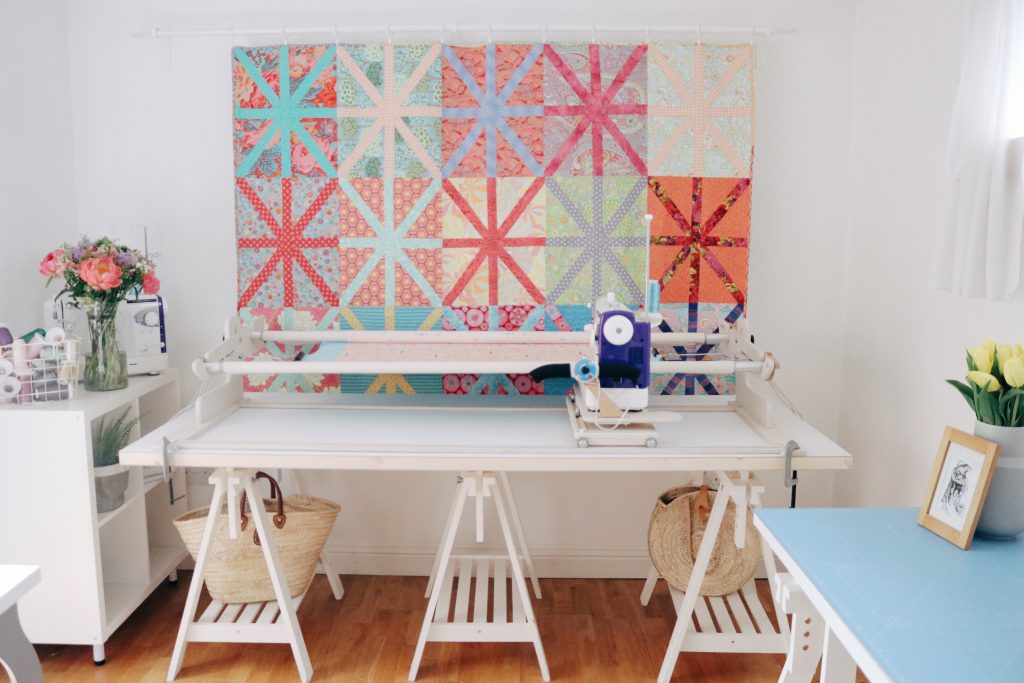
Long arm quilting frames are becoming so popular. This technique shows how to use your long arm or quilting frame just like an easel. We’re using hearts.
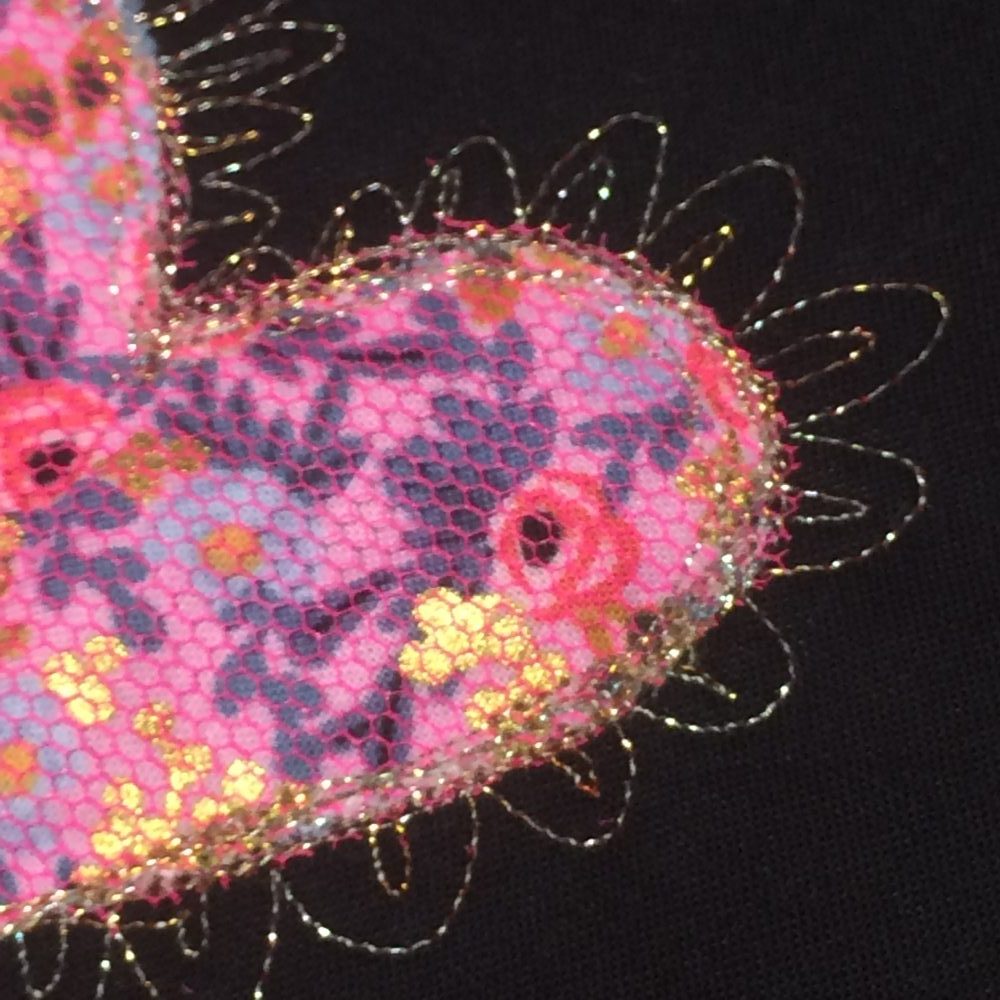
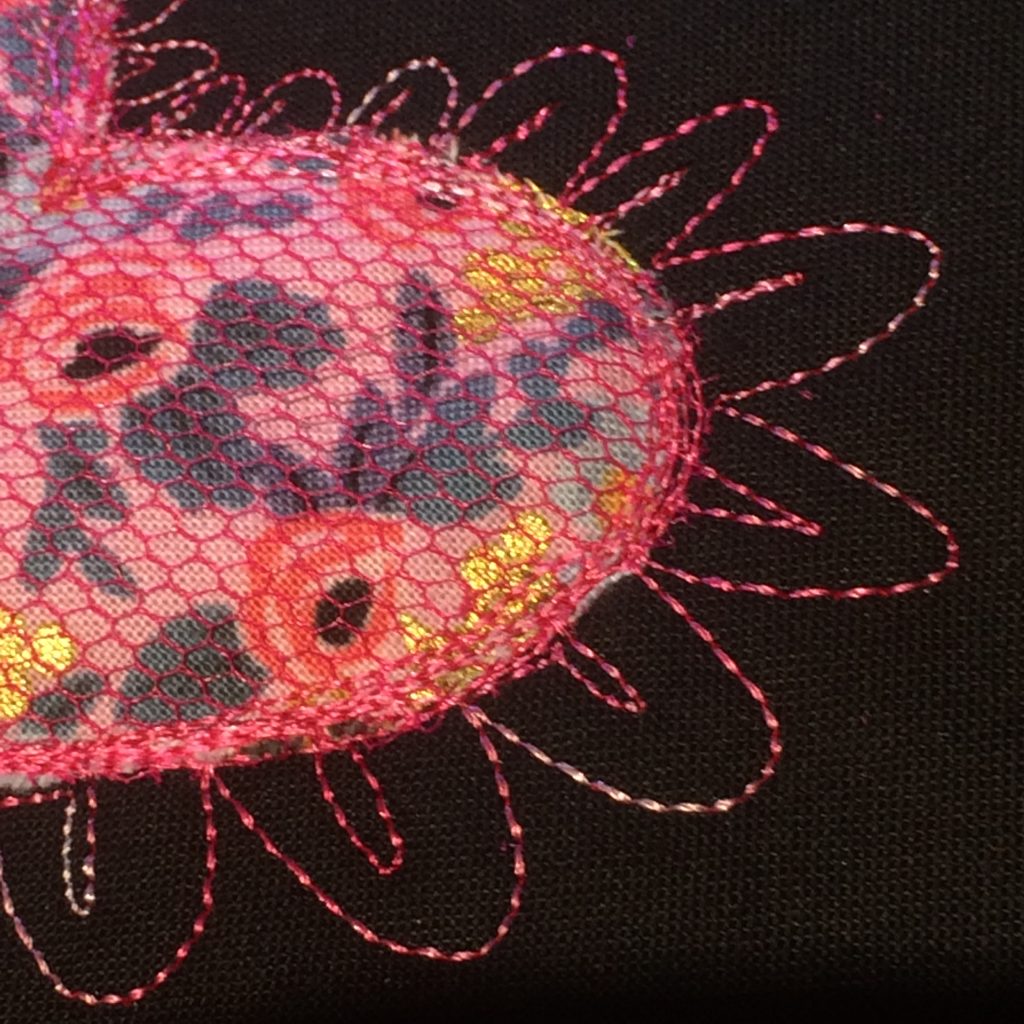
Here we’re using lots of lovely fabrics and pretty threads to raw edge applique heart shapes. The secret ingredient is toile or mesh fabric. We’ll be using the long arm or quilting frame like an easel.
The frame acts like an easel.
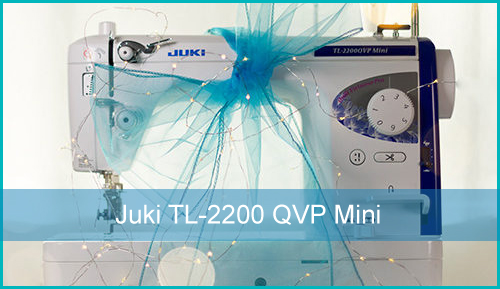
The wooden frame holds the layers of your quilt steady and perfectly tensioned, just like an artist’s canvas. In the photo you can see the Juki straight stitch sitting on a set of carriages. These glide on a set of tracks, letting you move your Juki TL QVP Mini every-which-way like magic at the touch of a finger.
The Juki TL 2200 QVP Mini straight stitch has 4 features that make it perfect for free motion quilting: space, speed, simplicity and strength. Follow the link above to see why this Juki straight stitch is my absolute favourite machine for free motion quilting.
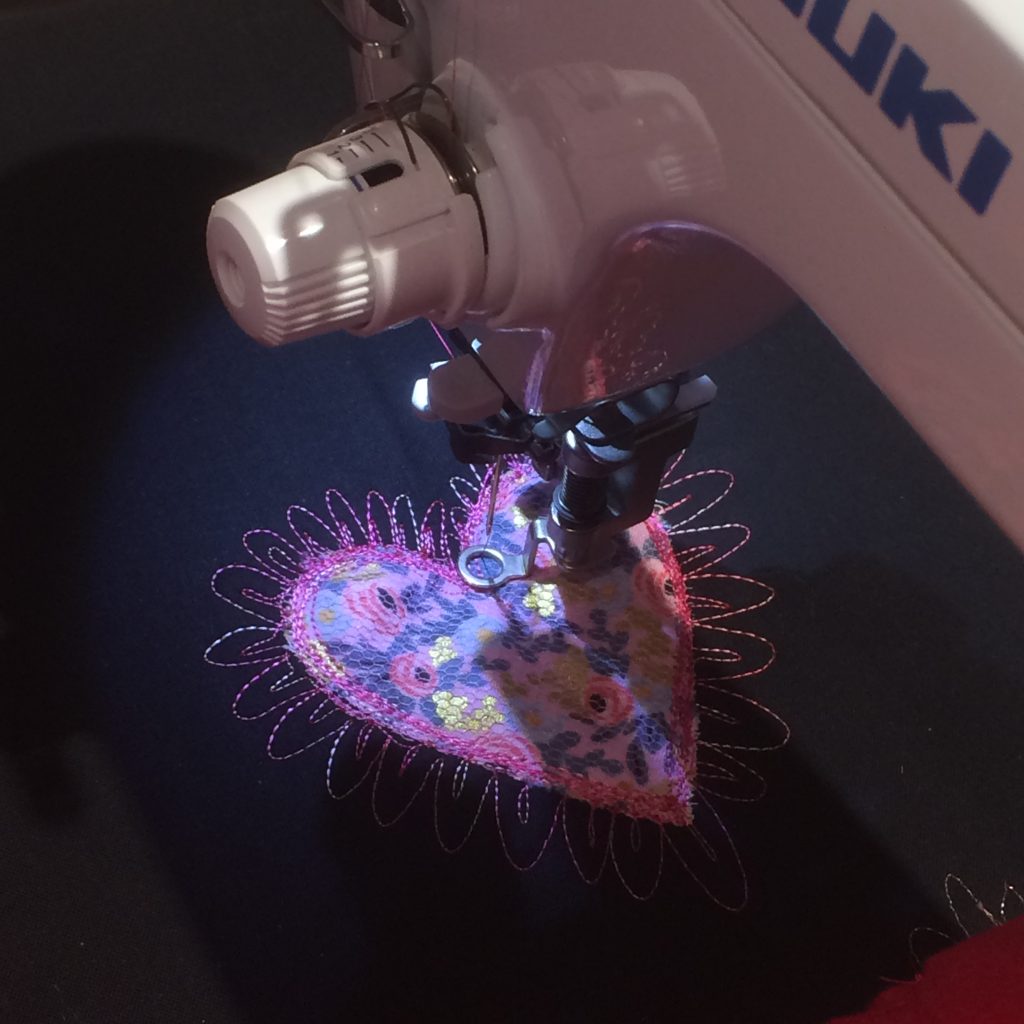 The needle is the Pen
Once the quilt sandwich is held steady like paper, and the sewing machine can move like a long arm, the needle becomes just like a pen or an artist’s brush. Now you can write and draw and doodle with your needle. It’s so much easier than moving the paper! Because the frame allows the sewing machine to become an extension of your arm, anything that you can write or doodle, you can stitch!
The thread is the Ink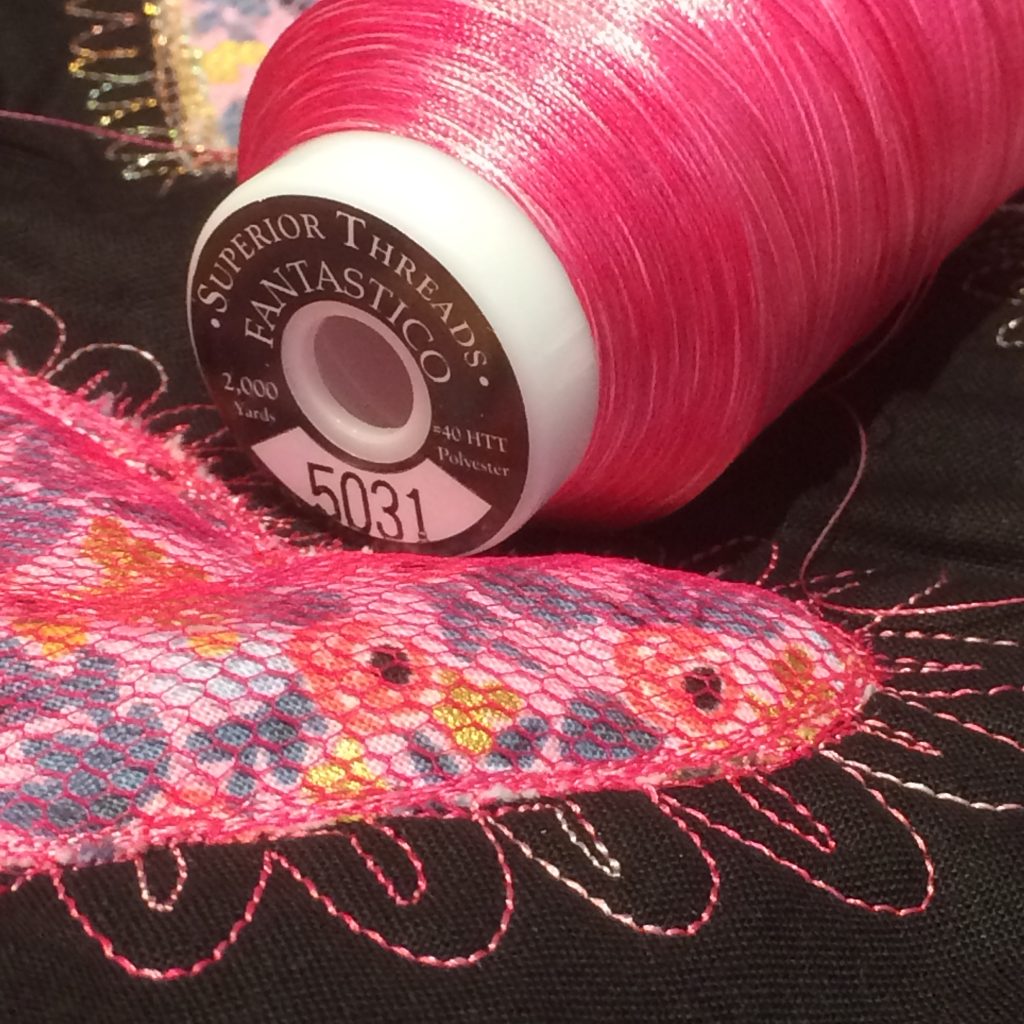
Now your thread stash becomes your paint palette. You can change the colours and vary the thickness of the lines by the thread weight. Add WOW with variegated lines that change colour, or glow in the dark or glitter like gold. You can choose bold lines that stand out or very fine lines that blend in. If you haven’t fallen in love with thread before, you will now.
Enough with tools and materials, lets get back to the raw appliqued hearts. I’ve chosen some reds and florals from my stash and cut the fabrics into hearts. You could use a template. But I cut the heart shapes just the way you did, when you were little in school. I folded the fabric in half and cut a half-heart or hook shape. The folded fabric keeps both sides of the heart symmetrical. Easy peasy.