I’ve been wanting to make a red triangle quilt for ages. Our youngest son outgrew his little boy Cars & Trucks quilt years ago, so I decided to make a red triangle quilt that he could take to University.
I bought an 8-inch 60-degree triangle ruler from Sew Easy and followed their 5-minute video tutorial. I found it clear, brief and to the point, delivered in a lovely Australian accent. I’d recommend following the link and watching the tutorial, but I’ve picked out the main points below.
The tricky part of a triangle quilt is the angles. The bias edges of the triangles are stretchy. Handling and sewing the edges of the triangles can be tricky. The key points of the tutorial deal with how to manage this and avoid the possible distortion.

Choosing the fabric
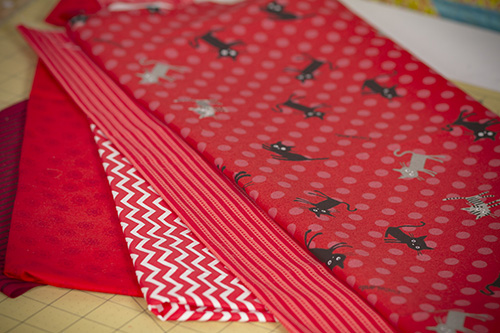
I kept the colour to red but chose from the entire red range going from the warm bright orangy reds to the true reds and all the way across the spectrum to the deeper darker maroon reds. I wanted each triangle to stand out against the others so I took care to choose from a wide variety of red fabrics in spots, stripes, checks, patterns and plains across the colour spectrum.
Cutting the triangles
To limit the possibility of distortion these directions called for cutting a length of fabric on the straight grain. Going selvedge to selvedge, I cut an 8-inch strip, to match the height of the triangle I’m using in the quilt.
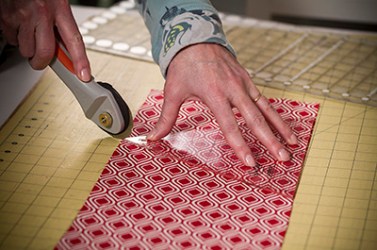
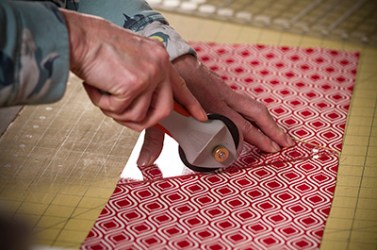
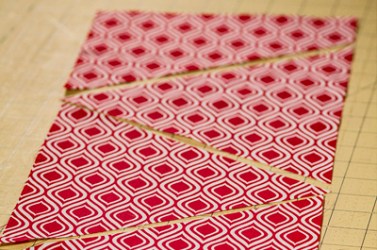
Laying the strip on your cutting mat, cut the triangles, flipping the ruler, up and down all the way across. This leaves the base of the triangle on the straight grain of the fabric and the edges heading up to the point on the bias. The left-over fabric at the end of the strip will give the half-triangle pieces needed to square up the quilt, at the beginning and end of each row.

Arranging the triangles
Once all the triangles were cut, I arranged them on the floor. I made sure to handle them carefully so as not to stretch them out of shape. My son is over 6 foot, so I wanted a generous sized single bed quilt. I ended up with 12 triangles across with half triangle on each end by 11 triangles tall. I played around with the layout so that each triangle stood out form the others and there was an even mix of brights and darks across the quilt.

Sewing the triangles together into rows
Once I was happy with the arrangement, it was time to sew the triangles together. To avoid distortion, I made sure that, just like when cutting, the straight grain of the triangles made up the top and bottom of the triangle row while all the bias edges were in the middle. This means that as you join the triangles together you will be sewing along the biased cross-grain edge.

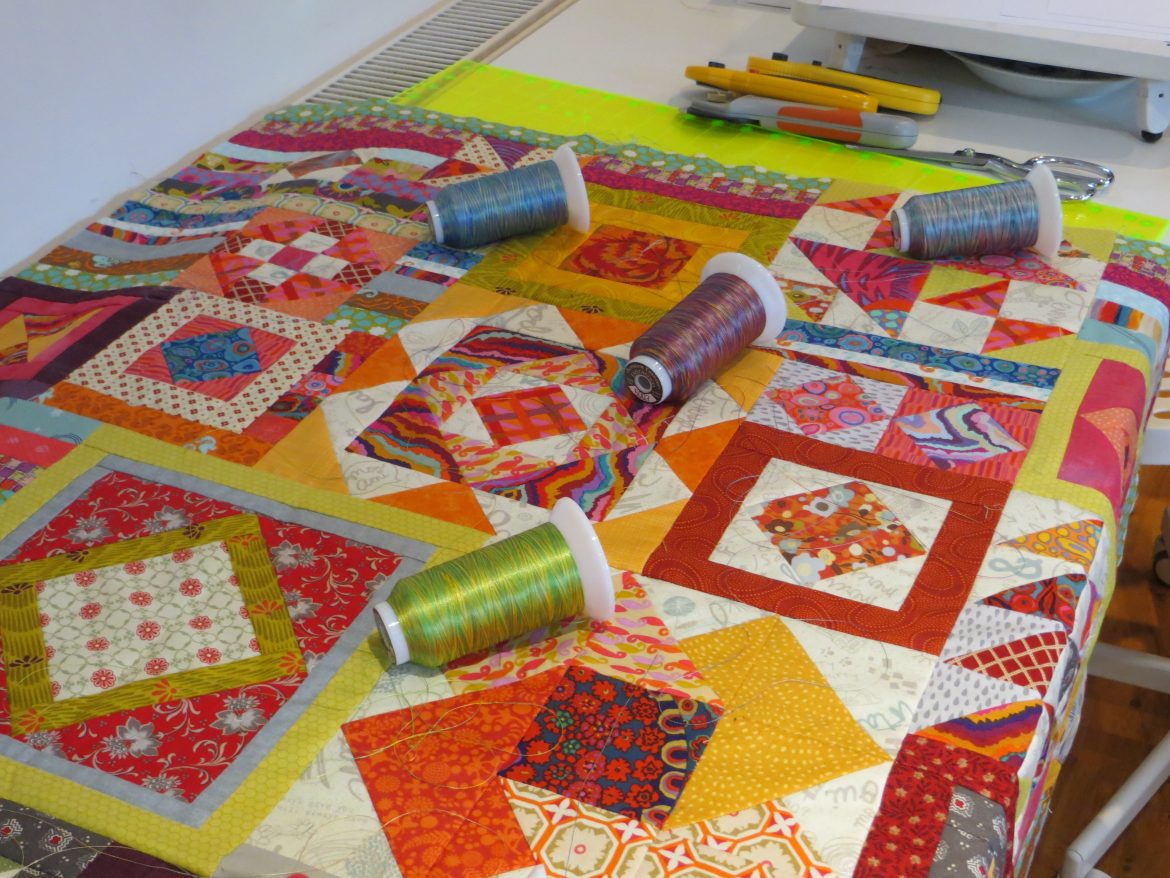
Here’s where the lovely even stitching of the JUKI DX7 sewing machine comes into play. JUKI’s industrial style BOX feed steadily and gently pulls the triangles under the needle creating an even consistent line of stitching. The steady even BOX feed doesn’t cause any distortion, even while sewing on the more fragile bias edges of the triangle.

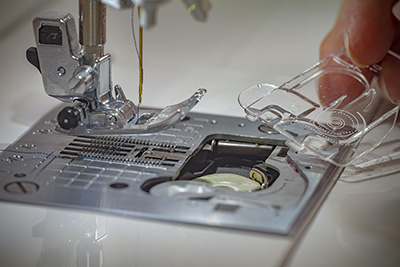
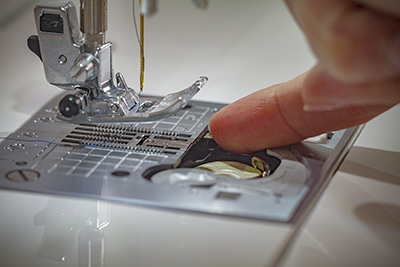
For precise piecing, slide the straight stitch slide plate all the way to the left towards the dot. This will keep the little pointy ends of your triangles from getting pushed into the needle hole as you begin or end your seam.
Iron to set the seam.

To avoid distortion, press seams together to the same side.


Then add the next triangle, making sure to line the new triangle up to this little point.


Check each time to be sure that the straight-grain edge of the triangle is at the top or the bottom of the row.
Carry on throughout the entire row, pressing sides together in the same direction.

Finally, add a half-triangle to the beginning and end of the row.

For the next row, press the seams in the other direction, this makes joining the rows together easier.

Sewing the rows together
Lastly join the rows together. As I sew the rows together I’m stitching on the much more stable straight-grain of the fabric. Once again the JUKI DX7’s industrial style BOX feeding system will evenly and consistently stitch the layers together creating a beautiful straight seam.


Choosing your backing
Backing matters. Choosing the right backing can make a big difference! A patterned backing will make the quilt look great on both sides and hide any mistakes. I’ve chosen a really fun Marvel Comic Heroes backing. Even though the red Triangle top is quite grown-up, the Marvel Heroes will keep the ‘boy-on-the-inside’ happy too. Did you know that Batman and Superman both had mothers called Martha?!!

Watch this space for a post on Quilting the Red Triangle Quilt. Coming soon.