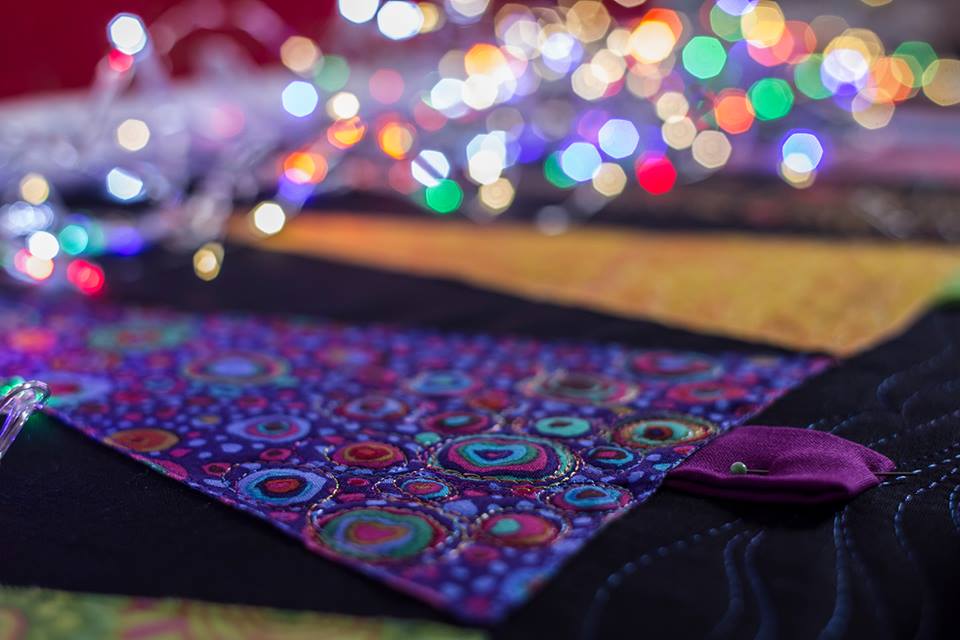
I love driving around at night and seeing all the lovely Christmas lights. I’ve tried to capture that joy in this raw edge applique project. Black backing fabric creates a brilliant night sky and bright saturated Kaffe Fassett-type fabrics work well for the trees. Choosing just the right threads made the trees light up with bright variegated light-reflecting tri-lobal polyester, variegated metallics and even a glow-in-the-dark thread! This little tutorial walks you step by step through the project, beginning with the raw edge applique on the Juki DX7 and finishing with the free motion quilting on the Juki TL QVP Mini. You’ll end up with a Christmas Tree table runner that is definitely Merry and Bright!


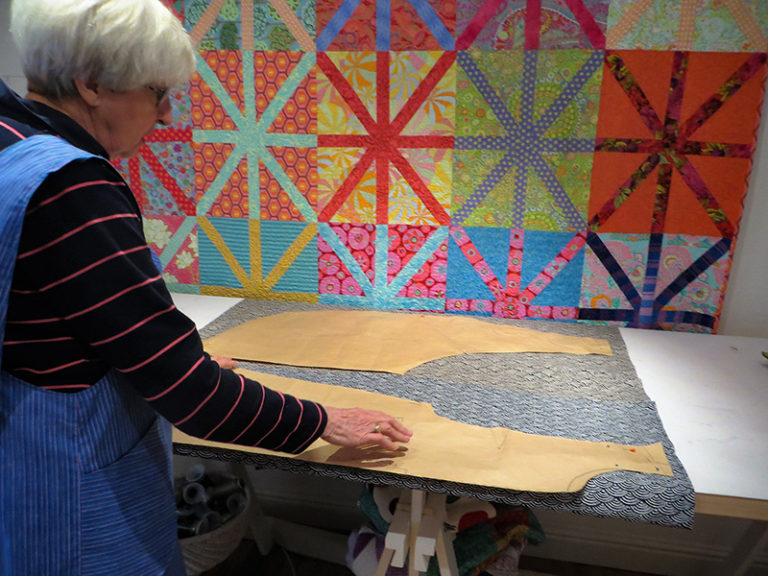
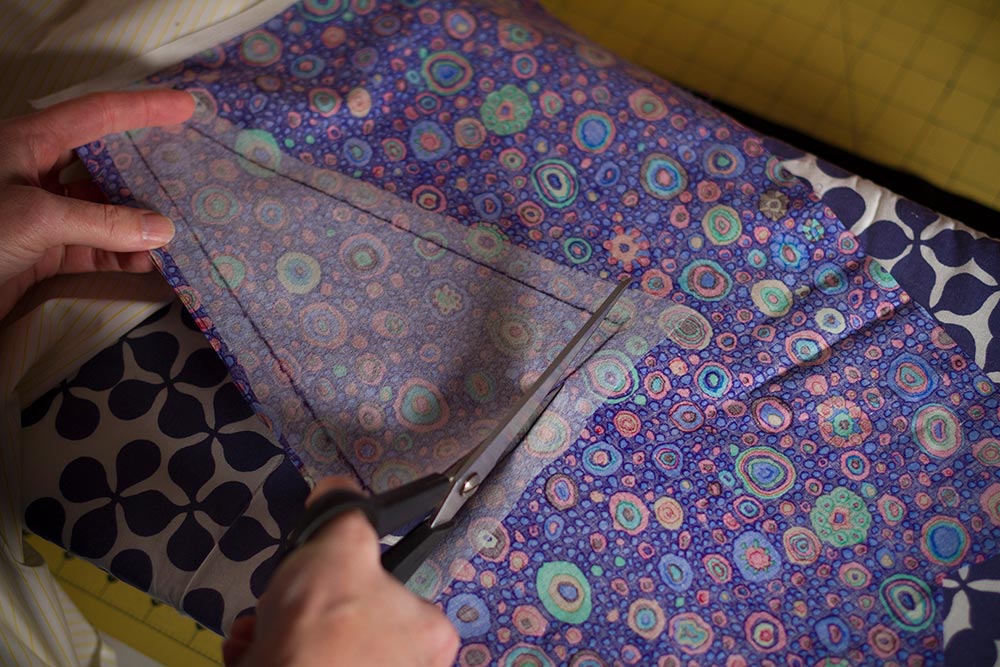
Iron the Vilene to the back of your chosen fabrics. Make sure that the bubbly side of the Vilene is facing the back of your fabric. I used another piece of cloth over the Vilene, while I was ironing, so I didn’t scorch it. Once the Vilene was ironed to my fabrics, I carefully cut along the traced lines. The Vilene gives the fabric a bit of extra structure and keeps the edges from fraying too much. I also found it was easier to cut a nice straight line when I was cutting through the Vilene backed fabric.
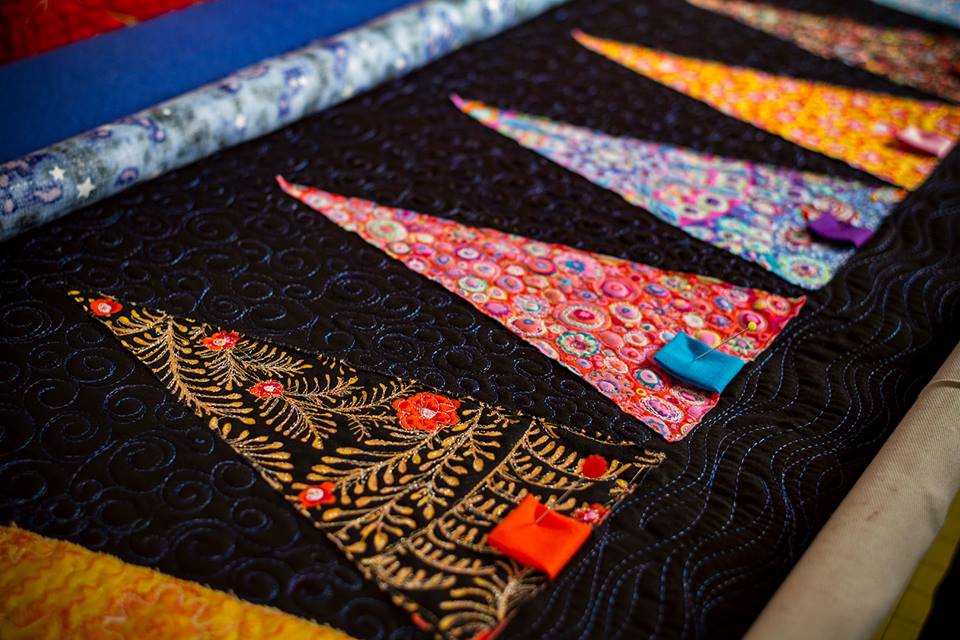
Now, arrange the trees on the black background fabric. When you’re happy with the order and spacing, pin them in place.
Making the Tree Trunks
Choose some fabrics for your tree trunks. I used some mini-charm squares in plain fabric measuring 2 ½ inches by 2 ½ inches for the tree trunks. I folded the raw edges towards the centre, ironed it and then slip the raw edges under the trunk.


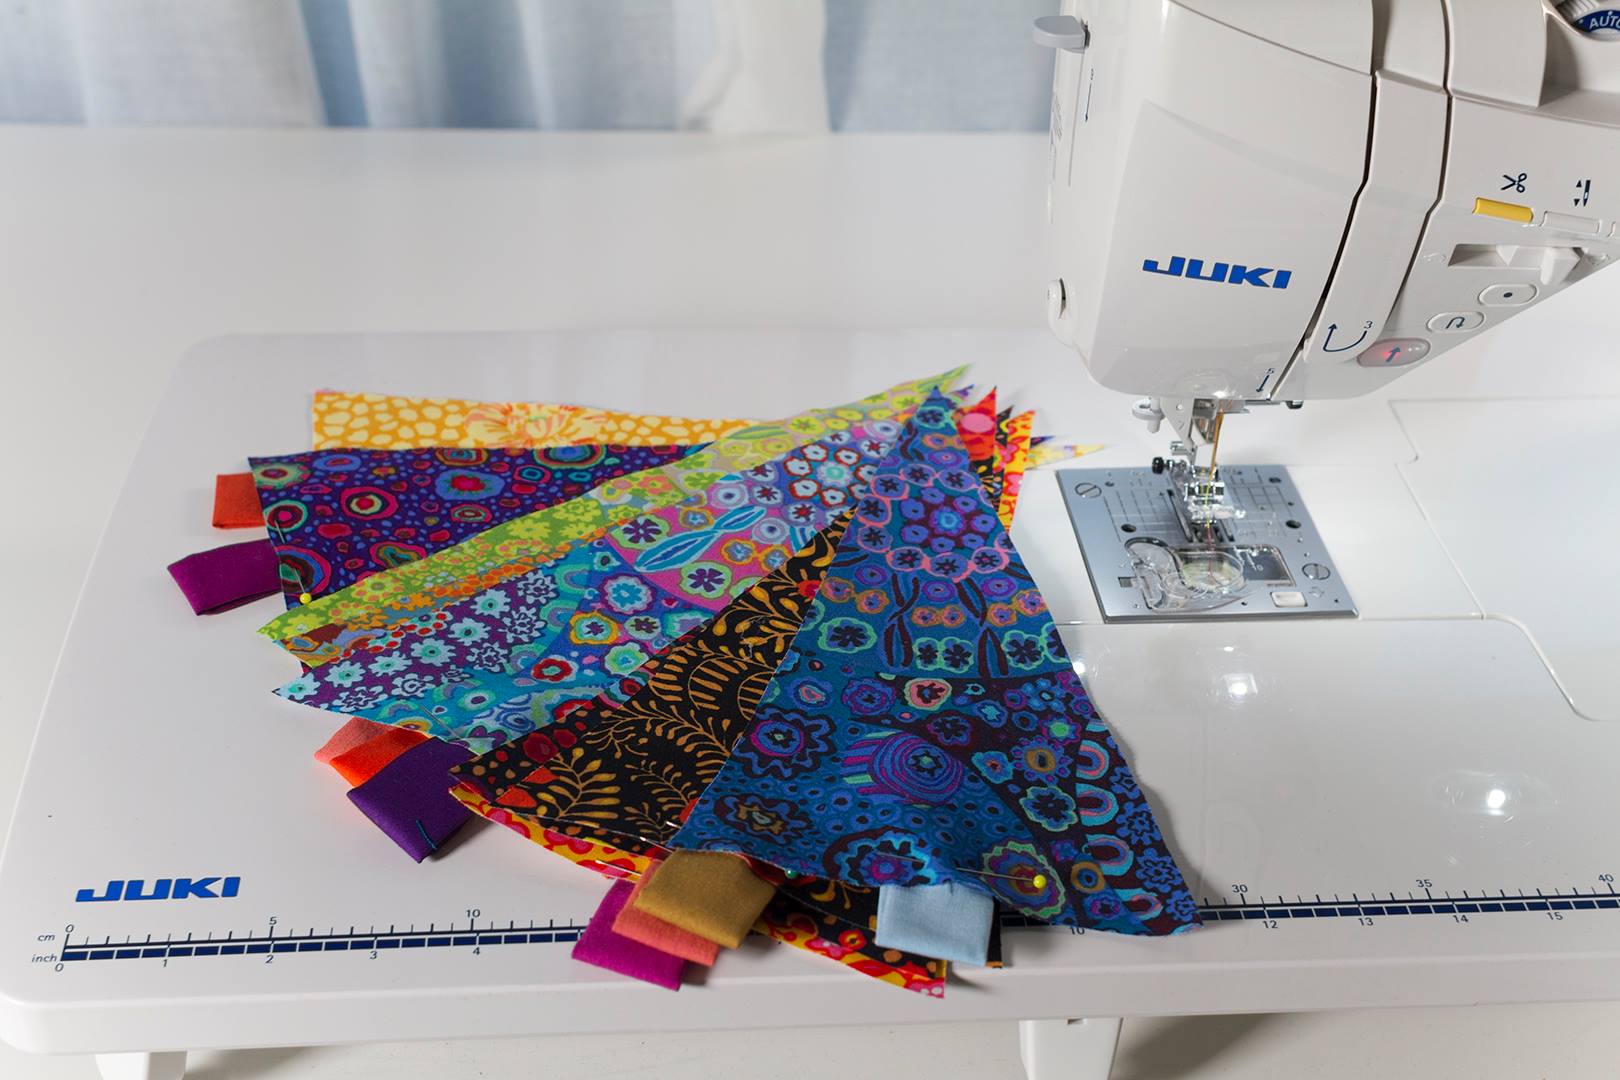
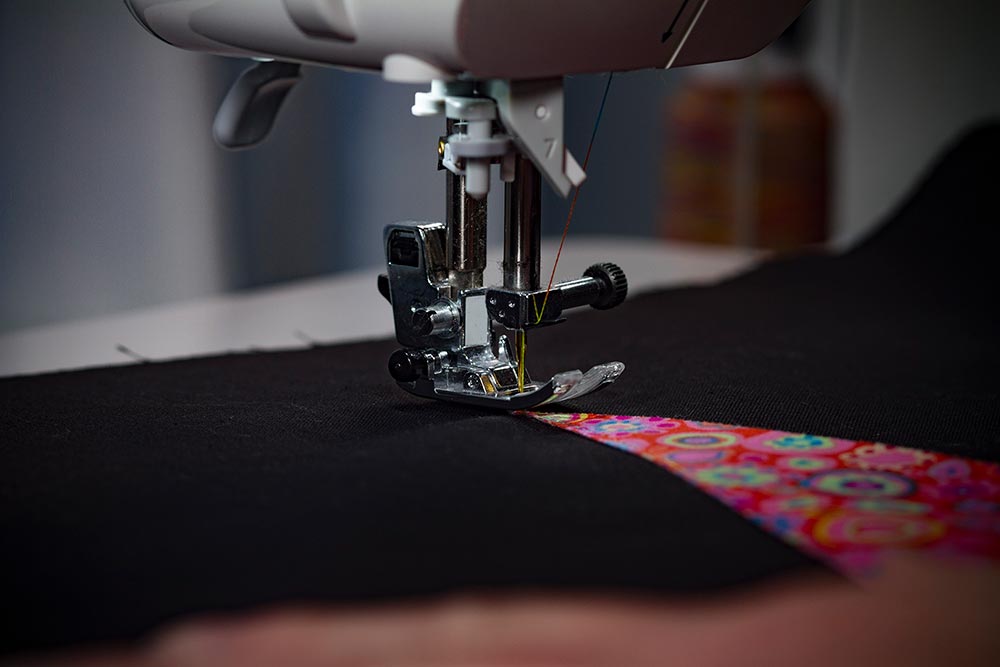
Raw Edge Applique with the Juki DX7
Once your trees are pinned in place and your trunks are tucked in the bottom, you are ready to raw edge applique. Choose some thread that will blend in with your Christmas tree fabrics. Bottom Line is ideal for hand and machine applique because it is so fine and comes in lots of colours. The JUKI DX7 sewing machine has a float feature that makes machine applique easy and fun. The float feature raises the pressure foot just a bit off the fabric each time that I stop stitching. This allows me to easily turn the fabrics as I’m stitching without having to raise and lower the pressure foot manually. Don’t stitch around the whole trunk yet, just catch the one side that’s tucked under the tree. Right now we want them floppy! I’ll show you why later.
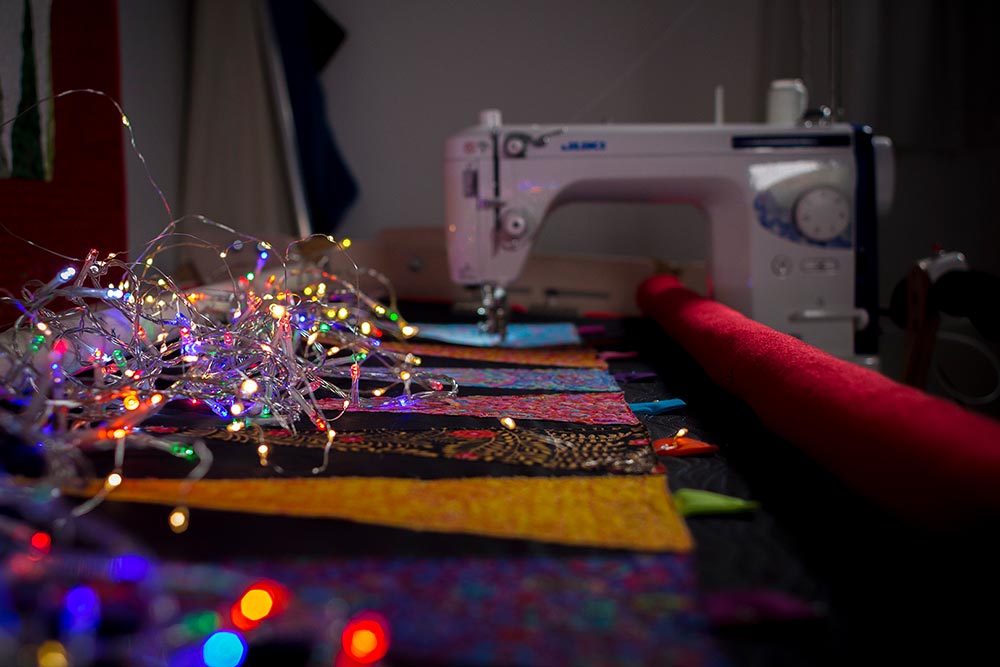
Free Motion Quilting with the Juki TL QVP Mini straight stitch
Now that you’ve raw edge appliqued all your trees on your backing fabric, you’re ready for the quilting. To keep it simple, I’ve backed my table runner with red fleece and loaded the layers on my Machine Quilter frame. The frame will perfectly tension the layers of my quilt so I won’t need to baste pin or tack. It also turns the needle of my Juki TL QVP Mini straight stitch sewing machine into a pen. Quilting becomes simply doodling with my needle! I’m using a 100/16 Topstitch needle and reduced tensions. You can find out more about how to tension your Juki TL QVP Mini for free motion quilting here.

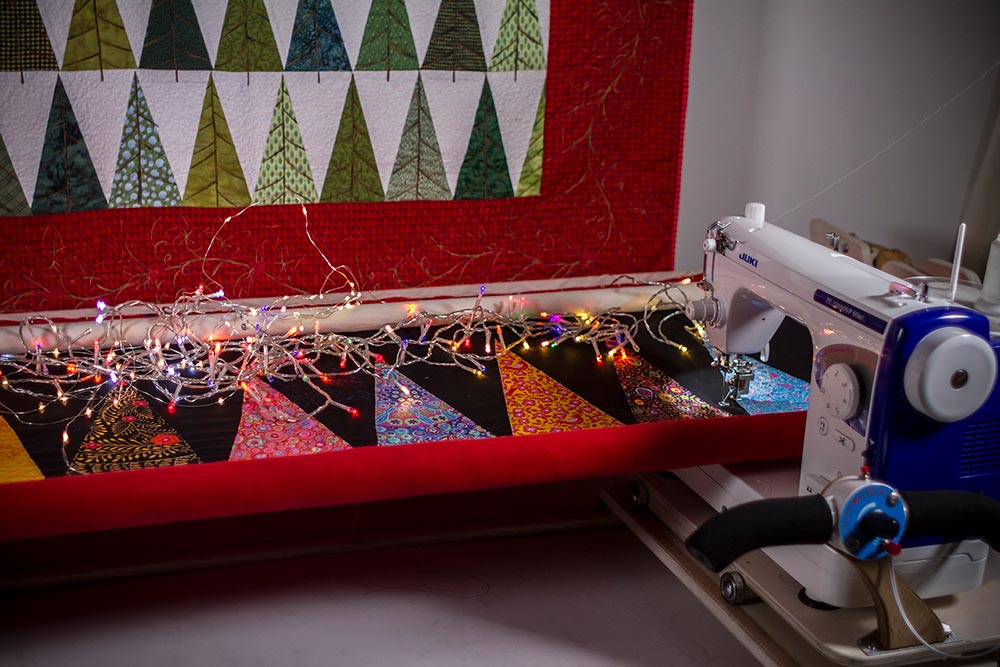
Quilting the Background
First, quilt the background. I’m using some indigo thread, a Fantastico thread called First Place #5124. I like how it shows up a little against the black. I’ve used an all over wavy pattern to suggest the ground. Notice that I’ve flipped my tree trunks up onto the trees and pinned them down out of the way. This allows me to quilt my wavy ground line design without having to go around the tree trunks. Isn’t that great! I’ll stitch the trunks down at the very end sitting at my sewing machine. After I finished the wavy ground pattern I stitched an all over swirly pattern to suggest the sky.


That’s our Christmas table runner done and dusted. Having the right tools really helped! The Juki DX7 is awesome for applique and the Juki TL QVP Mini straight stitch is fantastic for free motion quilting on or off a frame! The threads were terrific too! All together they make a VERY Merry & Bright Christmas tab;e runner.