Mercedes has a knack for Nickers! You can visit Mercedes and lots of other sewing celeb’s in Birmingham this month at Sewing for Pleasure. Juki is hosting a series of Sewing Celeb Workshops. Mercedes is offering workshops on her Fold Over Elastic techniques on Saturday and Sunday at 3:15. Making Knickers with Mercedes will help to keep your undies drawer nice and full! You can never have enough knickers!
Making Knickers with Mercedes is a technical post with detailed tips and tricks showing how Mercedes works with stretch fabrics on her Juki NX7. If you’re going to the workshops it will give you a bit of an edge. Mercedes and the other Sewing Celeb’s will be hanging out in the Juki Break Out Area. We thought it would be fun to get to meet and chat with lots of people you’ve seen on the telly. Hope to see you there.
Now let’s hand it over to Mercedes.
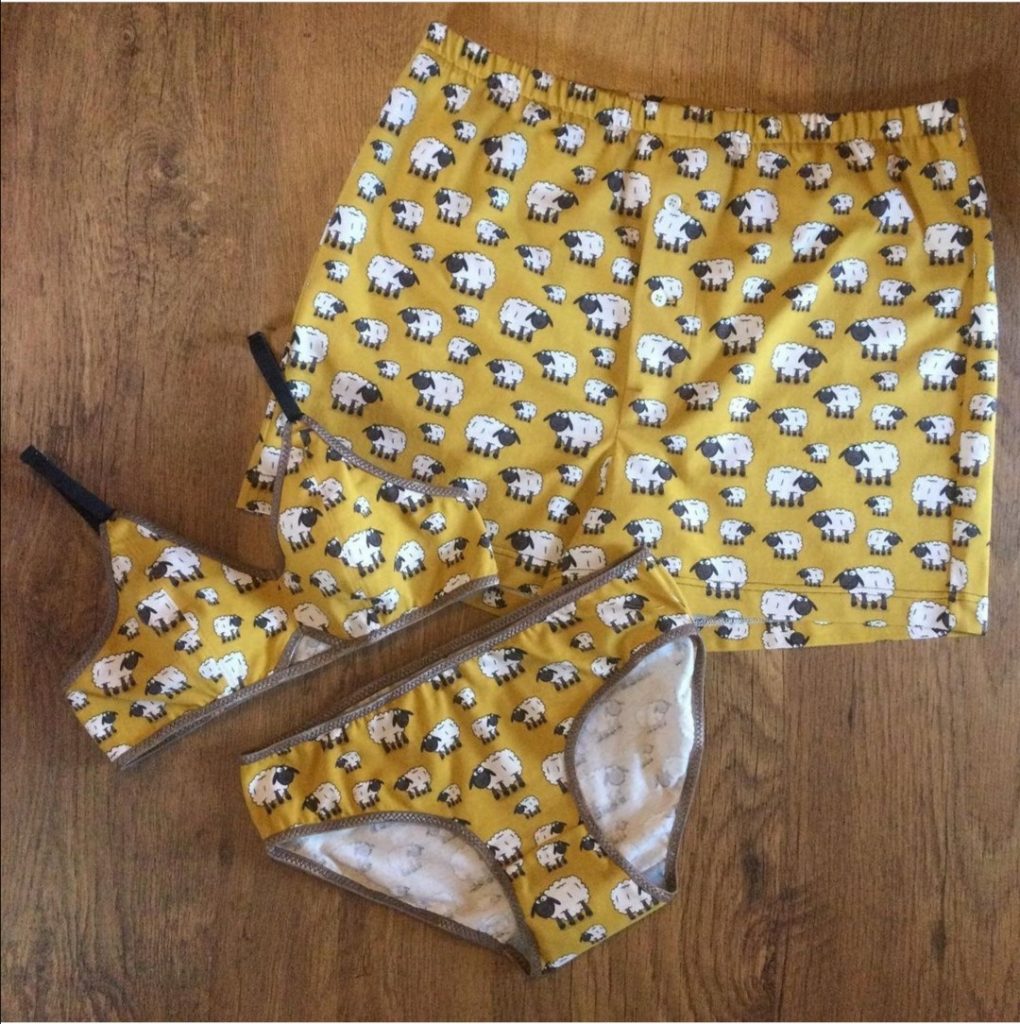
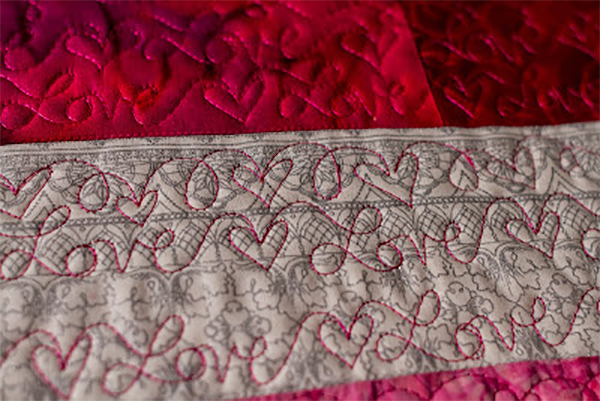
Mercedes latest make His & Hers undies
I’m no stranger to making knickers! In fact my undies draw is full of me made knickers, but the thought of them being inspected at close quarters made me up my game. I looked at all the stages of construction and tried different techniques to get a perfect, consistent finish. My favourite method for making knickers, uses Fold Over Elastic. This post will show how to add Fold Over Elastic to the leg using the Juki NX7. I was really impressed with how the new features on the NX7 helped with this technique.
Fold over elastic
There are a lot of methods on-line on how to attach Fold Over Elastic, here after referred to as FOE, but I was looking for a consistent and visually pleasing method for my knickers.

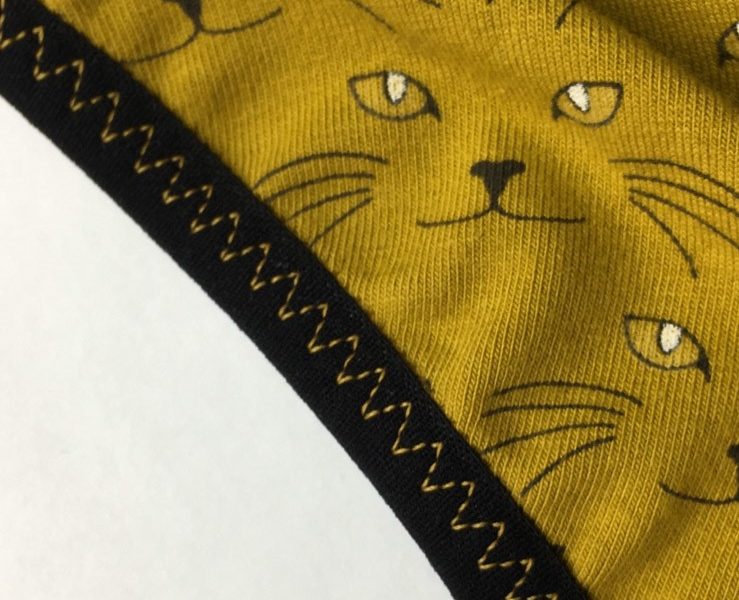
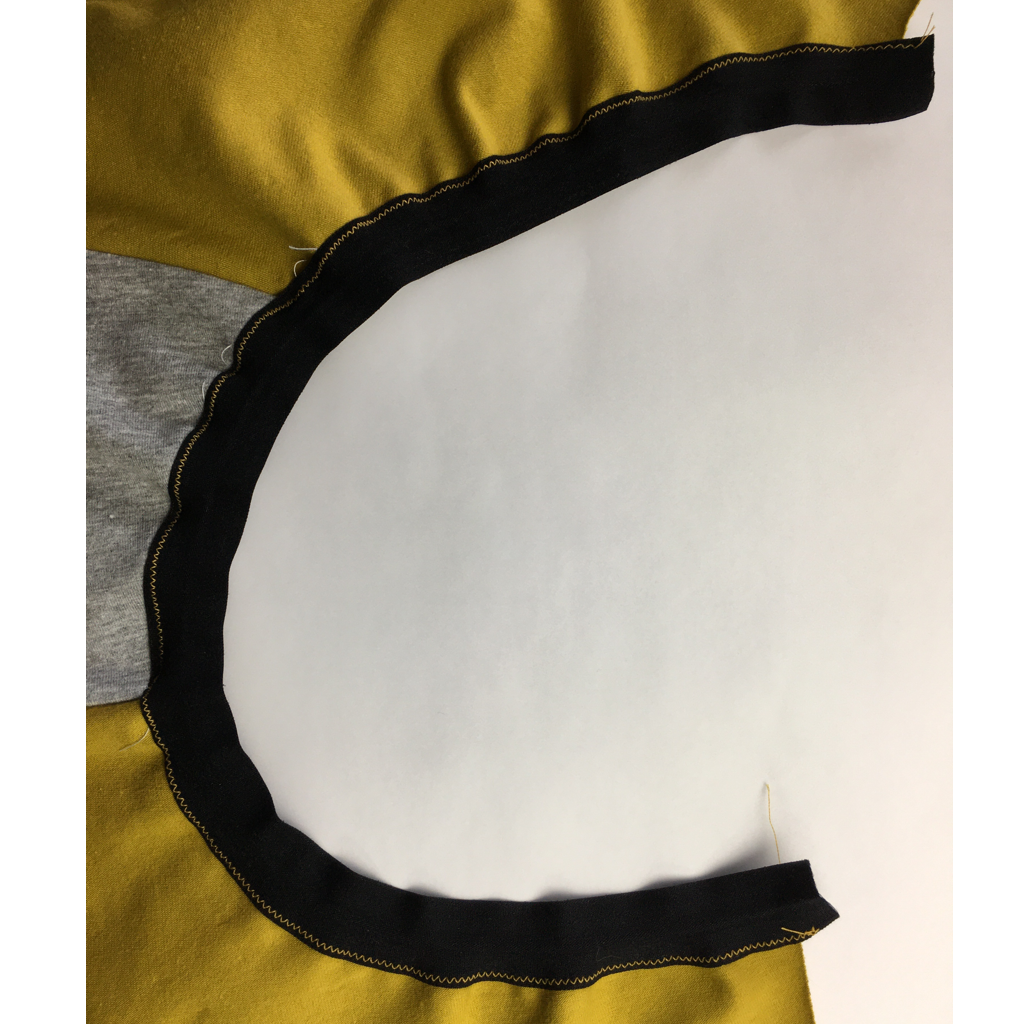
Beginning with the simplest method, I folded the elastic so it encased the raw edge and attached it with a triple zig-zag. I found this a little fiddly and occasionally with the shaping of the leg opening I managed to completely miss the fabric and was left with a hole and a lot of unpicking. Then I tried basting the FOE to the fabric first, but again this was fiddly and I found it difficult to get an even stretch of the elastic.
The final method I looked at was the “Two Step Method”. In this method the elastic is first sewn to the fabric unfolded, and then folded over and sewn again.
Two step method
This method seemed to give me the control and consistency I was looking for. After a couple of tries I finally settled on my version of the Two Step Method; that I was happy with, and I could produce over and over again to an acceptable standard. This method attaches the fabric to the outer edge of the FOE using a narrow zig-zag. Then the elastic is folded over and stitched in place finishing with a wider triple zig-zag.
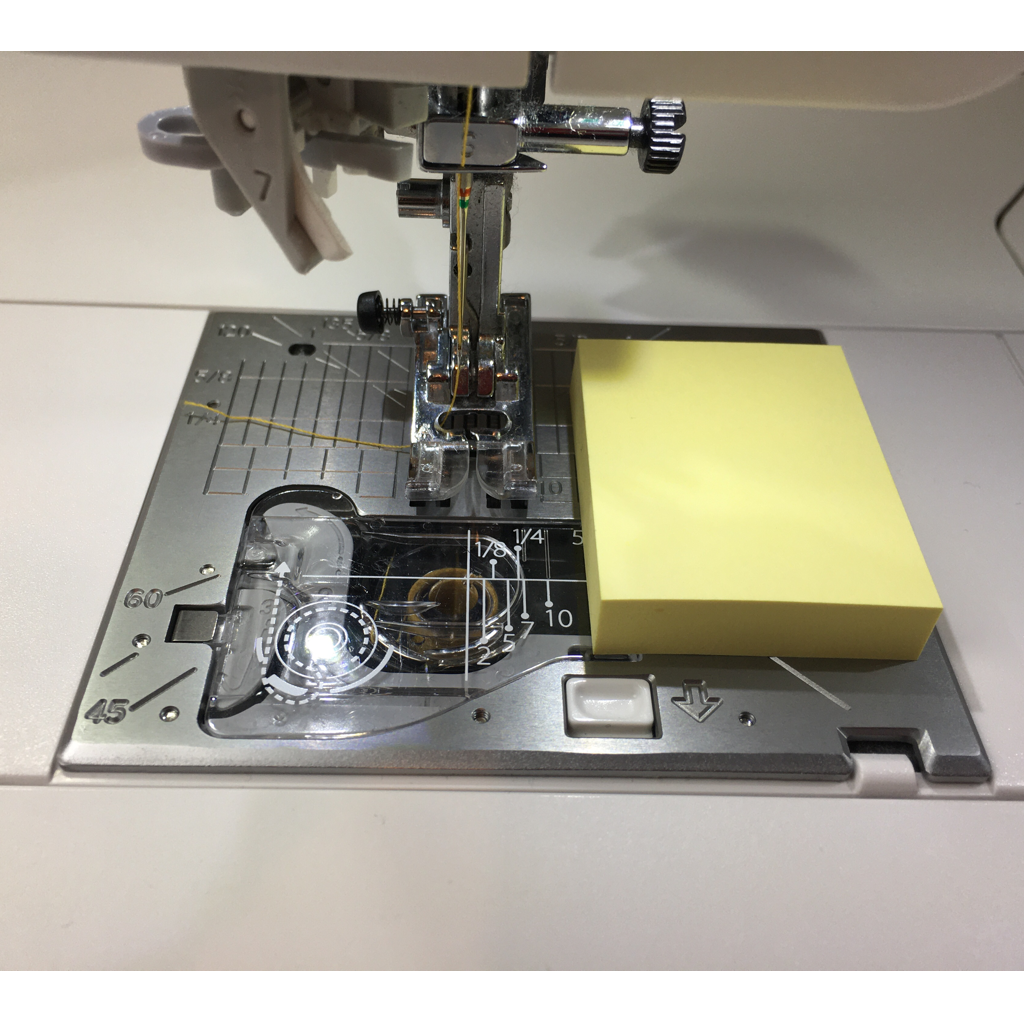
My take on this method needed a seam guide. However, I need to make a technical point here and that is Do Not Use a magnetic seam guide on any computerised or electronic sewing machine. The magnet and the electronics do not get on well with each other and the electronics may be damaged. As an alternative for my NX7, I found an online suggestion to use a wad of Post-it notes as a seam guide. It works perfectly! Who would have guessed.
Step one
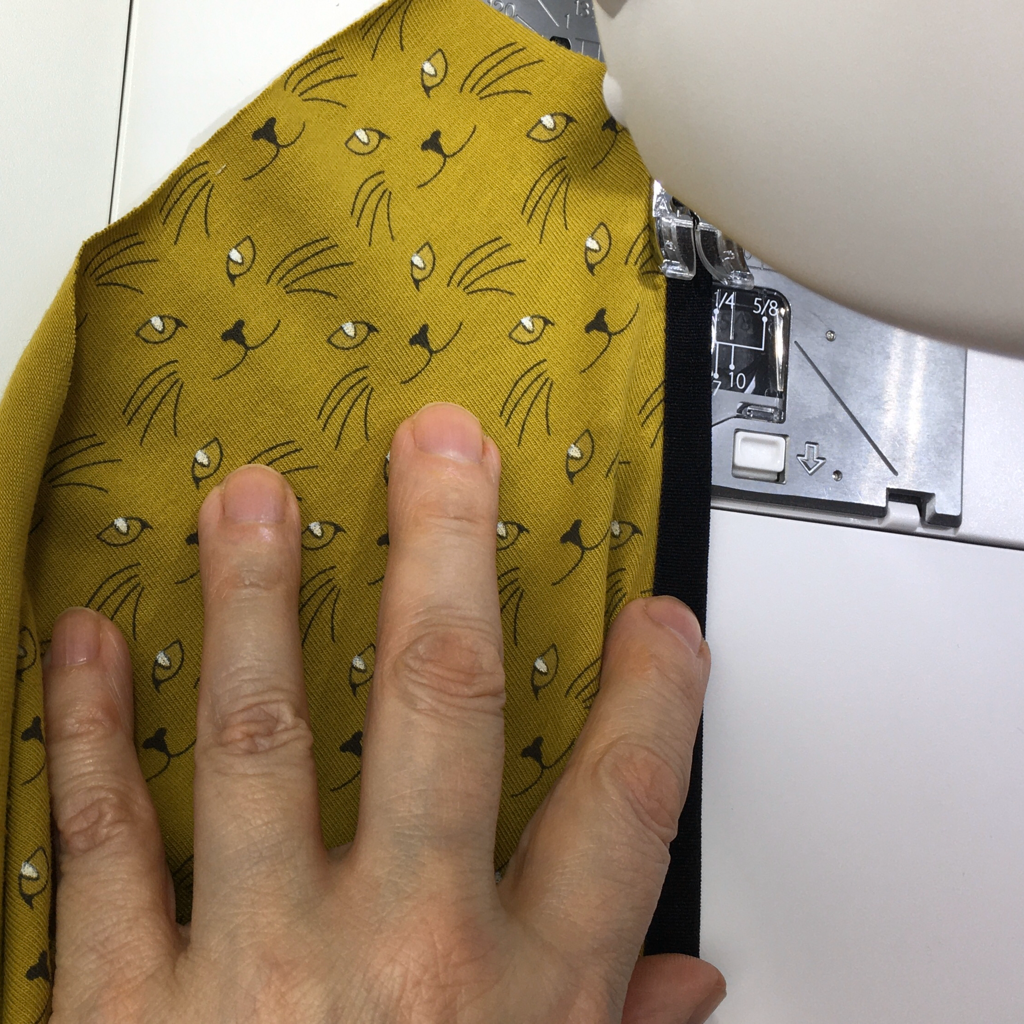
The reason for the seam guide is that for the first pass of the elastic you need to keep your eye on two things simultaneously. Firstly, you need to keep the FOE in position so that the stitching is close to the edge. The edge, however, is hidden by the fabric so you can’t see it. This is where I find the seam guide is invaluable. Instead of keeping an eye on the footplate, the seam guide is a physical presence past which the FOE cannot pass.
You can, within reason, completely forget about the position of the elastic and concentrate on the second thing, the position of the fabric. To ensure an even edge and a smooth fold, the fabric needs to stay to the left of the FOE centre line. To control this I keep an eye on the centre line and also use a point on the foot as my point of reference and try to keep my fabric on that point.
Let’s go through this in more detail. I’ve used contrasting thread to help you see the stitching. When you sew using a matching thread, the stitches will be virtually invisible.
In theory, I should be able to produce a table of settings for standard widths of FOE, but I like to do my settings from scratch each time I make a garment so it keeps things fresh in my mind. I also like to check I have set my stitch width and length correctly before I start sewing. So my first step is always to check my settings on a spare piece of FOE.
As a starting point I cut my FOE 90% of the length of the edge I am covering. From this length I will use around 1cm overlap at each end, which helps with starting and finishing the stitching. You may find that for your elastic or garment that this is not the best percentage, for example if using this technique for children’s leotards where a tighter grip around the leg is preferred. As with everything it is always best to do a test first to make sure you are happy with the results. After the FOE is cut, mark the centre point and also the centre on the leg opening and pin together.
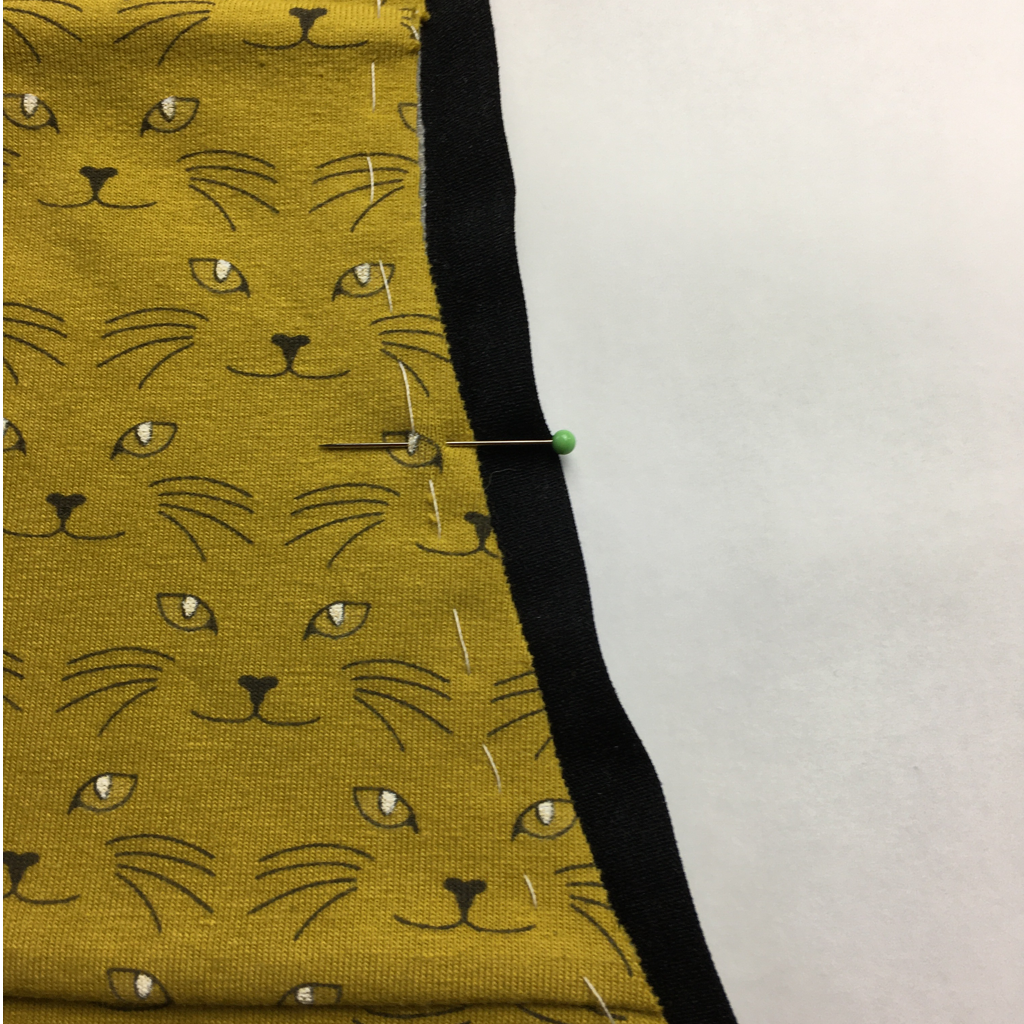
It is important that you walk the edges together to find the centre and not just fold in half as there is likely to be a slight difference in its position. This will ensure an even distribution of the elastic along the edge.

Initial zig zag
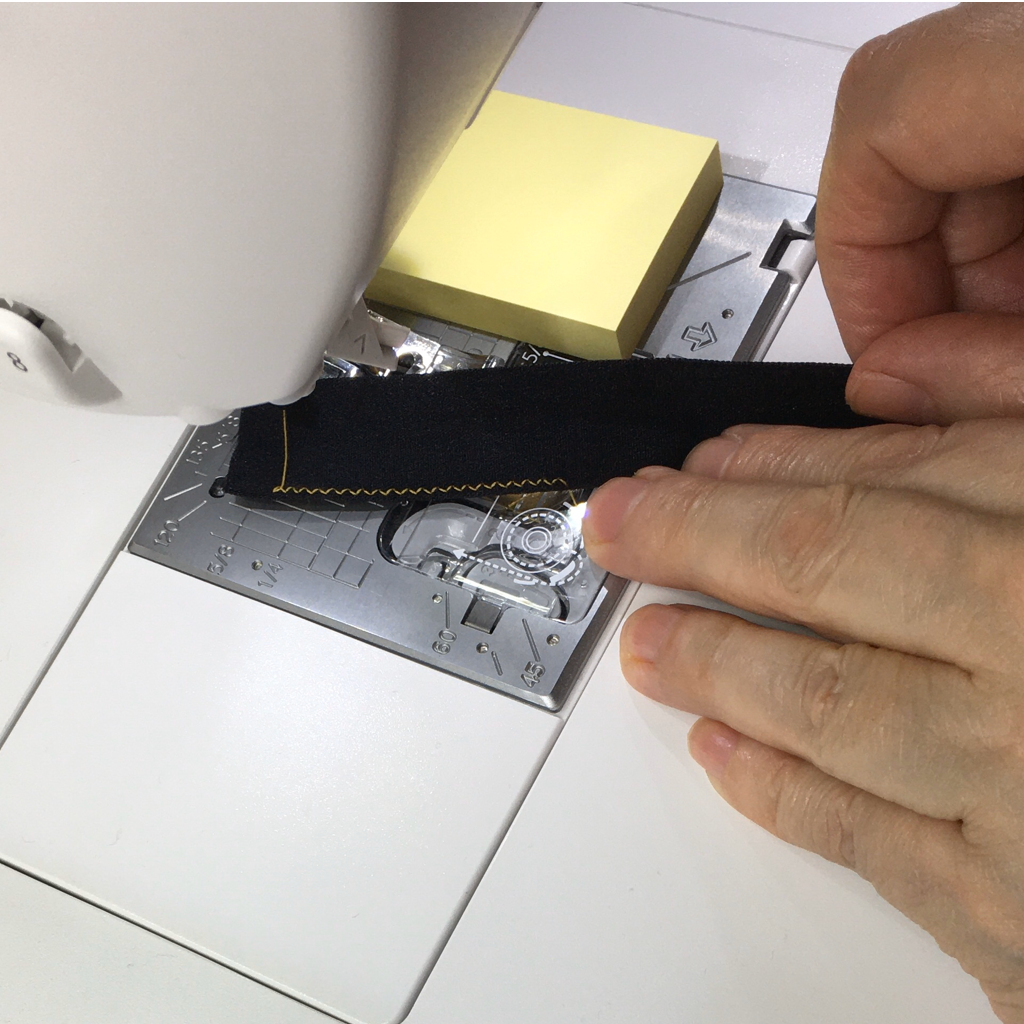
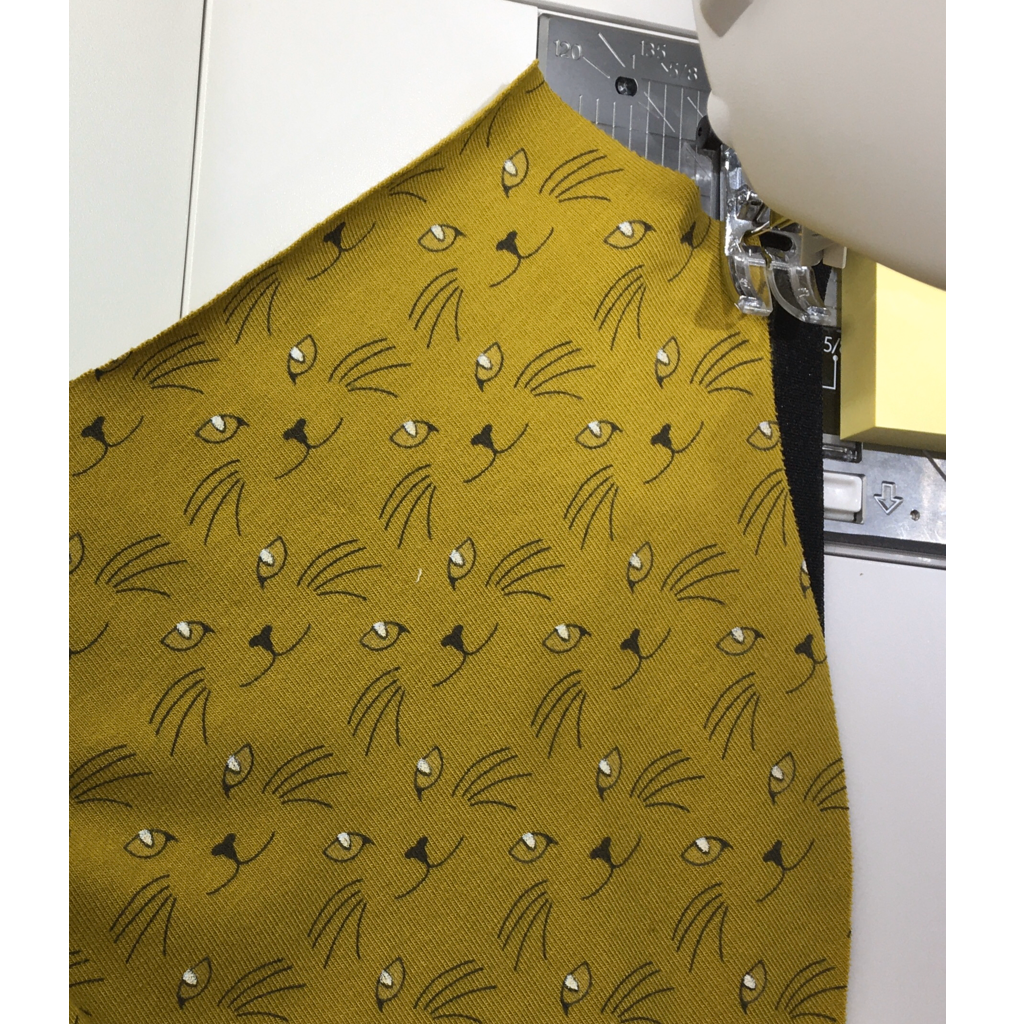
For the first row of zig-zag, I use stitch #15 on the NX7 which is the zig-zag left needle position. I prefer this to the centre orientated one as it means that more of the FOE is in contact with the feed dogs. This is important to ensure an even stitch as I will be stretching the FOE to match the length of the fabric. I like to use a narrow short stitch to ensure there is some stretch in the finished seam. First, I always start with a 1.2 width and 1.4 length to see how it looks and stretches. Then, I will place the test piece under the foot, partly lower the needle for reference and move the elastic so the stitch line is close to the edge. I can then lower the foot and position my seam guide as in the photos below.


I then do a quick test of the stitch to ensure I am happy with the position and size and when I am happy time to start on my knickers.
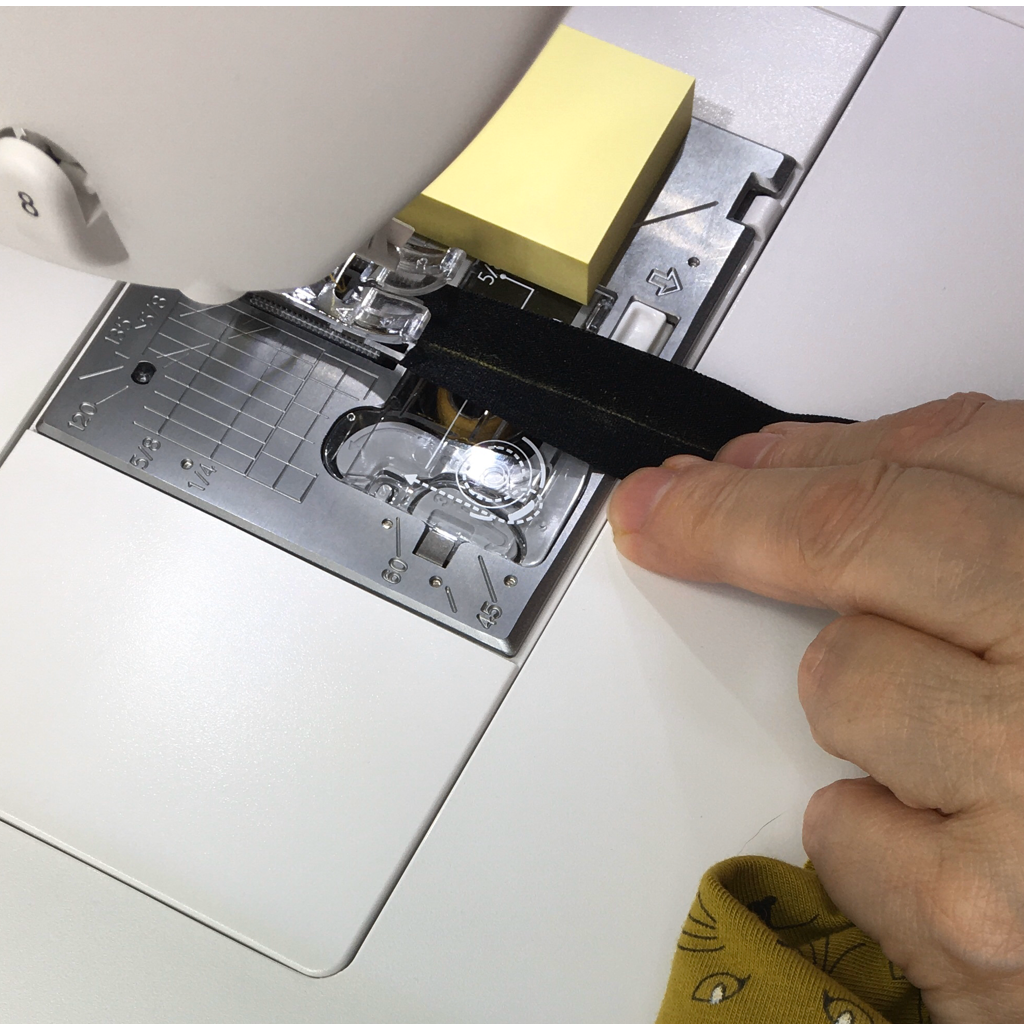
With the position of the FOE set, next I need to establish the position of the fabric. This is where the extra cm of FOE at the beginning is useful. I start sewing the elastic without the fabric in place, only a couple of stitches are necessary to start with. This allows me to confirm that my seam guide is in the correct position and that the stitches are along the edge and not too far in or off the elastic. Also, with a couple of stitches in the elastic and the needle down, it is secure while I position the fabric
A point to note – some FOE does not have a very visible centre line. You may want to avoid these, or as I do, mark the centre line in chalk.
I position the fabric just to the left of the centre line and note the position against the foot. I will try to keep the fabric on this line while I sew, though a few millimetres either way while sewing will not be noticeable on the finished garment. I will then start sewing without exerting any pull on the FOE until I have two or three stitches attaching the fabric to the FOE.
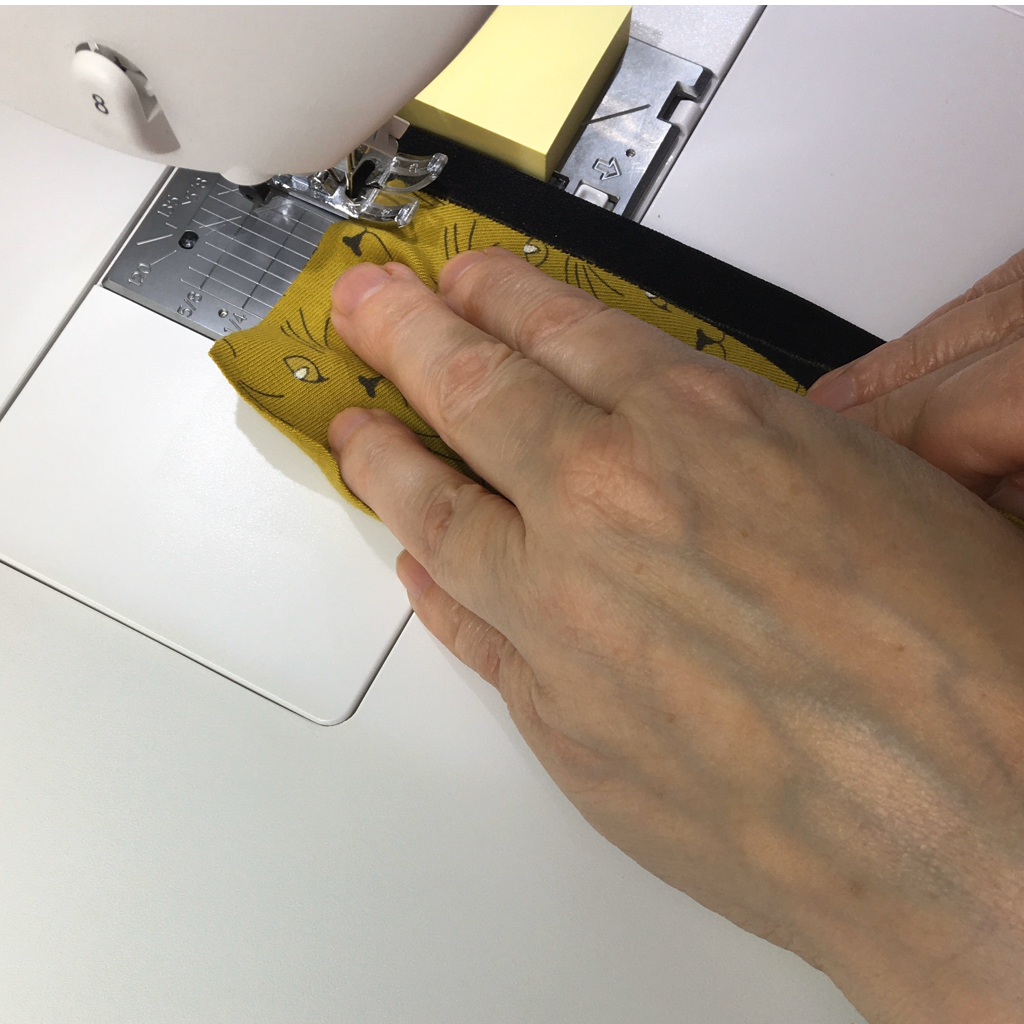
before stretching the elastic to match the fabric.
Loving the Box Feed
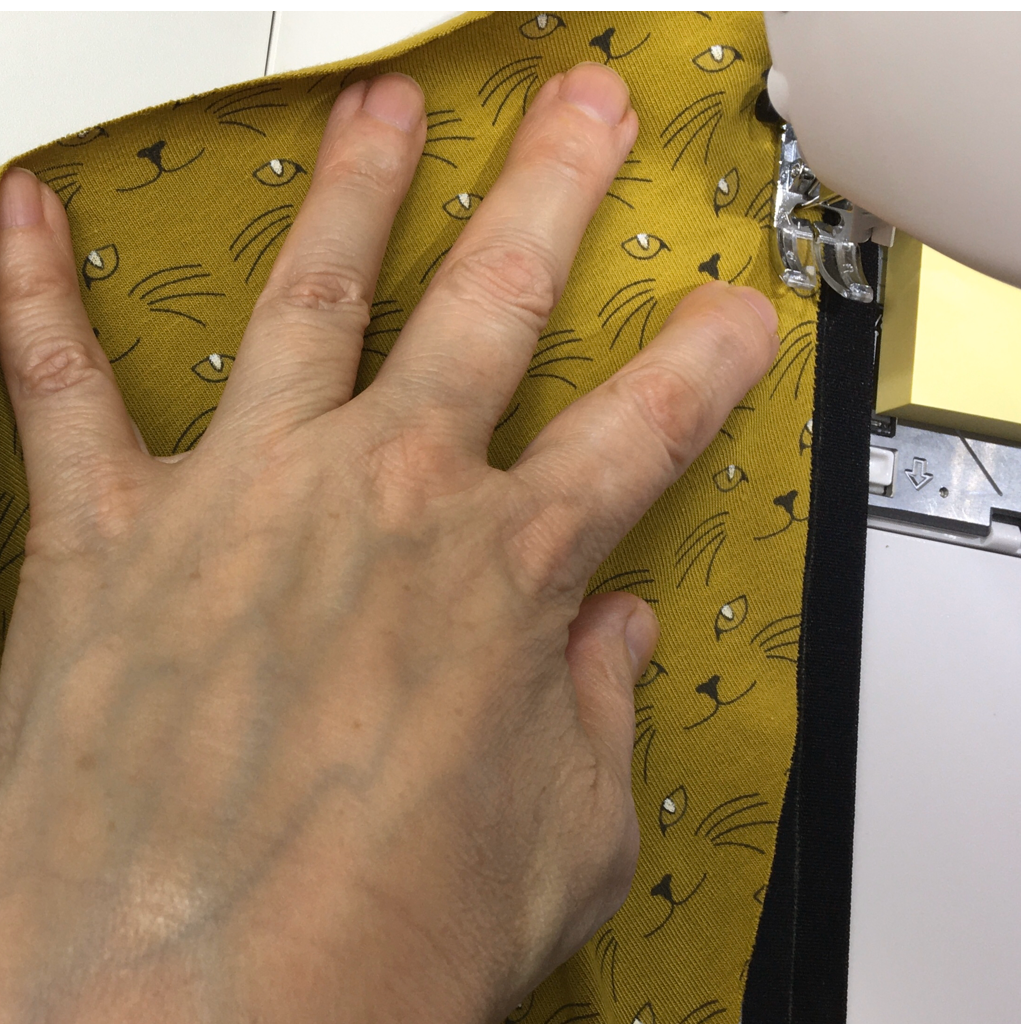
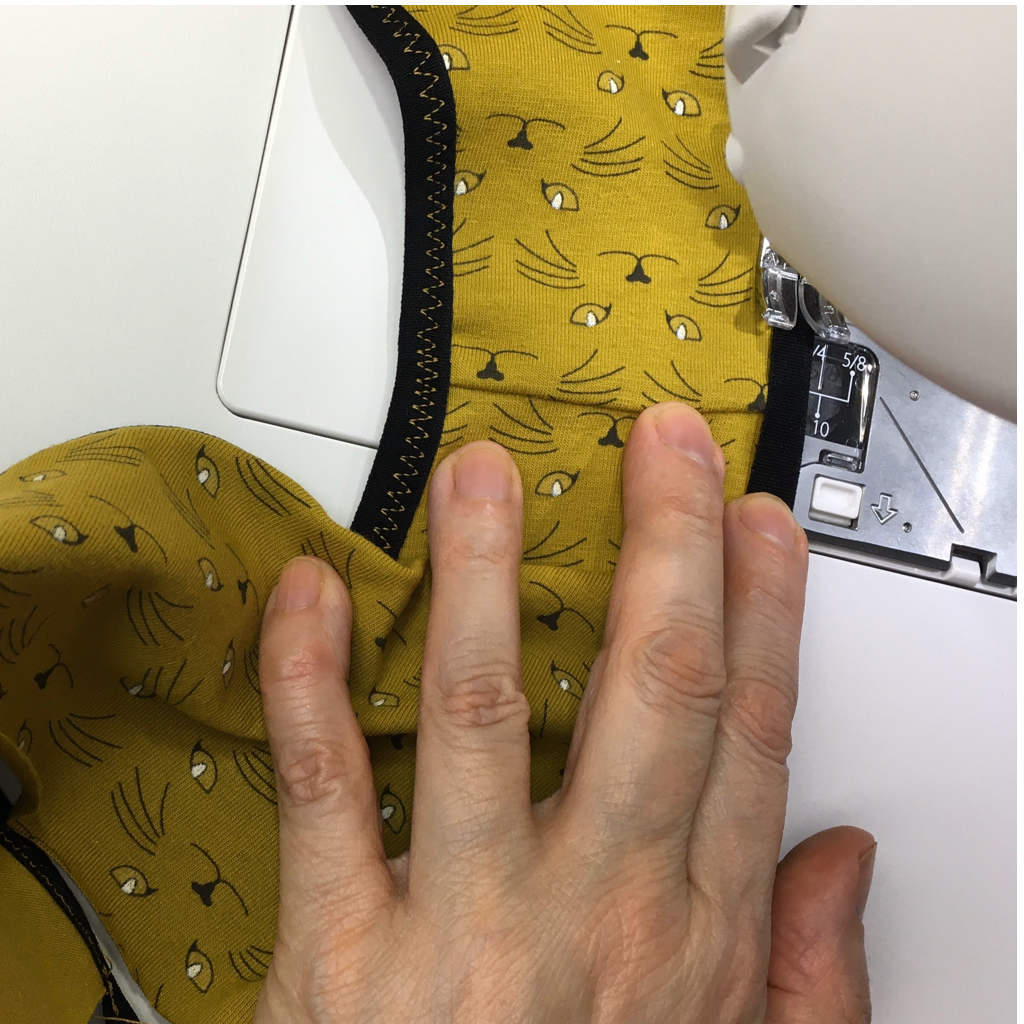
Now that the elastic and fabric are secure, we are ready to sew the seam. Sewing a curved piece of fabric to a stretched, straight piece of elastic could be problematical, but I have found that the industrial style BOX feed system on the Juki DX7, makes it really easy.
Previously, with my other machines, when I was pulling against the feed dogs to stretch the elastic, I needed to pull the garment from behind to get the fabric to move. This kept both my hands busy, and I had no control on the fabric itself. Not anymore. Now, I’m able to hold the fabric and the stretched FOE in one hand, and manipulate the curve of the fabric up to the centre line with the other, while the feed dogs pull the fabric through consistently and evenly. The BOX feed system on the Juki NX7 makes a BIG difference.
Initially I will stretch the fabric to the centre mark and then when I reach that point stretch the remaining elastic so there is a 1cm overlap at the end of the fabric, this gives me a little bit of the elastic to hold on to when I get near the end of the seam.
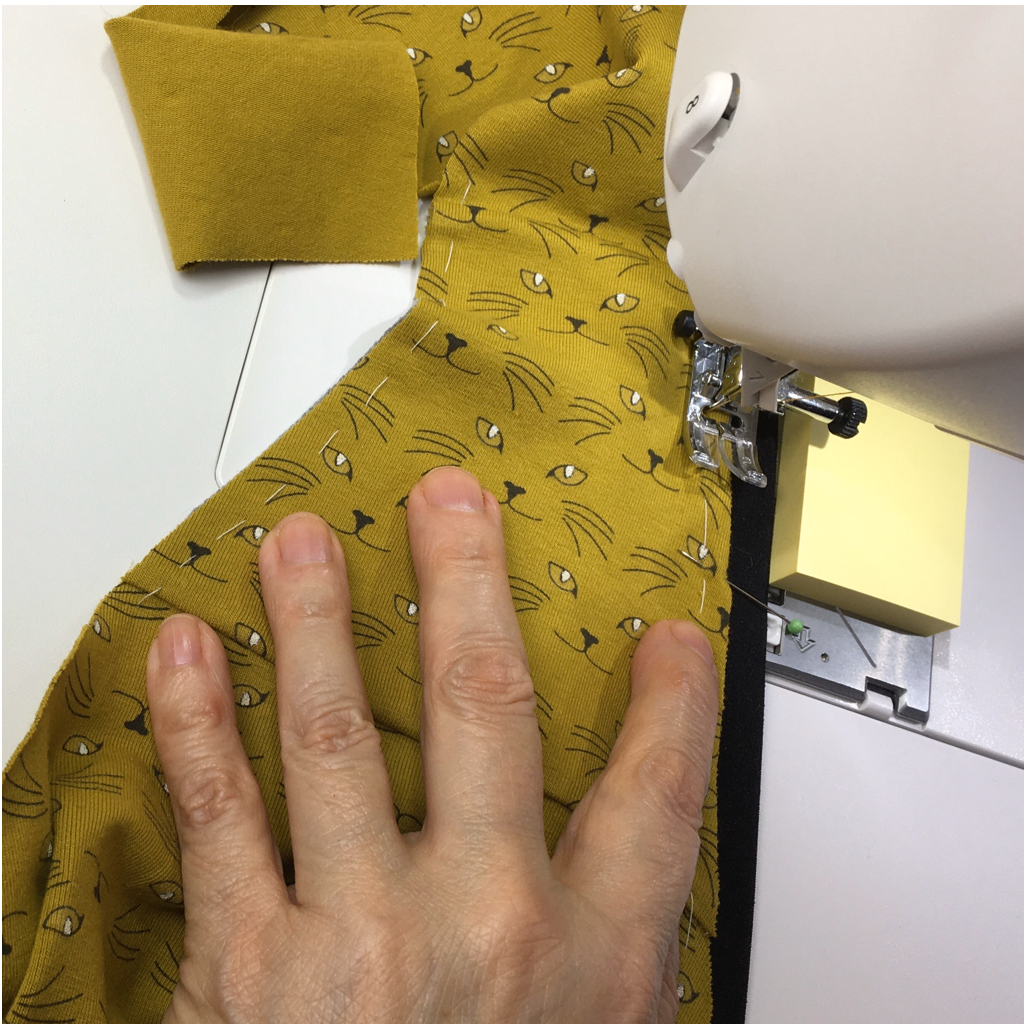
Step two
Now that the fabric and elastic are attached I need to set up for the second pass, folding the elastic in half. For this a 3 step zig-zag is used and on the NX7 that is stitch #20. I like to use a stitch width that is around 1/2 of the folded elastic width to give me a little wobble leeway and a medium width as I am not too keen on the look of a wide stitch. Remember this seam will be sewn with the elastic stretched so when relaxed the stitches will look slightly closer together.
Start with a 4.4 width and 1.0 length to see how it looks. I will place my test piece under the foot, partly lower the needle and move the elastic so the stitch line is closer to the left edge of the folded elastic. Then, I will note where the edge comes to on the foot and that will be my guide line. I will then do a test to ensure I am happy with my choice of length and width of stitch. When I am happy I will start on the garment. The extra elastic at the beginning will make the start a lot easier. Make 2 or 3 stitches in to the fabric before stretching the elastic and sewing the leg seam.
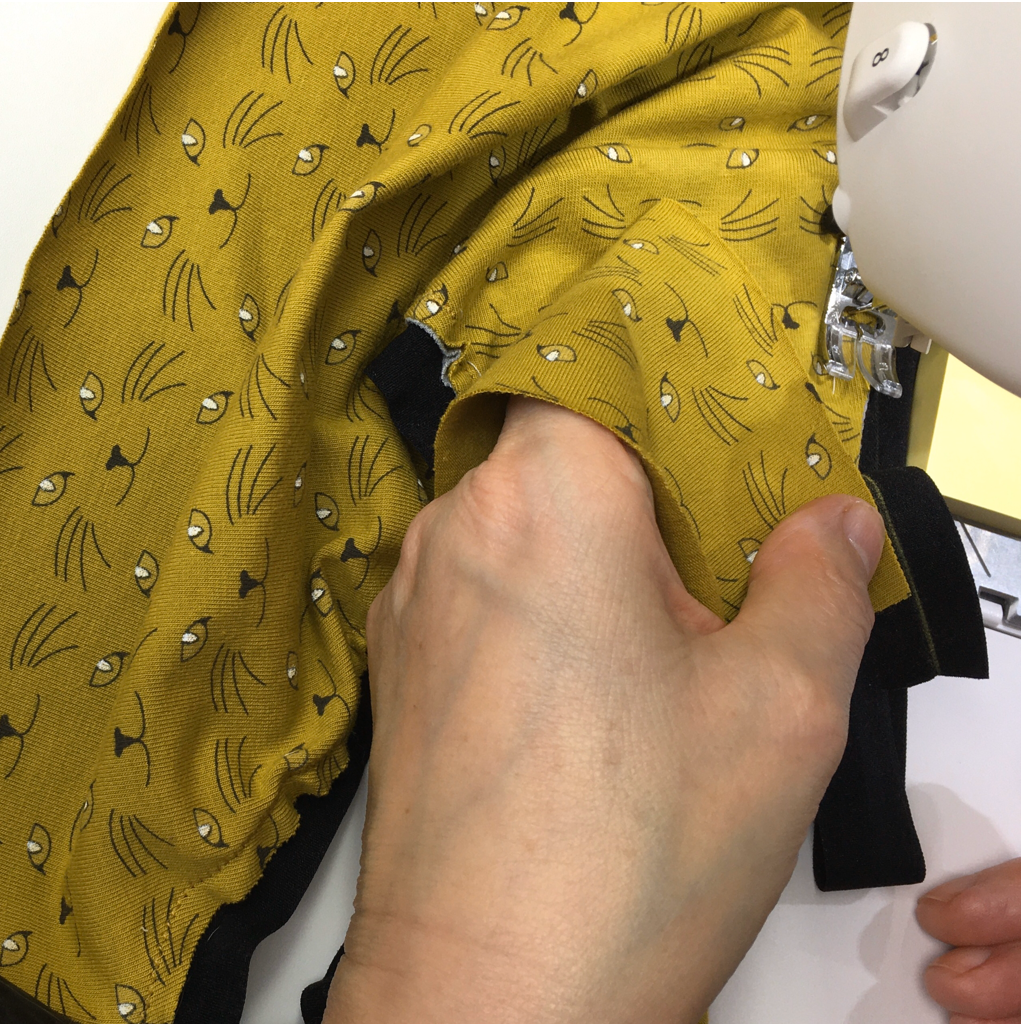
Ideally you should be stretching the elastic only enough for the fabric to be flat, the three step zig-zag will allow the finished seam to stretch further if needed. Once again the BOX feed system will pull the elastic through smoothly and evenly so you can concentrate on keeping the edge on the guide.
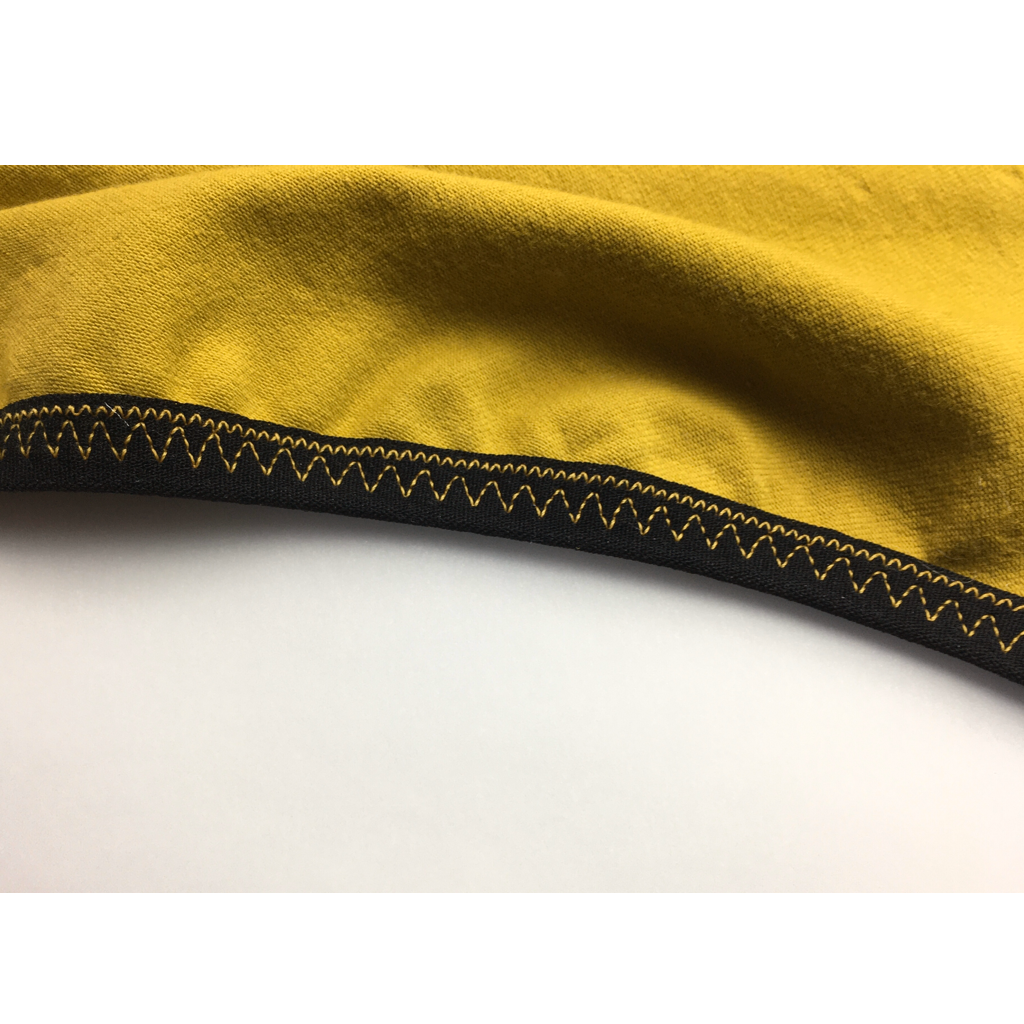
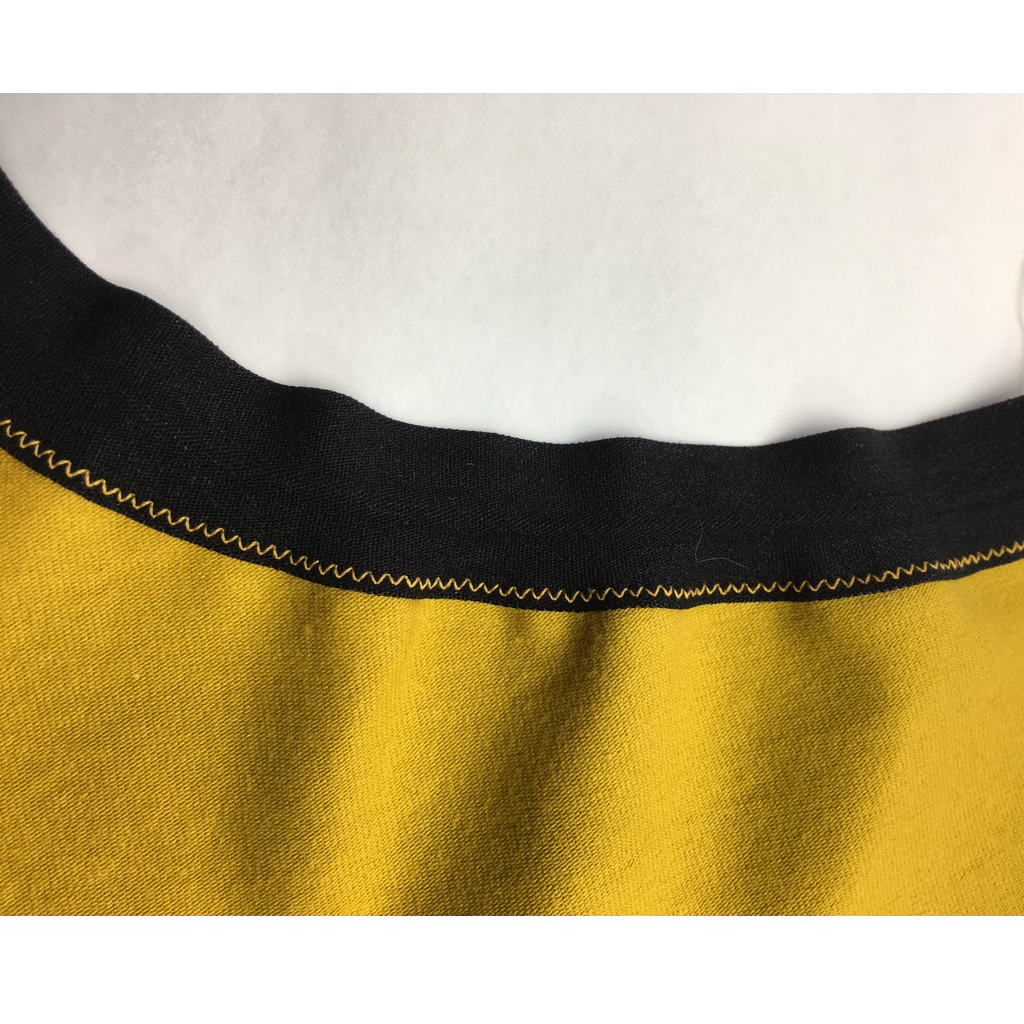
And there you have it, one smooth and even fold over elastic leg opening.

both seams in the Two Step Method.

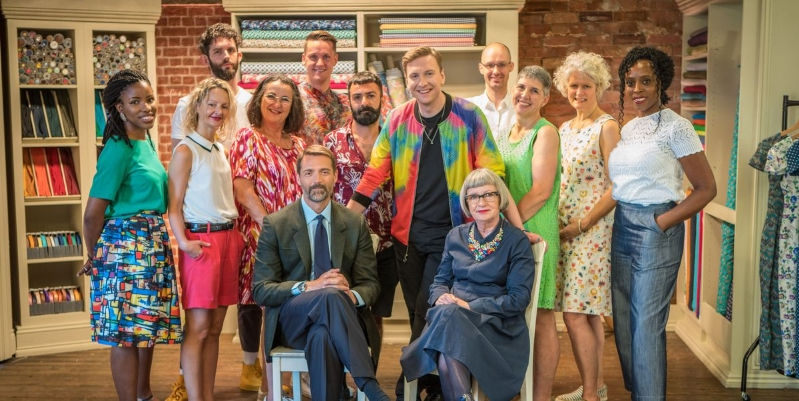
There you have it, Making Knickers with Mercedes! There are so many pretty knit fabrics this season! We’re all spoiled for choice. Mercedes is excited about the NEW season of the Great British Sewing Bee! Who knows, maybe they’ll make knickers too!

Mercedes lives just outside Brighton with her husband Graham and their two cats, Maggie and Erica. Although their two children have flown the nest, Mercedes still uses them as guinea pigs for new designs and fabrics she wants to try out. Having worked in IT for over 20 years, Mercedes has a keen interest in all things technical and wants to know the ins and outs and whys of everything. 5 years ago Mercedes conquered her fear of stretch fabric. Now it’s her passion. Developing new techniques and encouraging others to use and love this fabric has become her crusade.
Mercedes was a contestant on series 5 of the Great British Sewing Bee and can be found at @ohsewthatmercedes on Instagram, read her blog at ohsewthatmercedes.wordpress.com


[…] made knickers for her daughter, Mercedes thought that it was only fair to venture into the world of boxers for her son. […]
[…] made knickers for her daughter, Mercedes thought that it was only fair to venture into the world of sewing boxer shorts for her […]