This May we saw the opening of a new Japanese sustainability and textiles exhibition, Making Nuno, at Japan House, London. It features innovative fabrics by Sudo Reiko, one of Japan’s foremost textile designers who combines Japanese traditions with new engineering techniques and unusual combinations of materials including silk, handmade paper, nylon tape and thermoplastics.
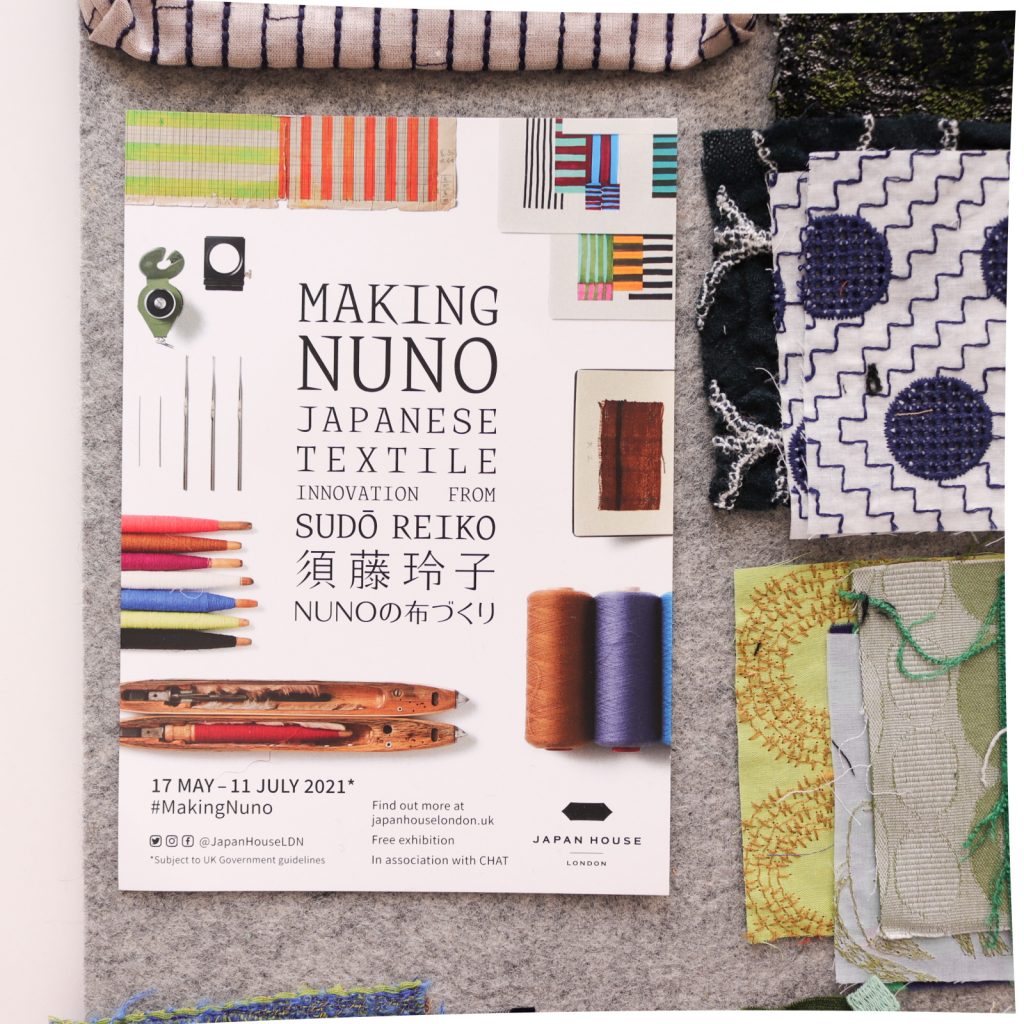
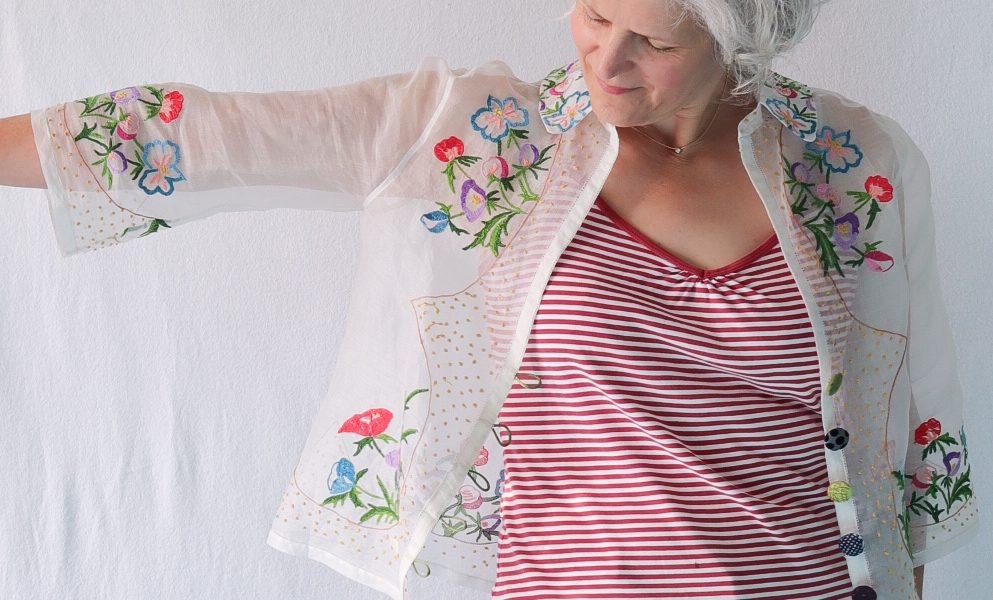
The exhibition organisers invited Jen Hogg, one of our Juki ambassadors, to celebrate the opening by using Nuno fabrics in a project. They sent a selection of fabric swatches and a button-covering kit. Jen decided to incorporate the Nuno fabric buttons in a jacket made from a hand-embroidered vintage Scottish tablecloth, sewn with her Juki NX7 from Japan. Jen was up for the culture-fusion sewing challenge.
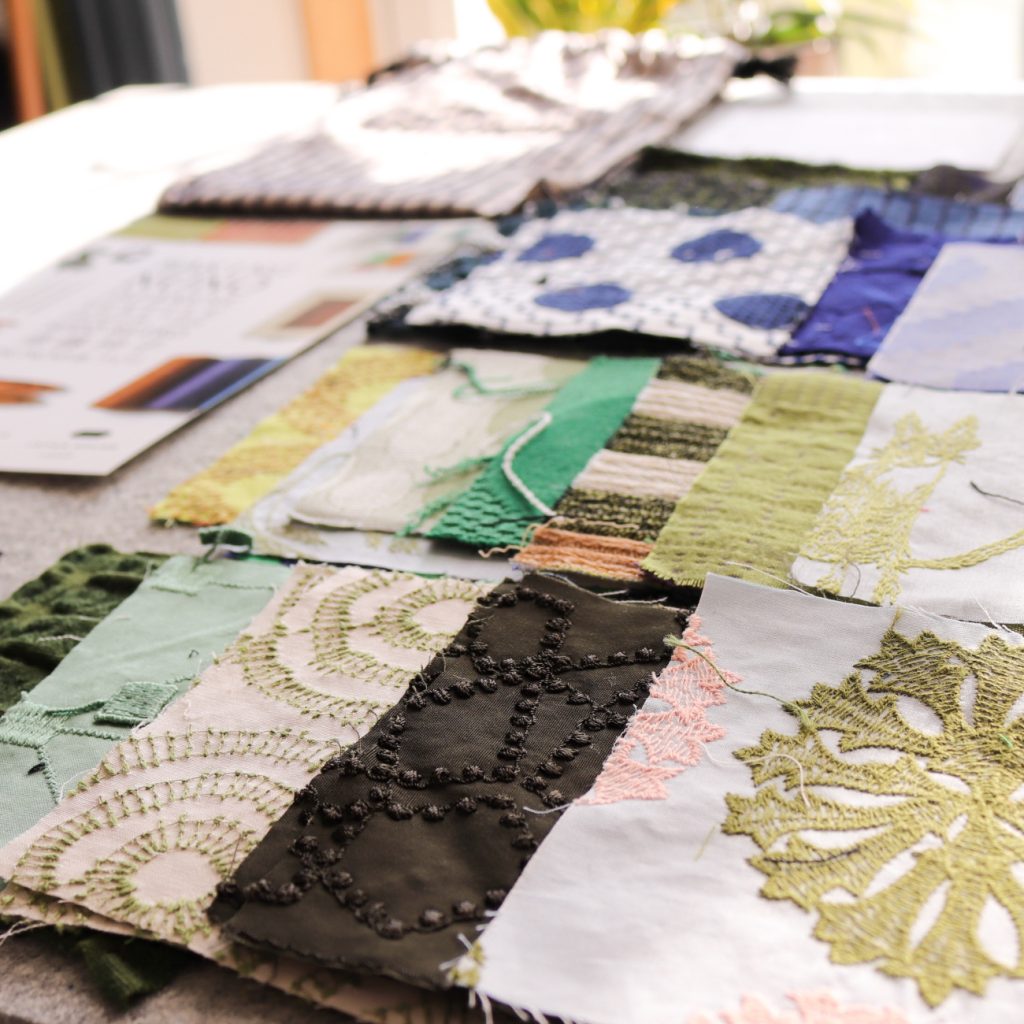
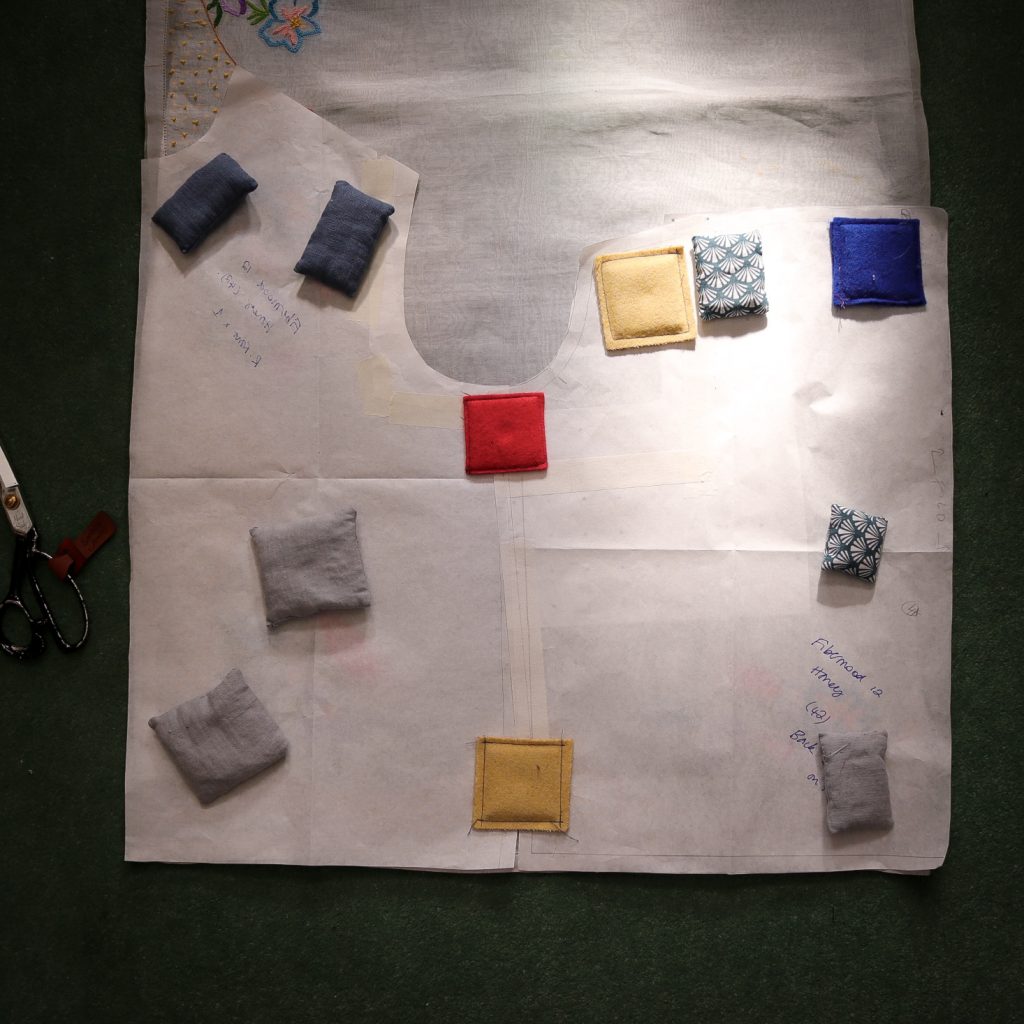
Nuno fabric swatches
Pattern placement
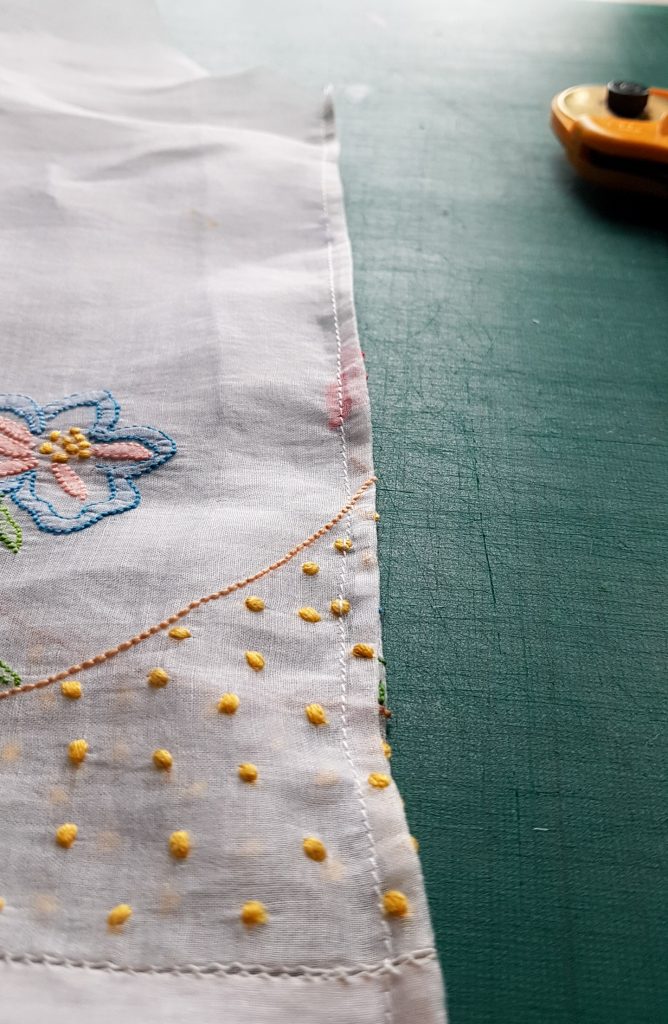
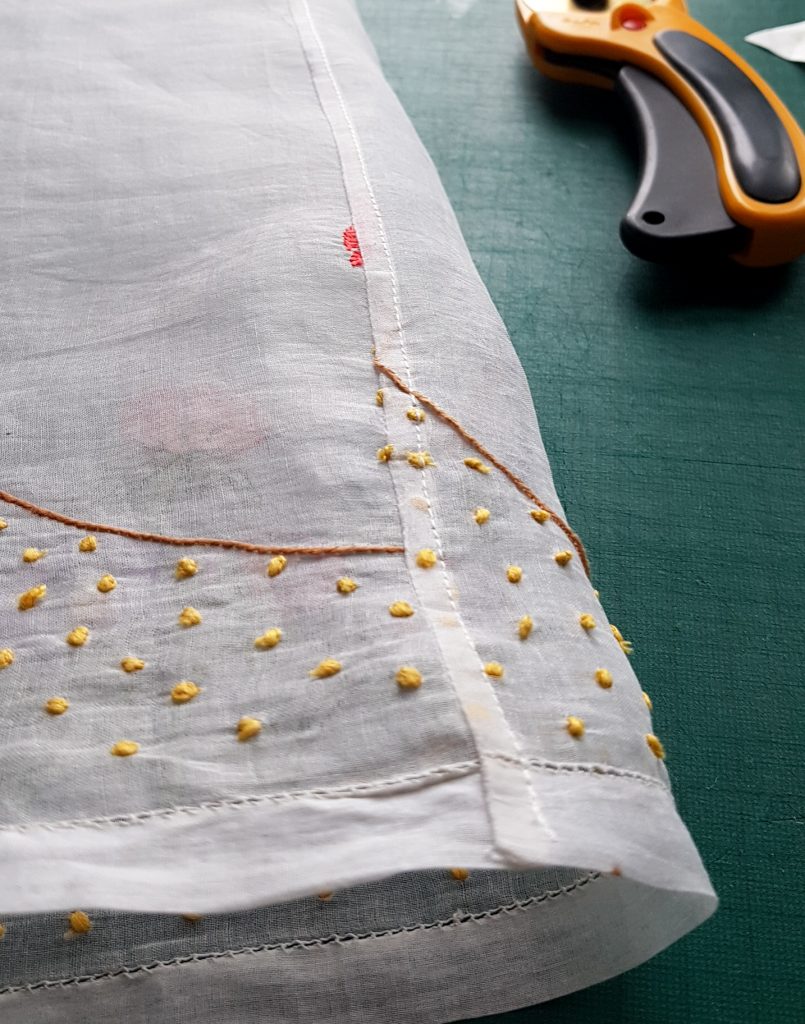
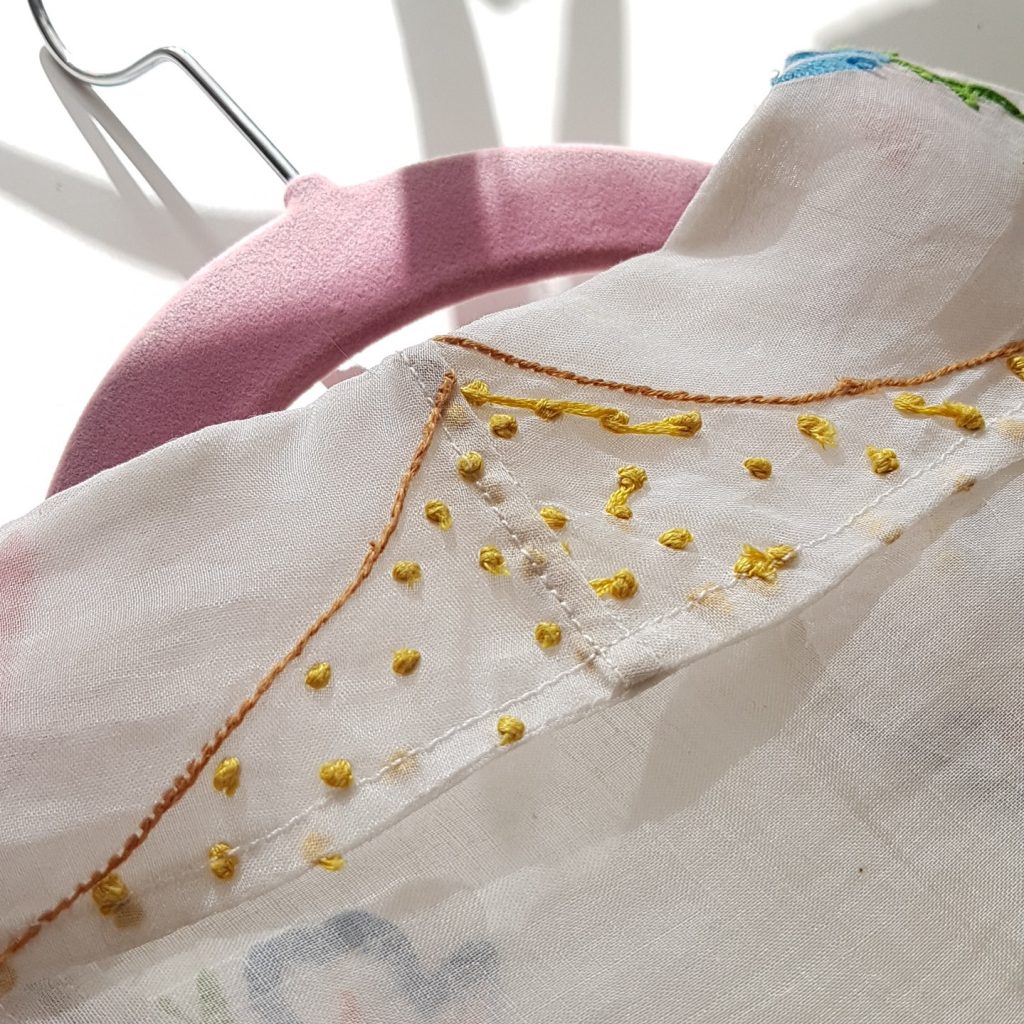
Vintage table linens are usually fine, and in this case I wanted to use a see-through organdie, entirely hand stitched and embroidered tablecloth. My aim was for a jacket, short and quite boxy. Organdie is pretty stiff, so I knew it would hold its structure and my thinking was that this shape would show off the sheer-ness of the fabric. I also wanted to make the most of the ladder stitch hems on the original cloth, and to use as much of the fabric as possible.
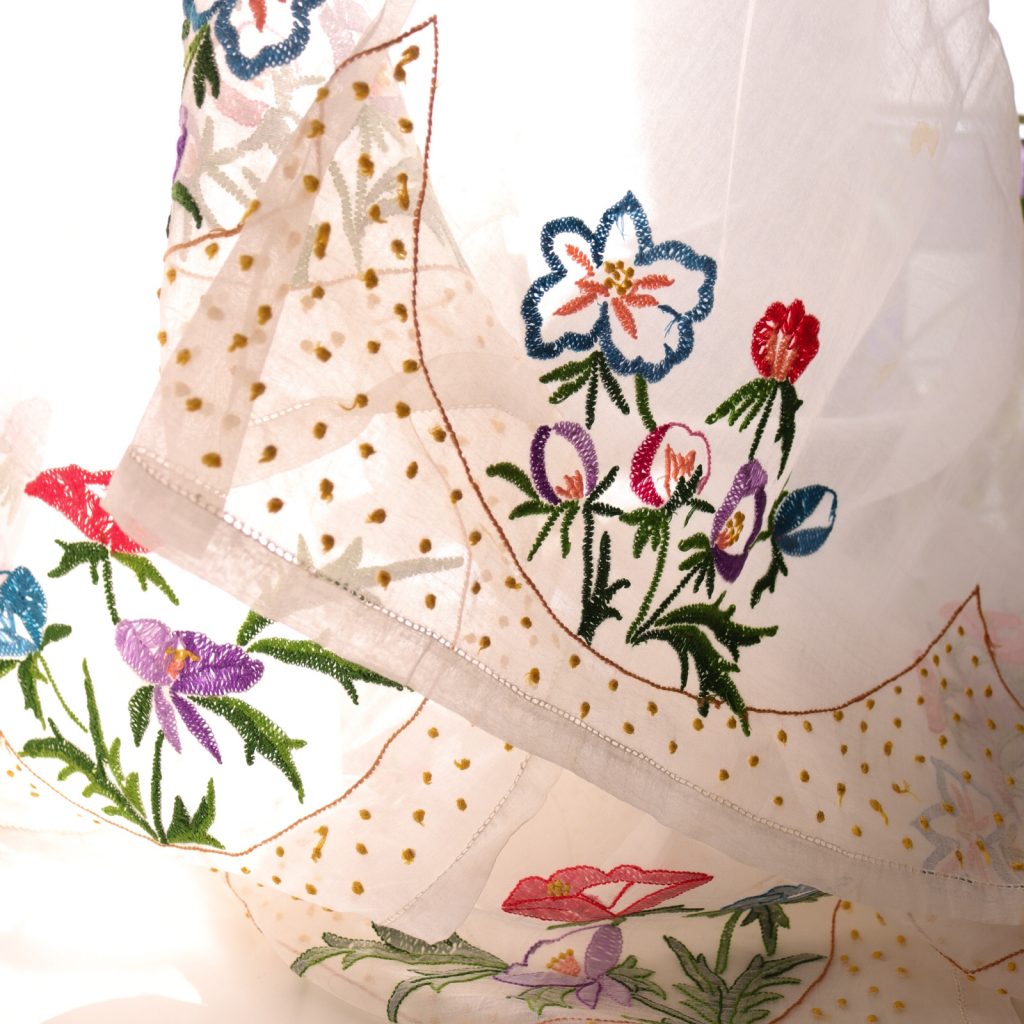
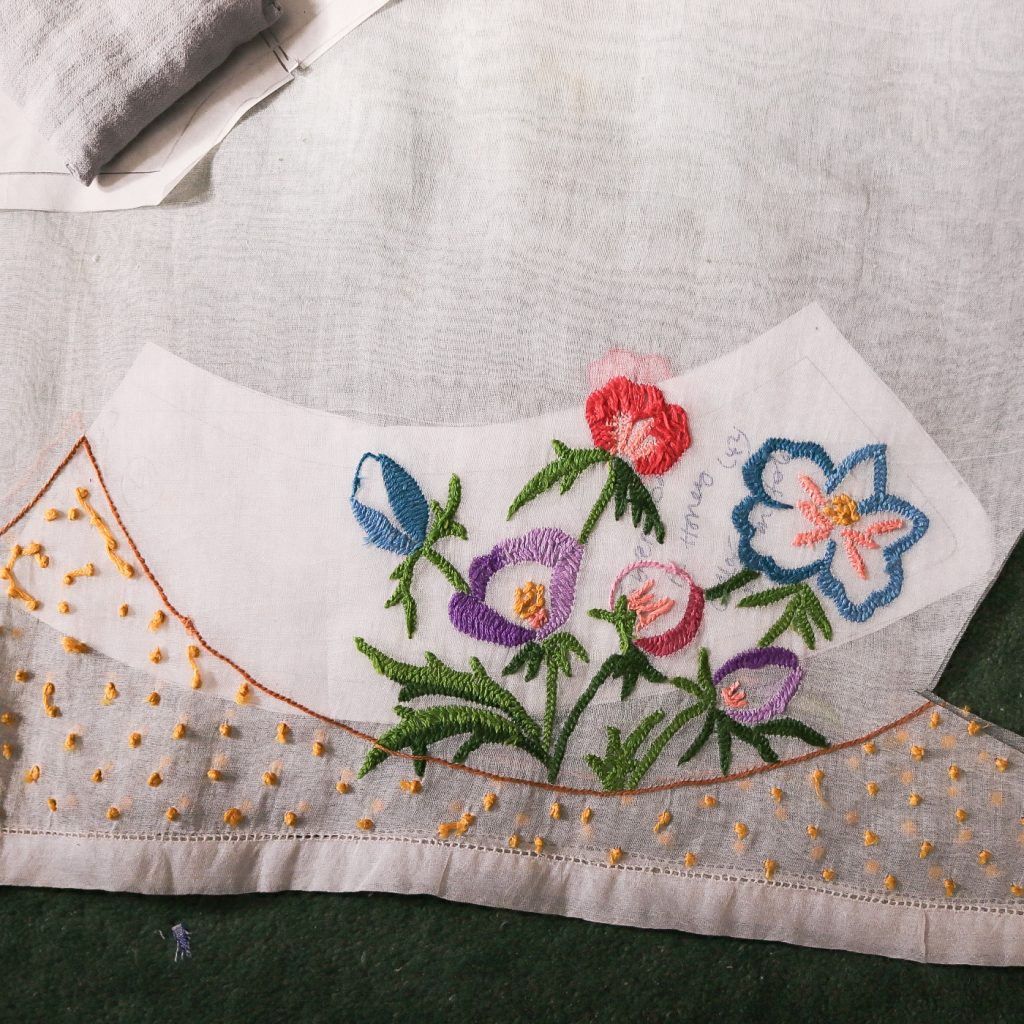
Jen’s vintage tablecloth
The pattern I opted for is the the Honey jacket by Fibre Mood, from magazine no.12, which is indeed a short, boxy shape. Very short – I added about 6cm to the length.
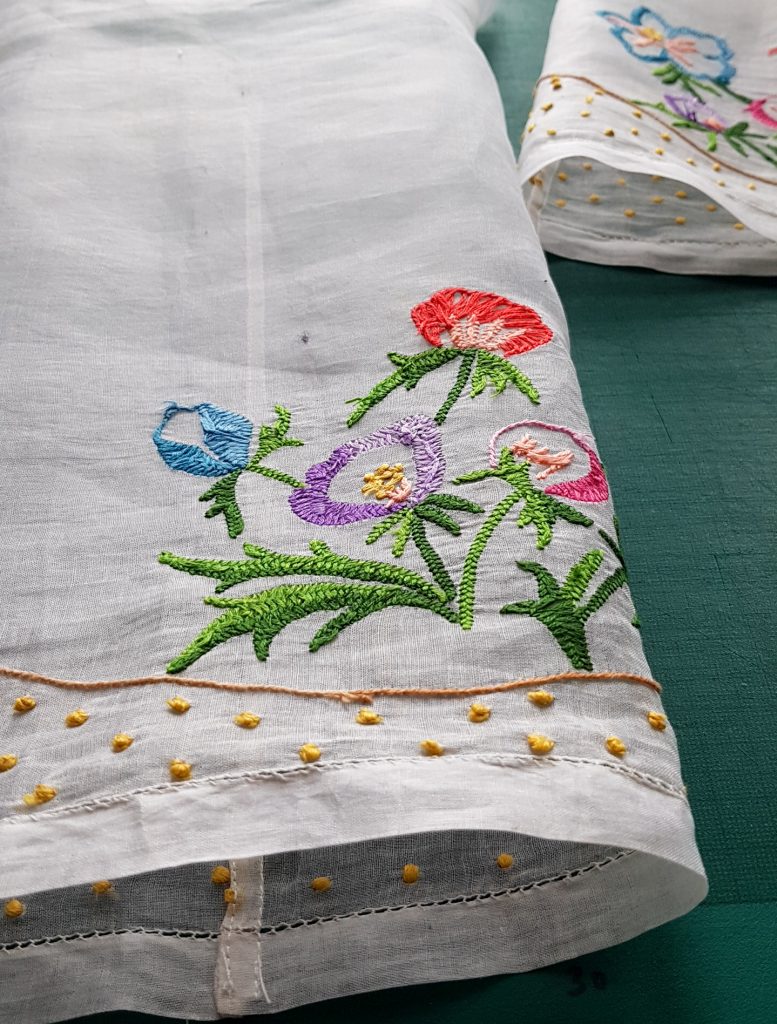
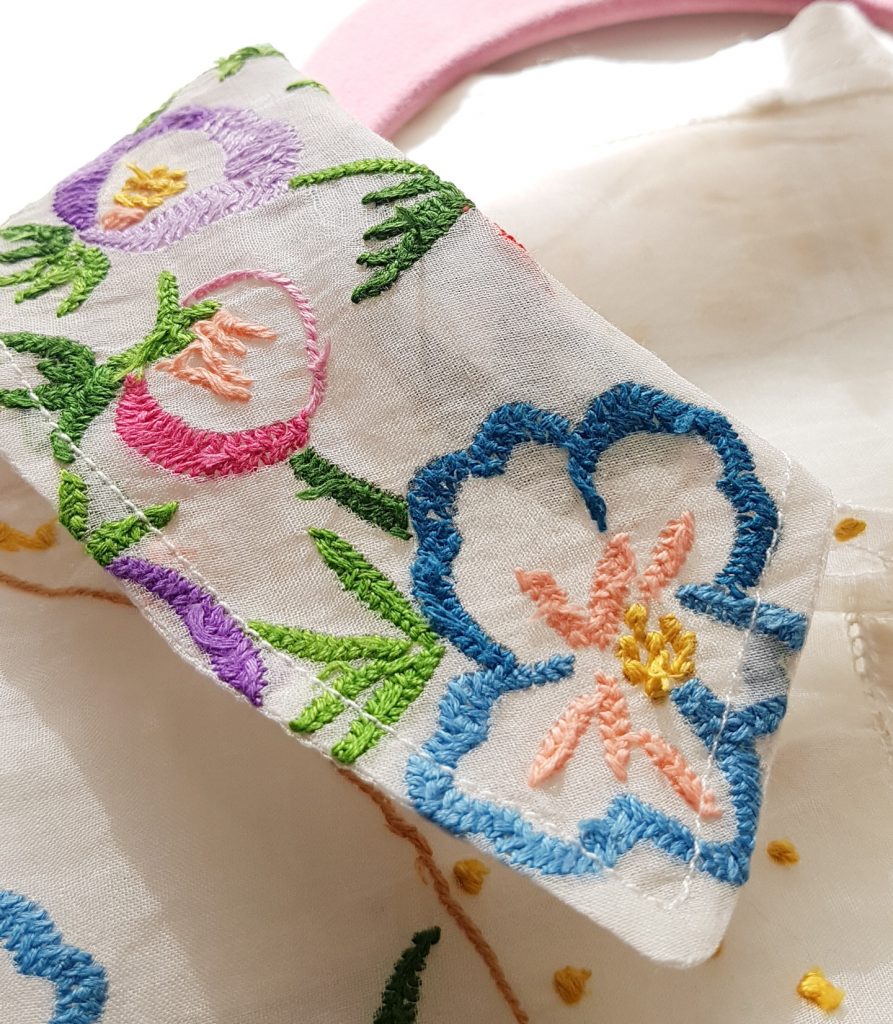
I laid the fabric out on a dark carpet, and put the paper pattern pieces underneath to work out the pattern placement. The side seams are straight, and I realised I could cut the fronts and back as one and it used the whole width of this tablecloth –a total bonus. Also the small size of the table cloth meant both the top and bottom collars had to be cut in 2 pieces. I really swithered about the placement of the top collar pieces, but in the end I liked the blue flower better and this layout gave me two collar pieces which were almost identical.
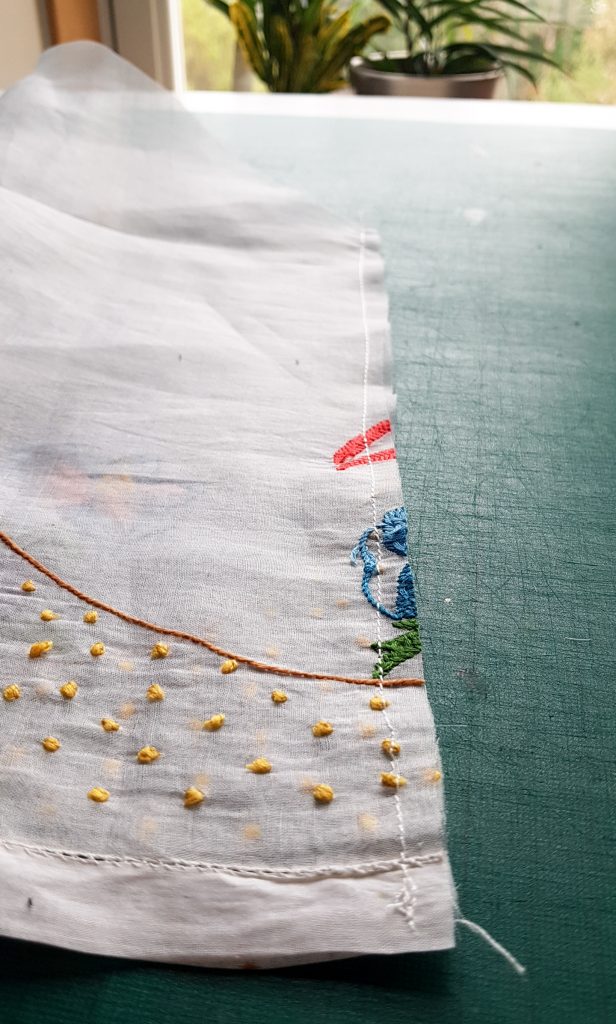
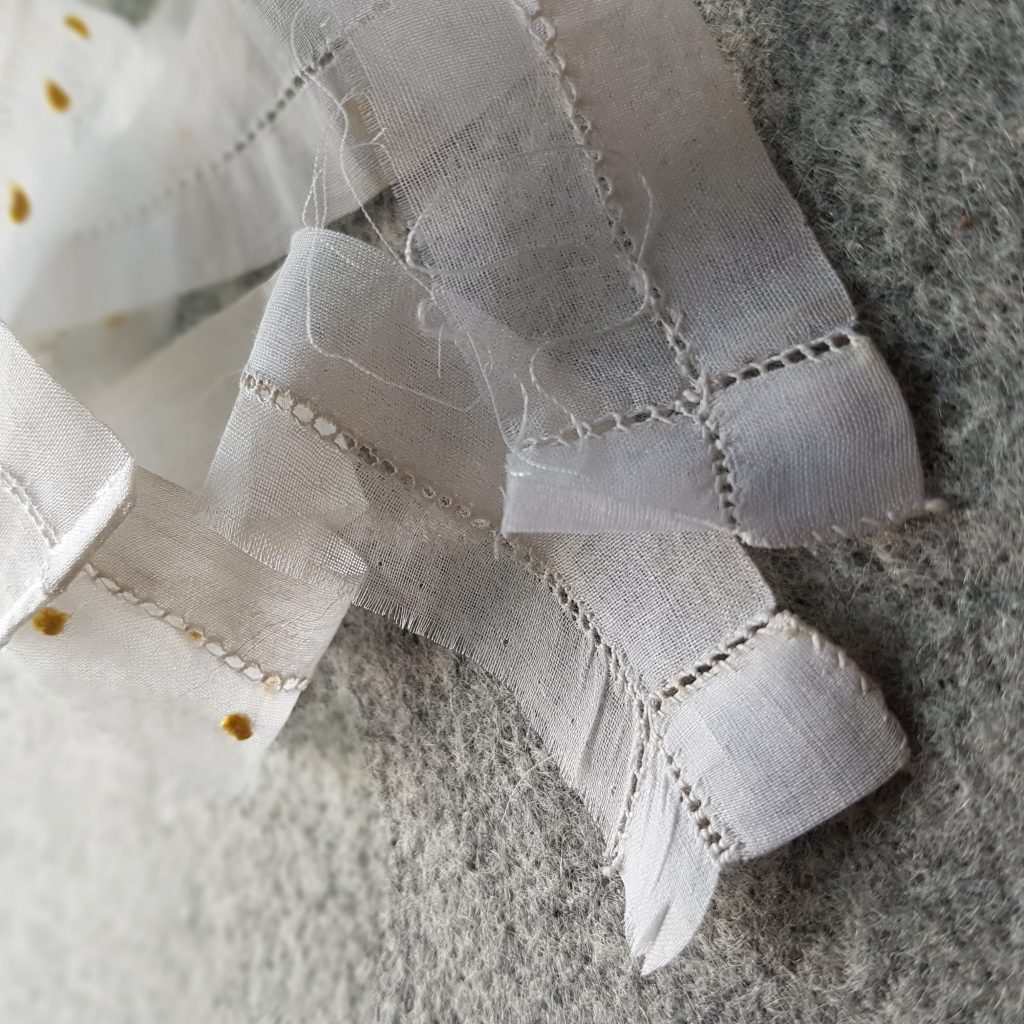
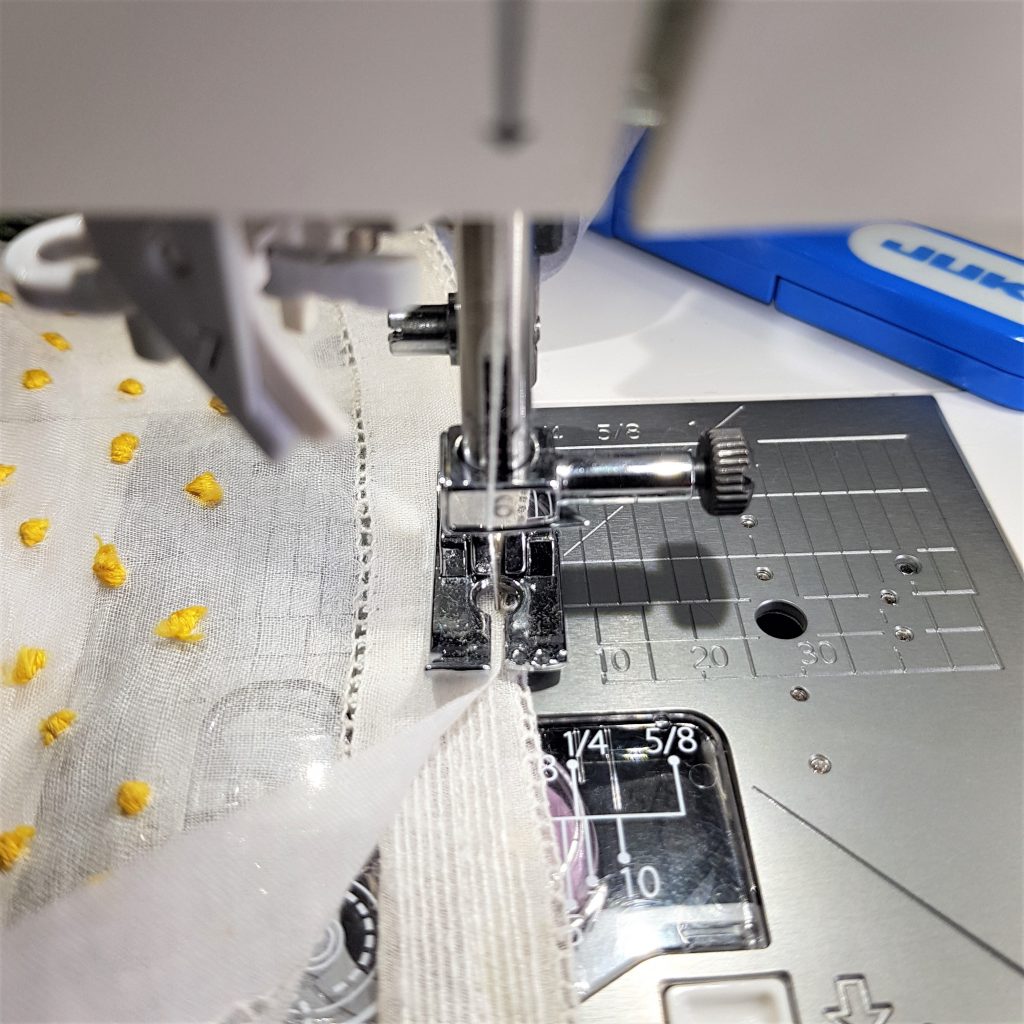
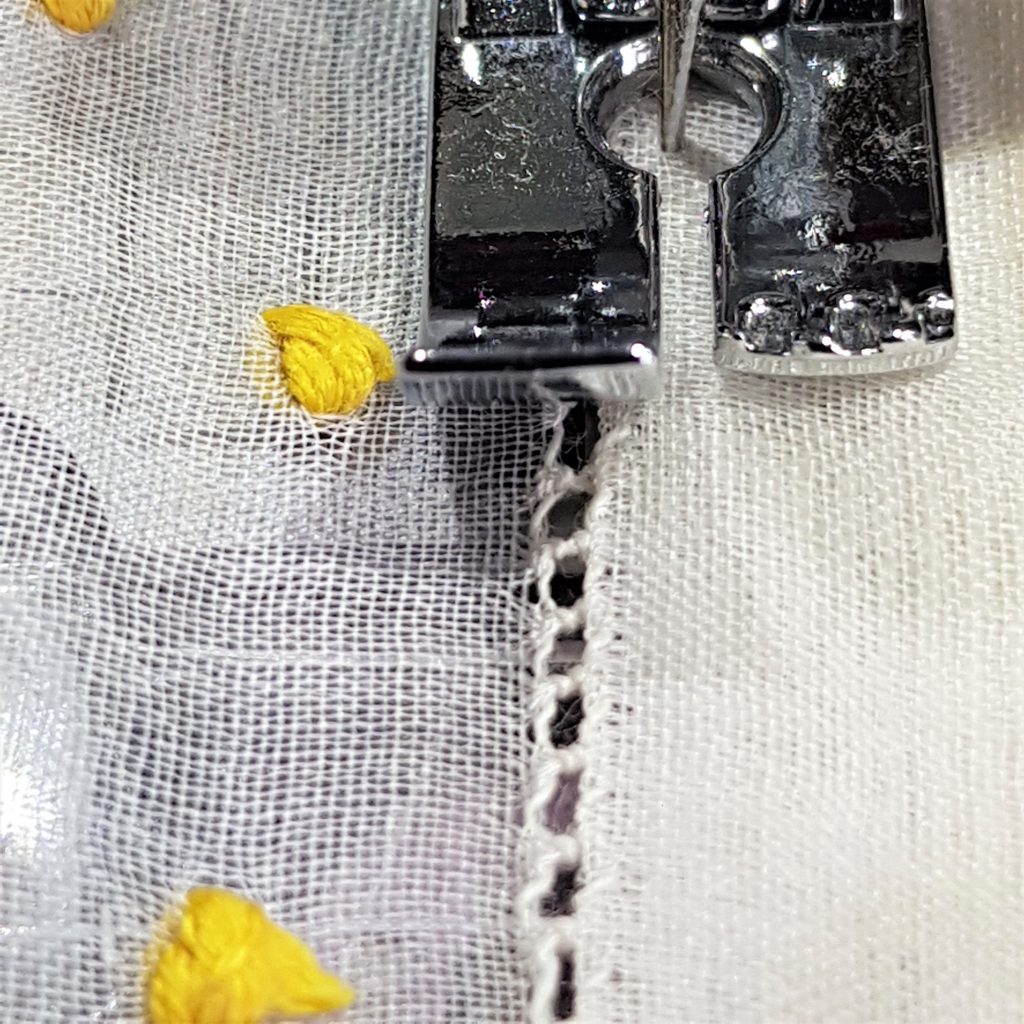
Seaming sheer fabric
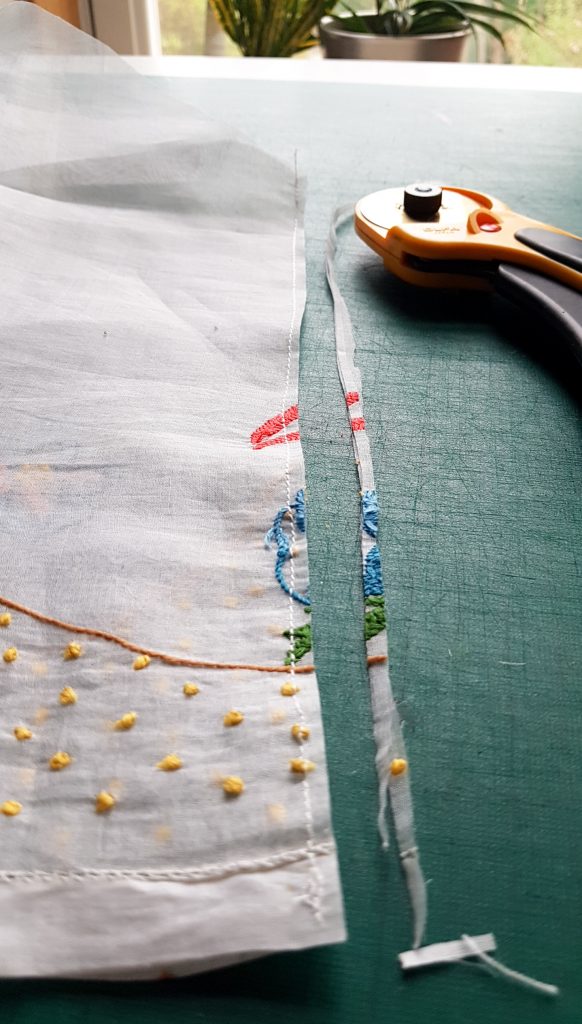
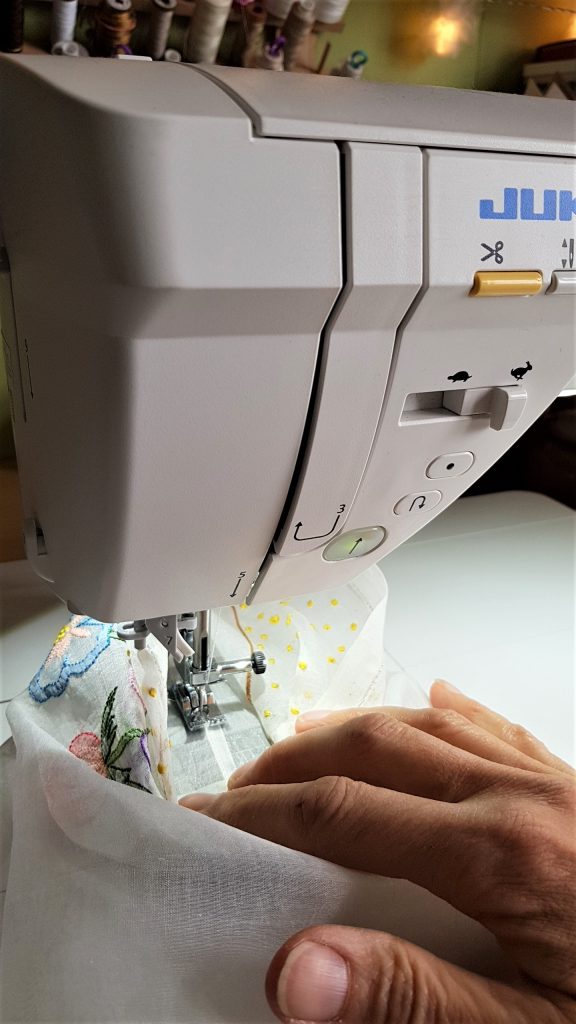
Every seam is stitched with a narrow French seam. My pattern pieces were cut with a 1.5cm seam allowance. First, I stitched the pieces wrong sides together at 1cm from the edge. I trimmed that right down to about 3mm, then re-stitched the seam with right sides together, catching in all of the original seam. Last I top-stitched each seam to hold the French seam flat against the garment. You can see the skeleton of this jacket through the sheer fabric, and I wanted to make the most of that. A French seam has 4 layers of fabric in it, and top stitching means they are all tight against the outer fabric so they show up more densely.
Trimming the seam down to about 3mm means it curves well round the sleeve head, for example, so I didn’t need to notch it as well.
Construction tip – sewing inside the tube
Once you’ve stitched the sleeve seams you’ve created a tube of fabric for each sleeve. That makes it trickier to add the top stitching. It’s always easier to stitch inside a circle or tube so I turned the sleeve wrong side out, and top stitched down the length of the sleeve seam inside the tube, adjusting my work area as I made my way down the seam. It wasn’t hard because the sleeve is quite wide and also quite short, but I have used this method to top stitch inside the tube of a narrow trouser leg, it’s just a case of taking it slowly.
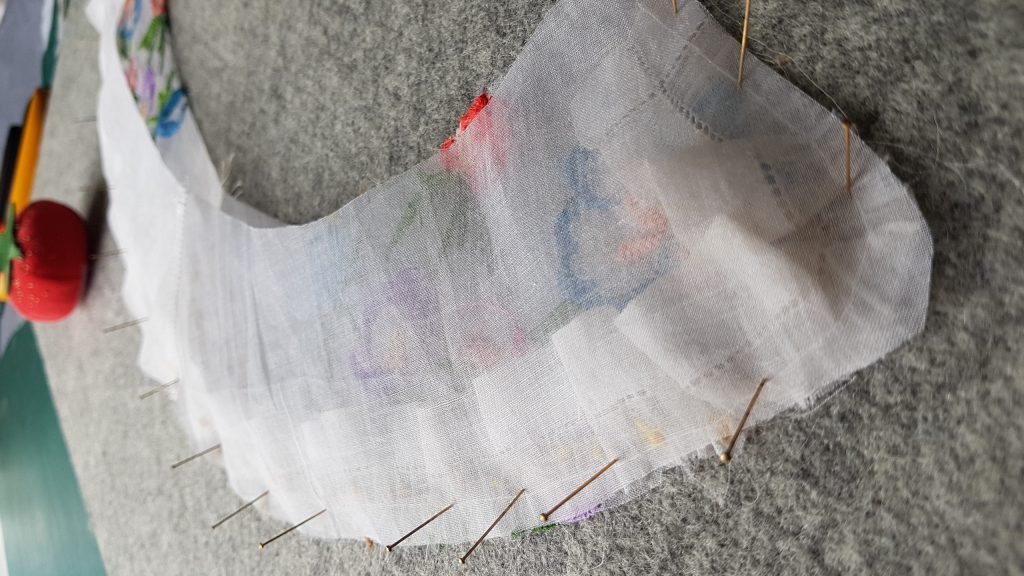
Collar design
The pattern has a ruffle round the collar, which I originally planned to include. I made it from the ladder-stitched edge of the table cloth, and sandwiched it between the top and bottom collar pieces by pinning it all into place on a felt mat piece by piece – first pinning the ruffle with the gathering evenly distributed on top of the lower part of the collar, remembering to keep more gathering at the collar points to go round the corners neatly. Then the top collar gets pinned on, and once I’m happy with the layout of it all I move each pin from the mat to the fabric, ready to sew.

Of course, once I’d sewn and turned the collar out I decided that the ruffle was too much alongside the embroidery, so the unpicker came out. It’s always the way isn’t it!
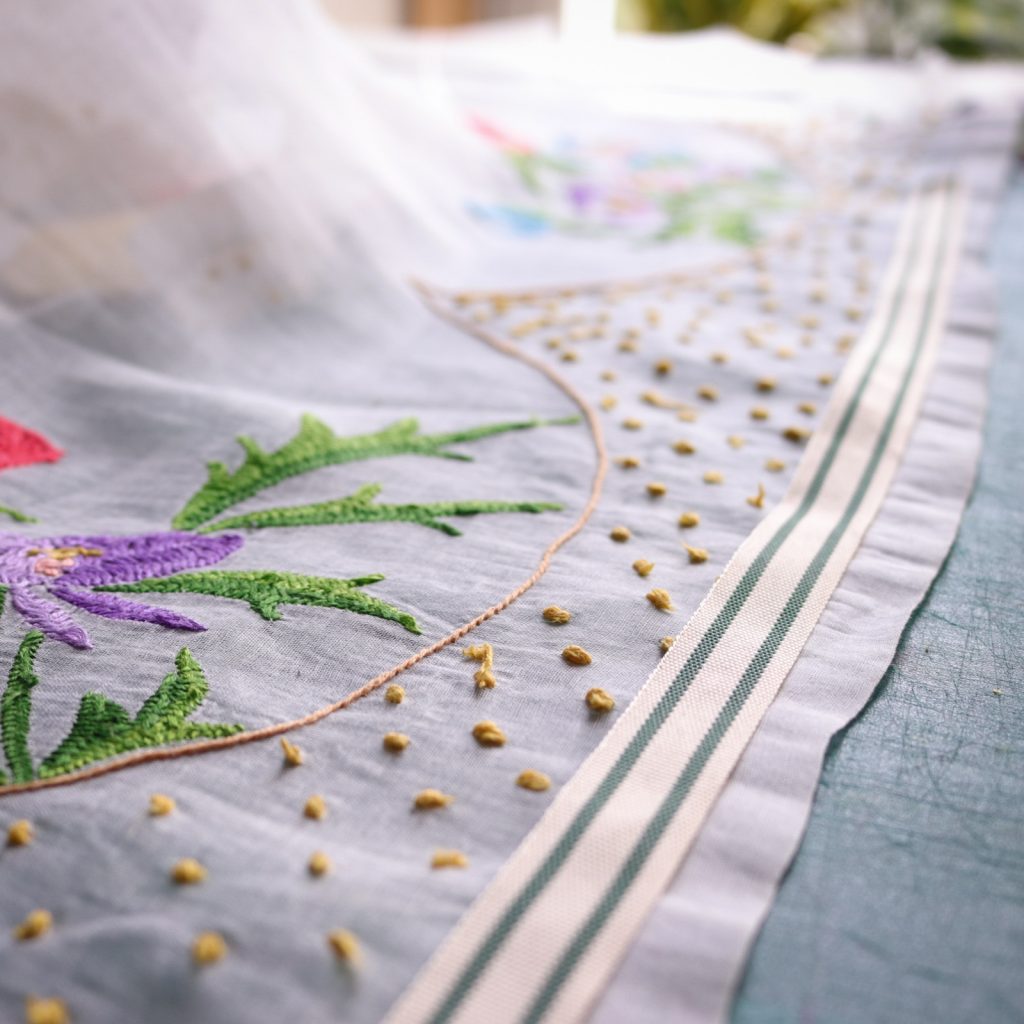
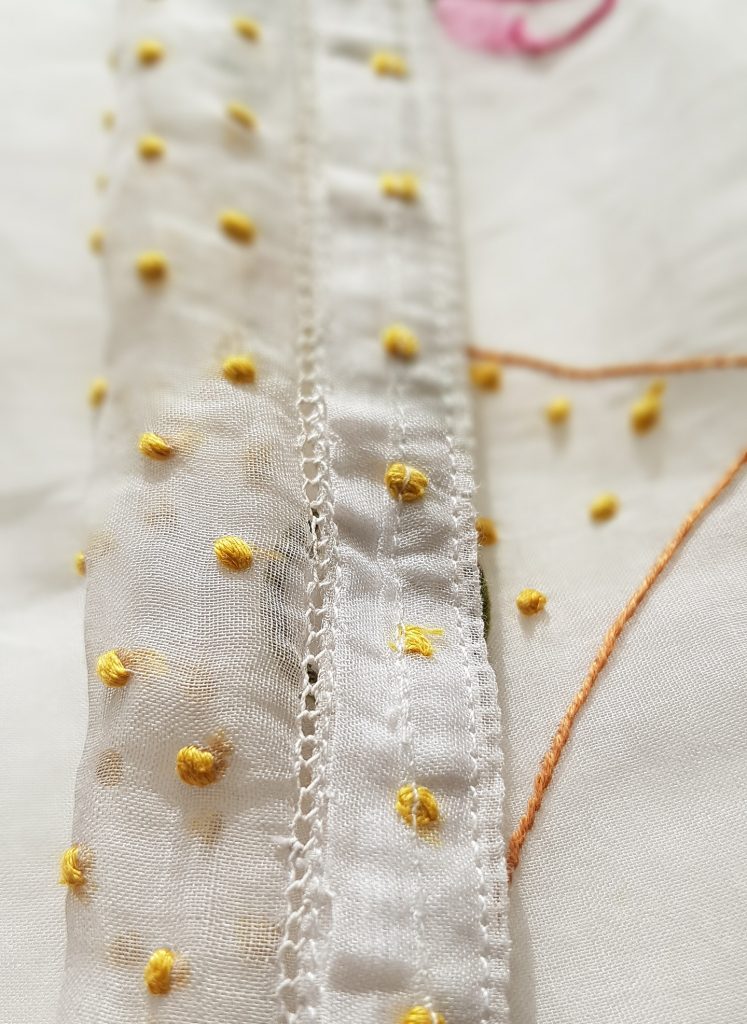
Button band design
I thought I might use a grosgrain ribbon with a stripe to give structure to the button band but having pinned on both the band and the buttons I decided it looked too heavy. Taking photos of a project really helps me to work out if something is working, or not. Maybe it’s to do with seeing it with fresh eyes, or at a distance.
In this case, I had that ruffle I’d taken off the collar. One edge was already finished so I hemmed the other edge, reinforced it with a narrow strip of fusible interfacing and stitched that down the centre fronts to give me a good band for buttons and button holes. I realised I was able to place the strip with the ladder stitching to the outer edge. All completely planned, of course, and not at all a lucky accident.
Fabric covered buttons
The button covering kit was a type I’ve not tried before but it’s going to be my new normal for covered buttons. There’s a flexible plastic mould, to hold the fabric and the button front. You cut a circle of fabric to the size specified in the kit, and put that into the mould. The button front goes in next. There’s a wee plug you can use to push the excess fabric into the centre of the button. Pop the button back into the mould, and use the plug to snap it into place. It’s that simple, and it worked on all but the thickest of fabric.
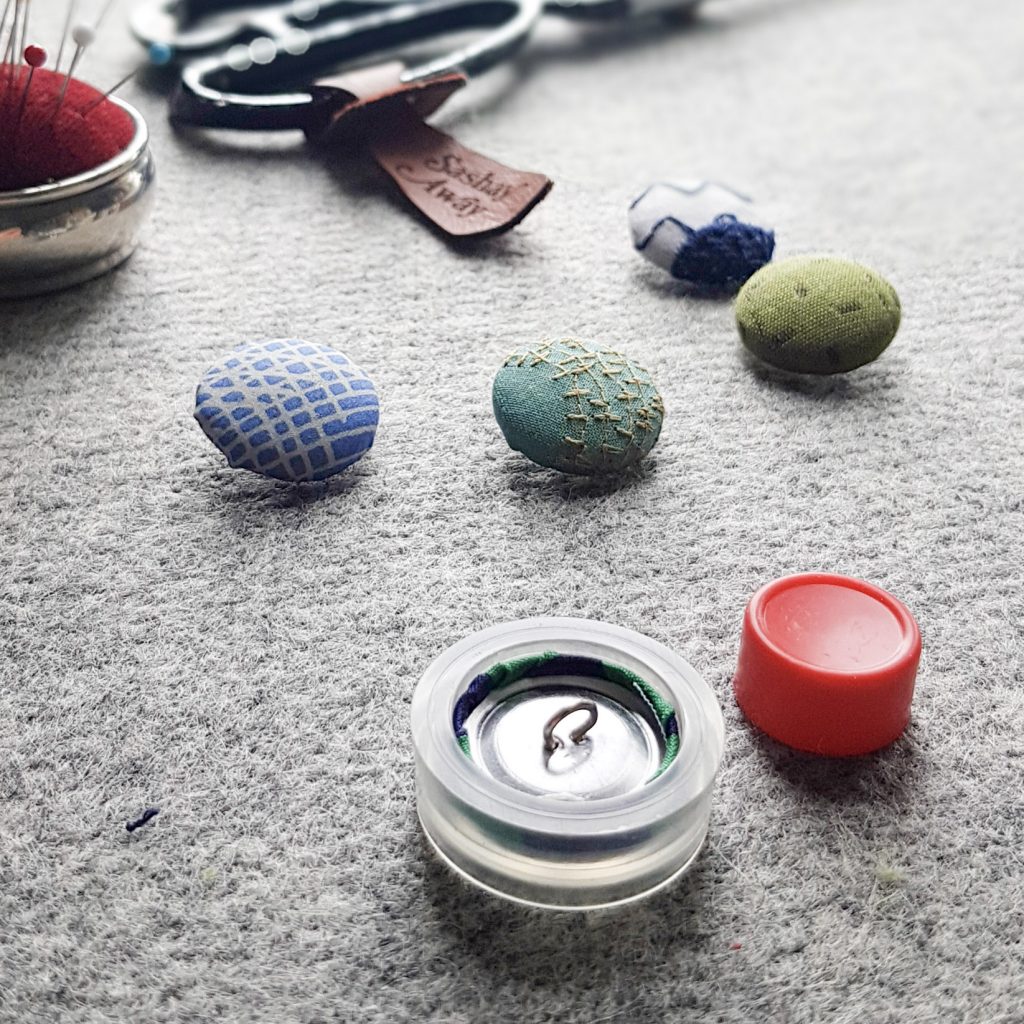
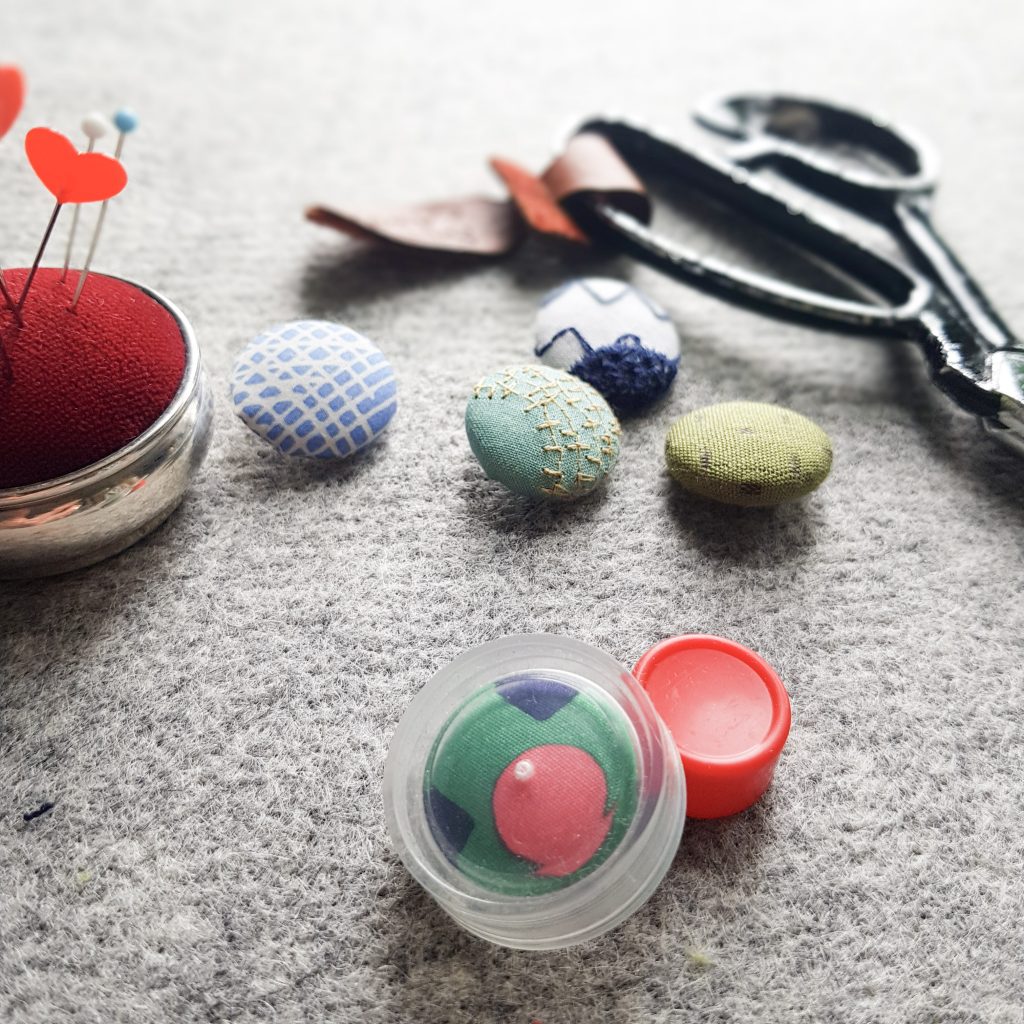
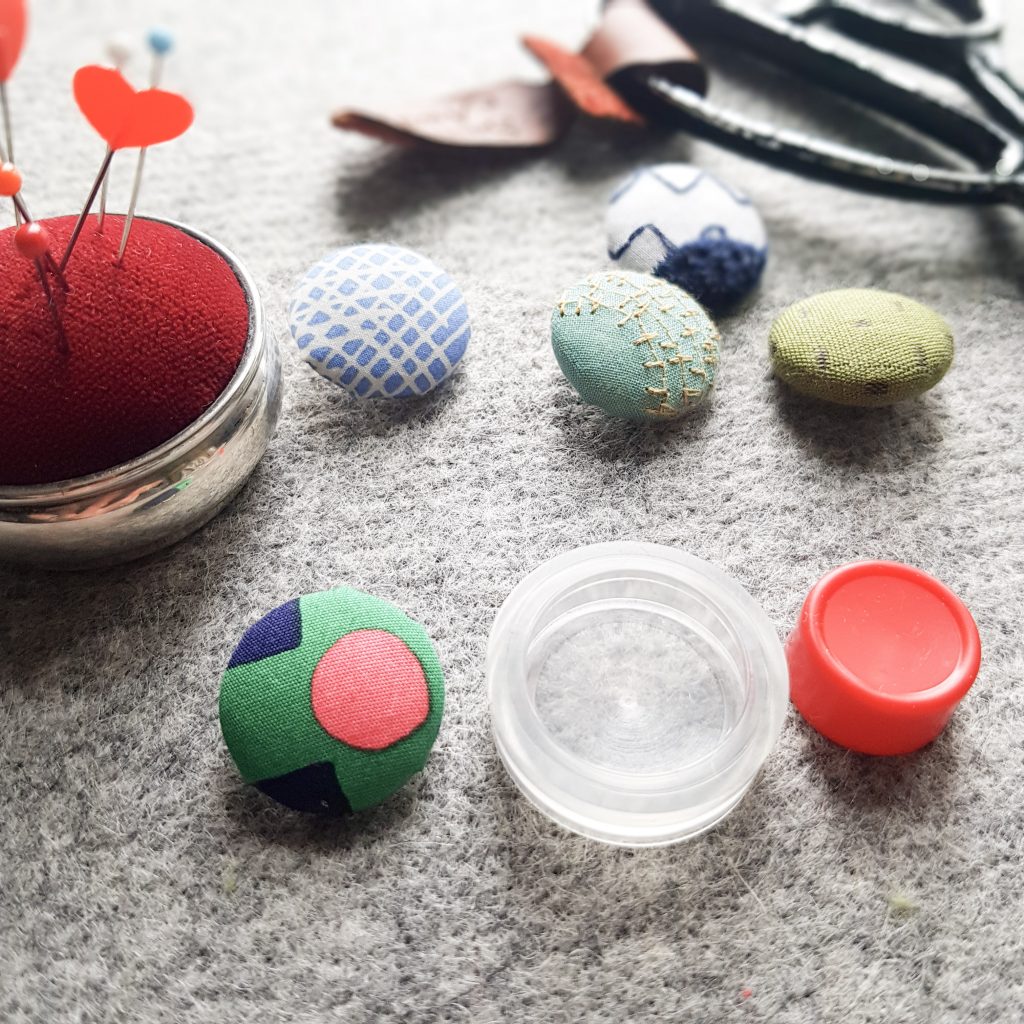
It’s also really handy that you can see the button front through the mould. So if you have a design which needs careful placement, you can make sure you’ve got everything in the correct place before you snap the back on. Plus there’s no faffing around with a running stitch round the outside of your circle: bonus!
I did find that loosely woven fabric needs lining material between the fabric and the button front to stop the metal shining through. I used a smaller circle so I wasn’t adding to the bulk of fabric being held in place by the button back. Fine fabric needs a circle of lining the same size as the fabric circle, to give a smoother finish at the edges of the button.
Button loops
As for the button holes, I wanted to keep the buttons to the lower 2/3 of the band, because I thought buttons above that might drag the fabric out of place. The buttonholes would have to be vertical because the band is narrow. But on doing a test on a scrap of fabric I realised that the holes would look too big and a bit daft.
So I found some satin cord and made button loops instead. The ends are zigzagged together then I hand-stitched them onto the jacket.


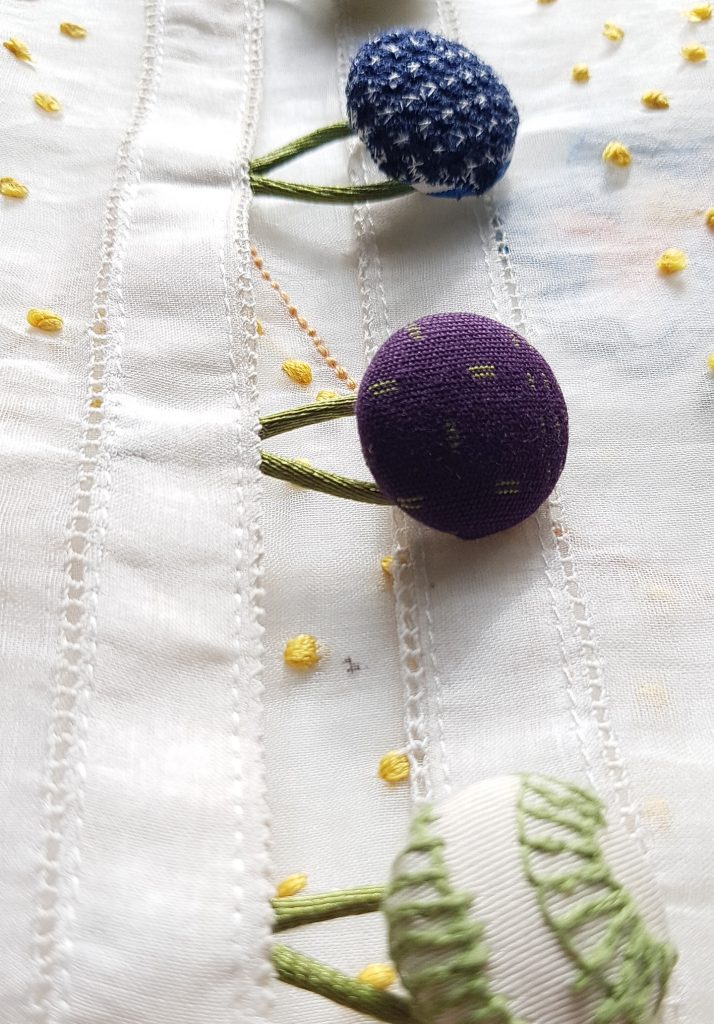
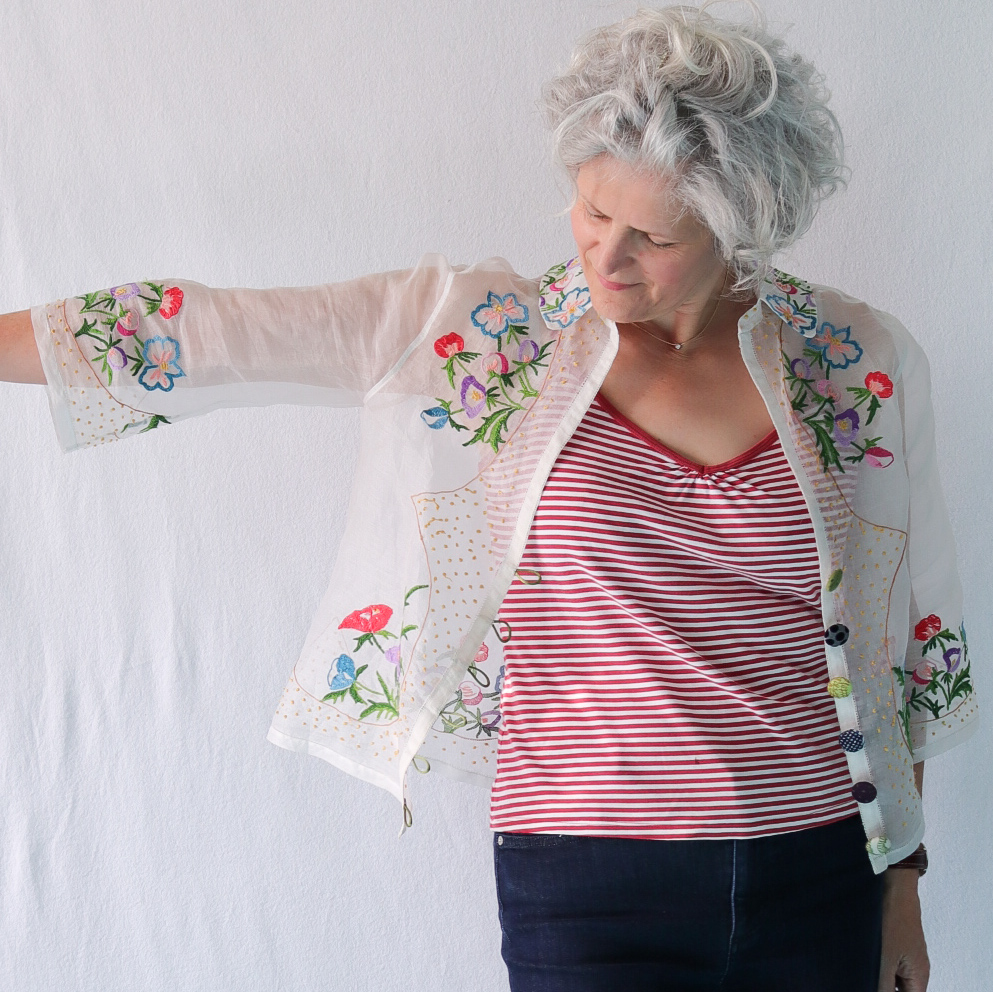
Finished garment
I’m pleased with upcycled tablecloth top. It really does showcase the Japanese Nuno buttons beautifully. I love the East meets West fusion of cultures and I enjoyed the technical challenge of the make. I did feel a weight of responsibility using the vintage table cloth. It was given to me by a neighbour, I think her mum had made it and it’s beautifully hand stitched. Even the ladder work around the outside edge is all done by hand. And here’s me cutting it up in what is, let’s be honest, a bit of an experiment. My aim is not to keep this for special occasions. I’m going to wear it much more often than that, and I deliberately dressed it down in the photos.
This isn’t my first garment with vintage linens, and it won’t be my last! Please give me inspiration by sharing your table cloth makes on Instagram by using #jukiclubvintage.


As for the exhibition, if you can’t make it along in person there will be a virtual tour online soon. Please follow @japanhouseldn on Instagram for details or visit the Japan House London website.

Your platform is a stitching paradise, offering a vibrant community and valuable resources for sewing enthusiasts. The diverse tutorials and the latest trends make every visit both informative and enjoyable.