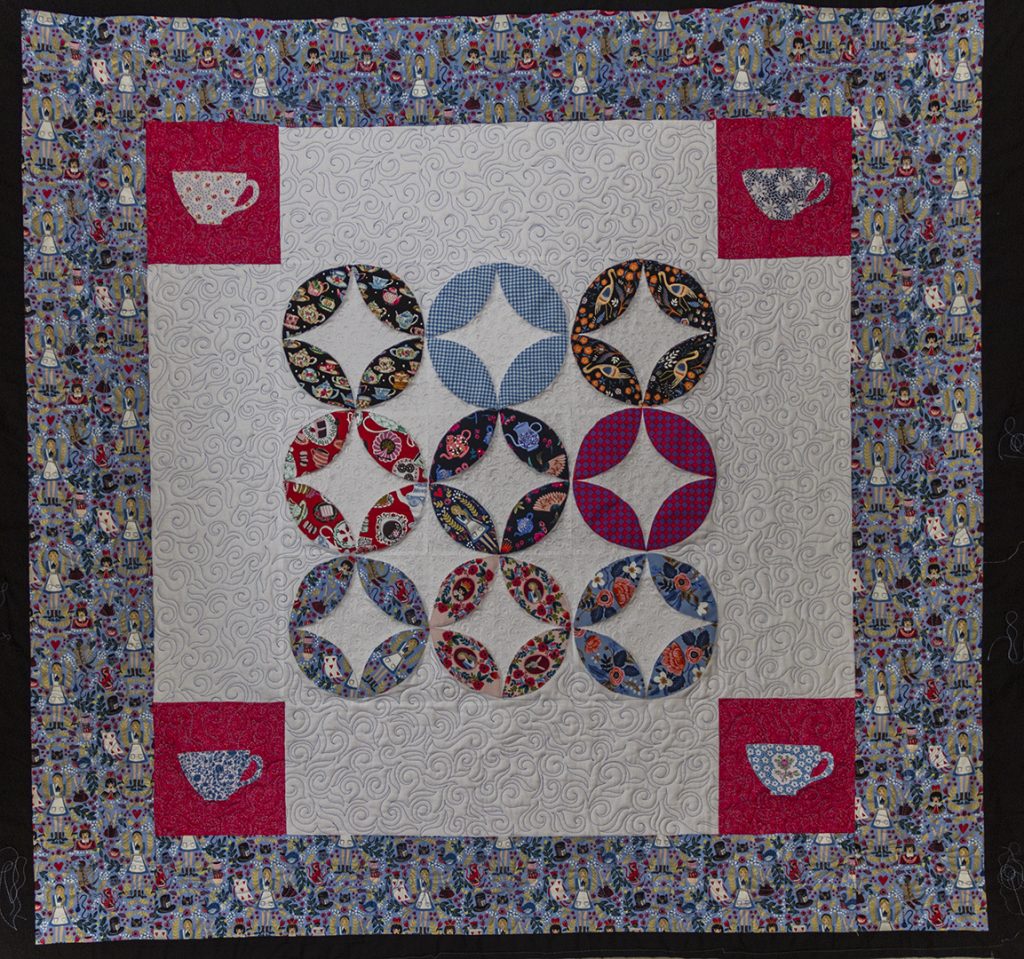
We put together this Cups & Saucers Quilt to celebrate our Alice Tea Party Juki Club event.
We’re posting the directions here, so if you missed our first Juki Club event in Salisbury, you can still complete the projects at home. These applique projects were designed to explore the cool new features on the Juki DX7 computerised sewing machines. This post is an online version of the handout we gave out on the day. We have the handout complete with templates in a pdf file for you to download at the end of the post.
Tea Cup Applique
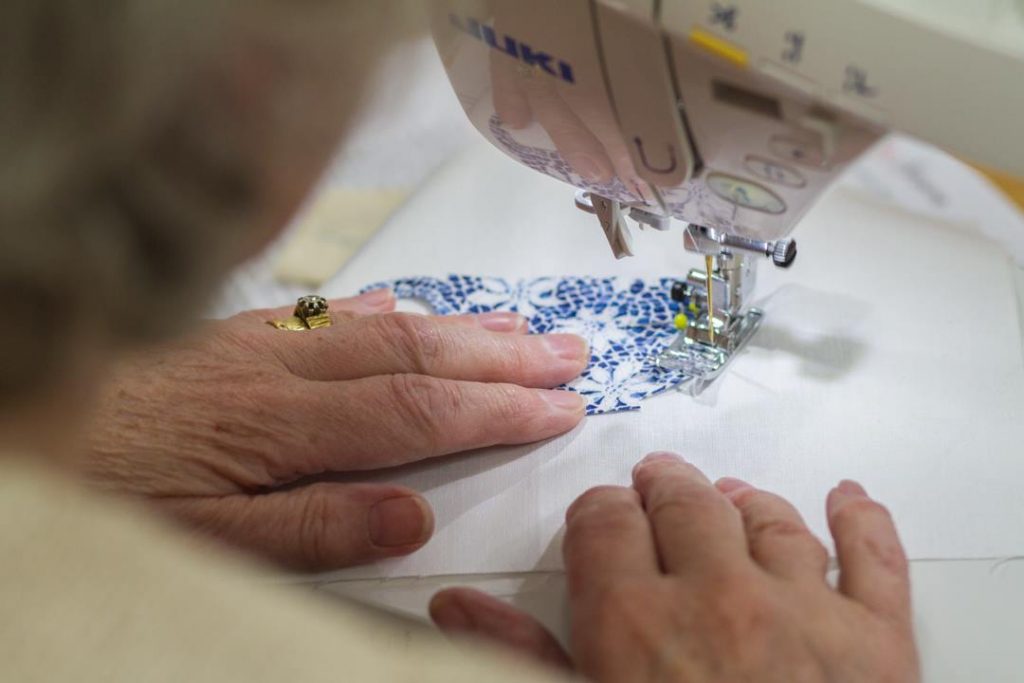
Cut out the tea cup shape with a good pair of sharp scissors. Cut just inside the traced line. Use little scissors to snip a small hole so you can cut inside the handle. Pin the tea cup shape to your backing fabric. Now you’re going to raw-edge-applique your tea cup to the backing fabric.
Raw edge applique is very simple; it uses a basic straight stitch to sew a cut out shape to backing fabric. The edges are not turned in they are raw.
The Vilene backing will help to keep the edges from fraying and give the fabric a bit of extra structure. The Juki DX7 comes with lots of amazing decorative stitches but for this project we are using a simple straight stitch. The tea cup shapes are intricate and if you use any of the fancy stitches it will pucker.
Choose a large cone of thread from the Bottom Line or MicroQuilter ranges. These very fine threads will blend with your tea cup fabric and make your machine applique stitches invisible. We used a thread stand to take advantage of the more economical large cross-wound cones. We slipped the thread through the metal loop and threaded the DX7 as usual. Have fun with the automatic needle threader.
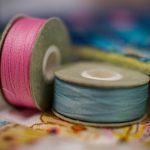 Choose bobbin thread to match your top thread. We used these Bottom Line pre-wounds. They work great in the DX7. Use the little diagram on the clear plastic cover to load your bobbin the right-way-round.
Adjust the straight stitch slide plate, slide the lever all the way to the left; to the dot position. This gives you a small single hole that will prevent your fabric from getting stuck ‘down the rabbit hole’ This position is great for straight stitch and applique. When you want to do zig zag or any fancy stitches simply slide the lever to the right; to the dash position.
Now you’re ready to begin your applique. Use the lockstitch or reverse stitch to anchor your starting and stopping stitches. Enjoy the float function which leaves your hands free to pivot and guide your fabric under the needle as you applique. The automatic thread trimmer is so convenient at the end.
That’s the tea cups sorted. Lets move on to the Saucers.
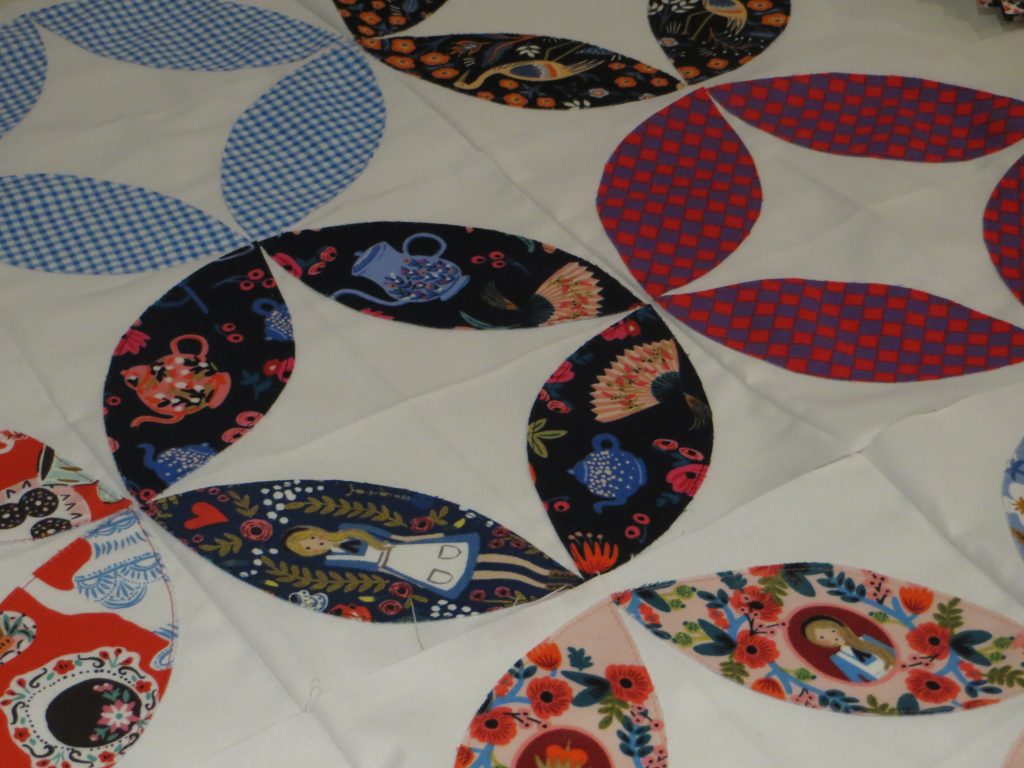
Saucer Applique
The saucer is just 4 orange peel or pumpkin seed shapes arranged in a circle to make the round saucer shape.Use the template in the handout and cut an orange peel template out of plastic. You’ll also need an 8 1/2 inch square of backing fabric. Just like with the tea cups, you’ll want to iron the very thin Vilene to the back of the fabric. Then trace the orange peel shapes onto the Vilene before you cut it out. We find that the Vilene gives stability to the fabric which enables you to get a cleaner sharper cut.
Once you’ve cut 4 orange peel shapes, get your 8 1/2 by 8 1/2 square of backing fabric and fold it in half and then in half again. Iron it so that you can see the lines. You’re going to use the cross ironed on the fabric square to help arrange your orange peel shapes into a circle.You’ll save a bit of time on the piecing as all 4 orange peel shapes get appliqued onto one backing square. Each orange peel should go diagonally across the quarter squares that make up the larger square. All 4 orange peels together will make a circle. Make sure that the points match up. Leave a quarter inch allowance around the outside of the circle. Now choose a very fine thread for machine applique; like BottomLine or MicroQuilter in colours that match your fabric.
Use a straight stitch to applique the orange peels onto the backing fabric; the float function lets you use both your hands. Once you’ve made your saucer blocks, piece them together. It makes a lovely interlocking pattern.
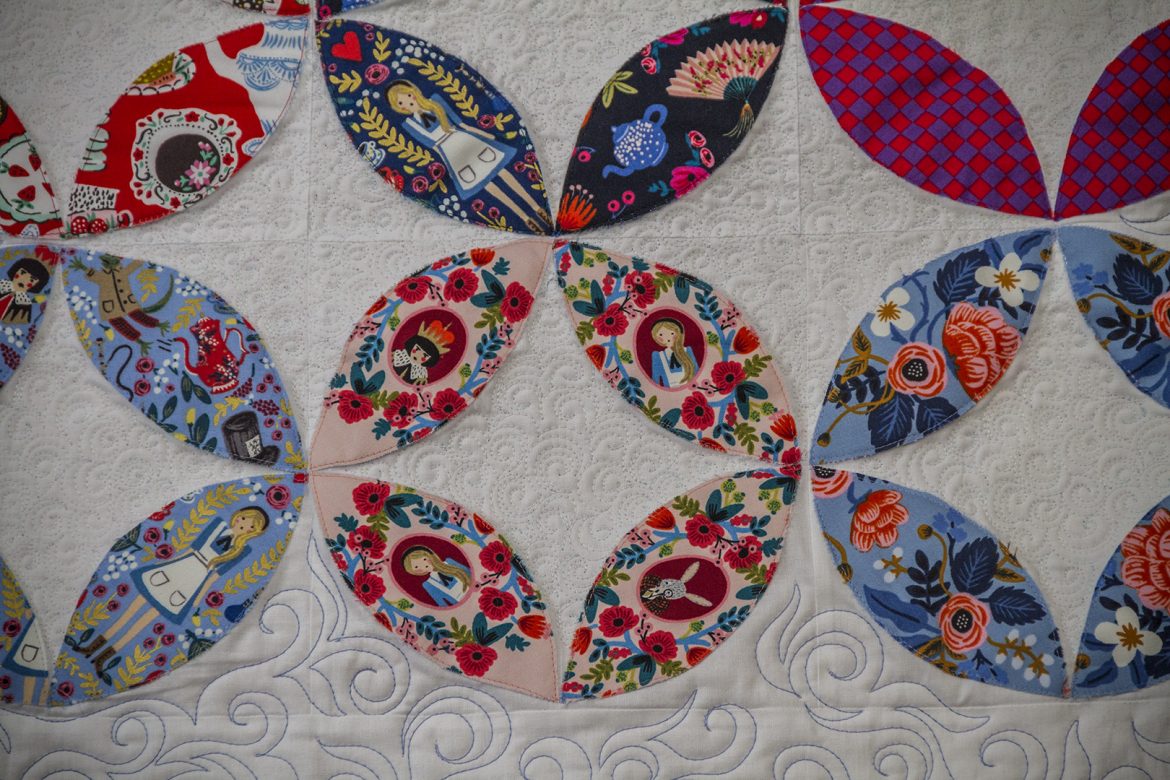
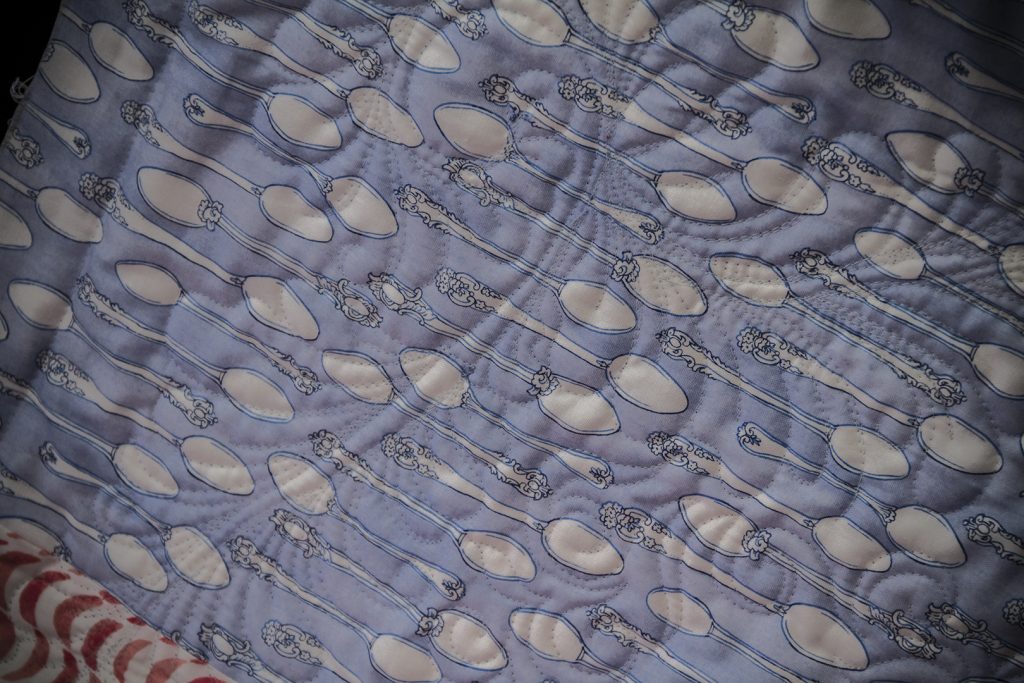
We added borders and tea cup blocks in the corners and more borders. We used an 80/20 wadding and backed it a fun teaspoon fabric. Before putting it on the frame we added some side sashing on either end. You can see the black sashing in the photo. This helps to give a nice and even side tension and provides a place to work out any tension problems during quilting. We’ll cut these side sashings off when we take the quilt off the frame. While she was on our Machine Quilting Retreat, Emily spend a few hours quilting it on our 6 foot MachineQuilter frame using the Juki TL QVP Mini lockstitch sewing machine.

Here’s a nice detail photo of the quilting. We used a Fantastico called Pixi Dust #5170 around the saucers and a Magnifico #2154 called Out to Sea to quilt steam coming out of the tea cups to fill the white space and fantasy feathers on the Wonderland border. Don’t you love the Alice themed fabrics! Most are from the Rifle Paper Co. Wonderland Collection by Cotton + Steel.
For a final touch we used this fun teaspoon fabric for the backing and a pale blue Bottom Line thread for the bobbin. It blended in so nicely just creating lovely texture.
It ended up one gorgeous little quilt! We’ll have it on show at the Juki stand at the Festival of Quilts August 2017. If you’d like to make some tea cups and saucers, here’s a pdf file of our Juki Club Alice Tea Party Handout. It has directions and templates for the tea cups and orange peel shapes for the saucers.